Learn to Sew Clothes: Free Online Course for Beginners
Our picks, at a glance
- Top pick
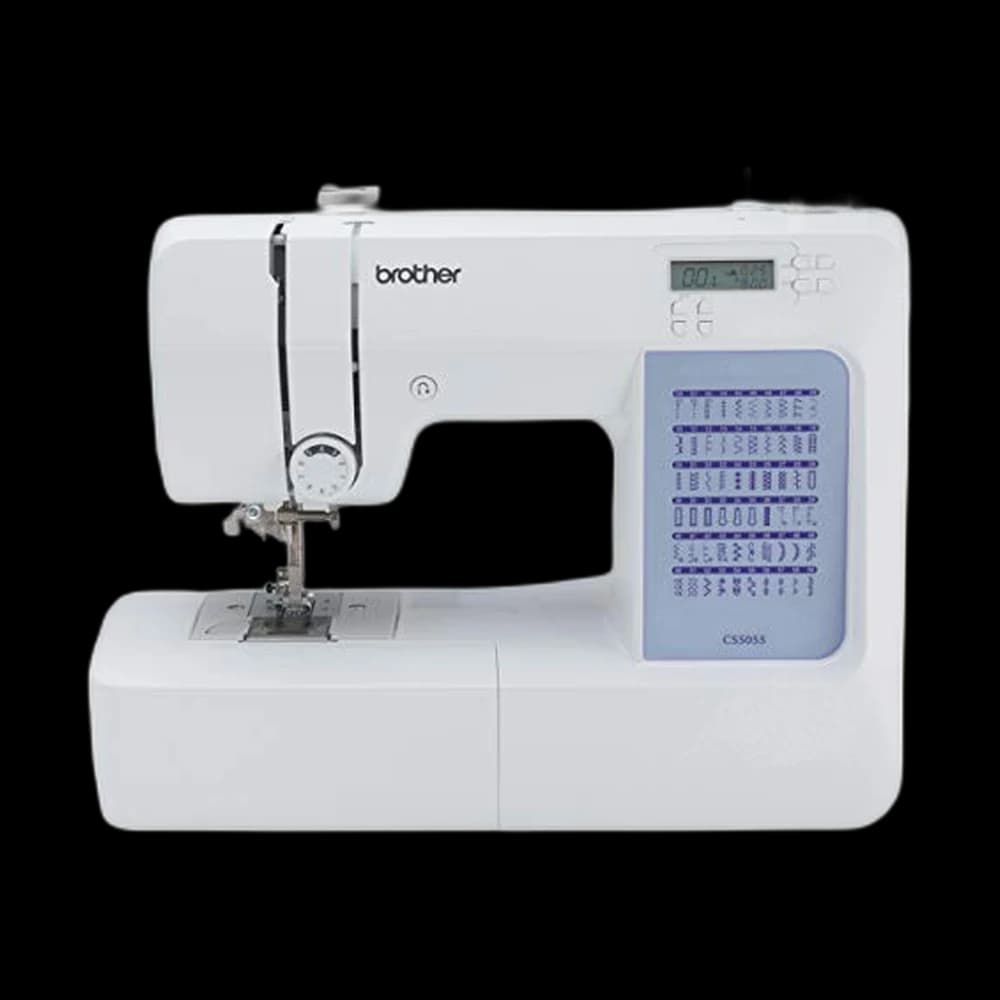
Brother CS5055 Computerized Sewing Machine
$134StitchScore 82 4.6 out of 5 stars · 3,580 ratings
- #3
Proshear Professional Tailor Scissors, 9 Inch Heavy Duty Fabric Shears
$8.99StitchScore 93 4.8 out of 5 stars · 4,040 ratings
- #4
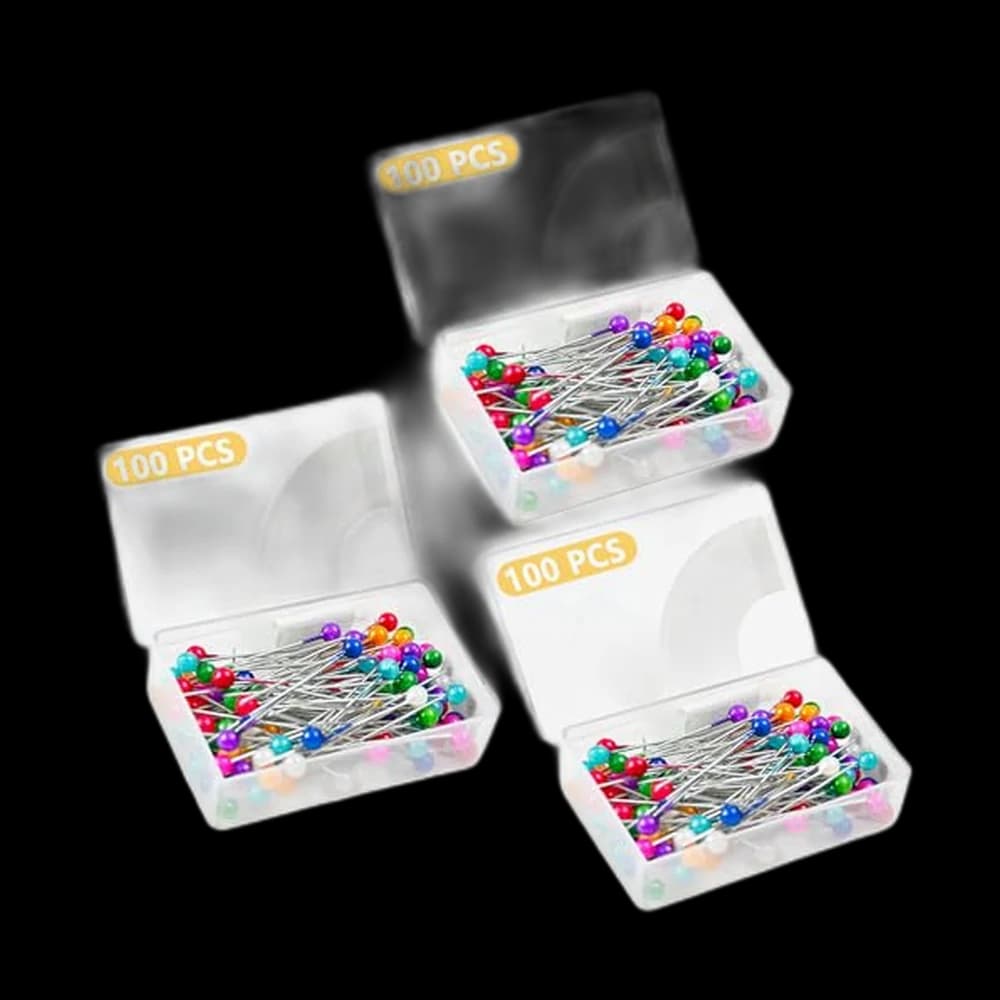
DTDNZKN 300PCS Sewing Pins with Glass Ball Heads
$3.99StitchScore 83 4.6 out of 5 stars · 530 ratings
- #6
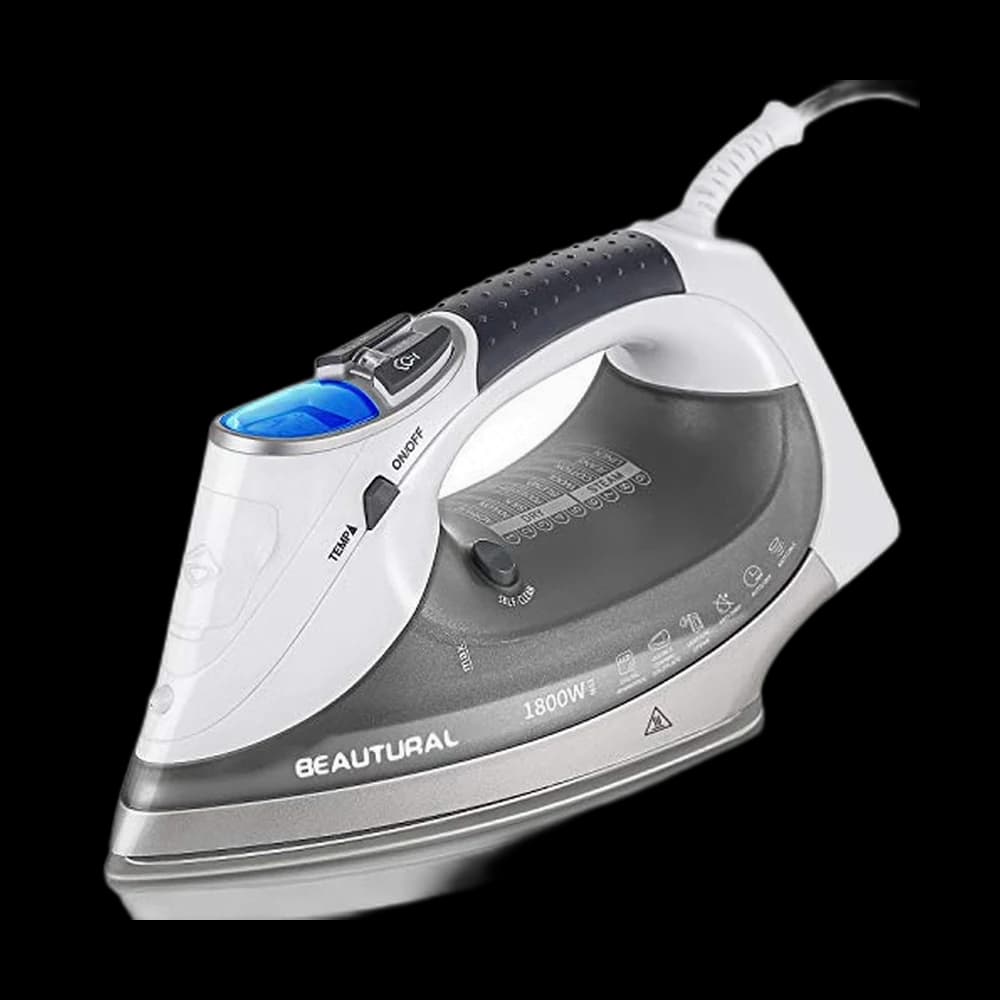
BEAUTURAL 1800 Watts Steam Iron with LCD Screen
$41.99StitchScore 82 4.5 out of 5 stars · 19,802 ratings
The short version
- Learn the machine, a paper pattern, a zip and fitting one at a time; a first garment that asks for all four at once is where most people stop.
- Practise elastic casings and zips on bags and pouches before they appear on something that has to fit.
- PJ shorts are the right first garment because the waist is elastic and nobody sees the inside.
- Measure yourself before choosing a pattern size; pattern sizes do not match shop sizes.
- A machine for clothes needs a free arm and a one-step buttonhole; the Brother CS5055 is our value pick and the Janome JW8100 our top pick.
- You do not need a serger to sew clothes; a zigzag or a French seam finishes the inside on a regular machine.
This is a free course for learning to sew clothes, with no sign-up and no email. It runs in nine lessons, from threading the machine to a pair of pyjama shorts, a wrap skirt that actually fits, and eventually a shirt dress. Every lesson points at a guide or a sew-along that already exists on this site, in the order that teaches one new thing at a time.
The order matters more than the projects. Most people who give up on sewing clothes do it because their first garment asked them to learn the machine, a paper pattern, a zip and fitting all in one weekend. This course splits those four apart.
The course at a glance
| Lesson | What you learn | Read or make |
|---|---|---|
| 1 | Thread the machine, wind a bobbin, sew straight | How to thread a sewing machine, a pillowcase |
| 2 | Hems, seam finishes and pressing | How to hem trousers, seam finishes |
| 3 | Elastic casings and zips on small things | Drawstring bag, zip pouch |
| 4 | Measure yourself and read a pattern | Sewing patterns for beginners, how to read a sewing pattern |
| 5 | Your first garment from a paper pattern | PJ shorts |
| 6 | Waistbands, pockets and topstitching | Café apron |
| 7 | Fit | Wrap skirt |
| 8 | Buttons, buttonholes and collars | How to sew a buttonhole, shirt dress |
| 9 | Trousers and outerwear | Tailored trousers, lined winter jacket |
If you can already sew a straight seam and a hem, start at Lesson 3. If you have made a zip pouch, start at Lesson 4.
What you need for the course
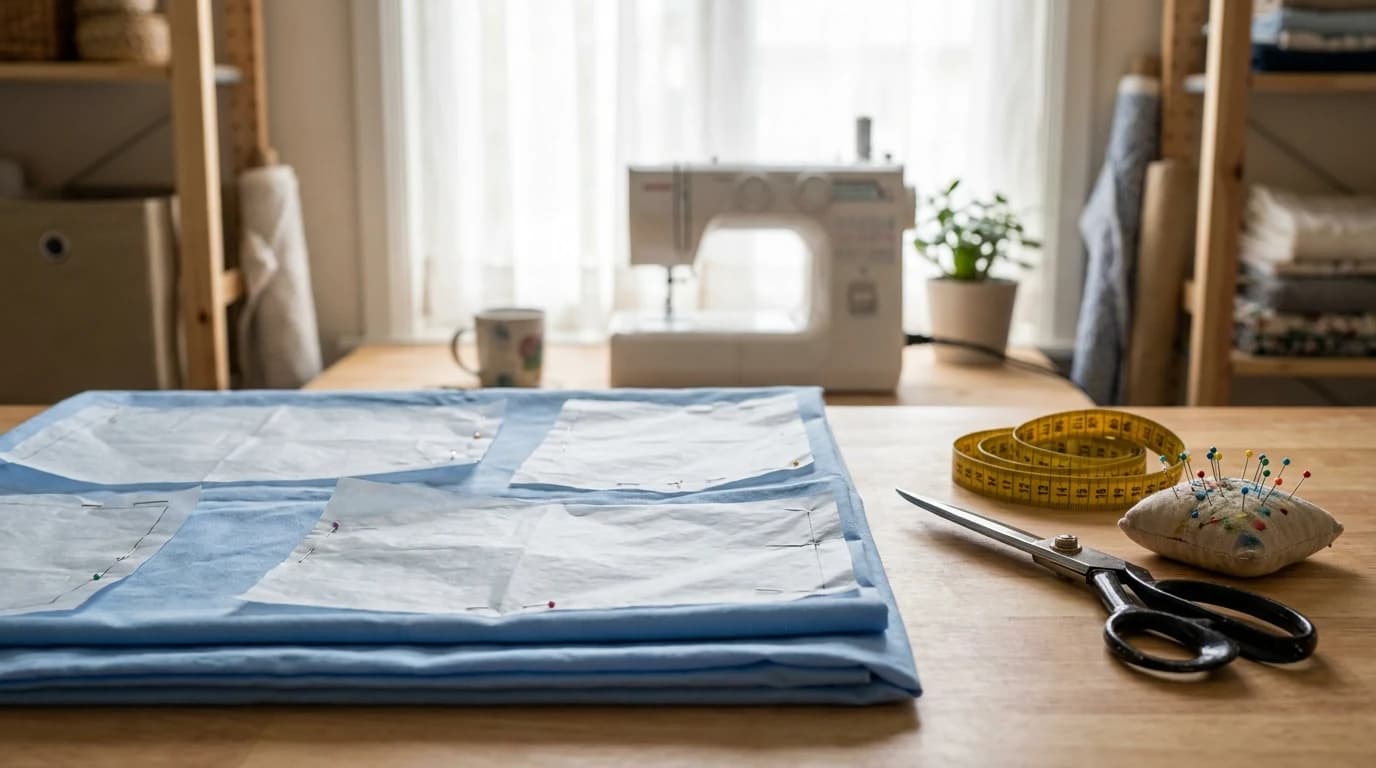
A sewing machine, fabric scissors, pins, fresh needles and an iron, plus a tape measure and tailor's chalk. That is genuinely the list until Lesson 8. The table at the top of this page is our researched pick for each; below is the reasoning.
| What | Why it matters for clothes | Compare |
|---|---|---|
| A machine with a free arm and a one-step buttonhole | Cuffs, sleeves and trouser hems wrap around the free arm; buttonholes come out the same size every time | Sewing machines |
| Fabric scissors | Cutting pattern pieces cleanly decides how well they sew together | Fabric scissors |
| Glass-head pins | They hold pattern tissue and survive the iron | Pins and clips |
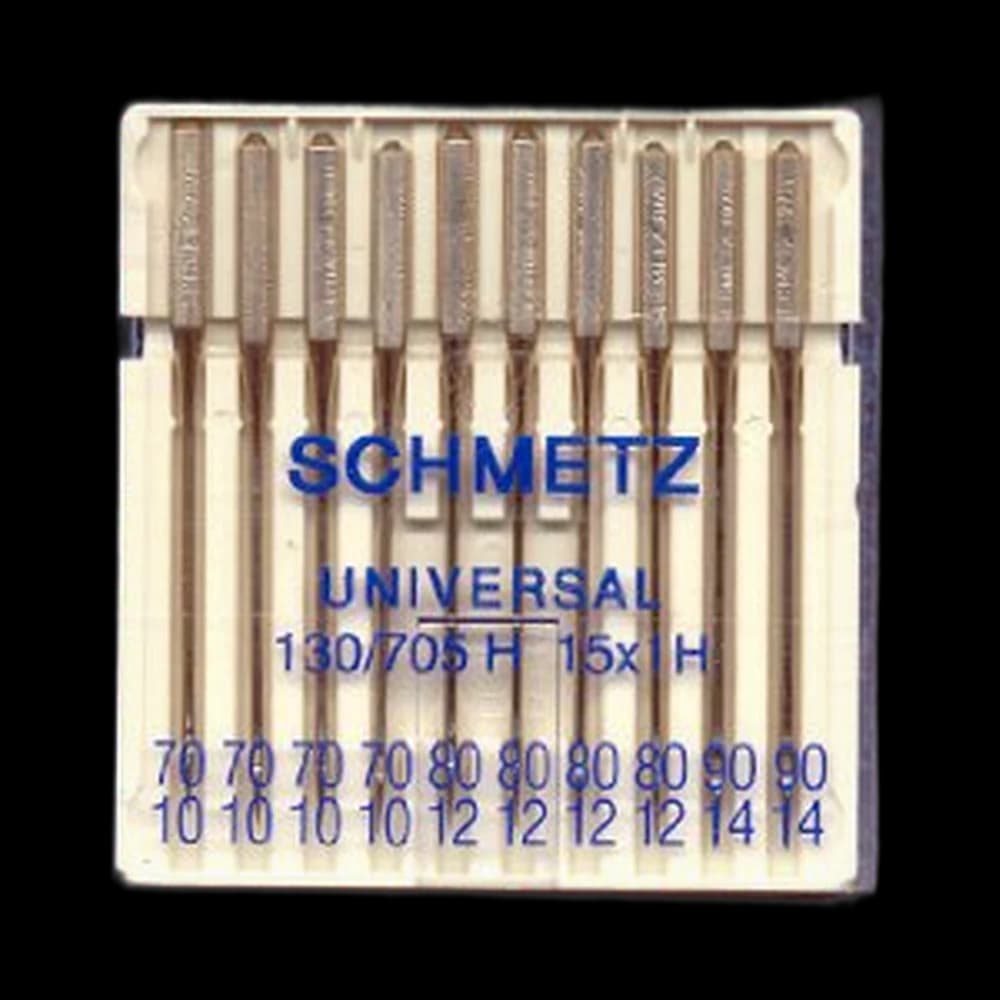
| Universal machine needles, 80/12 | Right for the woven cottons this course uses | Machine needles |
| A steam iron | Pressing is half of what makes a garment look finished | Irons |
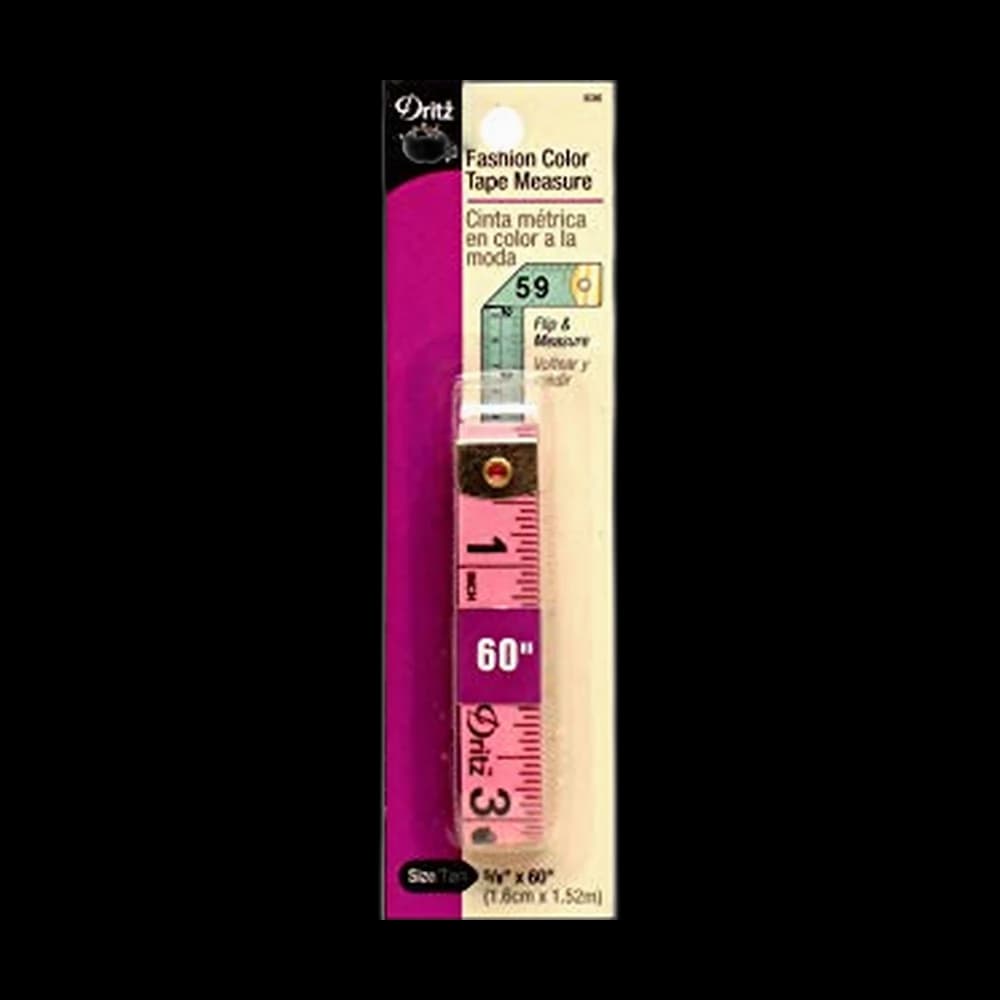
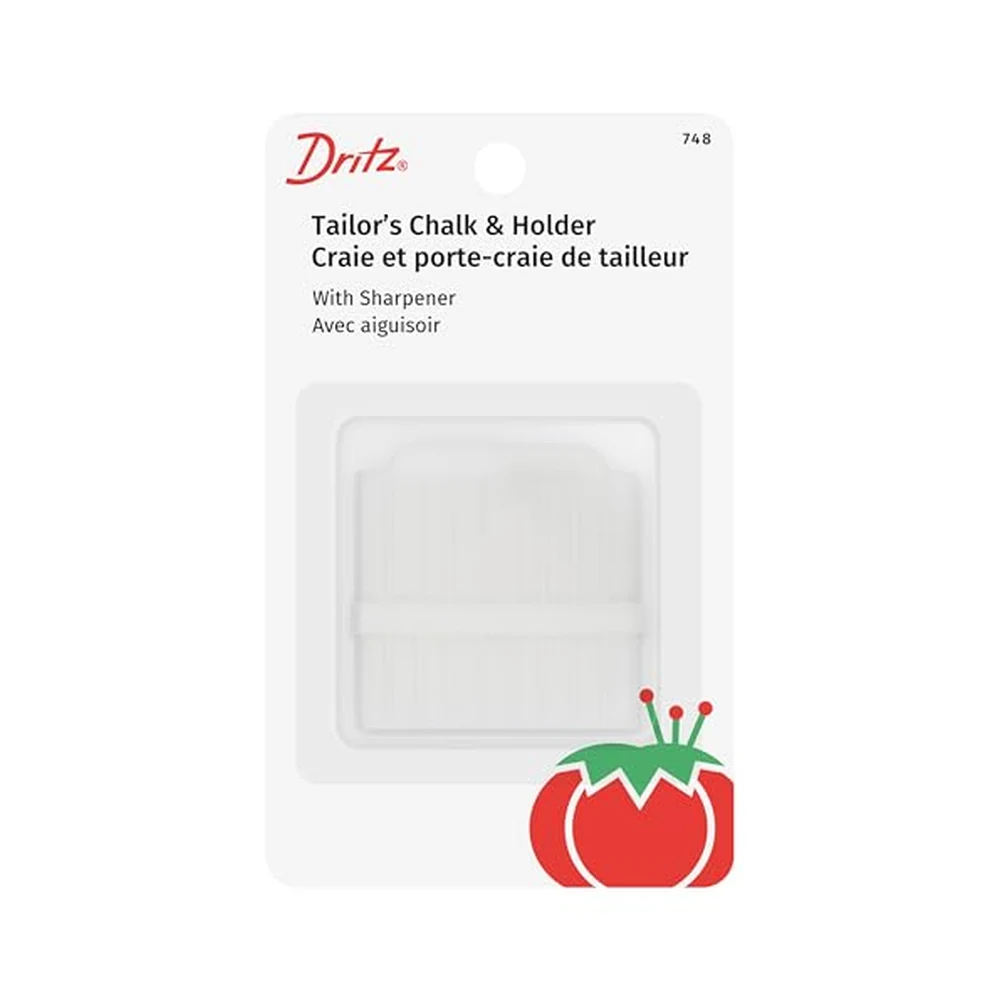
| A soft tape measure and tailor's chalk | Your measurements in Lesson 4; cutting lines, darts and hems after that | Marking and measuring |
Brother CS5055, the value machine for clothes
In our guide to sewing machines for making clothes, the Brother CS5055 is the value pick: Brother lists a free arm, seven one-step buttonhole styles and a blindstitch foot, which covers every lesson here, at a beginner price.
Janome JW8100, if you want more control
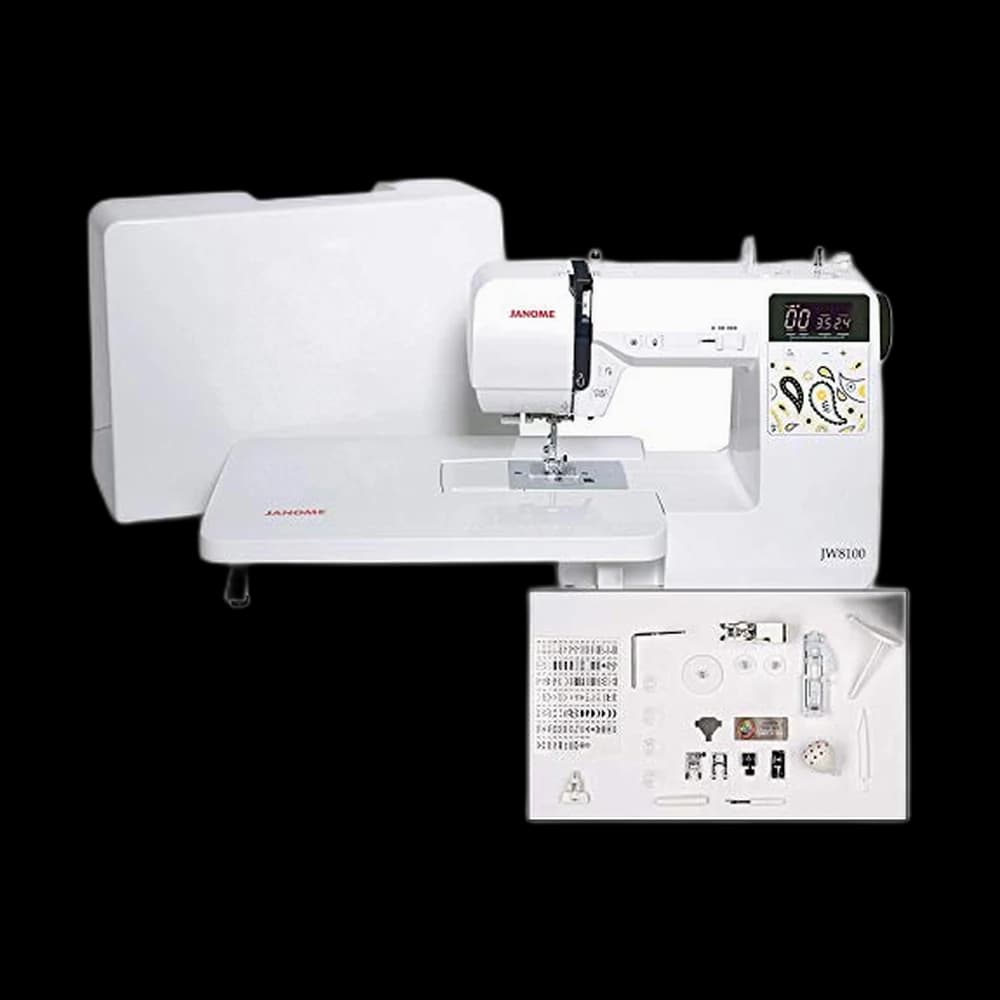
The Janome JW8100 is that guide's top pick for clothes. Janome lists needle up/down, a speed control slider, a free arm and seven automatic buttonholes. The speed slider is the feature that makes necklines and armholes calm, because it caps how fast the machine goes however hard you press the pedal.
The small things
Our picks for the supplies are the Proshear tailor scissors, a box of glass-head pins, a ten-pack of SCHMETZ universal needles, a basic steam iron, the Dritz 836 tape measure and the Dritz 748 tailor's chalk in its sharpener holder. None of them is exciting, and every one of them is used in every lesson. If you already own a household iron and scissors that have never cut paper, you already have half of this.
What we'd buy for this
One pick per category, chosen from the research pages linked in this piece. Borrow before you buy — nothing here is required to start.
 Sewing Machines
Brother XM2701$143.14 4.6 out of 5 stars · 19,162 ratings
A first machine — 27 built-in stitches is enough to sew clothes without a menu to decode, and the listing specifies the automatic needle threader and the jam-resistant drop-in top bobbin, which are the two steps beginners most often give up on.
 Fabric Scissors
Proshear$8.99 4.8 out of 5 stars · 4,040 ratings
The least expensive pick in this category, which makes it the low-risk way to find out whether you'll keep at it; the handles are the ergonomic style, which matters more than it sounds once you are cutting out a whole garment.
 Pins & Fabric Clips
MumCraft 100$5.69 4.8 out of 5 stars · 45,086 ratings
Priced in the lower half of this category.
Researched from listings, specs and owner feedback — never hands-on testing. We may earn a commission; it never changes a pick.
Lesson 1: Get the machine running
Work through how to thread a sewing machine and how to wind a bobbin, then make the pillowcase. It is two straight seams and a hem, and it teaches you to guide fabric with your hands while the feed dogs do the pulling. If the stitches loop underneath, run the checks in sewing machine tension problems before you touch the tension dial.
Lesson 2: Hems, seam finishes and pressing
Every garment you make will have hems and seams, and how they are finished on the inside is what separates a homemade look from a handmade one.
- Practise a hem on something you already own: fix a fallen hem teaches the invisible hand stitch, and how to hem trousers covers four machine and hand methods.
- Learn two seam finishes from seam finishes without a serger: a zigzag for speed and a French seam for anything lightweight. You do not need a serger to make clothes.
- Press every seam before you cross it with another one. This is the habit that makes the biggest visible difference.
Lesson 3: Elastic and zips, on small things first
Two of the hardest parts of a first garment are an elastic waist and a zip. Learn both on something that does not have to fit anyone.
The drawstring project bag is the casing lesson: a folded channel with something threaded through it, which is exactly how a pull-on waistband works. The zip pouch is the zip lesson, and how to sew a zipper explains the centred, lapped and invisible methods you will meet in patterns later.
Lesson 4: Measure yourself and read a pattern
This is the lesson with no sewing in it, and it is the one most people skip. Do not skip it.
Read sewing patterns for beginners to choose a first pattern and understand why your pattern size is not your shop size. Then read how to read a sewing pattern with a real pattern in front of you, and find the grainline, the notches and the seam allowance on every piece. Measure your bust, waist and hips with a tape measure over light clothing and write the numbers down. You will use them for every garment you make.
Lesson 5: Your first garment
PJ shorts are the right first garment, for one reason: nobody sees the inside but you. They teach cutting from a paper pattern, a crotch seam, a casing waist and a hem, and they are forgiving about fit because the waist is elastic. The sew-along lists three free PJ-shorts patterns and walks through every step. Use a stable woven cotton; knits behave differently and belong in a later lesson.
Lesson 6: Waistbands, pockets and topstitching
The café apron looks like a step sideways, and it is the most useful practice garment there is. It has patch pockets, a real waistband and long lines of topstitching that sit on the outside where everyone can see them. Topstitching is where a garment starts looking deliberate, and an apron is the place to get it straight.
Lesson 7: Fit
The wrap skirt is the first project in the course that fits because you measured, not because the elastic forgave you. It is cut from your own measurements, so Lesson 4's numbers finally matter.
Fit is its own skill, separate from stitching. The fitting video on our watch page, listed under Level 3, breaks it into three stages, and it is worth watching before you cut the good fabric. Make a test version in cheap fabric first if you are unsure; dressmakers call that a toile or muslin, and it is the most reliable way to get fit right on any garment.
Lesson 8: Buttons, buttonholes and collars
Practise sewing on a button and sewing a buttonhole on scraps until both come out the same three times in a row. Interface the scrap the way the pattern will, and test on the same layers you will sew for real.
Then the shirt dress puts collars, cuffs, plackets and a row of buttonholes together. It is two weekends, and it is the garment people ask you about.
Lesson 9: Trousers and outerwear
The last two sew-alongs on the site are tailored trousers, with a fly front and a fitting process, and a lined winter jacket, with lining, interfacing and structure. They are long projects, and nobody needs to make them to call themselves someone who sews clothes. They are here for when you want them.
If you start sewing a lot of knits, or you are tired of finishing seams by hand, that is the point to read serger vs sewing machine. A serger is a second machine, never a first.
Where this sits in the free course
These lessons run across Levels 1 to 4 of The Pattern, SewingPath's free five-level sewing course. If you would rather follow everything in level order, garments included, start at Level 1, The Threader, or take the two-minute quiz to find your level. If you want to quilt as well, the free quilting course uses the same Lesson 1.
Frequently asked
Can I learn to sew clothes for free online?
Yes. This course is free with no sign-up, and every lesson is a guide or sew-along on SewingPath. The only costs are fabric, a pattern for some projects, and basic tools.
What is the easiest piece of clothing to sew first?
Pull-on PJ shorts. They have an elastic waist, so fit is forgiving, they teach cutting from a paper pattern and sewing a crotch seam, and nobody sees the inside but you.
How long does it take to learn to sew clothes?
Once you can sew a straight seam, a hem and a zip, and can read a pattern, you have the mechanical skills a simple garment needs. Fit is the slower skill, and it improves with each garment. The course does not put a clock on it.
What sewing machine do I need to make clothes?
One with a free arm for cuffs and trouser hems, a one-step buttonhole and slow, steady control. Stitch count barely matters. Our guide to sewing machines for making clothes compares five, with the Janome JW8100 as the top pick and the Brother CS5055 as the value pick.
What fabric should I use for my first garment?
A stable woven cotton for the first few garments. It presses well and does not stretch or slide. Knits and slippery fabrics each need their own techniques and belong later in the course.
Do I need a serger to sew clothes?
No. A zigzag or overcast stitch, a French seam or a turned-and-stitched seam finishes the inside of a garment on a regular machine. A serger is faster on knits but it is a second machine, not a first.
Prices and StitchScores reflect our most recent research and refresh on a cycle — confirm the live price before buying. We may earn a commission from affiliate retailers; it never changes what we recommend. See how we score gear.
Read next
Best Sewing Machines for Making Clothes
Five sewing machines for making clothes, researched from spec pages, listings and owner feedback: the garment features that matter and the ones that do not.
Sewing Patterns for Beginners: How to Pick Your First One
How to choose your first sewing pattern: formats, what beginner really means, sizing versus ready-to-wear, ease, PDF or paper, and legit free patterns.