Sewing Machine Tension Problems: Causes and How to Fix Them
Tools this guide uses
Machine Needles · SCHMETZ Universal 130/705$7.45 4.8 out of 5 stars · 709 ratings
A fresh needle is one of the checks to run before the dial.
Thread · Coats & Clark thread$8.50 4.7 out of 5 stars · 4,705 ratings
Ordinary all-purpose thread rules out a thread fault.
Researched, not hands-on tested. We may earn a commission; it never changes a pick.
The short version
- Tension is a tug-of-war between top thread and bobbin thread, and balanced means the two lock inside the fabric.
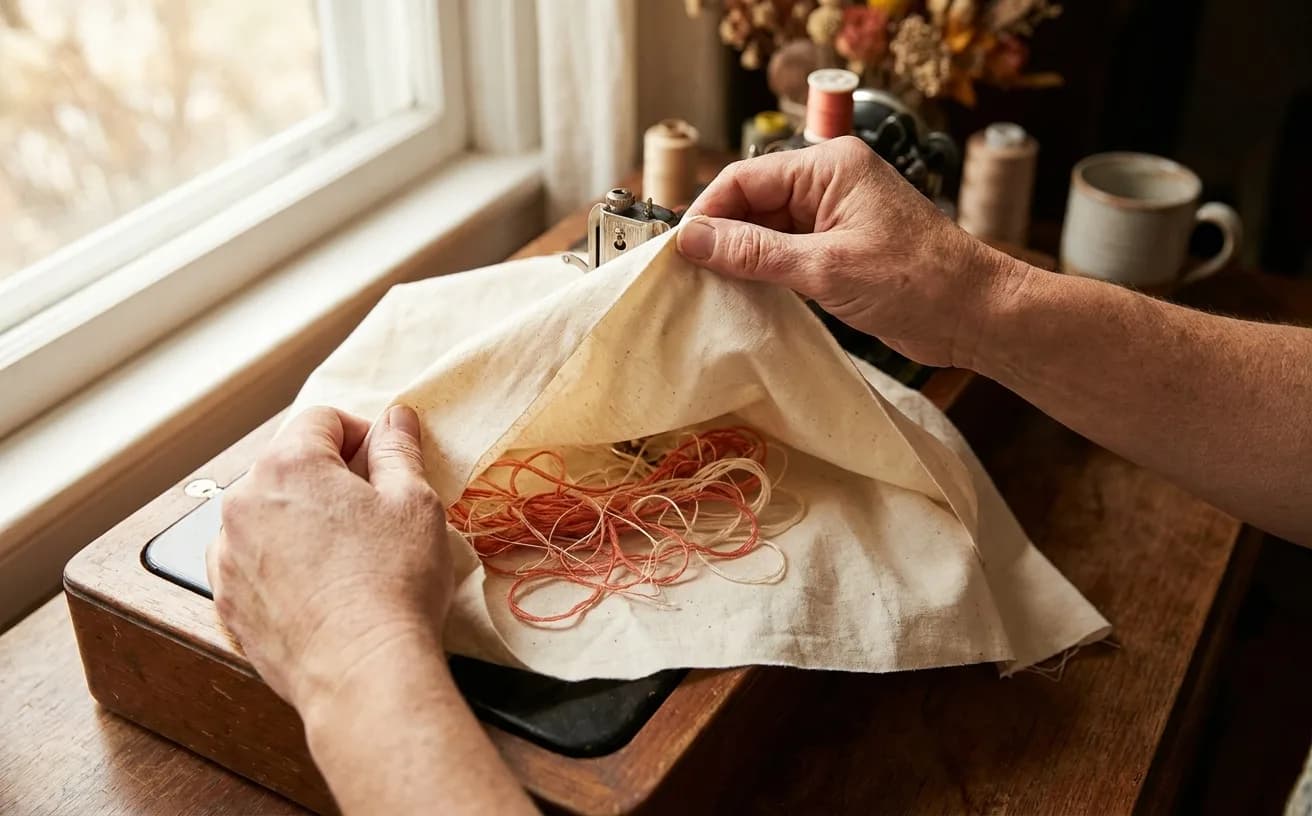
- A nest of thread underneath the fabric is a top-thread problem, not a bobbin problem — the top thread carries the tension.
- Rethread the whole upper path with the presser foot UP; raising the foot is what opens the tension discs.
- Diagnose in order: rethread top, reseat bobbin, check the bobbin winding, change needle, clean lint, check thread, foot down.
- Brother gives 4.0 as the normal tension setting on its domestic machines, but treat any marked setting as a starting point rather than a rule.
- Touch the tension dial last, move it one number at a time, and write down where it started.
- Leave the bobbin case screw alone — manufacturers treat bobbin tension as pre-set at the factory.
- Skipped stitches are a separate fault — that is nearly always the needle, and no dial setting will fix it.
- If the nest keeps coming back after a correct rethread, check that the bobbin case itself is seated: finger in the notch on a front-load machine, triangle to circle on a drop-in.
There is a specific moment that ends more beginner sewing sessions than any other. You sew a few inches, lift the presser foot, and underneath the fabric there is a matted tangle of loops that has swallowed your seam. Or the stitching looks fine on top and looks like loose spaghetti underneath. The dial marked with numbers is right there on the front of the machine, so you turn it — and everything gets worse.
Here is the thing worth knowing before anything else: that tangle is almost never the tension dial. It is nearly always thread that is not sitting where it should be. The dial is the last thing to touch, not the first, and this guide walks the checks in the order that actually finds the fault. It belongs to Level 1 of The Pattern, Threader.
What tension actually is
The gear this guide assumes: a sewing machine of any age, a fresh needle in it, and ordinary all-purpose thread — the fault is almost always one of those three rather than the dial.
A machine stitch is made by two threads, not one. The top thread comes down through the needle; the bobbin thread waits underneath. The hook catches a loop of top thread, wraps it around the bobbin thread, and the take-up lever pulls the slack back up. Where those two threads meet and lock is the whole game.
Tension is simply how hard each thread is being held back while that happens:
- The top thread passes between two metal tension discs, squeezed together by a spring. The numbered dial changes how hard they squeeze. Critically, the discs are linked to the presser foot lever — raising the foot opens them, lowering it closes them. Singer's own machine guidance is explicit that you must raise the presser foot lifter before threading the top thread, because otherwise correct tension cannot be obtained. That one sentence explains most of the birdsnests in the world.
- The bobbin thread passes under a small flat spring on the bobbin case, held by a tiny screw. It is set at the factory and, as Singer puts it, is typically pre-set and should not require adjustment.
So there is a tug-of-war, and the winner drags the lock point towards its own side of the fabric. When neither side is winning, the threads lock in the middle and the stitch looks the same from both faces.
What we'd buy for this
One pick per category, chosen from the research pages linked in this piece. Borrow before you buy — nothing here is required to start.
 Sewing Machines
Brother XM2701$143.14 4.6 out of 5 stars · 19,162 ratings
A first machine — 27 built-in stitches is enough to sew clothes without a menu to decode, and the listing specifies the automatic needle threader and the jam-resistant drop-in top bobbin, which are the two steps beginners most often give up on.
 Machine Needles
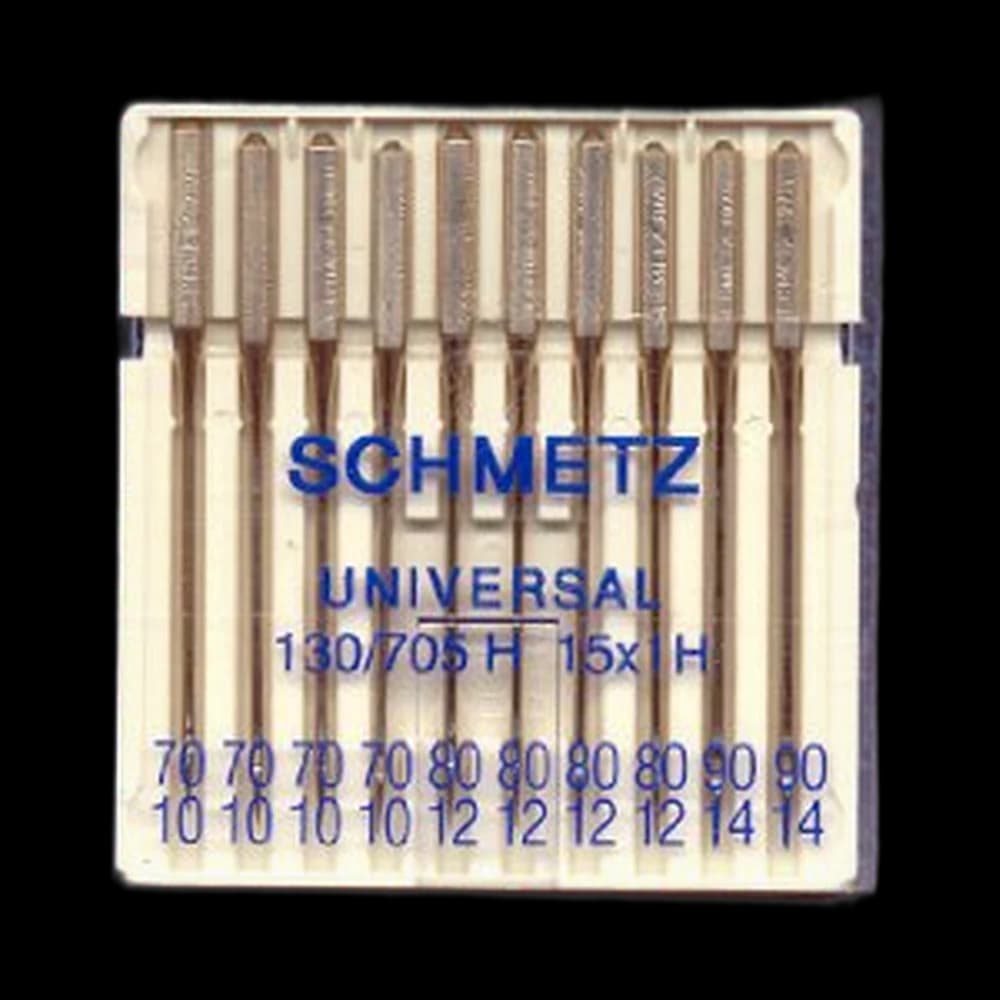
SCHMETZ Universal 130/705$7.45 4.8 out of 5 stars · 709 ratings
Priced in the lower half of this category; universal points, the default for ordinary woven fabric.
 Thread
Coats & Clark thread$8.50 4.7 out of 5 stars · 4,705 ratings
The least expensive pick in this category, which makes it the low-risk way to find out whether you'll keep at it; all-purpose polyester, which covers nearly everything a beginner sews.
Researched from listings, specs and owner feedback — never hands-on testing. We may earn a commission; it never changes a pick.
What balanced tension looks like
Before you change anything, you need a target. Brother's tension documentation describes it precisely: the upper thread and the bobbin thread should cross near the centre of the fabric, so only the upper thread is visible from the right side and only the bobbin thread from the wrong side.
Test it on a scrap — two layers of the fabric you are actually sewing, never a single layer, because one layer cannot show you where the lock is sitting. Use a different colour in the bobbin than on top if you have it. Sew a straight line about four inches long and read both faces against the table below.
The symptom table
| What you see | What it means | What to do first |
|---|---|---|
| A nest of loops underneath, seam swallowed | The top thread has no tension at all | Rethread the whole upper path with the presser foot UP |
| Loose loops underneath, stitching fine on top | Top thread too loose | Rethread first; only then raise the dial number |
| Bobbin colour showing as dots along the top of the seam | Top thread too tight | Lower the dial one number and retest |
| Both sides look identical, stitches even | Balanced — this is the target | Nothing. Keep the scrap |
| Puckered, gathered seam on lightweight fabric | Top tension too tight, or the needle is too heavy | Lower the dial, and fit a finer needle |
| Stitches skipping every few stitches | Not tension at all — the hook missed the loop | Change the needle |
| Thread snapping repeatedly | Old or damaged thread, a nick in the plate, or tension far too tight | Fresh thread, then check the dial |
| Loose stitches on top only | Bobbin side — reseat the bobbin | Take the bobbin out and put it back correctly |
| Nest keeps returning, often mid-seam, after a correct rethread | The bobbin case has shifted or is half seated | Reseat the bobbin case itself (see below) |
Loops underneath are a top-thread problem
This is the single most useful idea in machine sewing, and it feels backwards. When you see loops, nests and tangles underneath the fabric, the fault is almost always in the upper thread path.
Why: the top thread is what carries the tension. If it is not seated between the tension discs, nothing is holding it back, so the needle drags down far more thread than the stitch needs. That surplus has nowhere to go, so it piles up under the plate where the bobbin lives — and it looks exactly like a bobbin problem. People spend an afternoon fighting the bobbin for a fault sitting an arm's length above it.
Loose stitches on top point the other way, at the bobbin. But start with the top thread regardless. It costs ninety seconds to rule out.
Diagnose in this order
Work down the list. Sew a test seam after each step and stop as soon as it looks right — do not do all seven and then wonder which one fixed it.
1. Rethread the top, with the presser foot UP
Not check the threading. Pull the thread all the way out and thread it again from the spool. The presser foot lever must be up while you do it, because raising the foot is what opens the tension discs. Thread laid in with the foot down slides straight past them and gets no tension at all, which produces exactly the nest you are looking at. Full path in how to thread a sewing machine.
Two places to look hard: the U-turn at the bottom of the threading channel, which is what seats the thread between the discs, and the take-up lever, which the thread pops out of without looking any different. Then lower the foot before you sew.
There is a quick way to confirm it worked. With the presser foot still raised, pull the thread gently towards the back of the machine — you should feel almost no resistance. Lower the foot and pull again; now it should be noticeably harder. If both feel the same, the thread never made it into the discs.
2. Take the bobbin out and put it back
Lift it out, check for a tail of thread trapped under it or a shred of thread wedged in the case, and reseat it following the arrow on the cover. On a front-load machine, make sure the thread is pulled under the flat tension spring rather than lying beside it.
While it is out: is the bobbin actually right for your machine? Class 15 and Class 66 bobbins look similar and are not interchangeable, and a plastic bobbin from a mixed bag can sit a fraction too high or low in the case. Machines are fussy about this. If your box is a jumble of unknowns, a matched set from the bobbins category removes a whole class of mystery faults.
3. Look at how the bobbin was wound
An unevenly wound bobbin feeds unevenly no matter what the dial says. Roll it between your fingers: it should feel hard and smooth, with the thread lying flat and level from end to end. Soft patches, a bulge in the middle, or thread that criss-crosses in ridges all mean the thread was not seated in the bobbin winder tension guide when you wound it.
Rewind it properly rather than trying to sew with it — how to wind a bobbin covers the guide most people miss. Hand-wound bobbins, and bobbins wound off another machine, are a common hidden cause of what looks like a tension fault.
4. Change the needle
Change it, do not inspect it. A bent needle is bent by a fraction you cannot see, and a blunt one looks identical to a new one. A needle also has to be pushed fully up into the clamp with its flat side facing the correct way for your machine; a millimetre short changes where the hook meets the thread. Singer's guidance is to change the needle roughly every six to eight hours of sewing, which is far more often than most people do.
Match the type to the cloth too — a ballpoint for knits, a heavier one for denim, a fine one for lightweight fabric. A pack of assorted universal machine needles costs less than a takeaway coffee and is the cheapest fix in sewing. If you are not sure which type and size your fabric wants, our needle and thread guide lists SCHMETZ's own published recommendation for every fabric on their chart.
5. Clean out the lint
Open the bobbin area, take out the bobbin and the plate if it lifts, and brush out the grey felt that collects around the race and under the feed dogs. Compressed air is usually discouraged because it drives lint deeper into the machine; a stiff brush and patience work better. Lint packed around the bobbin case changes how freely the bobbin turns, and that reads as a tension fault.
6. Check the thread itself
Old thread that has been in a drawer for a decade snaps and sheds. Thread that catches on a nick in the spool or wraps under the spool as it turns gets yanked in bursts. Cones and oversized spools are the worst offenders on a horizontal spool pin; a separate thread stand behind the machine feeds them from above, so the thread comes off the way it was wound. Make sure the spool cap is on and the thread is unwinding freely, and use the same weight of thread top and bobbin — a fine bobbin thread under a heavy top thread will never balance. If your stash is inherited or mixed, a fresh spool of decent all-purpose polyester from the thread category rules it out.
7. Confirm the presser foot is down
It sounds too obvious to list. It is also common, especially on machines with a quiet lever, and it produces spectacular birdsnesting because both the tension discs and the fabric feed are disengaged.
Still nesting? Check the bobbin case, not the bobbin
Sometimes the top is threaded perfectly — you can feel the discs grip — and the nest still comes back, often in the middle of a seam, straight after a line that sewed fine. That pattern points below the needle plate, at the bobbin case rather than the bobbin sitting in it. It is one of the most repeated complaints in r/sewhelp and r/SewingForBeginners: a case knocked a few millimetres out of place, usually by an earlier jam, makes nests that no amount of top rethreading cures. Some owners describe having to nudge the case back by hand every few seams before they worked out what was happening.
Where it goes wrong depends on your bobbin system (the table in how to thread a sewing machine shows which you have):
- Front-load machines use a removable metal bobbin case behind a door. Brother's instruction is to hold the case by its latch, push it fully into the race and let go of the latch, making sure the finger on the case fits into the notch at the top of the race. Brother warns that a case installed incorrectly falls out when the machine starts to sew; one that is half seated can stay in and still shift.
- Drop-in machines have a plastic bobbin case sitting in the race under the needle plate. It only comes out if you lift the plate to clean, or if a jam knocks it. Brother's fix for a case that keeps coming out of position is to brush the lint out of the race and reinstall it with the triangle mark on the case aligned with the circle mark on the race, then check the bobbin is the right type, evenly wound and put in correctly.
The bobbin case check
- Turn the machine off. Open the front door, or remove the needle plate if your manual shows how.
- Take the bobbin case out. Brush out the lint and pull out any thread wrapped around the hook or wedged behind the case.
- Reseat it: finger in the notch on a front-load machine, triangle to circle on a Brother drop-in. Other brands mark the position differently; your manual shows it.
- Run a fingertip around the case. Brother says never to use a scratched bobbin case, because the upper thread may become tangled — and a burr from a needle strike is exactly that kind of scratch.
- Turn the handwheel towards you through two full stitches before you touch the pedal, and watch the case. If it moves as the hook turns, it is not seated.
One more thing that looks like a bobbin fault in those threads: starting a seam without the bobbin thread pulled up and both tails held behind the foot. The first stitch drags the loose tails down into the race and the nest starts from there. Pull both up and hold them for the first few stitches.
If the case keeps working its way out of position after a clean reseat, it is a service job, not a setting — the case, the hook or the timing needs a technician, and Brother's own page ends at the service centre for the same reason.
Only now, the tension dial
If all seven checks and the bobbin case check pass and the test seam still shows an imbalance, adjust the dial.
Brother gives 4.0 as the normal tension setting on its domestic machines, and most machines mark a normal range on the dial around that point. Treat the marked setting as a starting point rather than a rule, because the right number depends on your fabric and thread. Brother's own instruction is to turn the dial clockwise to tighten the upper thread when the upper thread shows on the wrong side, and counter-clockwise to loosen it when the bobbin thread shows on the right side. Check your own manual, since dial directions are not universal.
Move it one number at a time and sew a test seam between each move.
Two guard rails. Write down where the dial started, so you can always get back. And leave the bobbin case screw alone — it is a tiny screw with a large effect, easy to lose inside the machine, and the manufacturers themselves treat bobbin tension as pre-set. It is not the beginner's adjustment.
If you have gone three numbers in either direction without improvement, stop. The problem is not the dial, and you have skipped something on the list above.
When it is skipped stitches, not tension
Skipped stitches are a different fault with a different cause. A skipped stitch means the hook missed the loop of thread the needle formed, so tension adjustments will not touch it. Look at the needle first — blunt, bent, not fully seated, or the wrong type for the fabric covers most cases. On knits, a ballpoint or stretch needle fixes it more reliably than anything else. Sewing very fast over thick seams, or pulling the fabric through by hand, will also cause it.
When it is the machine, not you
Very occasionally it genuinely is the machine: a burr on the needle plate that shreds thread in the same spot every time, a bent hook, or a tension unit that no longer responds to the dial at all. The tell is that the fault survives all seven checks, a different thread, a different fabric and a full range of dial settings. That is a service job, not a settings job. It is also worth knowing that a very cheap or very old inherited machine can be the honest answer — the sewing machines category is filtered to what a beginner should actually spend, and nothing in it needs a technician on speed dial.
What next
Nothing here required buying anything or being good at sewing. It required doing the checks in an order that matches how the machine actually fails, instead of the order the front panel suggests. Print the seven steps, tape them inside your machine cover, and you will fix this in two minutes instead of two hours.
Then get back to it. Level 1: Threader takes you from a threaded machine to a finished pillowcase, and the seams on it are allowed to be wonky. Wonky seams are the whole point.
Nine times in ten it is the needle or the thread. Here is where to start.
Frequently asked
What is thread tension on a sewing machine?
It is how hard each of the two threads is held back as the stitch forms. The top thread passes between two spring-loaded metal discs controlled by the numbered dial, and the bobbin thread passes under a small flat spring on the bobbin case. When both are pulling evenly, the threads lock in the middle of the fabric and the seam looks the same from both sides.
Why is my thread bunching up under the fabric?
Because the top thread has no tension, so the needle pulls down far more thread than the stitch needs and it piles up beneath the plate. The usual cause is threading the machine with the presser foot down, which leaves the tension discs closed, or the thread having jumped out of the take-up lever. Rethread the entire upper path with the foot raised before adjusting anything.
Why does my machine still bird-nest after I rethread the top?
If the top is threaded correctly and the nest keeps returning, often mid-seam after a line that sewed fine, look at the bobbin case rather than the bobbin. A case that has shifted or is only half seated, usually after an earlier jam, lets the thread tangle underneath. Turn the machine off, take the case out, brush out lint and trapped thread, and reseat it: on a front-load machine the finger on the case must sit in the notch at the top of the race, and on a Brother drop-in the triangle mark on the case lines up with the circle mark on the race. If it keeps moving after a clean reseat, it needs a technician.
What number should my tension dial be set to?
Brother gives 4.0 as the normal setting on its domestic machines, and most machines mark a normal range around that point on a 0-to-9 dial. The correct number still depends on your fabric and thread, so treat the marked setting as a starting point. Sew a test seam on a two-layer scrap and adjust one number at a time until both sides look the same.
How do I know if it is the top tension or the bobbin?
Thread a different colour in the bobbin than on top and sew a test seam. If bobbin colour shows as dots along the top of the seam, the top thread is too tight. If top colour shows underneath, or you get loose loops there, the top thread is too loose. Either way, rethread the top before touching the bobbin.
Should I adjust the little screw on the bobbin case?
Not as a beginner. Manufacturers treat bobbin tension as pre-set at the factory, the screw makes a large difference for a small turn, and it is easy to drop inside the machine. Almost every fault people try to fix with it is actually a threading, bobbin-winding, needle or lint problem. Work through the seven checks first, then use the main tension dial.
Which way do I turn the tension dial?
On most machines a higher number tightens the upper thread and a lower number loosens it. Brother's guidance is to tighten the upper tension when the upper thread is visible on the wrong side of the fabric, and loosen it when the bobbin thread is visible on the right side. Dial directions are not universal, so confirm against your own manual before you start turning.
Why are my stitches skipping even after I fixed the tension?
Skipped stitches mean the hook missed the loop the needle formed, which tension cannot correct. Change the needle rather than inspecting it — bends and blunt tips are invisible — and make sure it is pushed fully up into the clamp. Match the type to the cloth: knits need a ballpoint or stretch needle, denim needs a heavier one.
Prices and StitchScores reflect our most recent research and refresh on a cycle — confirm the live price before buying. We may earn a commission from affiliate retailers; it never changes what we recommend. See how we score gear.
Read next
How to Thread a Sewing Machine (Any Brand, Step by Step)
The upper thread path, winding and inserting a bobbin, and the five mistakes behind almost every nest of thread under your fabric.
How to Wind a Bobbin (and Why Yours Keeps Jamming)
Winding a bobbin evenly, seating it in drop-in and front-load machines, and why a soft bobbin leaves a nest of thread under your fabric.