How to Sew a Zipper: Centered, Lapped and Invisible
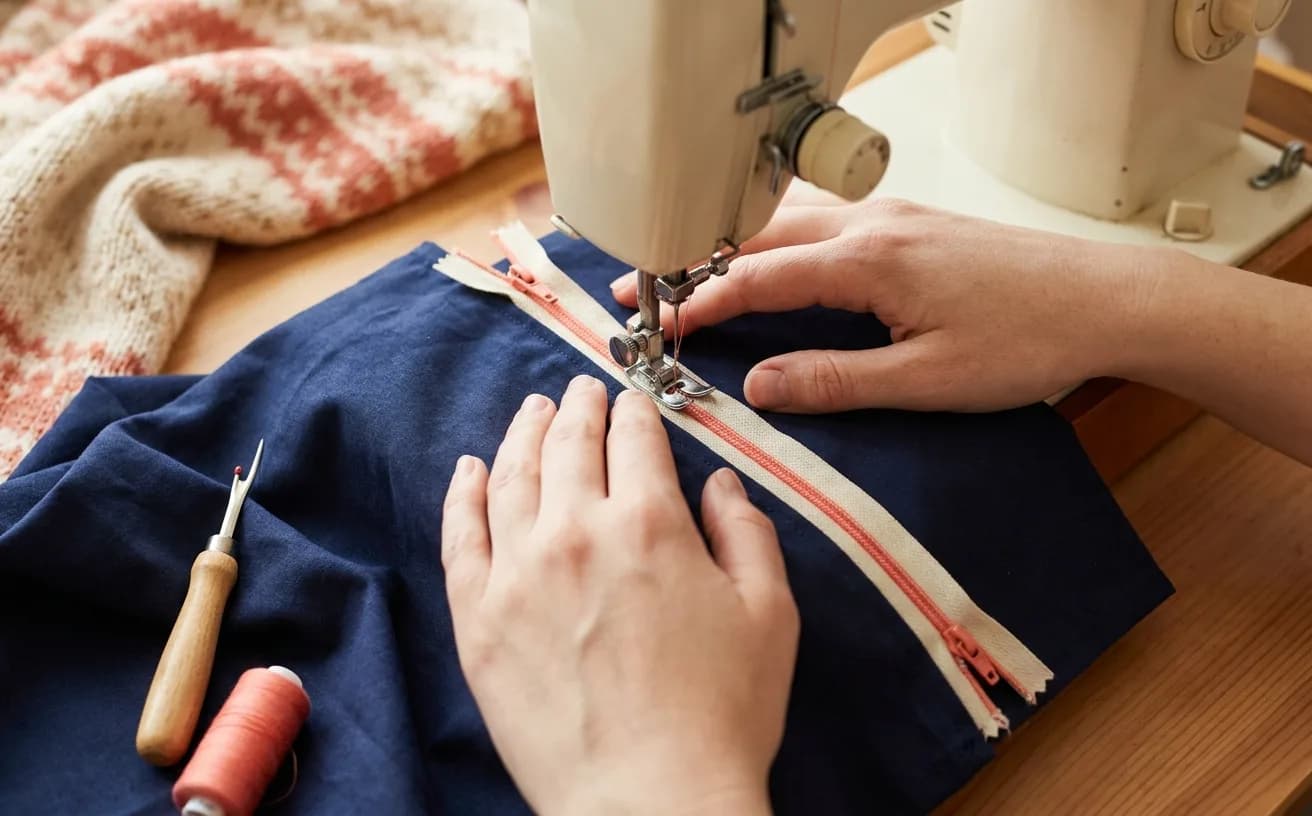
The short version
- Baste the zipper opening closed first, sew the zipper on, then unpick the basting — that is the whole trick, and it removes almost all of the fear.
- A zipper foot is not optional equipment. Its job is to let the needle sit right beside the teeth without hitting them.
- Move your needle position, not the fabric, when the stitching line is slightly off — that is what needle-position buttons are for.
- Stop with the needle down, lift the foot, and slide the pull past you when you reach it. Never sew over a zipper pull.
- An invisible zipper is sewn to open, flat, unstitched seam allowances before the seam below it exists.
- Nylon coil zippers can be shortened; press with a warm iron and a cloth, never a hot one straight onto the teeth.
A zipper is the point where sewing stops feeling like decorating fabric and starts feeling like construction. It is also the step that makes people put a half-finished cushion cover in a drawer for eleven months. That fear is out of proportion to the task: a zipper is two straight lines of stitching, sewn beside some teeth, on a seam you have already closed. The reason it goes wrong is almost never skill — it is that most instructions skip the one preparation step that makes everything after it calm.
That step is basting. You sew the opening shut with long, loose stitches first, attach the zipper to the closed seam, and unpick the basting at the very end.
The zipper is never floating in a gap you are trying to hold together with pins. It sits on flat, stable fabric, and it appears at the end like a reveal.
This is the skill that graduates a Level 2 Stitcher. If you can thread your machine without the manual — and if you can't yet, read how to thread a sewing machine first, because a zipper is not the place to be fighting tension — you can do this today.
What you need before you start
- A zipper foot. This is the non-negotiable one. A standard presser foot is wide and sits centered over the needle, which means it physically cannot get close enough to the teeth. A zipper foot is narrow and attaches to one side, so the needle runs right beside the coil. Most machines include one in the box. If yours didn't, snap-on sets in the presser feet category start at around $9 and usually include an invisible zipper foot too.
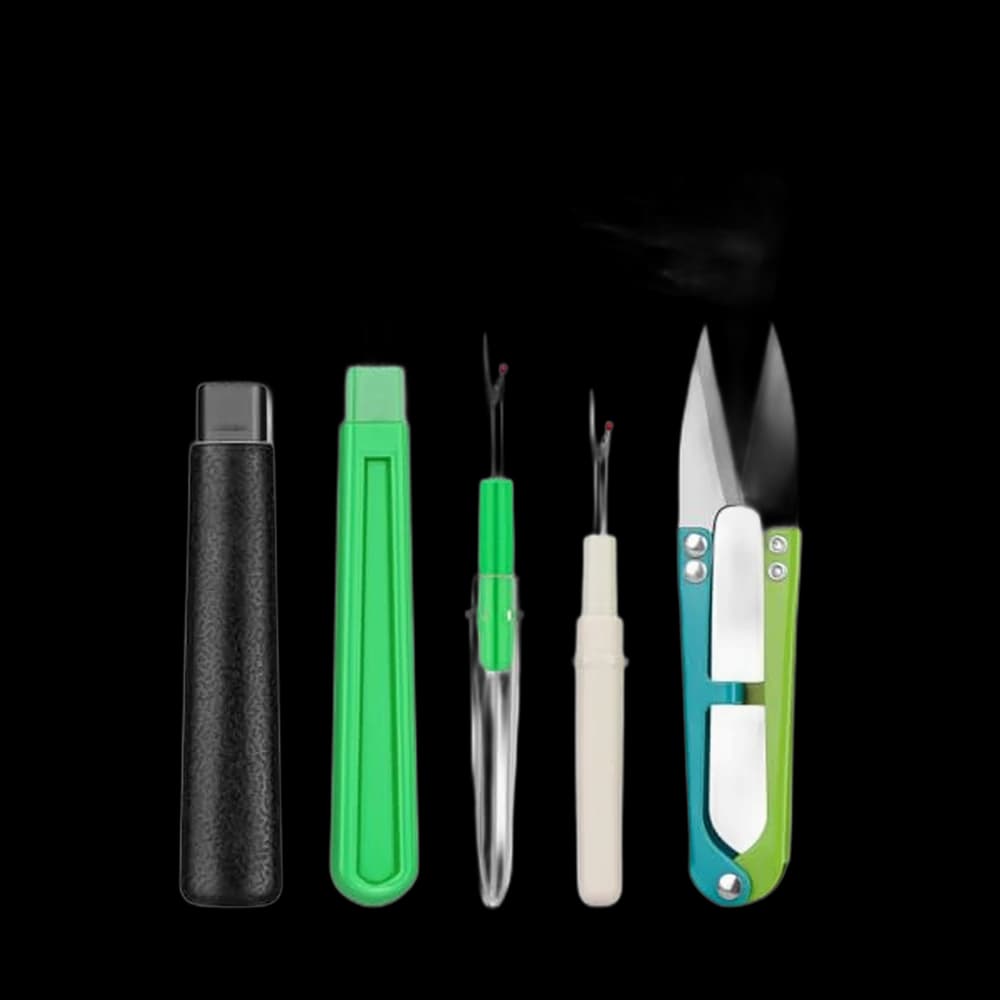
- A seam ripper. Not for mistakes — for the basting. It is a scheduled part of this technique, not an admission of anything.
- An iron. Pressing the seam open before the zipper goes on is what stops the finished zipper rippling. Everything about zips gets easier with a hot iron nearby.
- A fresh needle in a size suited to your fabric, plus thread that matches the fabric rather than the zipper tape.
Rule of thumb: buy a zipper an inch or two longer than the opening if you can. Sewing past a pull is easier when the pull can be parked well out of the way.
What we'd buy for this
One pick per category, chosen from the research pages linked in this piece. Borrow before you buy — nothing here is required to start.
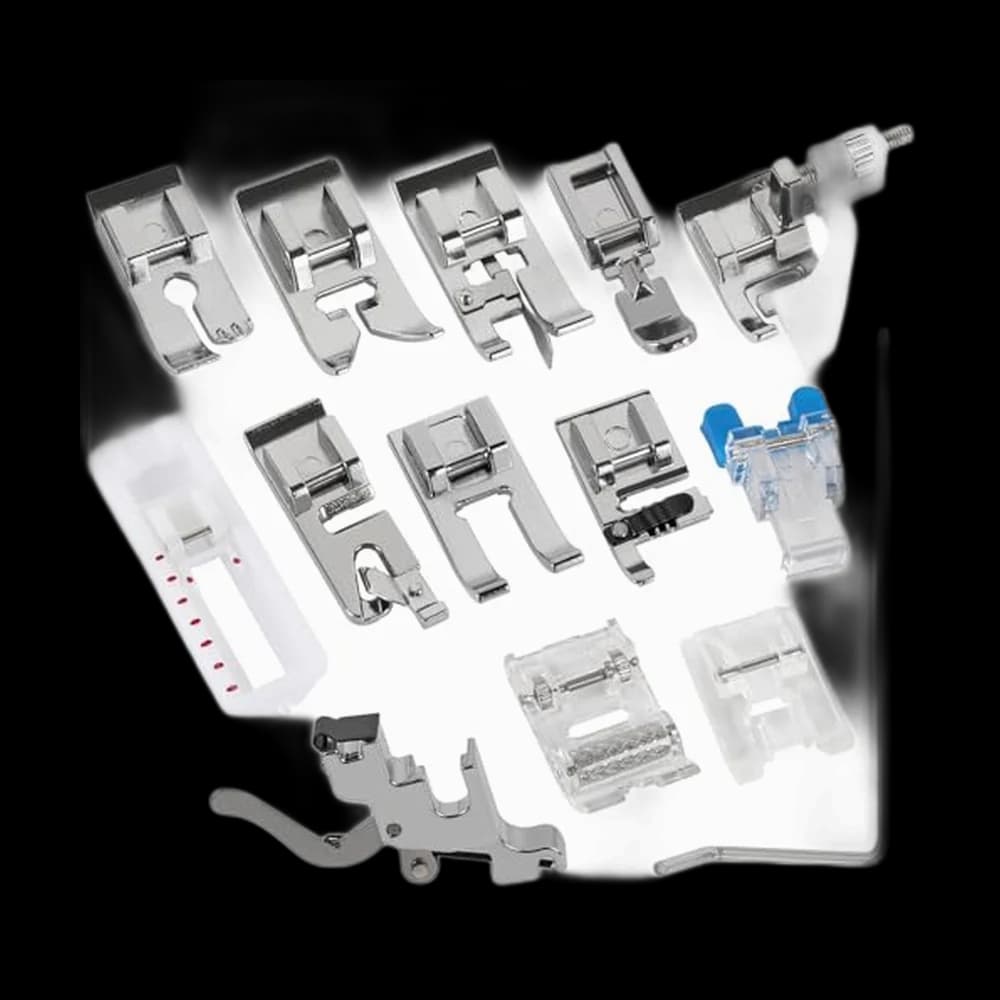 Presser Feet
Shutao$8.99 4.5 out of 5 stars · 61 ratings
The least expensive pick in this category, which makes it the low-risk way to find out whether you'll keep at it; snap-on feet, which change without a screwdriver.
 Irons
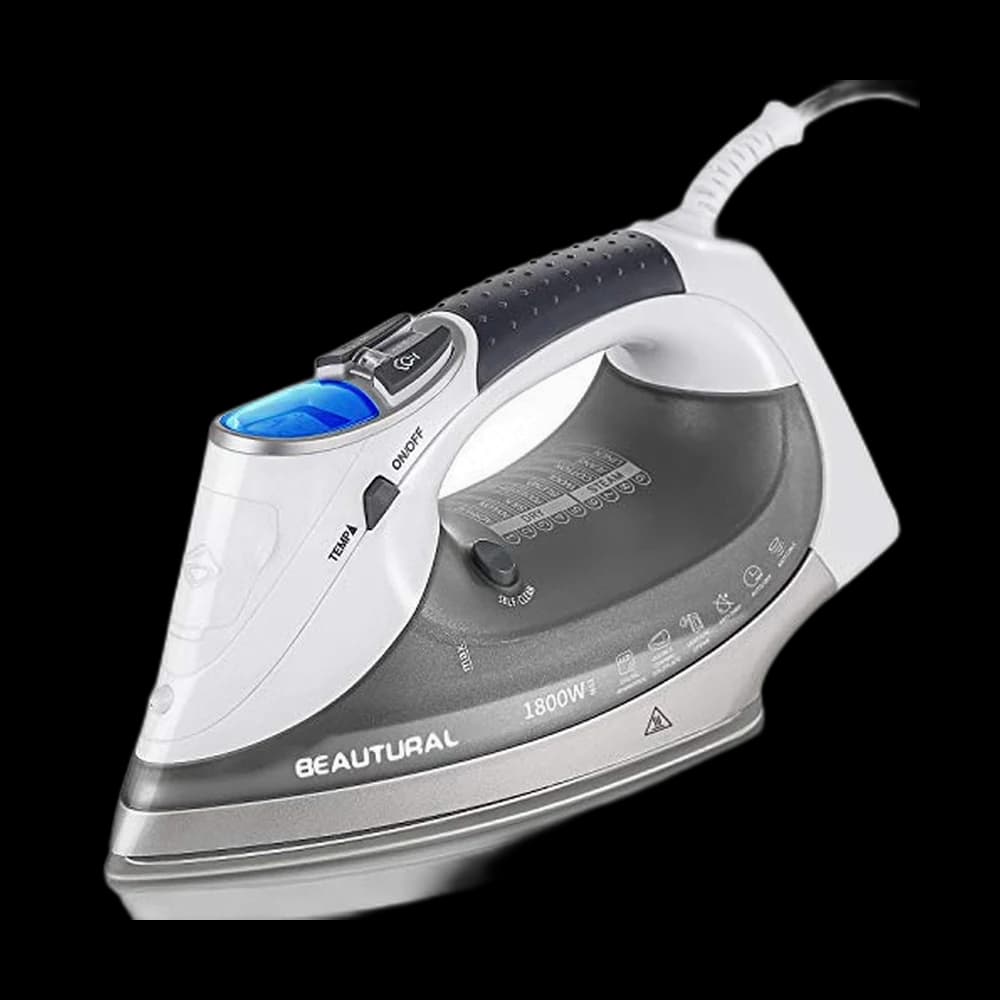
IronsBeautural steam iron$41.99 4.5 out of 5 stars · 19,802 ratings
Priced in the lower half of this category; the listing states a ceramic soleplate; it is a steam iron — pressing seams flat is half of sewing well.
Researched from listings, specs and owner feedback — never hands-on testing. We may earn a commission; it never changes a pick.
The centered zipper, start to finish
A centered zipper shows two parallel lines of stitching with the teeth running between them. It is the one on most cushion covers and the one to learn first.
- Sew the seam, but only partway. Sew the seam below the zipper opening at your normal stitch length and backstitch. Then change to your longest stitch length, loosen nothing else, and baste the remaining opening closed in one continuous run. Do not backstitch the basted part — you want it to pull out easily.
- Press the whole seam open. Both allowances flat, right out to each side. This is the step people skip and then wonder why the finished zipper waves.
- Position the zipper face down on the wrong side of the fabric, centered over the basted seam, teeth exactly on the seam line, pull tab at the top. Pin it, or run a line of narrow sewing tape or a glue stick down the tape — anything that keeps it from creeping while you sew.
- Fit the zipper foot and sew down one side, about a quarter inch from the seam line, from the top to the bottom stop. Then sew the second side in the same direction — go back to the top and start again. Sewing the two sides in opposite directions is the classic cause of a twisted, rippled zipper, because the layers creep unevenly.
- Sew the short line across the bottom, below the zipper stop, joining the two lines of stitching.
- Unpick the basting. Slide your seam ripper under every few stitches, cut, and pull the thread out from the right side. The zipper opens for the first time. That is the moment.
Sewing past the pull
At some point the zipper foot will run straight into the pull. Do not try to bump over it — that is how needles break.
- Stop about an inch before it.
- Leave the needle down in the fabric and lift the presser foot.
- Slide the pull past the needle into the section you have already stitched.
- Lower the foot and keep going.
It takes four seconds and it is the single most useful zipper habit there is.
Moving the needle, not the fabric
If your stitching line is drifting slightly too close to or too far from the teeth, the instinct is to shift the fabric. Don't. Most machines let you move the needle position left or right — a button on a computerized machine, a stitch-width dial on a mechanical one. Nudging the needle a millimetre keeps the fabric flowing straight and the foot riding where it should. Test it on a scrap with the handwheel turned by hand first, so you know the needle clears the foot before you touch the pedal.
The lapped zipper
A lapped zipper is a centered zipper with one side extended so it covers the teeth, giving a single visible line of topstitching. It is what you see on trousers and on many skirts, and it hides the zipper better with no new tools.
The change is small:
- Instead of centering the tape, stitch one side of the zipper very close to the teeth, right at the folded edge.
- Bring the other side of the fabric across so it laps over and covers the whole zipper.
- Topstitch that side further out — around three-eighths of an inch from the seam.
- Same basting, same pressing, same rule about sewing both lines in one direction.
The lap side does the hiding; the close-stitched side does the work.
The invisible zipper
An invisible zipper disappears into the seam completely: from the outside you see a seam, and a pull tab at the top. It uses a different foot with two grooves that ride over and uncurl the coil as it feeds.
The counterintuitive part: an invisible zipper goes in before the seam exists. You sew it to two open, flat, unstitched seam allowances, then close the seam underneath it afterwards.
- Uncurl the coil so the stitching line between coil and tape shows. PFAFF's instructions for its invisible zipper foot do this by flattening the coil with your thumb and say never to iron the zipper. Many sewists press it instead; if you do, use a low setting and a pressing cloth, and test on the tail end first, because synthetic coils melt.
- With the garment pieces open and flat, place the zipper face down on the right side of one piece, coil on the seam line, and stitch with the coil in the groove of the invisible foot. Sew until the foot meets the pull.
- Repeat on the other side, checking the two ends line up so the seam below matches.
- Close the rest of the seam from the bottom up, stopping as close as you can to where the zipper stitching ends. Swap back to a regular zipper foot for the last inch if the invisible foot won't reach.
Invisible zippers look harder and are mostly just fussier. The stitching is more forgiving, because none of it shows.
Why is my invisible zipper still showing?
The teeth peeking out along the seam is the complaint that brings people to r/sewing over and over, and the fix is nearly always one of these three.
- The wrong foot. A regular zipper foot rides beside the teeth, not over them, so it cannot put the stitching close enough. SINGER describes its invisible zipper foot as having two grooves underneath that hold the zipper coils in place, so you can sew right up against them. Sewing without one is the most common reason the zipper shows.
- The coil was still curled. An invisible zipper's coil rolls towards the tape, and the line you need to sew on is hidden underneath it. PFAFF's invisible zipper foot instructions have you flatten the coil with your thumb until the seam line between tape and coil is visible, then press the teeth slightly aside as you lower the foot so the coil sits in its groove. Skip that and the stitching lands on the tape, a few millimetres out.
- The stitching drifted. Even with the right foot, a line that wanders away from the coil leaves a gap. You do not have to unpick first: sew a second line closer to the coil, inside the first, then take the first one out. And stop at the mark for the end of the opening, as PFAFF's steps do, rather than sewing on past it.
If the teeth show only at the bottom, look at the seam below instead: it must start exactly in line with the zipper stitching, or it pulls the end of the zipper into view.
When it goes wrong
| What you're seeing | What happened, and what to do |
|---|---|
| Wavy or rippled | Sides sewn in opposite directions, or fabric stretched while feeding. Still zips. Wear it. |
| Puckered at the top | The zipper tape was slightly shorter than the opening and got eased in. Next time, cut the opening to the zipper rather than the other way round. |
| Stitching too far from the teeth | Move the needle position over and run a second line closer, then unpick the first. |
| Broken needle | You hit the pull or the metal stop. Change the needle, take a breath, and start again — every sewist has done this. |
A first zipper that is slightly crooked still closes a cushion, still holds a skirt shut, still works every day for years. Wonky seams are the whole point. When this one feels routine, the rest of Level 2: Stitcher is waiting, and a zipper foot has just made half the projects on the site possible — right up to the separating zip on the front of a lined winter jacket.
Zips get easy fast. The right foot and a hot iron do most of it.
Frequently asked
Do I really need a zipper foot?
Yes. A regular presser foot is wide and centered, so it cannot sit close enough to the teeth without the needle striking them. A zipper foot is narrow and attaches off to one side, letting the needle run alongside the coil. Most machines ship with one; if yours did not, snap-on foot sets that include zipper and invisible zipper feet start at around $9.
How do I sew past the zipper pull?
Stop about an inch before it. Leave the needle down in the fabric, lift the presser foot, and slide the pull behind the needle to the part you have already sewn. Lower the foot and carry on. Sewing over the pull is how needles break, and it is the moment most first zippers go wrong.
Why is my zipper wavy or rippled?
Usually the two sides were stitched in opposite directions, so the fabric crept unevenly, or the fabric was stretched as it fed. Sew both sides from the same end, keep a light hand, and press the seam allowances flat before you start. A wavy zipper still zips and still closes a cushion, so finish it before you decide to redo it.
What is the difference between a lapped and an invisible zipper?
A lapped zipper is a centered zipper with one side of fabric extended to cover the teeth, so you see a single line of topstitching. An invisible zipper hides inside the seam entirely, with no visible stitching at all, and uses a different foot that rolls the coil open as it feeds. Invisible zippers go into skirts and dresses; lapped ones suit trousers and cushions.
Why is my invisible zipper still showing?
Usually one of three things. The stitching was sewn with a regular zipper foot, which cannot get close enough to the coil; an invisible zipper foot has grooves underneath that hold the coil so the needle runs right beside it. The coil was not uncurled before sewing, so the stitching landed on the tape instead of in the fold next to the teeth. Or the line simply wandered a few millimetres out. Sew a second line closer to the coil, then unpick the first.
Can I shorten a zipper that is too long?
Nylon coil zippers, yes. Mark the length you need, hand-stitch several tight bar stitches across the teeth at that point to make a new stop, then cut about an inch below. Metal-toothed zippers need pliers to remove teeth and are less forgiving, so it is easier to buy the right length.
Prices and StitchScores reflect our most recent research and refresh on a cycle — confirm the live price before buying. We may earn a commission from affiliate retailers; it never changes what we recommend. See how we score gear.
Read next
How to Read a Sewing Pattern (Envelope to First Cut)
Decode a sewing pattern envelope, instruction sheet and tissue symbols — grainline, notches, darts and seam allowance — right through to your first cut.
How to Sew a Christmas Stocking: Draft Your Own Pattern
Draw your own boot-shaped stocking template in any size, then sew a lined stocking with a cuff and a hanging loop. No PDF download, no printer needed.