Drawstring Project Bag
The casing is the whole lesson, and you will use this bag for every project after it.
- Equipment
- Sewing machine, iron and a safety pin
- Materials cost
- $3–$17 in materials
- Assumes you can
- A machine you can thread, and nothing more
- Full supply list
- Scrap fabric, a length of cord or ribbon, a safety pin and thread.
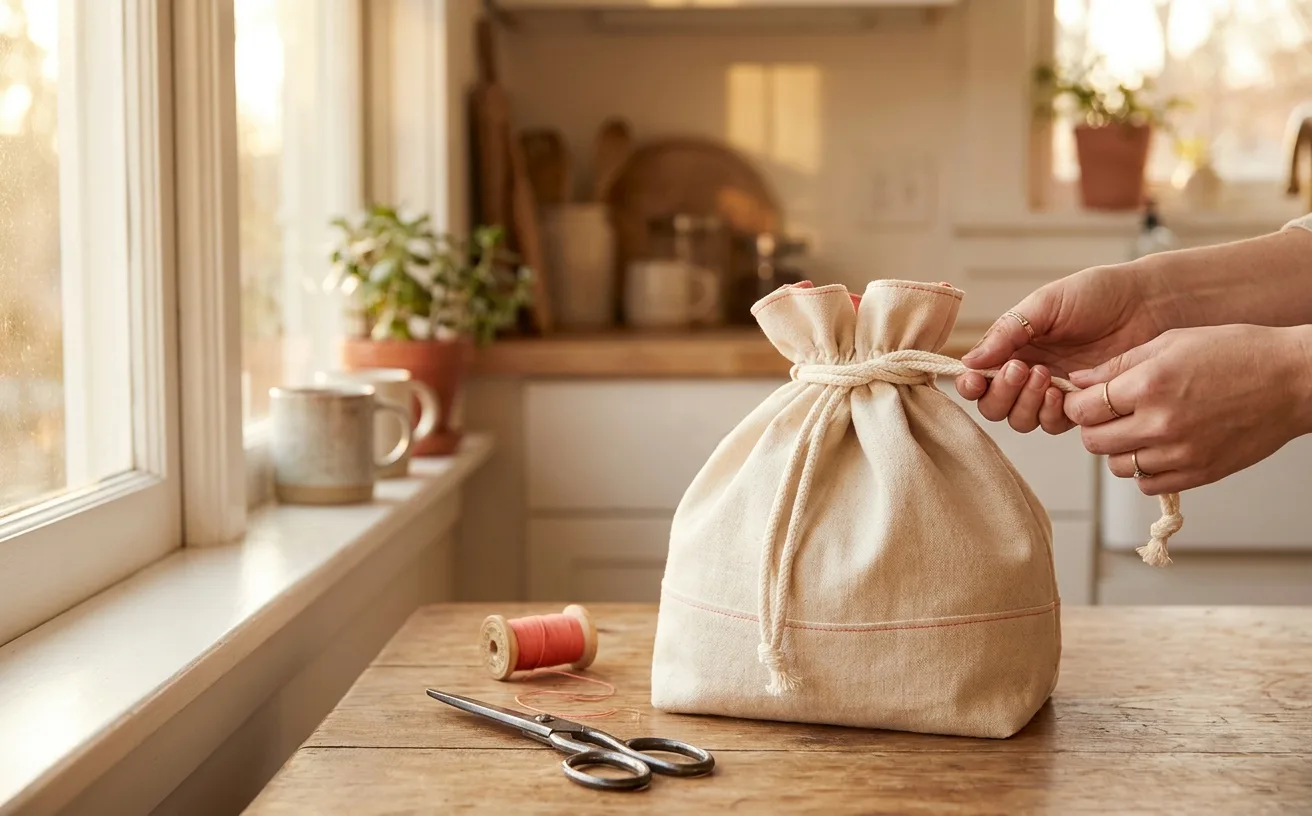
By the end of about 90 minutes you will have a soft, roomy bag that cinches shut with a cord — the kind you throw knitting, shoes, snacks, laundry or your next sewing project into. It is built from two rectangles and four straight seams, so nothing here asks you to steer around a curve. The real prize is the casing: the folded tunnel at the top that the cord runs through. Once you can build a casing, you can build a waistband, an elastic sleeve hem, and a duvet tie — and you will use this exact bag to store the offcuts from every project after it.
What you need
You almost certainly have most of this already. Costs below are rough ballparks for buying new; scraps and a shoelace cost nothing.
| What | Why it matters | Roughly |
|---|---|---|
| A sewing machine with a straight stitch | The casing and the side seams are all straight lines. A hand-me-down machine handles this bag without complaint | You may own one |
| Woven fabric scraps, at least 15-inch by 18-inch, two pieces | Quilting cotton, an old pillowcase, a retired shirt back. Avoid stretchy knits — they wriggle in a casing | $0–8 |
| All-purpose polyester thread | One spool does the whole bag. Match it loosely to the fabric, or go contrast on purpose | $3–5 |
| Fabric scissors or a rotary cutter | Paper scissors will chew the edge instead of slicing it | $12–30 |
| A universal machine needle, size 80/12 | The everyday size for cotton-weight wovens | $5–9 for a pack |
| Cord, ribbon, twill tape or a shoelace, about 45 inches | This is the drawstring. Anything you can push through a tunnel works | $0–4 |
| A large safety pin | Your cord-threading tool. A blunt bodkin does the same job | $1 |
| An iron and a flat surface to press on | Pressing is what makes a folded casing behave. Skipping it is the single biggest cause of a wobbly top edge | $20–40 |
| Pins or clips | To hold the folds while you sew | $4–8 |
| A seam ripper | Not pessimism. Equipment | $3–6 |
No sewing table required. A kitchen counter, a folded towel to press on, and a chair at the right height will get you through this fine.
The gear this project uses
One current pick per tool or material the supply list links, in the order it lists them. Borrow, substitute or skip — a wonky first attempt with the wrong scissors still counts.
 Sewing Machines
Brother XM2701$143.14 4.6 out of 5 stars · 19,162 ratings
A first machine — 27 built-in stitches is enough to sew clothes without a menu to decode, and the listing specifies the automatic needle threader and the jam-resistant drop-in top bobbin, which are the two steps beginners most often give up on.
 Thread
Coats & Clark thread$8.50 4.7 out of 5 stars · 4,705 ratings
The least expensive pick in this category, which makes it the low-risk way to find out whether you'll keep at it; all-purpose polyester, which covers nearly everything a beginner sews.
 Fabric Scissors
Proshear$8.99 4.8 out of 5 stars · 4,040 ratings
 Machine Needles
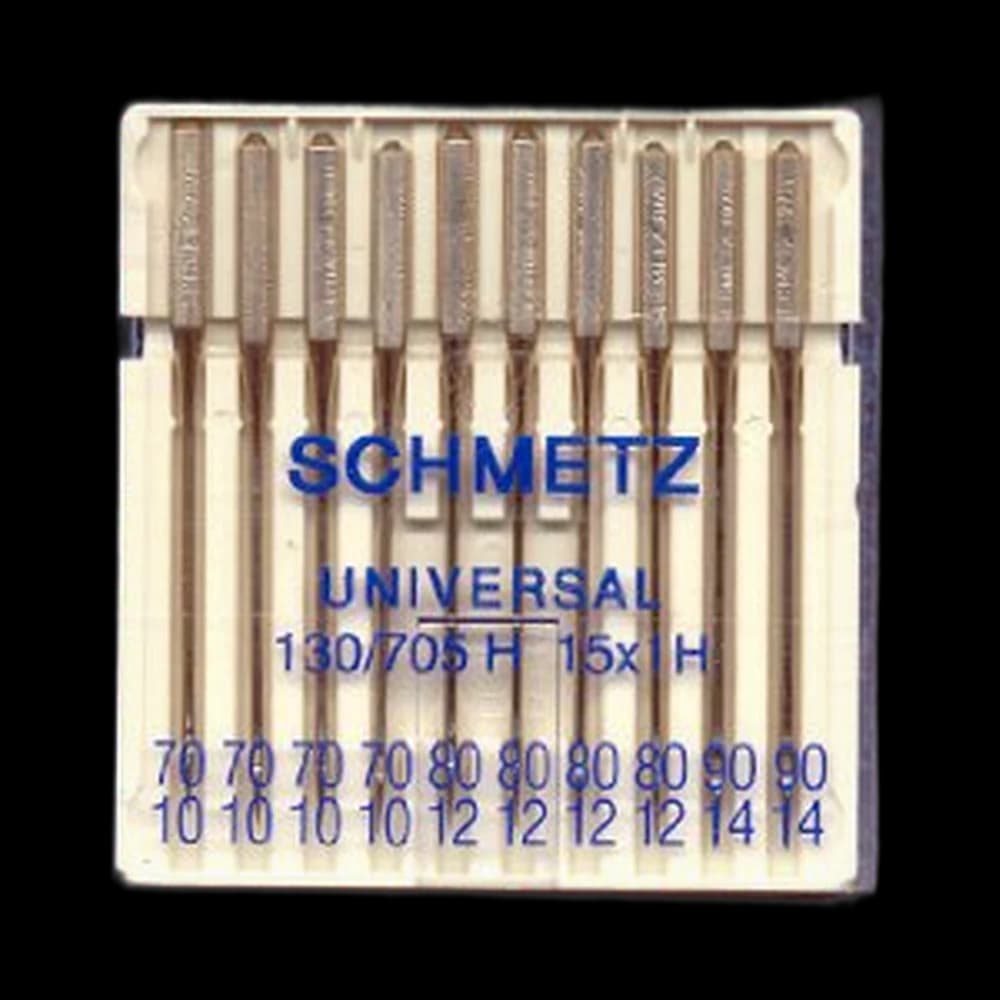
SCHMETZ Universal 130/705$7.45 4.8 out of 5 stars · 709 ratings
Priced in the lower half of this category; universal points, the default for ordinary woven fabric.
Researched from listings, specs and owner feedback — never hands-on testing. We may earn a commission; it never changes a pick.
Cut list
All measurements include a 1/2-inch seam allowance, and every seam in this project is sewn at that 1/2-inch. Write inches, not fractions of guesswork — mark with chalk, a sliver of soap, or a pencil on the wrong side.
- Bag body: 2 rectangles, each 14 inches wide by 17 inches tall
- Drawstring: 1 length of cord or ribbon, 45 inches
- Casing gap (mark, do not cut): on both side edges of both rectangles, measure 2 1/2 inches down from the top and mark. You will stop your side seams here.
- Casing fold (mark, do not cut): the top edge folds down 1/2 inch, then 1 1/2 inches again
Finished size lands around 13 inches wide by 14 inches tall — big enough for a sweater's worth of yarn or a pair of shoes.
If you'd rather cut with a blade than shears, the tradeoffs are laid out in rotary cutter vs scissors. Either tool cuts a straight rectangle beautifully. Neither one will save you if you don't mark first.
Steps
Prepare
- Press both rectangles flat. Creases lie to you about where the edge is, and a 1/2-inch seam allowance is only as accurate as the edge you're measuring from.
- Thread the machine and wind a bobbin. If that sentence made your stomach drop, work through how to thread a sewing machine first — it is the one bit of setup that everything else rests on.
- Sew a test seam on a scrap of the same fabric. You want a straight stitch around 2.5mm, tension that looks the same on both sides, and no bird's nest underneath.
Sew the body
- Stack the rectangles right sides together, raw edges matched, and pin down both sides and across the bottom. Right sides together means the finished seam ends up hidden inside the bag.
- Sew each side seam from your 2 1/2-inch mark down to the bottom corner, at 1/2 inch. Backstitch a few stitches at the start and the stop. That backstitch at the mark is load-bearing — it's the anchor point for the opening the cord comes out of.
- Sew the bottom seam corner to corner, backstitching at both ends.
- Press both side seam allowances open, all the way up — including the 2 1/2 inches you deliberately left unsewn. Those unsewn flaps should lie flat like little open doors.
- Topstitch around each opening. Sew a narrow rectangle about 1/8 inch from the folded edges, up one flap, across the top, and back down the other. This is what stops the raw edge fraying every time you yank the cord.
If your topstitching wobbles, look at the edge of your presser foot instead of the needle. Following a straight edge with a fixed reference point is far easier than aiming at a moving needle — and wonky seams are the whole point anyway. Nobody storing yarn in this bag is inspecting your 1/8 inch.
Build the casing
- Fold the top raw edge down 1/2 inch toward the wrong side, all the way around, and press hard. This turn hides the raw edge so it never frays inside the tunnel.
- Fold down again by 1 1/2 inches and press again. Pin generously. You now have a double fold — exactly the mechanics of a folded hem, the same move used in how to hem trousers.
- Check that the fold clears your topstitched openings. The bottom of the casing should sit just below the openings, so the cord has somewhere to exit.
- Stitch all the way around, close to the lower folded edge — about 1/8 inch from it. Start at a side seam, sew a full circle, and overlap your start by an inch. Go slowly over the side seams; they're four layers thick there.
Thread and finish
- Turn the bag right side out and push the bottom corners out with a chopstick or your finger. Don't use scissors — they poke through.
- Pin the safety pin through one end of the cord. Feed it into one opening, then bunch and inch the fabric along the pin until it comes out the other side.
- Knot the two cord ends together, or knot each end separately if you like the tails loose. A dab of clear nail polish on a cut synthetic cord end stops it unravelling.
When it goes wonky
| What happened | Why | The fix |
|---|---|---|
| The cord won't go through | The casing stitching crossed the tunnel somewhere, usually at a side seam | Find the blockage by feel, unpick that inch with a seam ripper, restitch below it |
| The opening is above the casing, not inside it | The 1 1/2-inch fold swallowed the gap | Unpick the casing line, fold down slightly less, and restitch |
| The top edge ripples | The fold was pinned but not pressed, so the layers shifted while feeding | Press flat, re-pin every 2 inches, sew again over the same line |
| Stitches skip or the fabric jams at the side seams | Four layers is a lot to climb | Slow right down, or walk the handwheel by hand for those few stitches |
| The bag is inside out and the seams show | Sewn wrong sides together | It still works. Call it the reversible edition, or unpick the bottom seam and flip it |
Almost none of these needs starting over. A drawstring bag is fixable at nearly every stage, which is exactly why it's the project we hand people at this level. If you're still choosing where to begin, what to sew first lays out the order that works.
What you just learned
- Casings. A folded tunnel with something threaded through it — the same construction as an elastic waistband, a cinched sleeve hem and a curtain rod pocket.
- Controlled seam starts and stops. Backstitching at a marked point, not just at a raw edge, is how every pocket opening and zipper gap gets built.
- Double folds and pressing discipline. Press, fold, press, pin, sew. That sequence is most of neat sewing.
- Topstitching to a visible edge. Straight, deliberate stitching you can actually see on the finished object.
Next, take the same rectangles-and-straight-seams logic somewhere with structure: the tote bag project in the library adds handles and a boxed corner. If you'd rather widen than deepen, the rest of the Threader level has more projects at exactly this difficulty, and a shelf of finished bags to store your growing pile of scraps in is no bad outcome either.
Supply checklist
10 lines · 90 minutes · $3–$17 in materials
- A sewing machine with a straight stitchYou may own oneThe casing and the side seams are all straight lines. A hand-me-down machine handles this bag without complaint
- Woven fabric scraps, at least 15-inch by 18-inch, two pieces$0–8Quilting cotton, an old pillowcase, a retired shirt back. Avoid stretchy knits — they wriggle in a casing
- All-purpose polyester thread$3–5One spool does the whole bag. Match it loosely to the fabric, or go contrast on purpose
- Fabric scissors or a rotary cutter$12–30Paper scissors will chew the edge instead of slicing it
- A universal machine needle, size 80/12$5–9 for a packThe everyday size for cotton-weight wovens
- Cord, ribbon, twill tape or a shoelace, about 45 inches$0–4This is the drawstring. Anything you can push through a tunnel works
- A large safety pin$1Your cord-threading tool. A blunt bodkin does the same job
- An iron and a flat surface to press on$20–40Pressing is what makes a folded casing behave. Skipping it is the single biggest cause of a wobbly top edge
- Pins or clips$4–8To hold the folds while you sew
- A seam ripper$3–6Not pessimism. Equipment
Quantities and substitutions are the ones in the supply table above; costs are rough US shop prices at the time of writing, not live listings. Borrowing and substituting are always fine — a wonky first attempt in the wrong fabric still counts.
Channels and casings are a real skill. Zips are the natural next one.
Every SewingPath project guide is free and stays free. Some shaped garments need a separately sourced paper pattern; those pages say so before the cut list. When a project needs equipment we link the gear category and name our current pick beside the supply list, with a link to buy it if you are missing it — never in the middle of the steps. Picks are researched, not hands-on tested — see how we score gear.