Lined Winter Jacket
Lining, interfacing, structure. The project that says you can sew.
- Equipment
- Machine, steam iron; separate pattern required
- Materials cost
- $87–$236 in materials
- Assumes you can
- You can fit a garment and finish it properly
- Full supply list
- A separate lined-jacket pattern, its specified shell, lining and interfacing, plus plenty of patience.
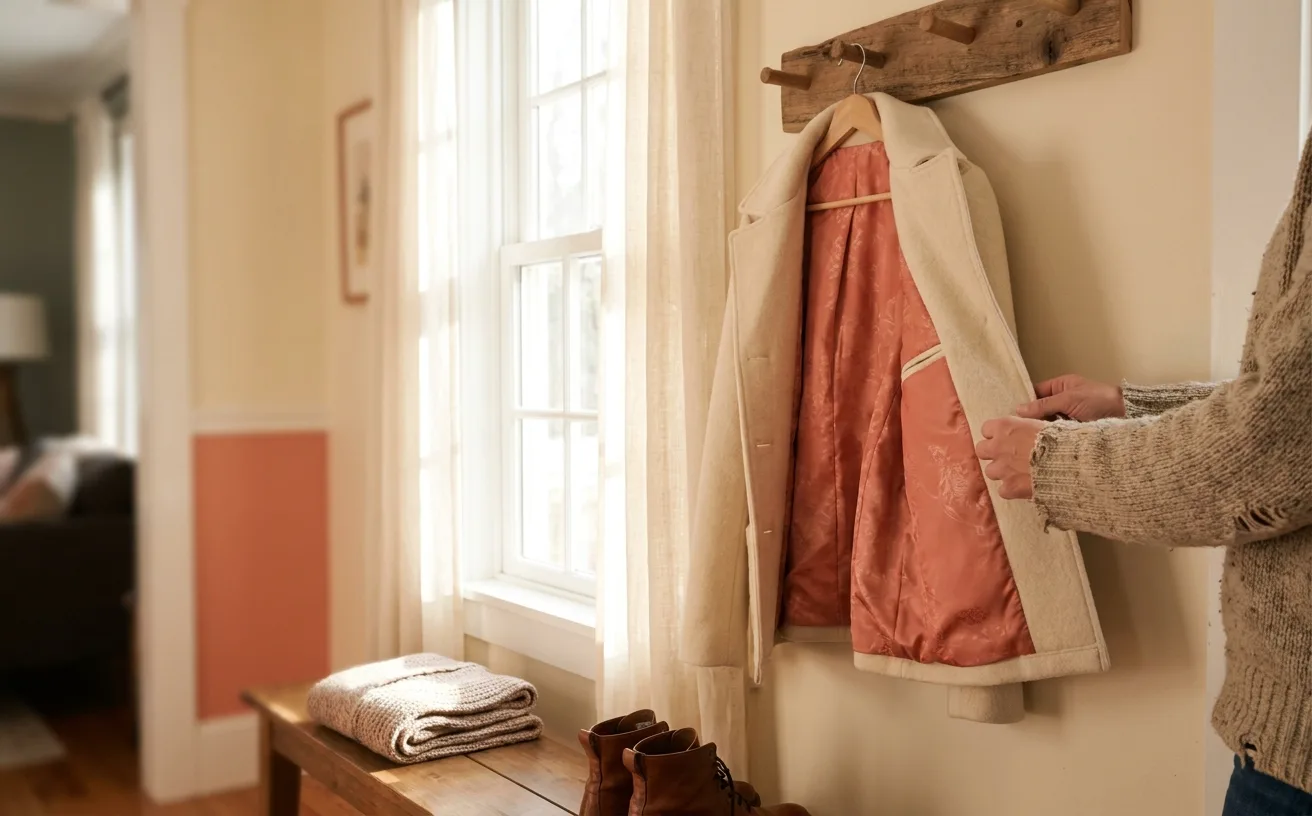
At the end of this you will own a wool jacket with a smooth lining inside, shaped shoulders, real front facings and pockets you can put cold hands into — a coat you reach for in November because it fits you, not because it was on sale. This is the boss level of the library: it takes several weekends, it uses a printed pattern, and it asks you to trust a garment that looks like a pile of unrelated shapes for most of its life. That gap between "pile of shapes" and "coat" is exactly the thing you are here to learn.
Separate pattern required: this is an outerwear technique overview, not a standalone jacket pattern. Choose a pattern in your measurement range that explicitly includes a full lining, facings, collar, sleeves, pockets and the closure you want. Its fabric quantities, pieces, seam and hem allowances, interfacing plan, lining ease and construction order govern throughout.
You are not going to sew this in one sitting, and you should not try. Cut one weekend, sew the shell the next, line it the weekend after. Coats reward being put down.
Two patterns that fit this sew-along
We have not sewn either of these. We opened each page on 23 September 2026 and checked the price, sizes and that each is fully lined.
- Free: Mood Sewciety Blackthorn Coat. Fully lined, with a shawl collar cut in one with the front and lined patch pockets; Mood describes it as easily constructed, and the page says it runs up to a size 30. Free PDF, emailed after you fill in the form on the page. It closes with a single button rather than a zip.
- Paid: Closet Core Clare Coat. Fully lined, with raglan sleeves, so there are no set-in sleeves to ease, and an A-line shape with little fitting. From $18 USD, in sizes 0 to 20. Closet Core rates it advanced but calls it a great introduction to coat making, and its blog runs a full sew-along.
What you need
Costs vary sharply by size, view and fabric width. Use the quantities on your chosen pattern envelope before pricing the shell, lining or interfacing; wool coating is usually the expensive part.
| What | Roughly | Why it matters |
|---|---|---|
| A sewing machine that copes with coating | You may own one | Wool plus interfacing plus lining is several layers at once. A slow speed and a fresh 90/14 matter more here than motor size. |
| Wool coating or heavy twill | Varies by size and pattern | Buy the envelope amount for your size, view and fabric width. Mid-weight coating is more manageable than thick melton. |
| Lining fabric | Varies by size and pattern | Use the pattern amount and lining type; this is what lets the jacket slide over another layer. |
| Fusible interfacing | Varies by pattern | Match the type and quantity to the pieces the pattern marks. |
| A printed jacket pattern | Free–$25, plus printing | One of the two above, or another drafted for beginners with a lining included. |
| Thread matched to the shell | $4–$8 | Polyester all-purpose is fine; buy two spools, you will use both. |
| Machine needles, size 90/14 | $5–$10 | Coating is thick. A universal 80/12 will skip stitches and sulk. |
| Sharp fabric scissors or a rotary cutter | $18–$45 | Chewed wool edges fray all the way to the seam line. |
| An iron you can steam with | $25–$70 | Non-negotiable. Pressing is 40 percent of this project. |
| A seam ripper | $3–$6 | You will use it. Everyone does. |
| Pins or clips, tailor's chalk, a press cloth | $10–$20 | The press cloth stops wool from going shiny. |
One honest note about the machine: coating, interfacing and lining stacked at a collar point is the thickest thing most beginner machines are ever asked to climb. If you find yourself hand-cranking through every intersection and you plan to keep sewing outerwear, a heavy-duty machine is the step-up that solves it. For one jacket, go slowly instead.
The gear this project uses
One current pick per tool or material the supply list links, in the order it lists them. Borrow, substitute or skip — a wonky first attempt with the wrong scissors still counts.
 Sewing Machines
Brother XM2701$143.14 4.6 out of 5 stars · 19,162 ratings
A first machine — 27 built-in stitches is enough to sew clothes without a menu to decode, and the listing specifies the automatic needle threader and the jam-resistant drop-in top bobbin, which are the two steps beginners most often give up on.
 Thread
Coats & Clark thread$8.50 4.7 out of 5 stars · 4,705 ratings
The least expensive pick in this category, which makes it the low-risk way to find out whether you'll keep at it; all-purpose polyester, which covers nearly everything a beginner sews.
 Machine Needles
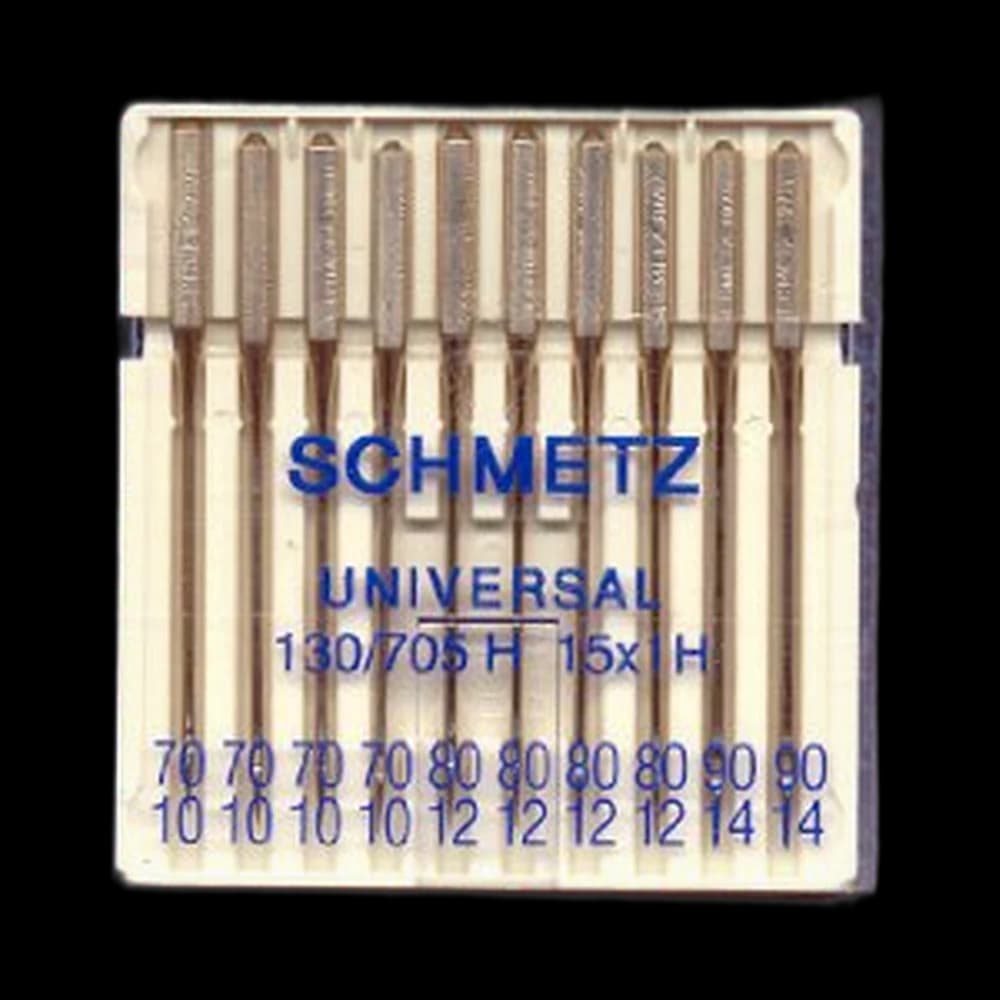
SCHMETZ Universal 130/705$7.45 4.8 out of 5 stars · 709 ratings
Priced in the lower half of this category; universal points, the default for ordinary woven fabric.
 Fabric Scissors
Proshear$8.99 4.8 out of 5 stars · 4,040 ratings
Researched from listings, specs and owner feedback — never hands-on testing. We may earn a commission; it never changes a pick.
Cut list
Use the shell, lining and interfacing pieces from your chosen lined-jacket pattern. Do not infer universal allowances or piece counts from this overview: collars, facings, sleeves, vents, hems and lining ease vary by design.
Before cutting, sort the pattern pieces into three groups:
- Shell: front, back, sleeves, collar, facings and the selected pocket pieces
- Lining: the pattern's front, back and sleeve lining pieces, including any pleat or ease markings
- Interfacing: only the pieces and reinforcement areas the pattern marks
Preshrink or prepare each material by the method its manufacturer recommends, mark every notch and grainline, and keep the pattern's seam and hem allowances visible beside the machine. Follow its assembly order whenever it differs from the orientation below.
Steps
Prepare and press
- Fuse the interfacing only to the pieces and reinforcement areas marked by your pattern. Use a press cloth, firm pressure, and hold — do not glide. Interfacing is what stops the front edge of a coat from looking like a dish towel.
- Staystitch the necklines inside the seam allowance where your pattern calls for it. Curved edges stretch as you handle them, and a stretched neckline never sits flat again.
Build the shell
- Sew the shoulder and side seams in the order and at the allowance your pattern specifies. Press each seam open over the point of the ironing board as you go. Pressing seams open is what makes a jacket read as tailored rather than homemade-in-a-hurry.
- Make and attach the pockets before the garment gets bulky. Patch pockets are the honest beginner choice; welt pockets are a whole skill of their own and there is no shame in leaving them for jacket number two.
- Assemble and grade the collar by the pattern's method. Trim and clip only where its diagrams direct, then press with the seam rolled a hair toward the underside so it does not peek from the front.
- Attach the collar and facing unit in the pattern's order, matching every notch before grading and pressing the layers.
- Set the sleeves by the pattern's method. If it calls for ease stitches, distribute that ease between its markings, match the notches, and stitch at its allowance. Ease means distributing extra fabric without folds — go slowly and re-pin as often as you need.
A slightly puckered sleeve cap is the most common wonky seam on a first jacket, and almost nobody but you will ever see it. Wonky seams are the whole point.
Line it and finish
- Assemble the lining in the pattern's order, preserving every pleat and ease marking and leaving a turning opening only where the pattern directs. A jacket lining is not always sewn exactly like the shell.
- Attach the lining to the facings, hems and sleeve hems by the pattern's method. The turning route depends on whether the jacket is bagged, vented or hand-finished, so follow its diagrams rather than improvising from this overview.
- Secure the shell hem by the pattern's method; if it calls for a hand catchstitch, the motion is covered in basic hand sewing stitches.
- Close the specified turning opening after checking that the lining has the ease and hem clearance marked by the pattern.
- Finish the front. Buttons and buttonholes, a snap placket, or a separating zip — if you go with a zip, sewing a zipper walks the same technique at a smaller scale.
- Press the finished coat properly, with steam and a press cloth, and hang it overnight before you wear it.
When it goes wonky
| What happened | Why | The fix |
|---|---|---|
| Skipped stitches through thick seams | Needle too fine, or too many layers at once | Move to a 90/14 or 100/16, slow down, and hand-walk the wheel over bulk |
| Sleeve cap puckers into little tucks | Ease got bunched instead of spread | Unpick that section, redistribute the gathers, re-pin every 1/2-inch |
| Front edges ripple and won't lie flat | Interfacing skipped or under-fused | Re-fuse with more heat, steam and time; ripply fronts are almost always a fusing problem |
| Lining pulls the jacket up when you move | Lining cut too tight, or the back pleat omitted | Add the centre back pleat, and never trim lining seam allowances narrower than the shell |
| Wool has a shiny patch | Iron pressed directly on the surface | Always use a press cloth; steam the shine back out gently from the wrong side |
What you just learned
- Interfacing and structure — how a flat fabric is taught to hold a shape, which is the core of every tailored garment you will ever make.
- Easing a curve into a curve — setting a sleeve is the same skill as a princess seam, a curved yoke, or a set-in bag gusset.
- Bagging a lining — turning a garment through a gap so every raw edge disappears; it works identically on bags, vests and jackets.
- Pressing as construction — you now know that the iron shapes the garment as much as the machine does.
Nothing in the library outranks this one. Wear it for a season, notice the two things you would change, then make a second version — or go back to the Tailor level and pick the skill this jacket showed you that you want to sharpen.
Supply checklist
11 lines · Several weekends · $87–$236 in materials
- A sewing machine that copes with coatingYou may own oneWool plus interfacing plus lining is several layers at once. A slow speed and a fresh 90/14 matter more here than motor size.
- Wool coating or heavy twillVaries by size and patternBuy the envelope amount for your size, view and fabric width. Mid-weight coating is more manageable than thick melton.
- Lining fabricVaries by size and patternUse the pattern amount and lining type; this is what lets the jacket slide over another layer.
- Fusible interfacingVaries by patternMatch the type and quantity to the pieces the pattern marks.
- A printed jacket patternFree–$25, plus printingOne of the two above, or another drafted for beginners with a lining included.
- Thread matched to the shell$4–$8Polyester all-purpose is fine; buy two spools, you will use both.
- Machine needles, size 90/14$5–$10Coating is thick. A universal 80/12 will skip stitches and sulk.
- Sharp fabric scissors or a rotary cutter$18–$45Chewed wool edges fray all the way to the seam line.
- An iron you can steam with$25–$70Non-negotiable. Pressing is 40 percent of this project.
- A seam ripper$3–$6You will use it. Everyone does.
- Pins or clips, tailor's chalk, a press cloth$10–$20The press cloth stops wool from going shiny.
Quantities and substitutions are the ones in the supply table above; costs are rough US shop prices at the time of writing, not live listings. Borrowing and substituting are always fine — a wonky first attempt in the wrong fabric still counts.
You have made outerwear. Pressing equipment is what separates good from homemade-looking.
Every SewingPath project guide is free and stays free. Some shaped garments need a separately sourced paper pattern; those pages say so before the cut list. When a project needs equipment we link the gear category and name our current pick beside the supply list, with a link to buy it if you are missing it — never in the middle of the steps. Picks are researched, not hands-on tested — see how we score gear.