How to Sew a Buttonhole With Your Machine, Step by Step
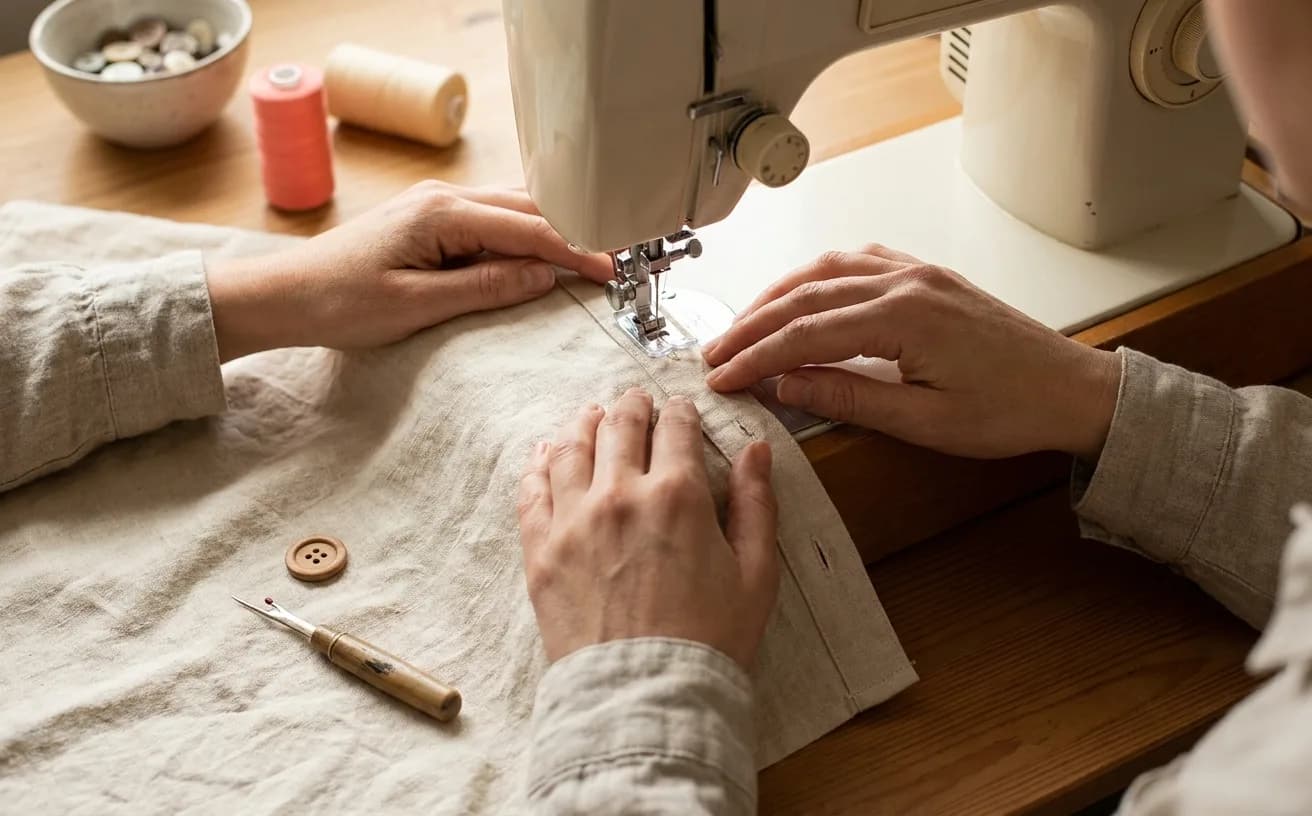
The short version
- Every machine buttonhole is the same four parts: two dense zigzag legs and a bar tack at each end.
- One-step feet measure the buttonhole from your actual button in the sliding cradle; four-step machines make you sew each part and stop yourself.
- Interface or stabilize the fabric before you sew, or the hole will fray and stretch out with use.
- Test on a scrap of the same fabric, the same number of layers and the same interfacing, then push the real button through it.
- Cut the buttonhole open from the middle outward with a seam ripper, with a pin across each end as a stop.
- If a one-step buttonhole never turns the corner, the buttonhole lever behind the needle is not pulled all the way down.
A buttonhole is the first thing you sew that looks like it came from a shop. It is also the step most new sewists put off for months, because it happens at the very end of a project, on fabric you have already spent hours on, and it involves deliberately cutting a hole in your own work. That fear is reasonable. The fix is not courage — it is doing the whole thing twice, once on a scrap and once for real.
Your machine does almost all of the work here. What you are actually learning is:
- how to prepare the fabric so the hole survives being used,
- how to tell the machine where the buttonhole starts and stops,
- how to open it without slicing through the end.
This sits in Level 2 of The Pattern — Stitcher — right alongside sewing a button on by hand, which is the other half of the same job.
What a machine buttonhole actually is
Strip away the branding and a buttonhole is four things stitched in sequence:
- A dense line of narrow zigzag down one side.
- A wider bar of stitching across the end.
- A second dense line back up the other side.
- A second bar across the top.
The two lines are called the beads or legs; the ends are called the bar tacks. The gap between the two legs is the bit you cut open.
That is all any machine is doing, whether it costs $130 or $1,300. The difference between machines is how much of the sequencing you have to do yourself.
The gear this guide assumes: a machine with a buttonhole function and the foot that came with it — see presser feet if yours went missing — plus interfacing or stabilizer between the layers, and a fresh machine needle.
What we'd buy for this
One pick per category, chosen from the research pages linked in this piece. Borrow before you buy — nothing here is required to start.
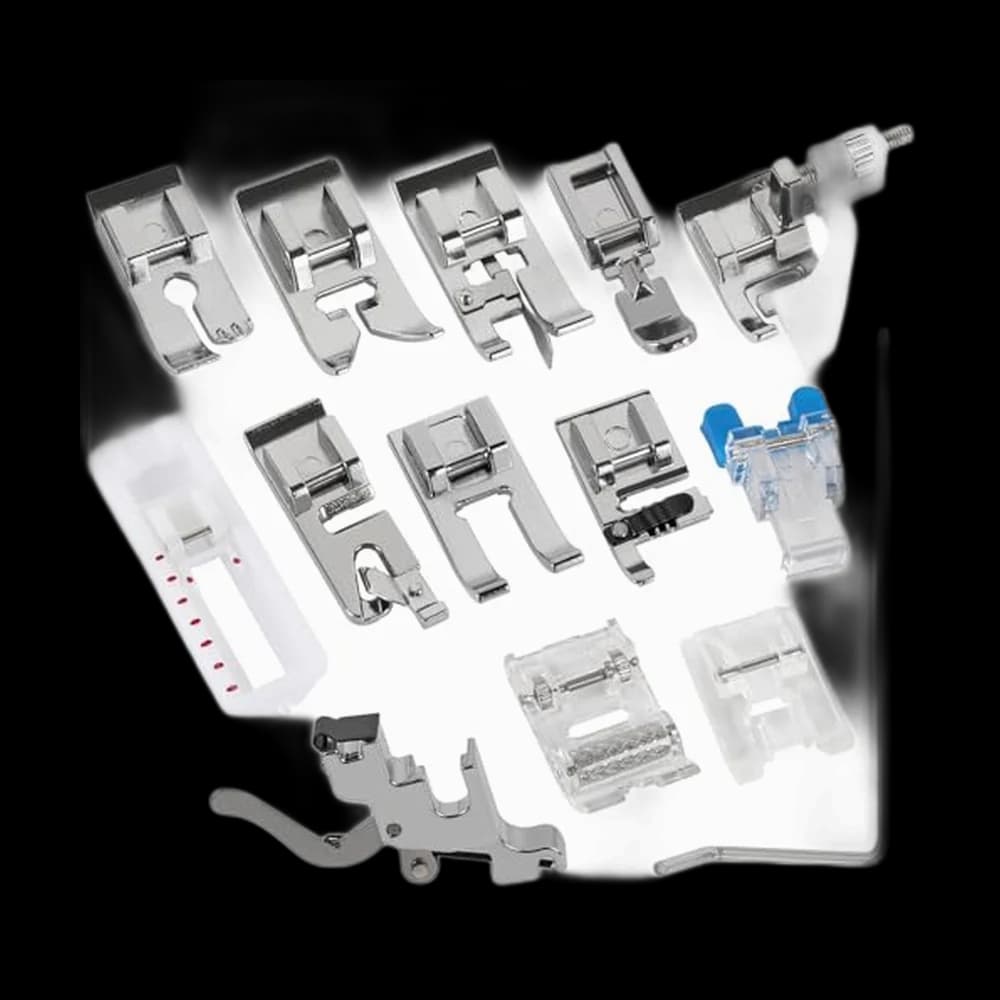 Presser Feet
Shutao$8.99 4.5 out of 5 stars · 61 ratings
The least expensive pick in this category, which makes it the low-risk way to find out whether you'll keep at it; snap-on feet, which change without a screwdriver.
 Embroidery Stabilizer
New brothread 100$9.99 4.8 out of 5 stars · 14,514 ratings
Priced in the lower half of this category.
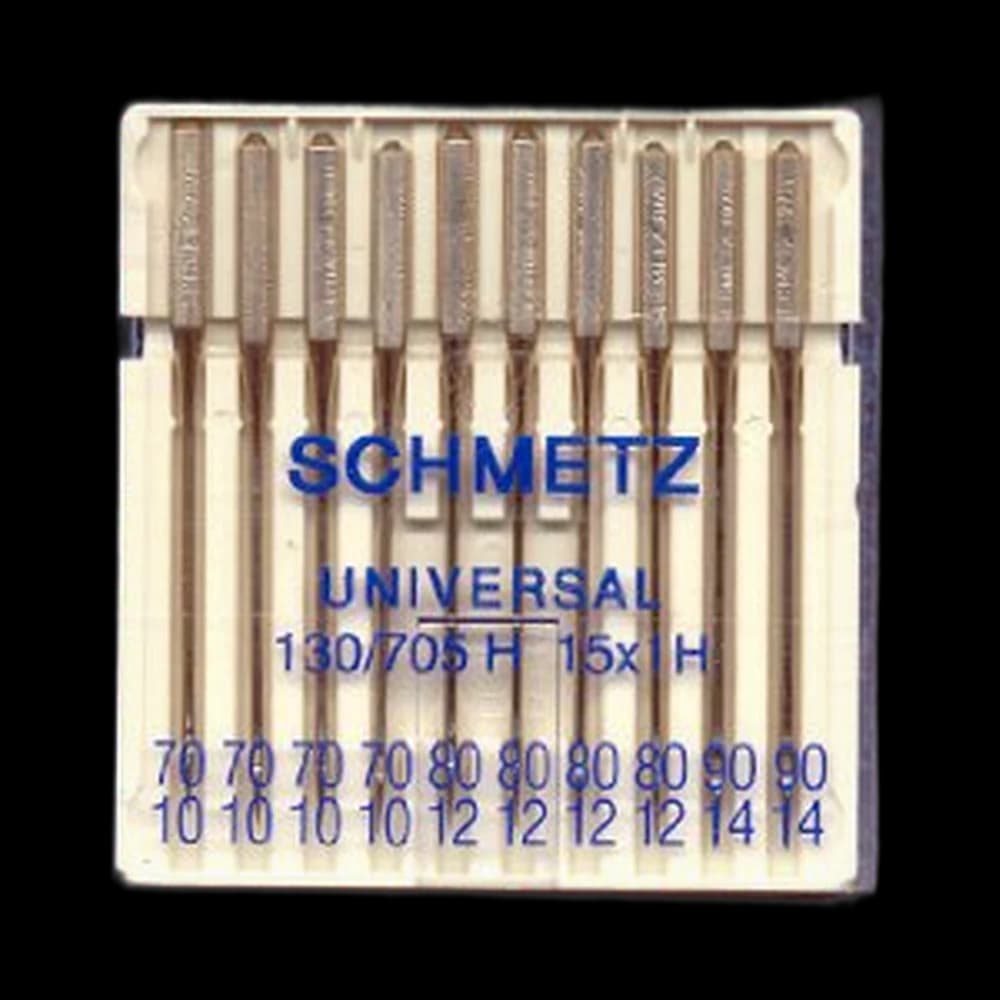 Machine Needles
SCHMETZ Universal 130/705$7.45 4.8 out of 5 stars · 709 ratings
Priced in the lower half of this category; universal points, the default for ordinary woven fabric.
Researched from listings, specs and owner feedback — never hands-on testing. We may earn a commission; it never changes a pick.
One-step versus four-step buttonholes
Most machines sold today do one-step buttonholes. Most machines inherited from a relative do four-step. Both make a perfectly good buttonhole.
| One-step (auto-size) | Four-step | |
|---|---|---|
| Who sets the length | The sliding cradle, using your actual button | You do, by eye, against your marks |
| What you do | Select the stitch, lower the buttonhole lever, press the pedal | Turn a dial through four positions, sewing each part |
| When it stops | The machine stops itself after all four sides | You stop when each side looks long enough |
| Consistency | Every buttonhole comes out identical | Rewards marking your fabric carefully |
One-step, in a bit more detail
You put your actual button into a sliding cradle at the back of the buttonhole foot. The cradle sets the length. Because the foot, not your hand, is measuring, every buttonhole on the garment matches. Listings for machines like the Brother CS5055 describe this as a one-step auto-size buttonhole, and some computerized models offer several shapes of it.
Four-step, in a bit more detail
The machine does not know how long the buttonhole should be — you do. It is slower, but nothing about the result is worse.
Which one do you have?
Look at the buttonhole foot in your accessory box.
- A long, clear foot with a sliding measuring cradle at the back means one-step.
- A short foot with two grooves underneath, plus a dial marked with four little diagrams on the machine, means four-step.
Both live in the same drawer as the rest of your presser feet.
Step 1: interface, always
A buttonhole is a hole in a piece of cloth that a button will be dragged through several thousand times.
- Woven fabric on its own will fray and stretch out.
- Knit fabric will curl and swallow the stitching whole.
Before you sew, there should be a layer of interfacing or stabilizer between the fabric layers where the buttonholes will go. On a shirt placket or a waistband, that is usually already built into the pattern.
If you are adding buttonholes to something that has none — a cushion cover, a refashioned shirt, a bag flap — fuse a strip of lightweight interfacing across the whole button band rather than a patch under each hole, so the band behaves the same all the way down.
For very stretchy or very fine fabric, add a tear-away stabilizer underneath as well and pull it off afterward. Yes, this is an extra ten minutes. It is much less than the time it takes to unpick a buttonhole.
Step 2: mark, and mark on the right side
Mark the start and end of each buttonhole with tailor's chalk, a washable marker or a line of hand basting. Mark on the right side of the fabric, because that is the side facing you as you sew.
Two rules that save re-dos:
- Horizontal buttonholes go on waistbands and anywhere the garment pulls sideways; the button settles at the end nearest the garment edge.
- Vertical buttonholes go down a narrow shirt placket, centred on the band.
How long should it be?
Buttonhole length is the button's diameter plus its thickness, plus a couple of millimetres of ease.
- A flat button needs barely any extra.
- A domed or shanked button needs noticeably more.
- A one-step foot works this out for you as long as the button is sitting properly in the cradle.
Step 3: test on the same layers, every time
This is the rule that matters more than any other on this page, and it is the one people skip when they are nearly finished and want to be done.
Your test scrap must be the same fabric, the same number of layers, and the same interfacing as the real thing. A buttonhole tested on one layer of quilting cotton tells you nothing about how it will behave on three layers of denim plus interfacing:
- The machine feeds thicker stacks differently.
- The stitch density changes.
- A one-step foot that glides on two layers can stall on four.
Then run the test properly:
- Sew the test buttonhole.
- Cut it open.
- Push the actual button through it.
- If the button fights, lengthen it. If the button slips through under its own weight, shorten it.
Only then move to the garment. While you are testing, check the thread too — all-purpose polyester in a colour matched to the fabric is the default, and a fresh needle keeps the dense stitching from skipping. See thread and machine needles if you are restocking.
Step 4: sewing the buttonhole
One-step:
- Snap on the buttonhole foot and open the cradle at the back. Drop your button in and slide the cradle closed against it.
- Select the buttonhole stitch. On a computerized machine it usually has its own button or menu entry.
- Pull the buttonhole lever down as far as it goes, behind the needle. If your buttonholes come out as one endless leg that never turns the corner, this lever is the reason — the machine cannot sense the foot's position without it.
- Position the fabric so the needle enters at your start mark, lower the foot, and sew at a steady medium speed until the machine stops on its own.
Four-step:
- Snap on the buttonhole foot and set the dial to step 1.
- Sew the first leg down to your end mark and stop with the needle down.
- Turn to step 2 and sew the bar tack — usually four to six stitches, enough to close the width.
- Step 3 sews the second leg back up. Watch your first leg, not the needle, and stop level with where you began.
- Step 4 sews the closing bar tack. Count the same number of stitches as the first.
Either way, finish by pulling the threads to the back and knotting or backstitching a couple of stitches into the bar tack.
Step 5: cutting it open without ruining it
Everything up to here can be unpicked. This part cannot.
- Push a pin through the fabric just inside each bar tack, at right angles to the buttonhole. Those two pins are stops — when the blade reaches one, it cannot go further.
- Work a seam ripper into the middle of the gap and push it toward one pin.
- Turn the fabric and push toward the other.
Cutting from the middle outward, rather than from one end, means a slip lands in the middle of the hole instead of through the bar tack. If the fabric frays as you cut, a dot of fray sealant along the cut edge, left to dry before you push the button through, keeps it stable.
One-step buttonhole not working? Check these four things
When an automatic buttonhole sews one endless leg, stops early, bunches up or refuses to start, it is almost always one of four set-up faults, and the first three turn up again and again in r/sewing help threads. Work down the list before blaming the machine.
- The buttonhole lever is not down, or not behind the bracket. The lever is how the machine feels the foot reach each end. Brother's instructions are to pull it down as far as it goes, and it sits behind the bracket on the buttonhole foot. Brother's troubleshooting page adds a detail most manuals bury: pull it down to its limit, then push it back slightly, so it can touch the foot and switch sides. The reverse catches people too: SINGER's troubleshooting guide lists an accidentally lowered buttonhole lever as a reason an electronic machine beeps and will not sew ordinary stitches.
- The button is not in the foot's holder. A one-step foot gets its length from the button itself. Brother's step is to pull out the button guide plate at the back of the foot and insert the button that will go through the buttonhole. No button, or a button not pushed snug against the plate, gives the wrong length or no clean turn at the end.
- The foot is not seated square. The lever can only register the foot if the foot is clipped on straight and its sliding frame moves freely. A foot hanging slightly crooked, or a frame snagging on a thick seam allowance at the start, trips the lever at the wrong moment. Reclip the foot, and start the buttonhole on flat fabric rather than on top of a seam.
- Knit or fine fabric with nothing underneath. SINGER's advice for one-step buttonholes is interfacing between the fabric layers and a temporary stabilizer underneath, so the fabric and stitches have support and do not pucker. Without it a knit stretches under the foot, the feed goes uneven, and the legs bunch or the foot stalls. Add a tear-away layer of stabilizer and try again on a scrap.
Still wrong after all four? Brother's not-making-a-buttonhole checklist starts with a bent or blunt needle, so fit a fresh one, and on its mechanical machines sets the stitch length dial between F and 1.5 for buttonholes.
When it goes wrong
| What you see | What to do |
|---|---|
| Legs different lengths on a four-step | Watch the finished leg beside the foot rather than the needle, and mark both ends before you start |
| Stitches piling up and not advancing | The foot is stalling on a thick seam. Sew slowly, and support the back of the foot level with a folded scrap so it sits flat |
| Buttonhole too small for the button | On a one-step, the button was not pushed firmly to the back of the cradle |
| Legs too open and the fabric showing through | Shorten the stitch length a little so the zigzag packs tighter, and test again |
Wonky first buttonholes are normal. Nobody looks at the fifth button on a shirt. Sew five in a row on a scrap and the sixth will look like it belongs on something you bought.
Buttonholes done. Stabiliser and the right foot are what make them repeatable.
Frequently asked
How long should a buttonhole be?
The button's diameter plus its thickness, plus a couple of millimetres of ease. A flat button barely needs the extra; a domed or shanked one needs noticeably more. A one-step foot works this out for you as long as the button is pushed firmly to the back of the sliding cradle. Whatever the number says, test it and push the real button through.
What is the difference between a one-step and a four-step buttonhole?
A one-step machine sews all four sides and stops itself, sized from the button you place in the foot's cradle, so every buttonhole on the garment matches. A four-step machine has you turn a dial through four positions and sew each leg and bar tack yourself, stopping where you decide. The finished buttonhole is just as good either way.
Do I really need interfacing under a buttonhole?
Yes. A buttonhole is a hole that a button gets dragged through thousands of times. Woven fabric frays and stretches out without support, and knits curl and swallow the stitching. Fuse a strip of lightweight interfacing across the whole button band rather than a patch under each hole, so the band behaves the same all the way down.
How do I cut a buttonhole open without cutting through the end?
Push a pin through the fabric just inside each bar tack, at right angles to the buttonhole, so the blade physically cannot travel past it. Then work a seam ripper into the middle of the gap and push toward one pin, turn the fabric, and push toward the other. Cutting outward from the middle means a slip lands inside the hole.
Why are my buttonhole stitches piling up in one spot?
The foot is stalling, usually where it climbs onto a thick seam or a folded edge. Sew slowly, and support the low end of the foot with a folded scrap of the same fabric so it sits level. If the stitches look thin and the fabric shows between them instead, shorten the stitch length slightly so the zigzag packs tighter.
Why won't my automatic buttonhole work?
Check four things in order. The buttonhole lever must be pulled all the way down so it sits behind the bracket on the foot. The button must be in the holder at the back of the foot, because a one-step foot measures the length from it. The foot must be snapped on square with its sliding frame free to move. And knits or fine fabric need interfacing between the layers and a stabilizer underneath, or the foot cannot feed evenly. If all four are right, fit a fresh needle.
Prices and StitchScores reflect our most recent research and refresh on a cycle — confirm the live price before buying. We may earn a commission from affiliate retailers; it never changes what we recommend. See how we score gear.
Read next
Learn to Sew Clothes: Free Online Course for Beginners
A free, no-signup course for learning to sew clothes: nine lessons from threading a machine to PJ shorts, a wrap skirt that fits and a shirt dress.
Best Sewing Machines for Making Clothes
Five sewing machines for making clothes, researched from spec pages, listings and owner feedback: the garment features that matter and the ones that do not.