How to Sew on a Button (by Hand): Flat and Shank
Tools this guide uses
Hand-Sewing Needles · jekiinova 30 Pack Hand Sewing Needles$3.99 4.7 out of 5 stars · 2,011 ratings
Any general hand-sewing needle works.
Thread · Coats & Clark thread$8.50 4.7 out of 5 stars · 4,705 ratings
All-purpose polyester, used doubled.
Researched, not hands-on tested. We may earn a commission; it never changes a pick.
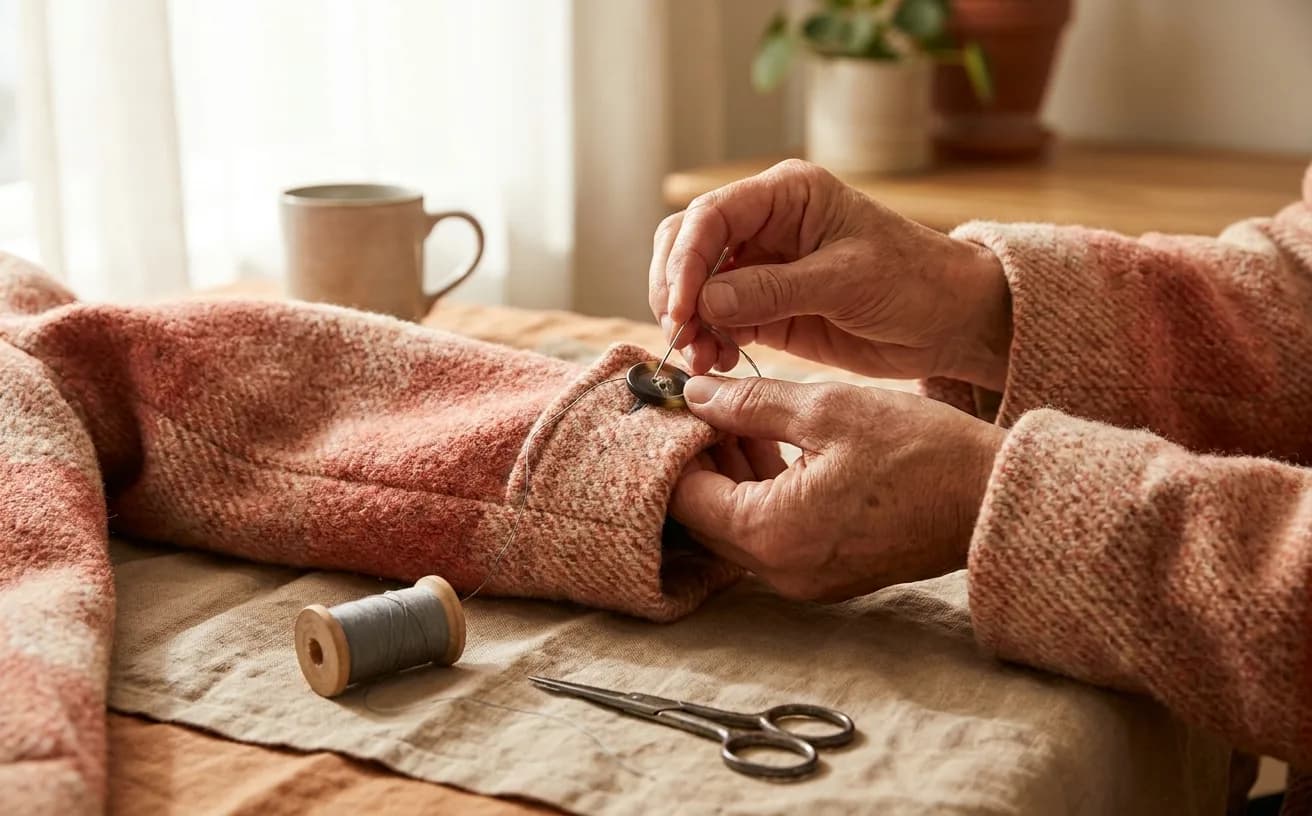
The short version
- Use all-purpose polyester thread doubled — twice the strength, half the passes, and it survives the tug of fastening.
- Anchor with a tiny X under where the button sits instead of a knot; the button hides it and nothing scratches.
- Five or six passes through each pair of holes is plenty. You are stacking thread, not winching the button down.
- On coats and jackets, sew over a matchstick and wind the slack into a thread shank so the other layer can sit underneath.
- Shank buttons are easier: stitch through the built-in loop, keeping it lying in the direction the buttonhole will pull.
- Mark the position with the garment done up — a button sewn by eye drifts and pulls the whole front crooked.
Somewhere in most wardrobes there is a coat, a shirt or a pair of trousers that has stopped being worn over one missing button. It is the smallest repair in all of sewing and the one most often abandoned, and it needs exactly three things: a needle, a reel of thread and a pair of scissors. No machine. No table. No sewing room. Ten minutes on the sofa with the telly on.
It is also the first skill in Level 0 of The Pattern — Curious — because a button teaches the whole grammar of hand sewing in miniature:
- Anchor the thread without leaving a lump.
- Keep the tension even.
- Finish so it holds.
Once those three things are in your hands, a fallen hem and a split seam stop looking like professional work.
This page is the how-to. If you would rather follow along on a practice piece first, the sew-on-a-button project walks the same repair as a short make, start to finish.
What you actually need
- A needle. Any general hand-sewing needle from a mixed pack will do. A slightly thicker one is easier to hold and easier to push through a coat.
- Thread. All-purpose polyester, used doubled. More on that below.
- Scissors. Small and genuinely sharp. Kitchen scissors chew thread rather than cutting it, which leaves a frayed end you will fight to get through the needle eye. A proper pair from the fabric scissors category is a lifetime tool, and a small snipper lives happily in a drawer.
That is the entire kit. If you are removing an old button rather than replacing a lost one, a seam ripper makes it a ten-second job instead of a nervous poke with scissors. If you own none of it, a beginner sewing kit essentials costs the whole shoebox out.
What we'd buy for this
One pick per category, chosen from the research pages linked in this piece. Borrow before you buy — nothing here is required to start.
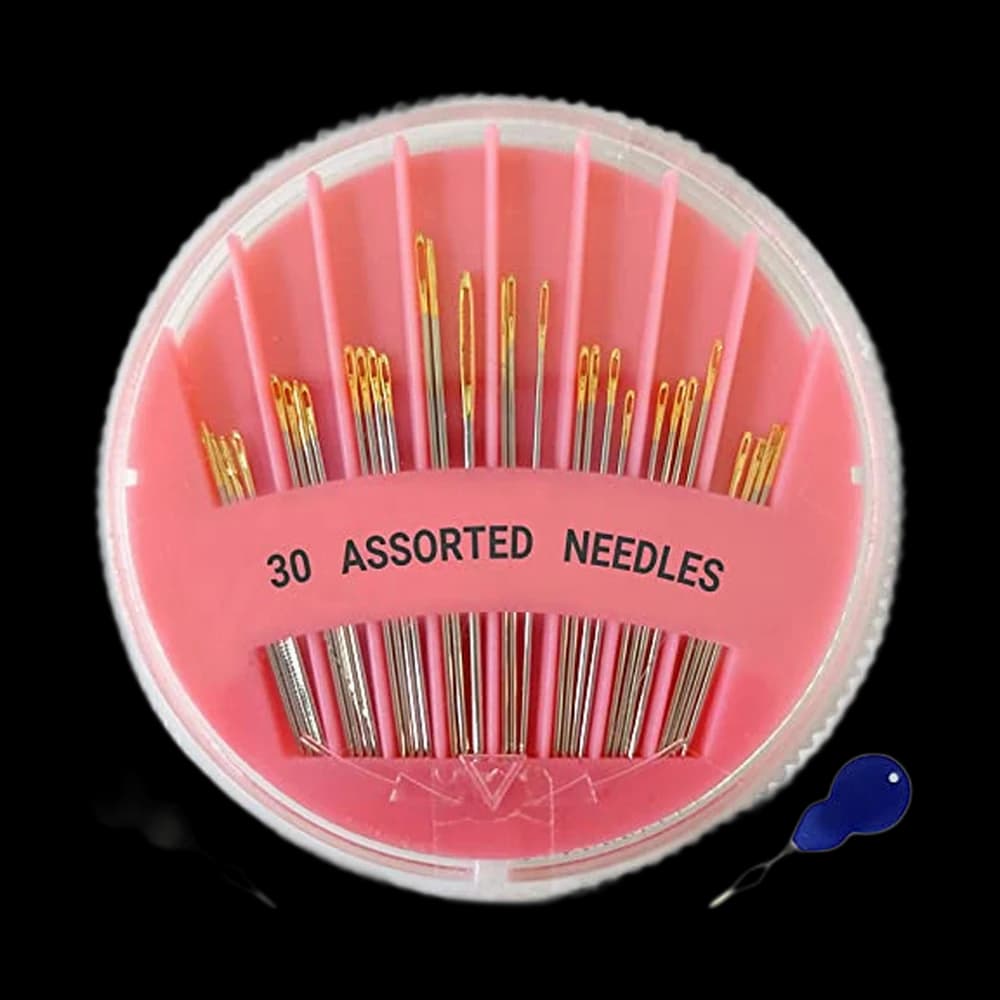 Hand-Sewing Needles
jekiinova$3.99 4.7 out of 5 stars · 2,011 ratings
The least expensive pick in this category, which makes it the low-risk way to find out whether you'll keep at it.
 Fabric Scissors
Proshear$8.99 4.8 out of 5 stars · 4,040 ratings
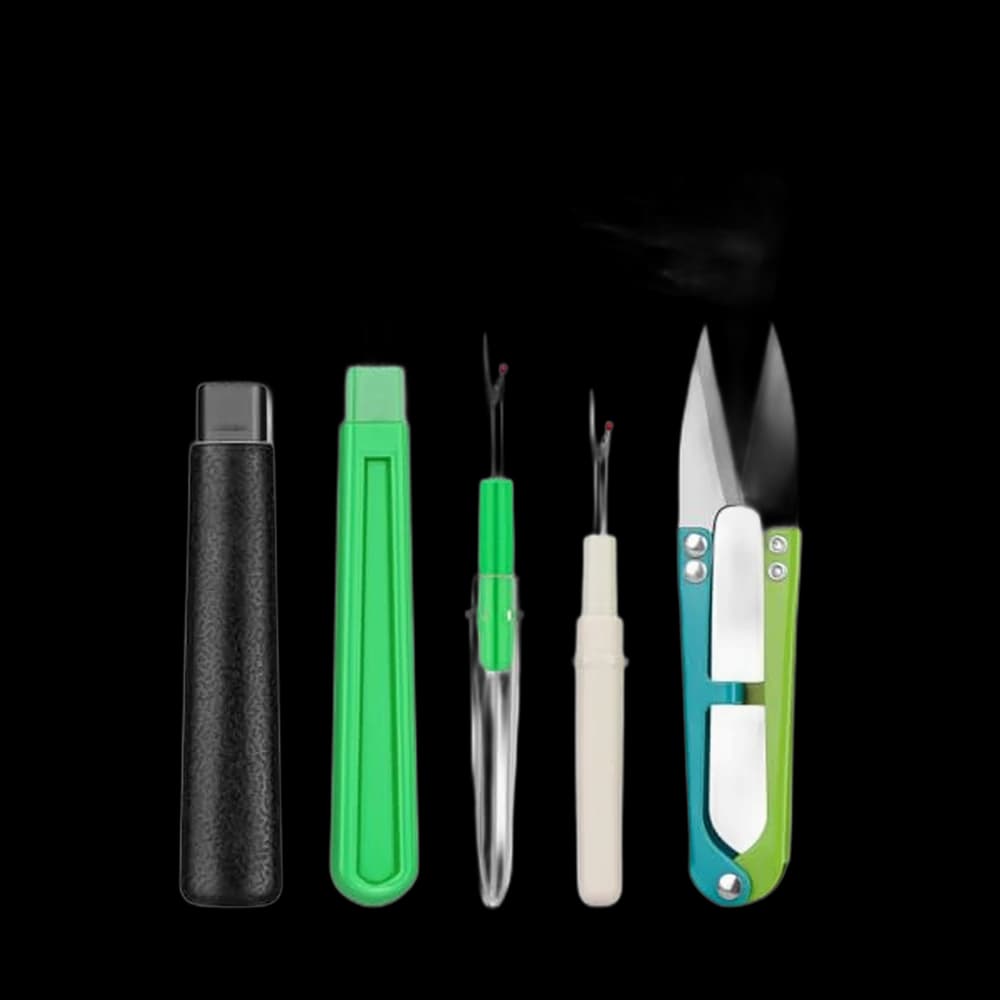
Researched from listings, specs and owner feedback — never hands-on testing. We may earn a commission; it never changes a pick.
Choosing thread (this is most of the job)
Use all-purpose polyester, the ordinary reel sold everywhere. Polyester has a little give, so it survives the tug of a button being fastened; cotton thread is lovely for quilting and snaps sooner under that kind of repeated strain.
- Colour: match the button rather than the fabric if you have to choose — the stitches sit on the button, not on the cloth.
- If you own nothing: a mid-grey and a navy will disappear on more garments than black does.
- How much: the thread category covers what a starter set looks like, but a single reel is enough for this.
Then use it doubled
Cut a length about as long as your forearm, thread it through the needle, and pull the two ends level so you are sewing with two strands at once. Doubled thread is twice as strong, halves the number of passes you make, and is the single reason a hand-sewn button often outlasts the factory one.
Rule of thumb: all-purpose polyester, doubled, in a length you can actually manage. Thread longer than your arm tangles on every pass.
Read the button before you start
Look at the underside. There are two kinds.
| Flat buttons | Shank buttons | |
|---|---|---|
| The back | Holes through the face — two or four of them | A solid face with a little loop or stem on the back, no hole through the front |
| Where you meet them | Shirt and blouse buttons, and most trouser buttons | Coat buttons, metal blazer buttons, most decorative buttons |
| How it sits | Against the fabric | Raised on its built-in stem |
The difference matters because of thickness. A button has to sit far enough off the fabric that the buttonhole layer can slide underneath it and lie flat. On a shirt the fabric is thin and the button can sit almost flush. On a coat it cannot — which is what the thread shank further down solves.
Anchoring without a knot lump
A knot on the underside of a shirt front is scratchy, visible, and the first thing to pull through the weave. There is a better start, and it takes no longer.
- Thread the needle and pull the ends level, but do not knot them.
- From the top side, take one small stitch — about as wide as a grain of rice — exactly where the button will sit. Pull until a short tail is left underneath.
- Take a second stitch across the first, forming a tiny X. That X is your anchor.
- Bring the needle up through the fabric where the first buttonhole will sit, and trim the loose tail flush.
The button itself covers the X entirely. If you prefer a knot, tie a small one and start from the underside — it works, it is just slightly less tidy.
Sewing a flat button, step by step
- Position it. Do the garment up and mark where the button needs to land, using the buttonhole as your guide. A pin or a pencil dot is plenty. Buttons sewn by eye drift, and a drifted button pulls the whole front crooked.
- Bring the needle up through the fabric and through one hole in the button, from underneath.
- Go back down through the second hole and through the fabric. That is one stitch.
- Repeat five or six times through the same pair of holes. Keep the thread snug but not straining — you are stacking thread, not winching the button down.
- On a four-hole button, work the first pair five or six times, then move to the second pair and do the same.
Which four-hole pattern to use
- Two parallel bars — what most shirts arrive with, and the least fussy to keep neat.
- A cross — looks deliberate on a plain garment.
- A square — the same job, a different look.
None of them is stronger than the others in any way you will ever notice, so pick the one you like.
The thread shank: the step that makes coats work
If the fabric is thicker than a shirt — a jacket, a coat, a heavy cardigan — the button needs a stem of thread underneath so the other layer can sit beneath it without straining. This is the detail that separates a button that lasts from one that pops off again in a fortnight.
- Before you start stitching, lay a matchstick, a toothpick or the shaft of your needle flat across the top of the button, between the holes.
- Sew the button on over it, exactly as above. The stick holds the stitches loose by its own thickness.
- Slide the stick out. The button now floats above the fabric on a small slack of thread.
- Bring the needle up between the button and the fabric — not through a hole — and wind the remaining thread tightly around that slack five or six times. It forms a neat wrapped pillar.
- Push the needle back down through the fabric to finish.
Thicker coat, thicker stick. On a shirt, skip the shank entirely; the fabric is thin enough not to need one.
Shank buttons
A shank button is easier, because the stem is built in.
- Anchor as usual, then bring the needle up.
- Pass it through the metal or plastic loop, and go back down through the fabric a few millimetres away.
- Repeat six or so times, keeping the loop lying in the direction the buttonhole will pull — usually flat along the garment edge, not standing upright.
- Finish underneath in the normal way.
Finishing so it holds
Turn the garment over. On the underside, take two or three small stitches in the same spot, catching only the surface threads of the fabric. Then pass the needle through the loop of the last stitch and pull tight — that locks it without a bulky knot. Do it once more for a coat button. Trim the thread close, but not so close that the end slips back through.
Give the button a firm wiggle. It should sit still against the fabric with no gap, or, on a coat, float on its little thread pillar without rocking.
Why buttons fall off in the first place
Factory buttons are attached by machine with a short, fast run of thread and no shank. That is efficient, not durable. A hand-sewn button with doubled polyester and six passes will usually outlast every other button on the shirt — which is worth knowing when the next one goes, because you can pre-emptively resew the ones that matter.
When the fabric is the problem
If a button keeps tearing out and taking fabric with it, the problem is the cloth, not the stitching. Sew a small flat button on the inside, directly behind the outer one, and stitch through both. The load spreads across two buttons instead of a few threads.
When you are ready for a machine, the same logic about thread paths and tension carries straight over — threading a sewing machine is the next thing worth learning. But nothing on this page needs one. Wonky stitches on the underside of a button nobody will ever see are still a button that holds.
That is one repair down. Here is the kit that makes the next one quicker.
Frequently asked
What kind of thread should I use to sew on a button?
Ordinary all-purpose polyester, used doubled. Polyester has a little give, so it copes with the repeated tug of a button being fastened, where cotton thread snaps sooner. Match the colour to the button rather than the fabric, because the visible stitches sit on the button face. One reel is enough for this job.
How do you sew a four-hole button — cross or parallel?
Either. Work one pair of holes five or six times, then the other pair. Parallel bars are what most shirts arrive with and stay neatest; a cross looks deliberate on a plain garment. Neither is meaningfully stronger than the other, so choose the look you prefer and keep it consistent down a shirt front.
What is a thread shank and do I need one?
It is a small pillar of wrapped thread that holds the button slightly off the fabric, leaving room for the buttonhole layer to sit flat underneath. Skip it on shirts, where the cloth is thin. Make one on coats, jackets and heavy cardigans by sewing over a matchstick, sliding it out, then winding the slack thread tight.
How do I move a button rather than replace it?
Cut the old stitches on the underside with a seam ripper, which slides under the threads without nicking the cloth, and lift the button away. Do the garment up, mark the new position using the buttonhole as your guide, and sew it on there. Any leftover thread ends pull out with tweezers or fingernails.
Why do factory-sewn buttons fall off so easily?
They are attached by machine with a short, fast run of thread and no shank, which is efficient rather than durable. A hand-sewn button with doubled polyester and six passes usually outlasts every other button on the garment. If a button keeps tearing the fabric out, sew a small flat button inside directly behind it and stitch through both.
Prices and StitchScores reflect our most recent research and refresh on a cycle — confirm the live price before buying. We may earn a commission from affiliate retailers; it never changes what we recommend. See how we score gear.
Read next
Free Mending Course for Beginners: Fix Clothes by Hand
A free, no-signup mending course in six lessons: hand stitches, buttons, a fallen hem, a split seam, a small tear and shortening trousers. No machine.
Beginner Sewing Kit: The 5 Essentials
The five supplies to buy when you own nothing: thread, fabric scissors, a seam ripper, hand needles and pins, plus how to give the kit as a gift.