The Zip Pouch That Teaches Zippers
One zip, start to finish, on something small enough to forgive you.
- Equipment
- Sewing machine plus a zipper foot
- Materials cost
- $11–$19 in materials
- Assumes you can
- Straight seams you can sew and press
- Full supply list
- Two fat quarters, a 20 cm zip, a zipper foot and thread.
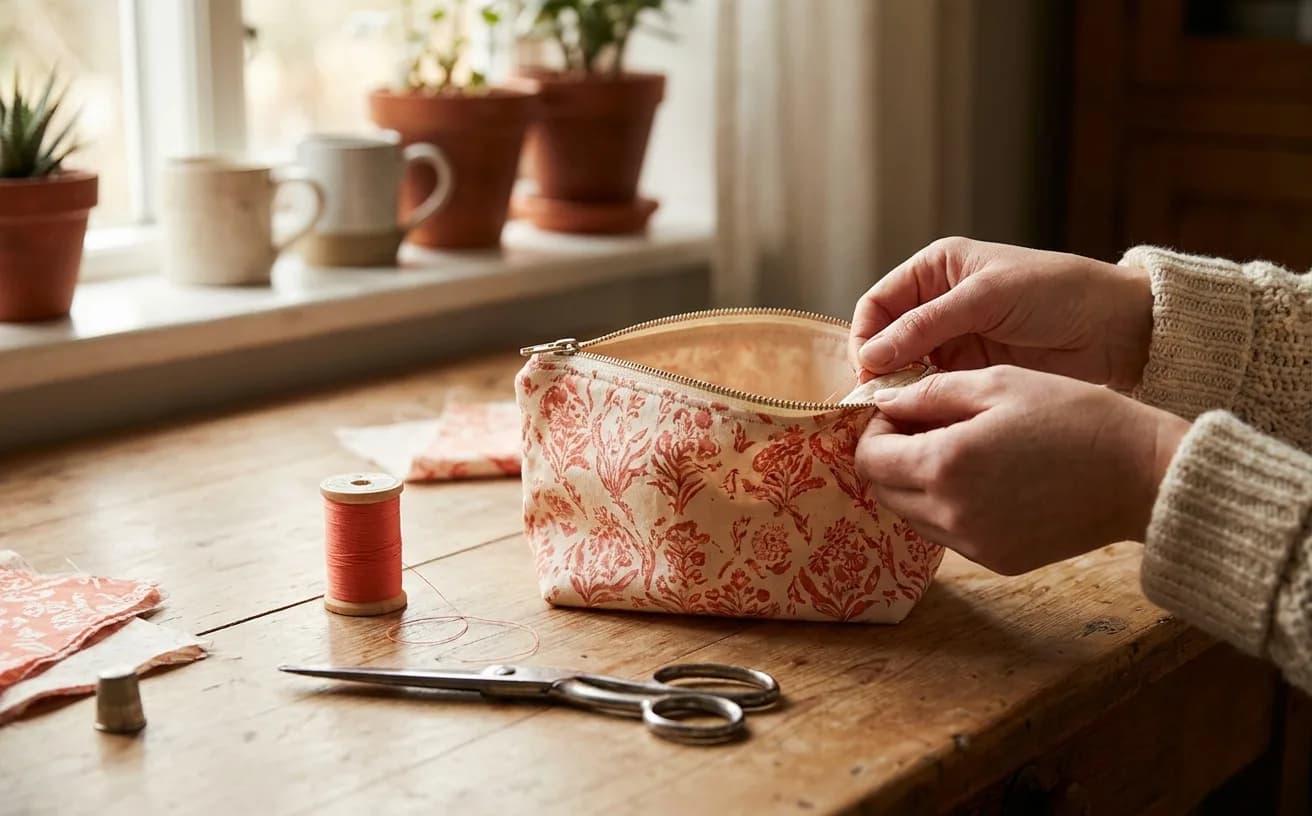
At the end of this evening you will have a small lined pouch with a real zip in it — the kind that holds pencils, chargers, or the tangle of things at the bottom of a bag. A zip is the thing most new sewists put off for months, and the fastest way past that is to put one in something small, cheap, and forgiving. Two fat quarters and about 90 minutes, and the mystery is gone for good.
What you need
| What | Why it matters | Roughly |
|---|---|---|
| A sewing machine that takes a zipper foot | Almost every machine does. Check the foot comes off — snap-on and screw-on shanks both work — before you buy a foot for it | You may own one |
| Two fat quarters (outer + lining) | Quilting cotton is stable and doesn't slide around while you sew | $6–$10 for the pair |
| One 20 cm zip (nylon coil, closed-end) | Coil zips are soft, cheap, and won't wreck a needle if you nick one | $2–$4 |
| All-purpose polyester thread | One spool does the whole project; match it roughly to the outer fabric | $3–$5 |
| A universal size 80/12 machine needle | Fresh needle, cotton weight — this is the single cheapest way to avoid skipped stitches | $5 for a pack |
| A zipper foot for your machine | It's a narrow foot that lets you stitch close to the zip teeth | $8–$15 in most presser foot sets |
| Fabric scissors or a rotary cutter | Either works; a rotary cutter is faster on straight rectangles | $12–$30 |
| An iron | Not optional. Pressing is what makes a pouch look bought instead of homemade | |
| A seam ripper | You will use it. Everyone does |
If you don't own a zipper foot yet, check the box your machine came in before buying one — a zipper foot is included with almost every machine sold, and it's usually the odd narrow one nobody could identify.
The gear this project uses
One current pick per tool or material the supply list links, in the order it lists them. Borrow, substitute or skip — a wonky first attempt with the wrong scissors still counts.
 Sewing Machines
Brother XM2701$143.14 4.6 out of 5 stars · 19,162 ratings
A first machine — 27 built-in stitches is enough to sew clothes without a menu to decode, and the listing specifies the automatic needle threader and the jam-resistant drop-in top bobbin, which are the two steps beginners most often give up on.
 Thread
Coats & Clark thread$8.50 4.7 out of 5 stars · 4,705 ratings
The least expensive pick in this category, which makes it the low-risk way to find out whether you'll keep at it; all-purpose polyester, which covers nearly everything a beginner sews.
 Machine Needles
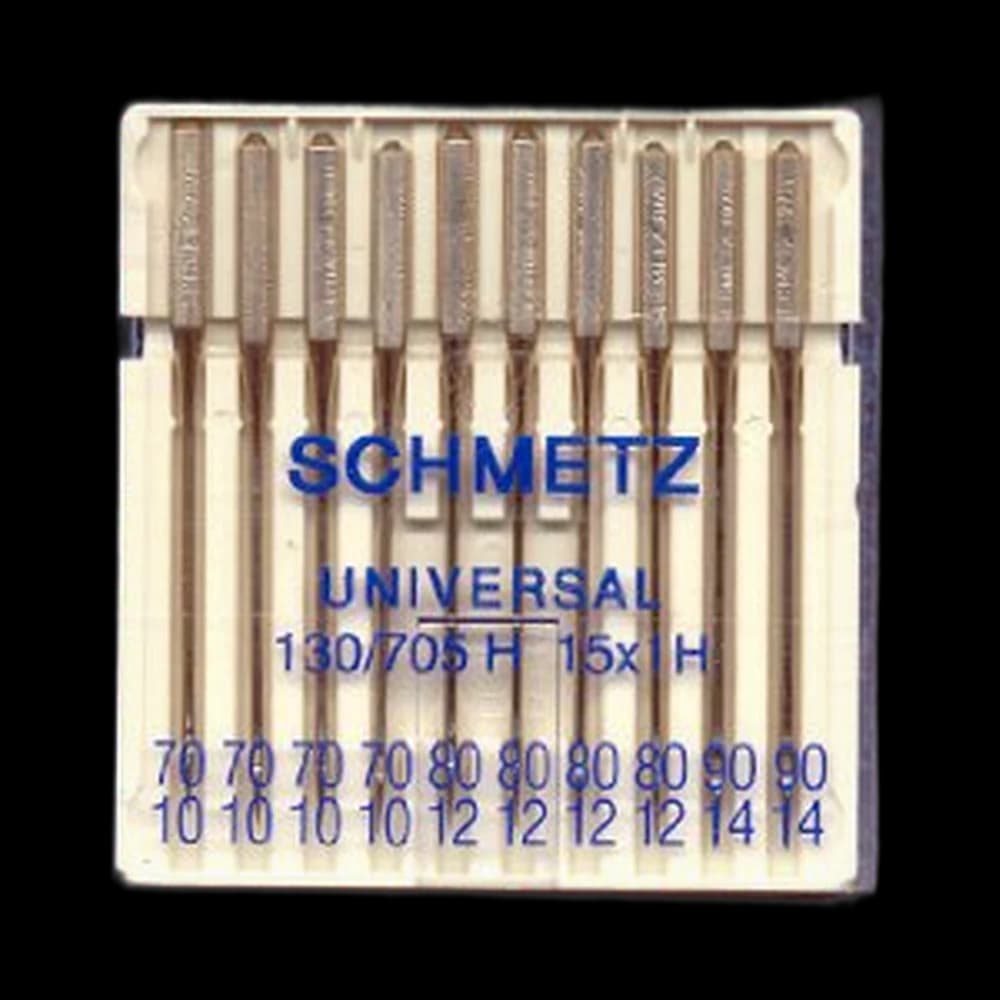
SCHMETZ Universal 130/705$7.45 4.8 out of 5 stars · 709 ratings
Priced in the lower half of this category; universal points, the default for ordinary woven fabric.
 Presser Feet
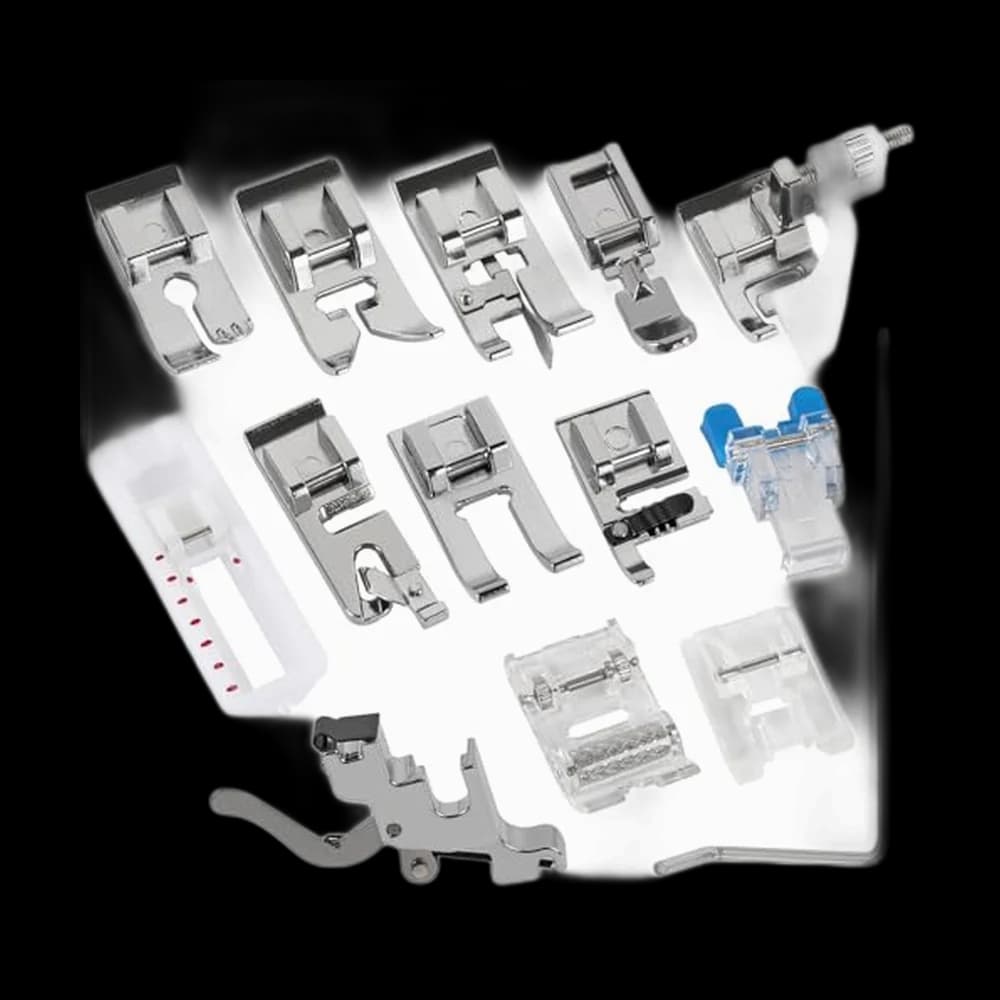
Shutao$8.99 4.5 out of 5 stars · 61 ratings
Researched from listings, specs and owner feedback — never hands-on testing. We may earn a commission; it never changes a pick.
Cut list
Everything below is cut as a plain rectangle. Seam allowance is 1/2-inch throughout, and it is already included in these numbers — so cut exactly what's listed and don't add anything.
- Outer panels: 2 pieces, 9-inch wide by 6-inch tall
- Lining panels: 2 pieces, 9-inch wide by 6-inch tall
- Zip tabs (optional but they make it look finished): 2 pieces, 2-inch by 3-inch, from lining fabric
A fat quarter is roughly 18-inch by 22-inch, so one gives you both outer panels with plenty left over. The finished pouch lands at about 8-inch wide by 5-inch tall.
Cut the tallest, straightest edge of the fabric first and work off that — rectangles that aren't square are the number one reason a pouch ends up lopsided, and no amount of careful sewing fixes a crooked cut.
Steps
Prep (10 minutes)
- Press all four panels flat. Wrinkles cut and sew as though they're extra fabric, then vanish when you press later, and your panels end up different sizes.
- Thread the machine and wind a bobbin. If it's been a while, the threading walkthrough covers the path step by step.
- Fit the zipper foot and check the needle position by turning the handwheel by hand, one full turn, before you touch the pedal. A zipper foot sits off-centre; if the needle is going to hit it, you want to find out at hand speed, not at 700 stitches a minute.
Attach the first side of the zip (20 minutes)
- Lay one outer panel face up. Lay the zip on top along the long top edge, face down, teeth pointing in toward the fabric. Lay one lining panel on top of that, face down. You now have a sandwich: outer (right side up), zip, lining (right side down).
- Pin or clip through all three layers along that top edge.
- Sew the full length with the zipper foot, about 1/2-inch from the edge, running the foot alongside the zip teeth.
- Open it out so both fabrics fall away from the zip, wrong sides together, and press. Then topstitch about 1/8-inch from the folded edge, through all layers.
That topstitch line is not decoration. It holds the lining back from the teeth, which is the single thing that stops a zip catching fabric every time you open the pouch.
Attach the second side (20 minutes)
- Repeat the sandwich on the other side of the zip with the remaining outer and lining panels: outer face up, the zip unit laid on it face down, lining on top face down.
- Sew, open out, press, and topstitch exactly as before.
Take the pull past the foot before you sew over it. Stop with the needle down, lift the foot, slide the pull behind you, drop the foot, carry on. Sewing over a zip pull is what breaks needles and produces that sudden wobble in the stitch line. The full zipper guide walks through this move in more detail if it feels awkward.
Close it up (25 minutes)
- Open the zip at least halfway. Skip this and you will sew the pouch shut with no way to turn it right side out. It happens to nearly everyone once.
- Arrange the pouch so the two outer panels are right sides together and the two lining panels are right sides together, with the zip lying flat in the middle. Pin the zip tape so it points toward the lining side.
- Sew all the way around the outside edge with a 1/2-inch seam, leaving a 3-inch gap in the bottom of the lining — that gap is your turning hole.
- Trim the corners diagonally, close to but not through the stitching. This removes bulk so the corners come out pointed instead of rounded.
- Reach through the gap, pull the whole thing right side out through the open zip, and poke the corners out with something blunt — a chopstick, not scissors.
Finish (15 minutes)
- Fold the raw edges of the gap in and close it with a slip stitch by hand, or edge-stitch it closed on the machine. Nobody will ever see it. If hand stitching feels unfamiliar, the hand stitch basics cover the slip stitch.
- Push the lining down inside the outer, press the top edge firmly, and admire the fact that you now own a zip you installed.
When it goes wonky
| What happened | Why | What to do |
|---|---|---|
| The zip is bumpy and wavy | The fabric fed faster than the zip tape under the foot | Unpick, re-pin every 2-inch, and sew slowly without pulling from behind |
| Fabric catches in the teeth every time | The topstitch line was skipped or sits too far from the fold | Add a topstitch 1/8-inch from the fold on both sides — this fixes it completely |
| One end of the pouch is shorter | The two panels shifted while sewing the second zip seam | Trim both sides even after the zip is in but before you sew the outer seams |
| The stitch line jogs near the pull | You sewed past the zip pull without moving it | Unpick just that section, move the pull, re-sew a couple of inches |
| It won't turn right side out | The zip was closed when you sewed the outer seams | Unpick 3-inch of the lining bottom seam, turn, then close by hand |
A wonky first pouch is still a pouch. Put pencils in it, use it for a month, and make the second one — the second one is always startlingly better, and that jump is the entire point of making small things.
What you just learned
- Installing a zip between two layers — the sandwich method here is the same one used for cushion covers, pouch fronts, and bag pockets at every size.
- Topstitching for function, not looks — a stitch line placed to control where fabric sits, which is most of what topstitching does in real garments.
- Bagging out a lining — sewing two shells together and turning them through a gap. This one technique is the backbone of lined bags, jackets, and pouches forever after.
- Working with a specialty presser foot — swapping feet and checking needle clearance before you sew.
The natural next step for that lining trick is the reversible bucket hat: two complete hats sewn together and turned through a gap in the brim, the same bag-out you just did, on curves. If you'd rather see everything at this stage side by side first, the Stitcher level page lays out the whole set.
Supply checklist
9 lines · 90 minutes · $11–$19 in materials
- A sewing machine that takes a zipper footYou may own oneAlmost every machine does. Check the foot comes off — snap-on and screw-on shanks both work — before you buy a foot for it
- Two fat quarters (outer + lining)$6–$10 for the pairQuilting cotton is stable and doesn't slide around while you sew
- One 20 cm zip (nylon coil, closed-end)$2–$4Coil zips are soft, cheap, and won't wreck a needle if you nick one
- All-purpose polyester thread$3–$5One spool does the whole project; match it roughly to the outer fabric
- A universal size 80/12 machine needle$5 for a packFresh needle, cotton weight — this is the single cheapest way to avoid skipped stitches
- A zipper foot for your machine$8–$15 in most presser foot setsIt's a narrow foot that lets you stitch close to the zip teeth
- Fabric scissors or a rotary cutter$12–$30Either works; a rotary cutter is faster on straight rectangles
- An ironNot optional. Pressing is what makes a pouch look bought instead of homemade
- A seam ripperYou will use it. Everyone does
Quantities and substitutions are the ones in the supply table above; costs are rough US shop prices at the time of writing, not live listings. Borrowing and substituting are always fine — a wonky first attempt in the wrong fabric still counts.
You have put in a zip. That opens up most of Level 2.
Every SewingPath project guide is free and stays free. Some shaped garments need a separately sourced paper pattern; those pages say so before the cut list. When a project needs equipment we link the gear category and name our current pick beside the supply list, with a link to buy it if you are missing it — never in the middle of the steps. Picks are researched, not hands-on tested — see how we score gear.