Seam Rippers
A seam ripper is a small forked tool that cuts stitches out of a seam without cutting the fabric: the long tine slides under a stitch, the ball on its tip keeps the point off the cloth, and the notch between the tines does the cutting. Every pick below costs a few dollars. You will use one constantly, and that is not a sign of failure.
5 picks · $4–$9 · prices checked October 8, 2026 · researched from listings, specs and owner feedback, not hands-on testing
ZMAAGG Seam Rippers, 2 Big and 2 Small — $4.99. Priced in the lower half of this category.. See why
We may earn a commission from Amazon — it never changes a score.
Filter picks5 of 5
Showing 5 of 5 picks — no filters applied
Showing 5 of 5 picks — no filters applied
Seam Rippers compared
Priced in the lower half of this category.
Priced in the lower half of this category.
The least expensive pick in this category, which makes it the low-risk way to find out…
A straightforward option in this category.
The listing states a stainless-steel blade.
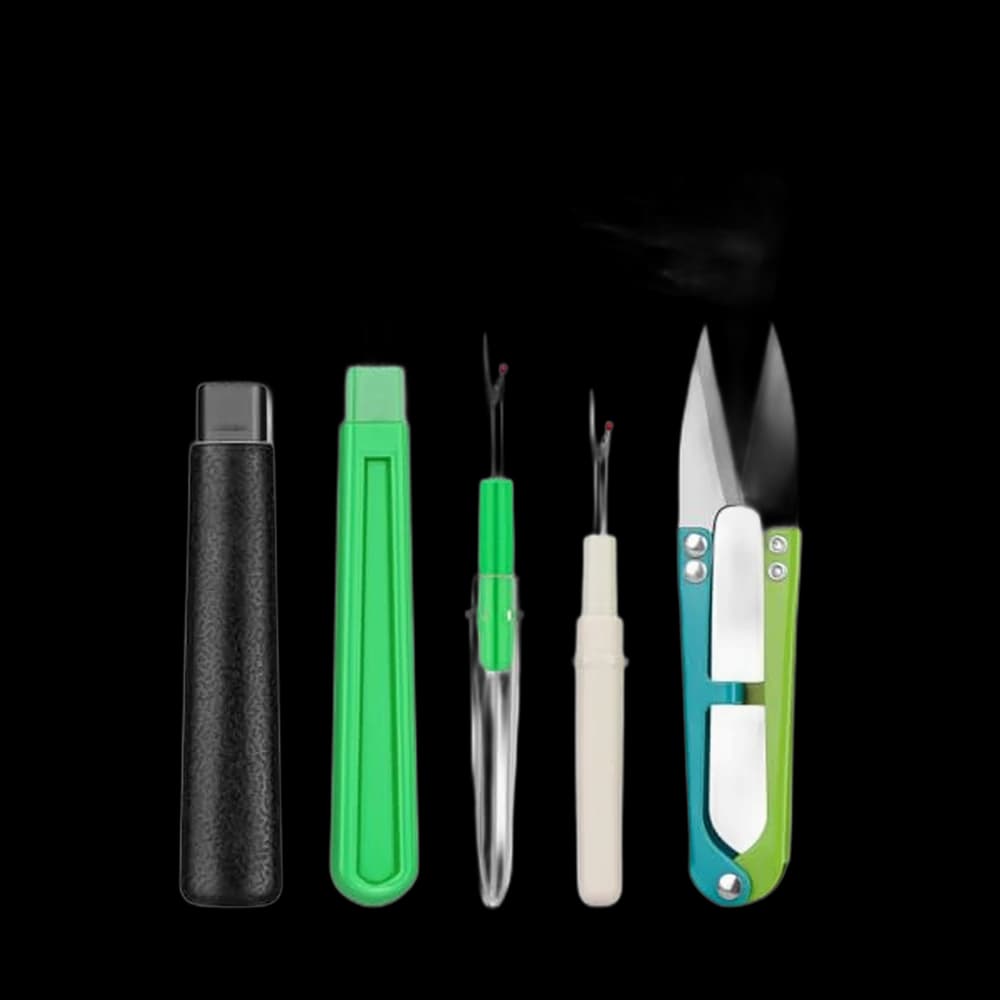
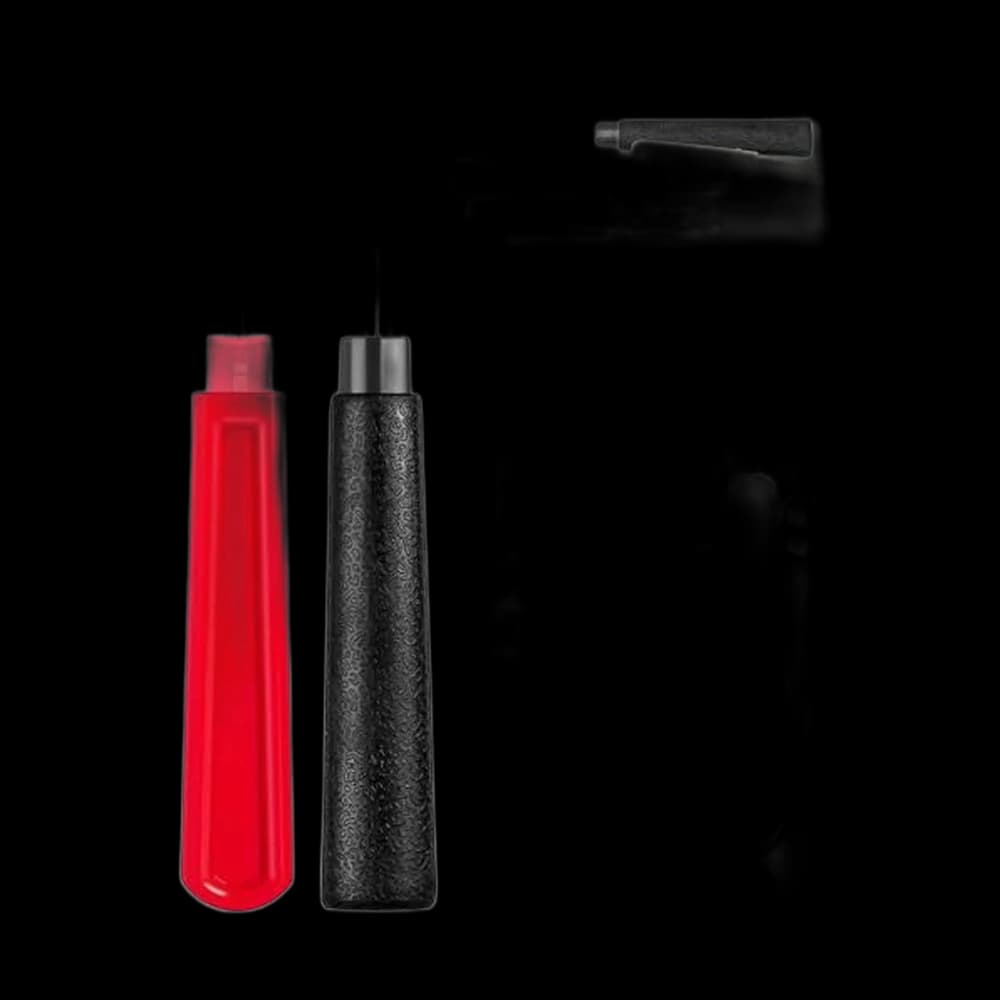
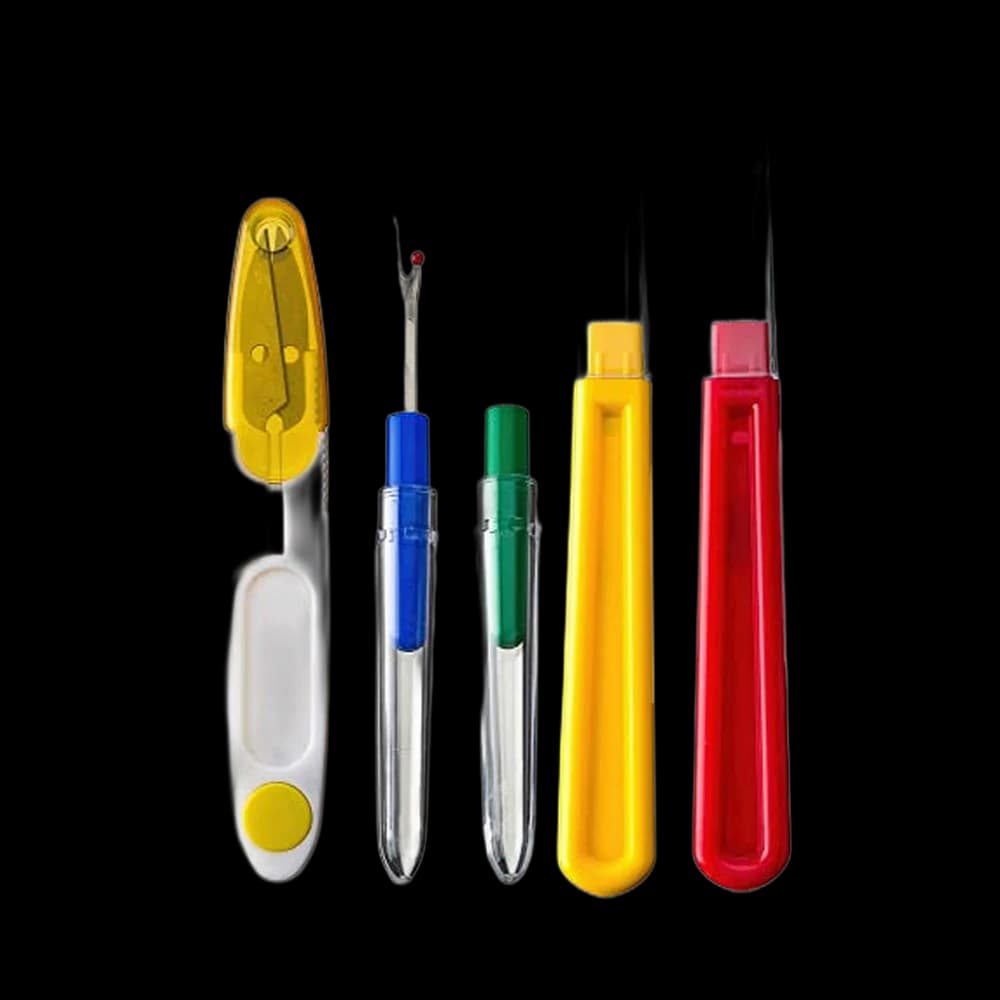
Scroll sideways for scores, prices and buy links
| Rank | Pick | Best for | StitchScore | Price | Buy |
|---|---|---|---|---|---|
| Editorial #1 | TopZMAAGG Seam Rippers, 2 Big and 2 Small 4.8 out of 5 stars · 250 ratings | Priced in the lower half of this category. | 91 | $4.99 | Buy on Amazon |
| Editorial #2 | FIVEIZERO Seam Rippers, 2 Big and 2 Small 4.7 out of 5 stars · 1,614 ratings | Priced in the lower half of this category. | 88 | $4.99 | Buy on Amazon |
| Editorial #3 | Ortarco Seam Ripper and Thread Remover Kit 4.7 out of 5 stars · 2,043 ratings | The least expensive pick in this category, which makes it the low-risk way to find out… | 84 | $3.99 | Buy on Amazon |
| Editorial #4 | ZMAAGG 6PCS Black Seam Rippers 4.7 out of 5 stars · 710 ratings | A straightforward option in this category. | 81 | $5.99 | Buy on Amazon |
| Editorial #5 | CampTek Seam Ripper Set with Thread Snips 4.8 out of 5 stars · 6,912 ratings | The listing states a stainless-steel blade. | 80 | $8.99 | Buy on Amazon |
Compare two picks
Tap an unselected chip to compare it with your current right-hand pick — all 5 picks available.
What goes with Seam Rippers
The things this shelf usually needs alongside it — one current pick per category, and nothing here is required to start.
 Fabric Scissors
Proshear$8.99 4.8 out of 5 stars · 4,040 ratings
The least expensive pick in this category, which makes it the low-risk way to find out whether you'll keep at it; the handles are the ergonomic style, which matters more than it sounds once you are cutting out a whole garment.
 Pins & Fabric Clips
MumCraft 100$5.69 4.8 out of 5 stars · 45,086 ratings
Most unpicking is a seam that shifted because nothing held it.
Researched from listings, specs and owner feedback — never hands-on testing. We may earn a commission; it never changes a pick.
Guides that go with Seam Rippers
How to choose a seam ripper
It is a few dollars of tool, so the question is not which one is best but which one you will still be willing to hold twenty minutes into unpicking a seam.
- The guard ball — The small ball on the short tine rides against the fabric so the point cannot dive through it. A ripper without one is a little faster and a lot easier to put a hole in a finished garment with. On a first ripper, keep the ball.
- Handle size — The slim pen-shaped ripper that comes free in a machine's accessory box is fine for one seam and miserable for a whole side seam. A larger rubberised or bulb-shaped handle costs a couple of dollars more and is the thing owners mention most often.
- Whether it comes with a cap — The cover is not packaging. A capped ripper can live in a tin with your scissors without dulling its point on everything else in there, and on some models the cap reverses onto the handle to lengthen it.
- Buy more than one — A ripper has no moving parts and cannot be sharpened: the point dulls, and a dull point needs pressure, which is how fabric gets torn. Multipacks cost little more than singles, so one can live by the machine and one by the chair.
Often overlooked: the lint the unpicking leaves behind. Cutting a seam out leaves hundreds of short thread ends welded into the weave, and sewing straight over them is what makes the second seam look worse than the first. Tweezers, a lint roller or a strip of tape clears them in seconds — and pressing the seam flat before you re-sew it matters more than any of it.
How to use a seam ripper safely
A seam ripper has a forked tip: a long tine with a small ball on the end, a short tine, and a cutting notch in the crook between them. The ball is a guard — it rides against the fabric so the point does not go through it.
There are four kinds on the shelf and they are not interchangeable. The standard forked ripper is the one in every starter kit and the one described above. An ergonomic ripper puts the same fork on a fat rubberised handle, which is the difference between unpicking a whole side seam and giving up halfway down it. A ceramic or safety-blade stitch remover cuts thread against a blunt edge rather than a point, so it is much harder to push through cloth by accident. And a seam or thread knife — a small hooked blade — slices a run of stitches quickly and gives you no guard at all, which makes it a tool for someone who has already unpicked a lot.
The stitch you are taking out decides the method. A serged or overlocked seam has no single locked stitch to cut, so do not saw through the loops: find the needle threads, the straight lines running just inside the looped edge, cut those every few stitches, and the looper threads pull away as one chain.
Two habits keep it safe. Push the ripper away from the hand that is holding the fabric, never towards it, and put the cap back on when you stop, so the point is not waiting in the tin for your fingers.
For an ordinary straight-stitched seam, the method below is slower and far safer than the way most people try it first.
- Work from the wrong side. Slide the long tine under one stitch and push forward so the thread rides down into the notch and is cut there. Do not saw at the fabric with the point.
- Cut every third or fourth stitch rather than every one. Then turn the work over and pull the thread on the other side: the seam lifts away in one piece and you have cut a quarter as many stitches.
- Clean up before you re-sew. Pick the short thread ends off with tweezers or a lint roller, then press the seam flat — a pressed line is far easier to stitch straight the second time.
Frequently asked
- What is a seam ripper used for?
- Taking stitches out: unpicking a seam sewn in the wrong place, letting down a hem, opening a buttonhole after it has been sewn, and removing old stitching when you alter or mend something. It cuts one thread at a time, so the fabric on either side of the seam survives to be sewn again.
- What's a good alternative to a seam ripper?
- Small, sharp embroidery scissors or thread snips, used to cut one stitch at a time from the wrong side before you pull the thread out. It is slower, and scissors have no guard ball, so it is easier to nick the fabric. Treat it as a stopgap rather than a replacement, since a ripper costs a few dollars.
- How do you use a seam ripper without cutting the fabric?
- Work from the wrong side, slide the long tine under a single stitch, and push forward so the thread rides down into the notch and is cut there — the notch does the cutting, not the point. Cut every third or fourth stitch, then turn the work over and pull the thread from the other side; the seam lifts away in one piece.
- Do seam rippers go blunt?
- Yes, and there is no way to sharpen the notch. The signal is that you start pressing to get through a stitch, and pressure is what tears fabric. A ripper is a consumable rather than a tool you keep for life — replacing one costs a few dollars.
- Seam ripper or small scissors — which should I use?
- The ripper, on any seam you intend to sew again. Scissors cut whatever is under the blade, and a seam allowance is exactly where you cannot afford to be wrong. Keep small scissors for snipping thread ends and clipping curves.
- What is the little ball on the end for?
- It is a guard. The ball rides along the fabric underneath the seam so the point stays above it instead of pushing through, which is why the balled tine is the one that goes under the stitch.
- How do you unpick a serged or overlocked seam?
- Differently, because there is no single locked stitch to cut. Find the needle threads — the straight lines running inside the looped edge — and cut those every few stitches; the looper threads then pull away as one chain. On topstitching, cut on the side you would rather not look at afterwards; on a buttonhole, cut the bar tacks at each end first.
Prices and availability are the most recent values we pulled from Amazon and refresh on a cycle; confirm the live price before buying. We may earn a commission on a purchase, and it never changes a score. See how we score gear.