Café Apron With Pockets
Where topstitching stops being scary and starts looking deliberate.
- Equipment
- Sewing machine and an iron
- Materials cost
- $11–$23 in materials
- Assumes you can
- Straight seams you can sew and press
- Full supply list
- Five-eighths of a yard of mid-weight cotton, cotton tape for ties, thread and an iron.

By the end of one evening you will have a half-apron that ties at the waist, hangs to about mid-thigh, and carries a divided pocket across the front for a phone, a pencil, or a pair of snips. It is the first project where the stitching is meant to be seen — every hem and every pocket edge is topstitched on the outside, in plain view. That sounds like pressure. It is actually the opposite: once you learn to let the presser foot edge ride against the fold, straight lines stop being a matter of nerve and start being a matter of setup.
What you need
| Item | What to look for | Roughly |
|---|---|---|
| A sewing machine | Straight stitch for the hems, a zigzag or a backstitch to anchor the ties. Any beginner machine covers both | You may own one |
| Mid-weight cotton, ⅝ yard (about 0.6 m) | Quilting cotton, canvas, drill or a heavier linen blend — something that holds a press. Laid out on the straight grain, the cut list uses about 21 inches of a 44-inch-wide fabric; the rest is room for prewash shrinkage and straightening the edge | $5–$12 |
| Cotton tape, 60 inches total | 1-inch or 1.25-inch wide twill tape for the ties | $3–$6 |
| All-purpose thread | Polyester or cotton, one spool matching or deliberately contrasting | $3–$5 |
| A universal 80/12 machine needle | Fresh, not the one that has been in there since last year | $1–$3 |
| Fabric scissors or a rotary cutter | Either works; the cutter is faster on long straight edges | $12–$40 |
| An iron | Non-negotiable on this one — the press does half the sewing | $20–$60 |
| Pins or clips, a ruler, a seam ripper | The ripper is equipment, not a confession | $5–$15 |
If you are choosing between cutting tools, the short version is that scissors are more forgiving on curves and a rotary cutter is more accurate on long straight lines. This project is all long straight lines. The rotary cutter versus scissors comparison walks through the trade-off if you are deciding.
The gear this project uses
One current pick per tool or material the supply list links, in the order it lists them. Borrow, substitute or skip — a wonky first attempt with the wrong scissors still counts.
 Sewing Machines
Brother XM2701$143.14 4.6 out of 5 stars · 19,162 ratings
A first machine — 27 built-in stitches is enough to sew clothes without a menu to decode, and the listing specifies the automatic needle threader and the jam-resistant drop-in top bobbin, which are the two steps beginners most often give up on.
 Thread
Coats & Clark thread$8.50 4.7 out of 5 stars · 4,705 ratings
The least expensive pick in this category, which makes it the low-risk way to find out whether you'll keep at it; all-purpose polyester, which covers nearly everything a beginner sews.
 Machine Needles
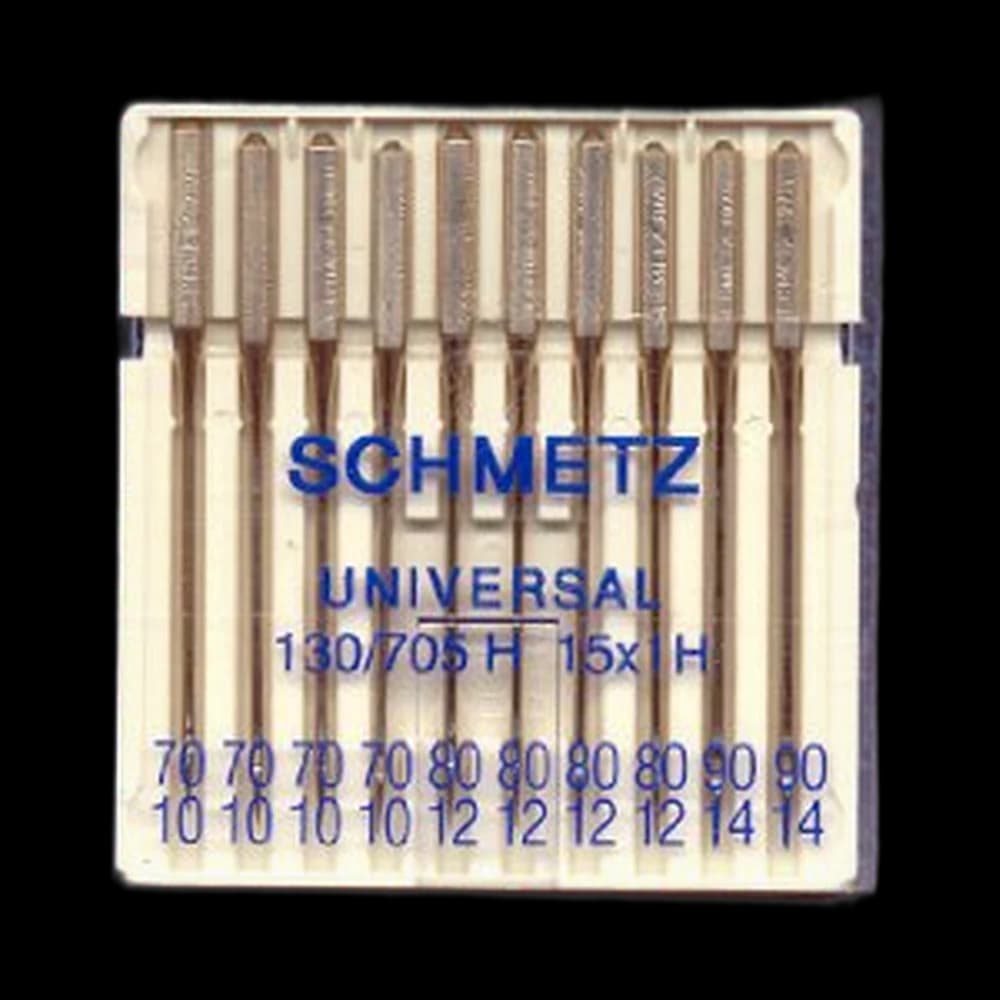
SCHMETZ Universal 130/705$7.45 4.8 out of 5 stars · 709 ratings
Priced in the lower half of this category; universal points, the default for ordinary woven fabric.
 Fabric Scissors
Proshear$8.99 4.8 out of 5 stars · 4,040 ratings
Researched from listings, specs and owner feedback — never hands-on testing. We may earn a commission; it never changes a pick.
Cut list
All measurements include a half-inch seam allowance unless noted. Cut on the straight grain — parallel to the selvage — so the apron hangs flat instead of twisting on the body.
- Apron body — 1 piece, 22-inch wide by 17-inch tall. After the double-fold side and bottom hems and insertion into the band, it finishes roughly 20 inches wide with a 15.5-inch drop.
- Pocket panel — 1 piece, 15-inch wide by 8-inch tall. Becomes two pockets once you divide it.
- Waistband — 1 piece, 23-inch wide by 4-inch tall. The four-fold construction finishes about 23 inches by 1 inch; the extra width beyond the 20-inch hemmed body gives room to bury the tie ends.
- Cotton tape ties — 2 pieces, 30 inches each. Cut the ends at a slight angle so they are easier to thread through a hand.
Nothing here needs a paper pattern, but if the idea of grain, selvage and seam allowance is still hazy, how to read a sewing pattern covers the vocabulary in one sitting.
Steps
Cut and press
- Wash and press the fabric first. Cotton shrinks. An apron that shrinks after its first hot wash pulls its topstitching into little waves, and you cannot iron that back out.
- Square one corner, then measure from it. Every piece measured from the same true corner will be parallel to every other piece. Measuring from a cut edge you eyeballed compounds the error across all four pieces.
- Cut all four pieces, then press them flat again. Cutting introduces creases. Sewing over a crease is how a straight line becomes a curved one.
The pockets
- Hem the top edge of the pocket panel. Fold the top edge over half an inch to the wrong side and press. Fold again by another half inch, press, and stitch about an eighth of an inch from the inner fold. This double fold hides the raw edge completely, so the pocket cannot fray from the inside where you will never see it happening.
- Press the other three edges under by half an inch each. Do not stitch them. These folded edges get caught when you attach the pocket to the apron. Press the bottom corners by folding the sides in over the bottom fold, so the corner sits square rather than bunching.
- Position the pocket on the apron body. Centre it left to right, and place its top edge about 5 inches down from the top raw edge of the apron. Pin generously — this is the piece most likely to shift while you sew it.
- Topstitch the pocket down along both sides and the bottom, an eighth to a quarter inch from the folded edge, backstitching firmly at both top corners. Those two corners take every bit of the strain when you shove a phone in.
Your topstitching does not have to be beautiful. It has to be consistent. A line that runs a steady quarter inch from the edge looks intentional even if it wobbles by a hair. A line that starts at an eighth and drifts to a half is the one that reads as an accident. Set your needle position, pick an edge on your presser foot to follow, and then stop watching the needle and watch the foot instead.
- Divide the pocket. Stitch a straight vertical line from the top hem down to the bottom edge, splitting the panel into two pockets — 7 inches and 8 inches, or dead centre, whichever suits what you carry. Backstitch at the top; that is the stress point.
The hems
- Hem the two sides of the apron body using the same double half-inch fold: press, press again, stitch near the inner fold.
- Hem the bottom edge the same way. Do the sides before the bottom so the bottom hem crosses over and encloses the side hem ends, which is neater and stronger. The double-fold technique is the same one used on trousers, so if you want a deeper explanation of what makes a hem lie flat, how to hem trousers covers it in detail.
Staystitching and the waistband
- Staystitch the top edge about 3/8-inch from the raw edge so it cannot stretch while you handle it. After the two double-fold side hems, the top measures about 20 inches; keep it flat rather than gathering it into the 23-inch band.
- Press the waistband. Fold it in half lengthwise, wrong sides together, and press to mark the centre. Open it out, then fold each long raw edge in to meet that centre crease and press again. You now have a four-layer band with no raw edges showing.
- Tuck the tape ties into the short ends. Slip about 1 inch of each cotton tape into the open ends of the band, between the folds.
- Sandwich the apron top inside the band. Centre the 20-inch top edge between the buried tie ends, slide it into the band's centre fold, and clip everything in place. Clips beat pins here — there are too many layers for a pin to sit flat.
- Topstitch the entire band in one pass, an eighth of an inch from the lower folded edge, straight off one end, along the top edge, and back. Backstitch hard over the tape ends. That single line of stitching is holding the ties, the band and the apron together, so if your machine will do a slightly longer stitch length — around 3.0 — use it. Longer stitches sit better on top and pull less.
If your machine is threading unevenly through the thick waistband layers, re-thread it from scratch before you blame the fabric — how to thread a sewing machine is the two-minute fix for most tension complaints.
When it goes wonky
| What happened | Why | The fix |
|---|---|---|
| Topstitching drifts away from the edge | You were watching the needle instead of the presser foot | Pick a mark on the foot, align it to the fold, and watch that instead. Re-sew the drifting section; the old line usually disappears into the new one |
| Puckering along a hem | Fabric fed unevenly, or the stitch is too short for the layers | Lengthen the stitch, guide the fabric without pulling it, and let the feed dogs do the moving |
| Pocket corners pull open after a week | Not enough backstitch at the top corners | Sew a small triangle or a short back-and-forth reinforcement across each top corner |
| The apron top will not sit evenly inside the waistband | The 20-inch top edge was not centred, or it stretched before staystitching | Re-mark both centres, match them first, and re-clip outward without stretching either edge |
| Ties pull out of the band | The tape was not caught deeply enough | Unpick the last inch, push the tape a full inch inside, and stitch across it twice |
Ripping a seam is not starting over. It is one of the four or five things you will do most often for the rest of your sewing life, and getting comfortable with it early is worth more than getting a seam right the first time.
What you just learned
- Consistent topstitching — the visible-stitch skill that shows up on every bag, cuff, waistband and patch pocket you will ever make.
- The double-fold hem — a raw edge fully enclosed with no serger, no bias tape, and no special foot.
- Patch pockets — pressing the seam allowance before attaching, and reinforcing the corners that carry the load.
- Staystitching and an enclosed waistband — controlling a raw edge before sandwiching it inside a clean folded band.
When you want the next step up, the tote bag project in the library reuses the patch pocket and topstitching almost move for move, then adds boxed corners and a lined interior. Or browse everything at your level on the Stitcher page and pick whichever project you would actually use.
Supply checklist
8 lines · 2 hours · $11–$23 in materials
- A sewing machineYou may own oneStraight stitch for the hems, a zigzag or a backstitch to anchor the ties. Any beginner machine covers both
- Mid-weight cotton, ⅝ yard (about 0.6 m)$5–$12Quilting cotton, canvas, drill or a heavier linen blend — something that holds a press. Laid out on the straight grain, the cut list uses about 21 inches of a 44-inch-wide fabric; the rest is room for prewash shrinkage and straightening the edge
- Cotton tape, 60 inches total$3–$61-inch or 1.25-inch wide twill tape for the ties
- All-purpose thread$3–$5Polyester or cotton, one spool matching or deliberately contrasting
- A universal 80/12 machine needle$1–$3Fresh, not the one that has been in there since last year
- Fabric scissors or a rotary cutter$12–$40Either works; the cutter is faster on long straight edges
- An iron$20–$60Non-negotiable on this one — the press does half the sewing
- Pins or clips, a ruler, a seam ripper$5–$15The ripper is equipment, not a confession
Quantities and substitutions are the ones in the supply table above; costs are rough US shop prices at the time of writing, not live listings. Borrowing and substituting are always fine — a wonky first attempt in the wrong fabric still counts.
Ties, hems and topstitching done. Curves come next.
Every SewingPath project guide is free and stays free. Some shaped garments need a separately sourced paper pattern; those pages say so before the cut list. When a project needs equipment we link the gear category and name our current pick beside the supply list, with a link to buy it if you are missing it — never in the middle of the steps. Picks are researched, not hands-on tested — see how we score gear.