How to Hem Pants by Hand, Machine or Hemming Tape
Tools this guide uses
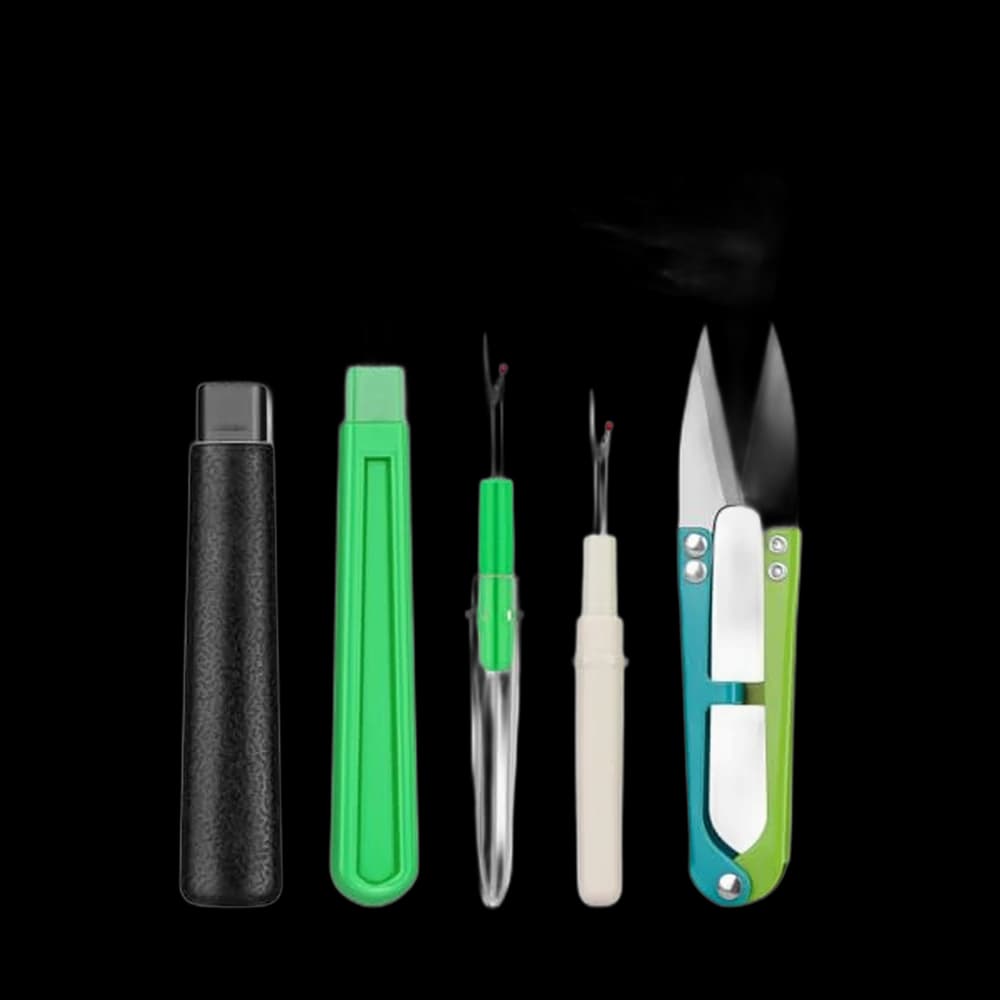
Seam Rippers · ZMAAGG Seam Rippers, 2 Big and 2 Small$4.99 4.8 out of 5 stars · 250 ratings
To take out the old hem: a ripper, not scissors.
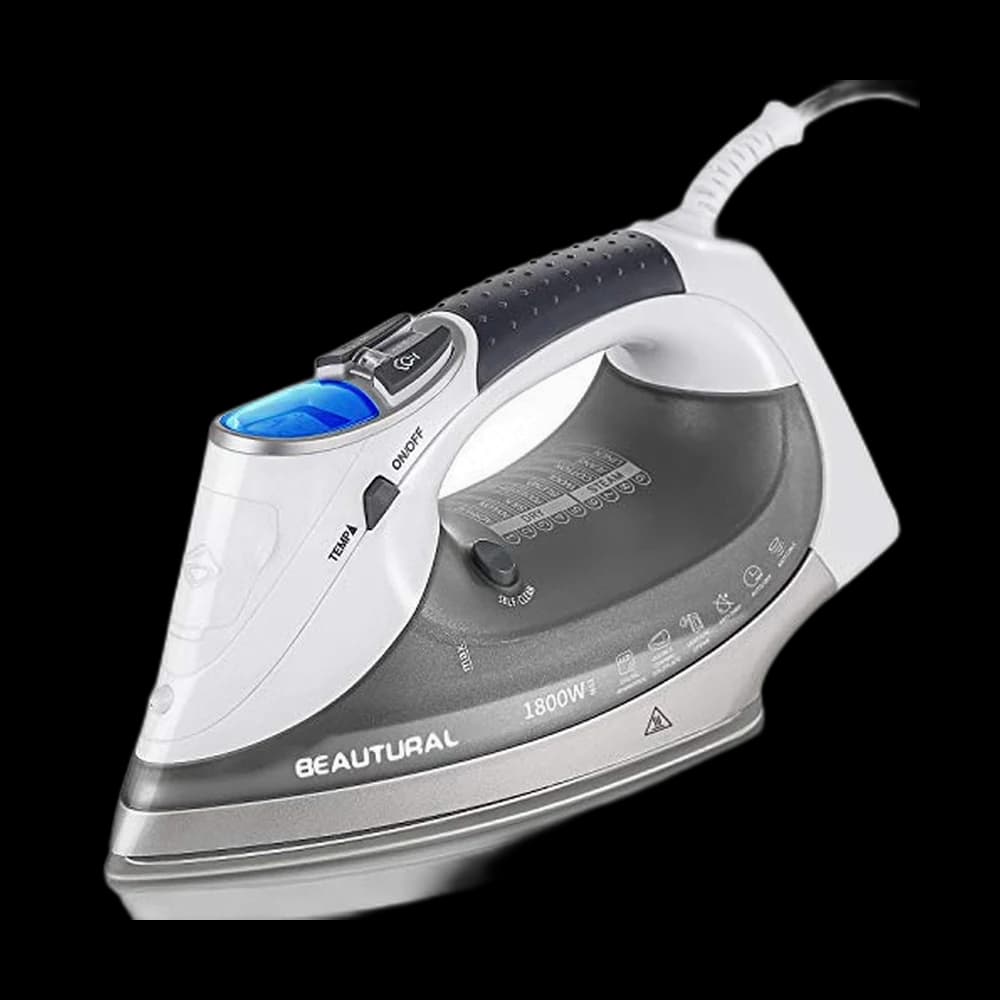
Irons · Beautural steam iron$41.99 4.5 out of 5 stars · 19,802 ratings
A steam iron with weight does most of the pressing work.
Researched, not hands-on tested. We may earn a commission; it never changes a pick.
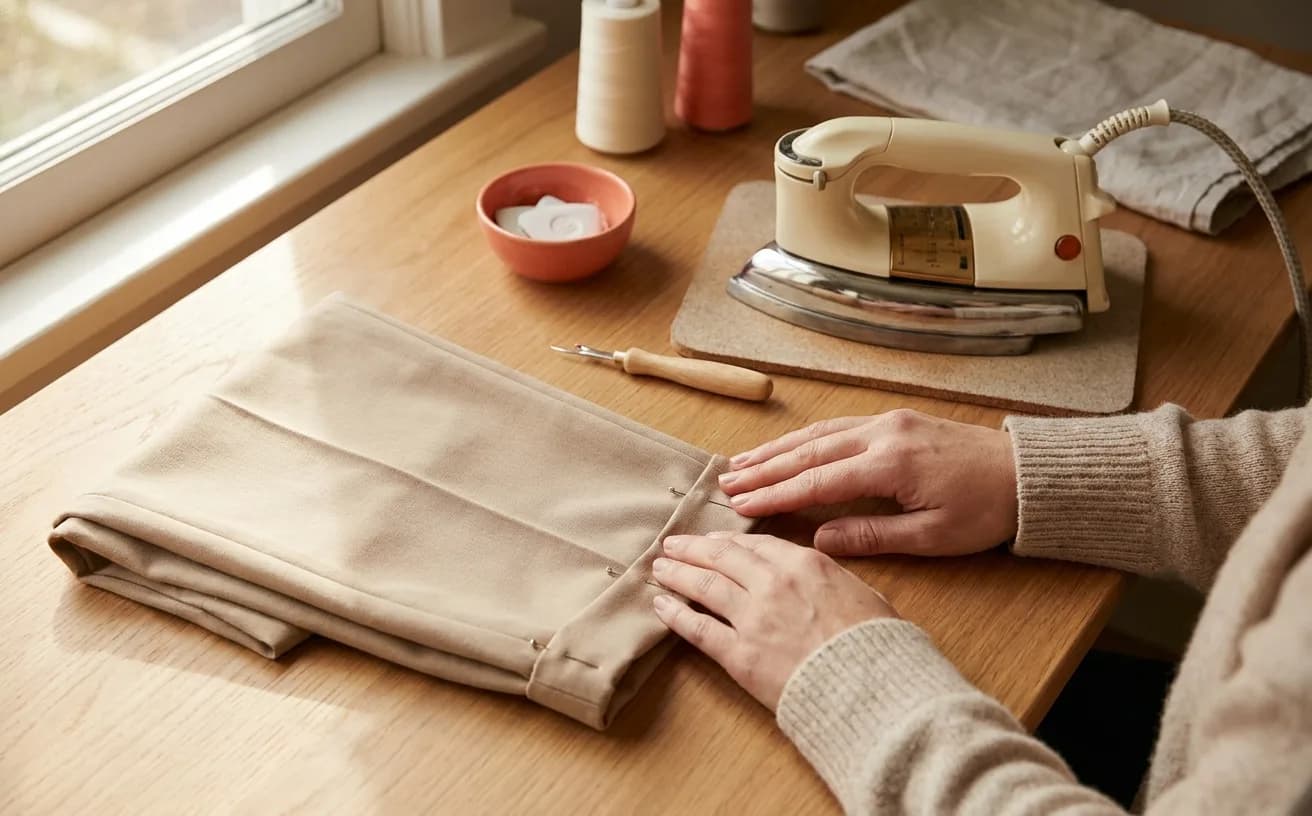
The short version
- Always measure with the shoes you will actually wear — heel height changes the finished length more than any other factor.
- Pin one leg on your body, then transfer the measurement to the second leg rather than re-pinning, or you end up with two different lengths.
- A double fold encloses the raw edge and stops fraying, so no serger or overlocker is needed for a durable machine hem.
- The jeans trick sews a tuck just above the original topstitching, so the factory hem and its fade line survive the shortening.
- A hand blind hem uses the slip stitch and is the right choice for suit pants, where machine stitching would look wrong.
- Pressing is not a finishing step — a hem is made by the iron and merely secured by the thread.
Pants come in three lengths: too long, much too long, and the pair you already hemmed. (Trousers, if that is the word you grew up with — same job, same four methods.) Hemming is the most useful repair skill there is — it is the difference between clothes that fit you and clothes that fit a person of average height who does not exist. It is also forgiving work, because a hem is a straight line on a flat edge and nobody inspects the inside of your ankle.
There are four honest ways to do it, and the right one depends on the pants rather than on your skill level: a machine straight-stitch hem, a hand blind hem, the original-hem trick for jeans, and hem tape — including when tape is genuinely correct and not a shortcut to feel bad about. This is core Level 2 Stitcher territory.
Step one: measure with the shoes on
Almost every hem that goes wrong goes wrong here, before any stitching happens.
- Put on the actual shoes you will wear with these pants. Heel height changes the finished length more than anything else you will do today.
- Stand normally on a hard floor. Do not stand up straighter than you live.
- Fold the excess up on the outside and pin it at the front of one leg, at the length you want. Have someone check the back if you can — pant legs usually want to sit slightly longer at the back.
- Walk a few steps, sit down, stand up, check a mirror, adjust.
- Pin all the way around that one leg, folding the excess up evenly.
Where the hem should land: pants with a break sit on the top of the shoe; cropped and tapered legs sit at or just above the ankle bone; jeans usually want to just kiss the top of the shoe. When you are unsure, pin it a little long. You can always take more off; you cannot put it back.
Now take the pants off, lay them flat, and measure how much you folded up. That single number — the amount removed — is what you transfer to the second leg. Do not re-pin the second leg on your body, because you will get a slightly different answer and end up with two different lengths.
The two numbers that matter
The amount removed is how much shorter the pants get, measured from your pinned leg. The hem allowance is the fabric folded up inside the finished hem, and it is your choice. Together they give you the cut line: original hem edge, minus the amount removed, plus the hem allowance.
| Pant type | Suggested hem allowance | Why |
|---|---|---|
| Suit and dress pants | 1.5 to 2 inches | Weight in the hem makes the leg hang straight |
| Chinos and casual cotton | 1 to 1.5 inches | Enough body without bulk |
| Jeans and heavy denim | 0.5 inch, folded twice | Denim gets thick fast |
| Lightweight, drapey, linen | 0.5 to 1 inch | A deep hem shows through as a shadow |
Mark the cut line all the way around with chalk or a fabric marker, using a ruler so your line stays parallel to the existing hem. Cut only after you have checked both legs match.
Unpicking the old hem
You need the old hem out before you can build a new one. Use a seam ripper, not scissors — scissors cut fabric as often as they cut thread.
- Work from the inside, sliding the point under every third or fourth stitch and cutting; once a run is loose, pull the thread out rather than cutting every stitch.
- Brush the loose thread ends out. They tangle in the new stitching if you leave them.
- Press the old fold flat and open before doing anything else. That crease is memory, and it will fight you.
What we'd buy for this
One pick per category, chosen from the research pages linked in this piece. Borrow before you buy — nothing here is required to start.
 Irons
IronsBeautural steam iron$41.99 4.5 out of 5 stars · 19,802 ratings
Priced in the lower half of this category; the listing states a ceramic soleplate; it is a steam iron — pressing seams flat is half of sewing well.
 Ironing Boards
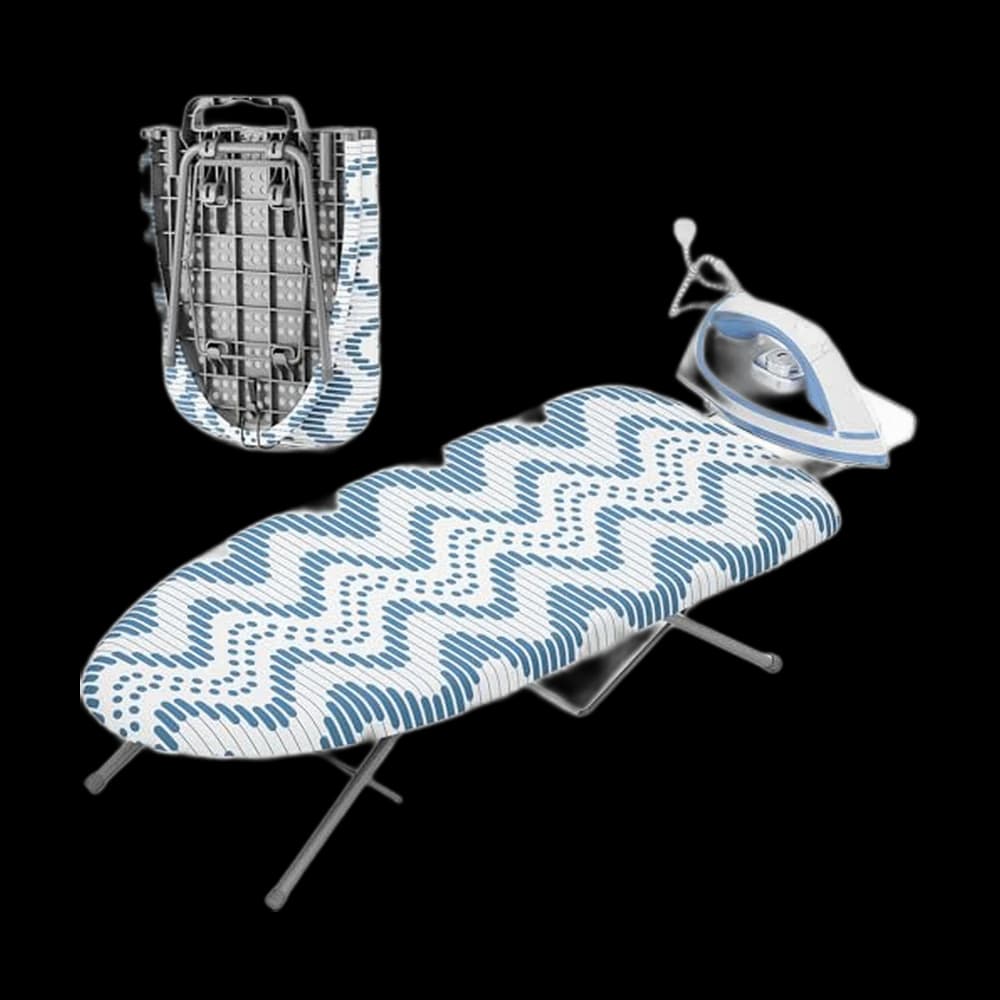
KINGBOARD$32.99 4.6 out of 5 stars · 671 ratings
The least expensive pick in this category, which makes it the low-risk way to find out whether you'll keep at it; the listing describes it as adjustable — check which part adjusts, because a board at the wrong height is what makes pressing tiring; it folds, which is what makes a sewing setup possible without a sewing room.
Researched from listings, specs and owner feedback — never hands-on testing. We may earn a commission; it never changes a pick.
Method 1: the machine straight-stitch hem
The workhorse. Visible stitching, fast, strong, and correct for jeans, chinos, work pants and anything casual.
- Fold the raw edge up by half your hem allowance and press.
- Fold up again by the same amount, enclosing the raw edge entirely. Press again. This double fold is what stops fraying — no overlocker needed.
- Pin from the inside, or better, press firmly enough that you barely need pins.
- Sew from the inside leg seam so your start and stop meet somewhere inconspicuous, keeping an even distance from the folded edge.
- Backstitch at the beginning and end, and trim the tails.
Sew with the tube, not against it. A pant leg is a narrow cylinder. Slide it over the free arm of your machine if it has one, and check every few inches that the back of the leg has not crept under the needle.
Method 2: the hand blind hem (slip stitch)
For suit pants, dress pants and anything where a visible line of machine stitching would look wrong. Slower, and genuinely better-looking. The stitch is the slip stitch, covered in basic hand sewing stitches:
- Fold and press the hem allowance up as normal. Finish the raw edge first — fold under about a quarter inch, or zigzag it on the machine. Any of the seam finishes without a serger works here.
- Fold the hem allowance back down on itself so about a quarter inch of the folded edge peeks out, and you are looking at the inside of the pant leg.
- Take a tiny stitch — one or two threads only — from the pant fabric, then a longer stitch travelling inside the fold of the hem allowance.
- Alternate. Keep the thread loose enough that it does not dimple the outside.
Only the tiny bites show on the right side, and in matching thread they disappear. Use a single thread, not doubled, and do not pull tight — a taut blind hem puckers into visible dots along the leg.
Method 3: keep the original hem (the jeans trick)
Jeans hems are made on industrial machines with heavy gold topstitching and a distinct faded wear line. Cut that off and the jeans look shortened. Keep it and they look like they came that way.
- Work out how much shorter you want the jeans — the amount removed.
- Fold the leg up on the outside so the original hem sits half the amount removed above the new finished length. Half, because the fold doubles.
- Pin so the original stitching line is even all the way around, and check the leg has not twisted.
- Sew a line just above the original hem's topstitching, through both layers, in ordinary matching thread. Keep it close and tidy.
- Trim the excess inside to about half an inch and press the tuck upward.
The original hem is the bottom of the jeans again, with a small tuck hidden above it. The fade line and gold stitching survive intact.
Honest caveat: this leaves a bulge inside the leg. On a modest shortening it is invisible. If you are taking off more than about three inches, cut and rebuild the hem instead.
Denim carries enough of its own rules — needle size, the bump where the side seams cross, the point at which the trick stops working — that it has a guide to itself: the denim hem, including the original-hem trick.
Method 4: hem tape — when it is honestly fine
Fusible hem tape is a strip of adhesive web that bonds two layers together under a hot iron. It is not sewing, and it is not cheating either.
Good answer when: the pants are a temporary fix (a costume, a growing child, a borrowed pair), the fabric is stable and mid-weight, or you do not own a machine yet and want them wearable tonight.
Wrong answer when: they will be washed often and hot, because bonds fatigue; the fabric is a fine wool suiting where adhesive stiffens the drape; or you want the alteration to be permanent.
Which method for which pants
| Method | Best for | Looks | Durability | Time |
|---|---|---|---|---|
| Machine straight stitch | Jeans, chinos, workwear | Visible stitch line | Excellent | 20 min |
| Hand blind hem | Suit and dress pants | Invisible | Very good | 45 min |
| Original-hem trick | Jeans with a wear line | Factory | Excellent | 30 min |
| Fusible hem tape | Temporary, no machine | Clean, no stitching | Fair | 10 min |
Pressing is half the job
If you take one thing from this guide, take this: a hem is made by the iron and merely secured by the thread. Every fold you press stays folded, feeds straight, and sews without pins fighting you.
- Press the old crease out before you measure, or it shadows through the new hem.
- Press each fold as you make it, not all at the end.
- Steam on cotton and denim; a pressing cloth on wool and synthetics so the iron does not leave a shine.
- Press means lift and set down. Shoving the iron along stretches the folded edge into a wave.
A steam iron with real weight does most of this for you; see irons for what to look for. A stable surface matters more than people expect, too — a soft or wobbly board makes crisp folds impossible, which is the whole argument for a proper ironing board over the kitchen table and a towel.
When the first hem is wonky
It will be, a bit. The stitching will wander somewhere, or one leg will end up a few millimetres shorter. Wear them. Nobody is measuring your ankles, and the second pair will be noticeably better than the first — that is how this works.
A good press is half the hem. Here is what does the pressing.
Frequently asked
How much fabric should I leave for the hem allowance?
About 1.5 to 2 inches on suit and dress pants, where the weight helps the leg hang straight. Around 1 to 1.5 inches on chinos and casual cotton. For denim, half an inch folded twice is plenty, because denim gets thick fast. On lightweight or drapey fabric keep it shallow, since a deep hem shows through as a shadow from the outside.
Can I hem jeans without losing the original hem?
Yes, and it is the reason hemmed jeans usually look wrong. Fold the leg up on the outside so the original hem sits half the amount you are removing above the new length, pin evenly, then stitch just above the original topstitching through both layers. Trim the excess inside and press the tuck up. The gold stitching and fade line stay intact.
Is hem tape ever a good idea?
Yes, for temporary or low-stress situations: a costume, a growing child, a borrowed pair, or pants you need wearable tonight with no machine in the house. Avoid it on fine wool suiting, where the adhesive stiffens the drape, and on anything washed often and hot, because the bond fatigues over time. It is a real tool, not a shortcut to feel guilty about.
What is a blind hem and do I need a special foot?
A blind hem catches only a thread or two of the outer fabric per stitch, so nothing visible shows on the right side. Done by hand it uses the slip stitch and needs no equipment at all beyond a needle and matching thread. Many machines also have a blind hem stitch and a matching foot, but the hand version gives a softer, less mechanical result on tailored pants.
Why does my hem ripple or pucker?
Usually one of three things: the old crease was not pressed out before measuring, the fabric was stretched as it fed under the presser foot, or a hand hem was pulled too tight. Press the old fold flat and open first, keep a light hand while sewing, and leave hand stitches loose enough that they do not dimple the outside of the leg.
Prices and StitchScores reflect our most recent research and refresh on a cycle — confirm the live price before buying. We may earn a commission from affiliate retailers; it never changes what we recommend. See how we score gear.
Read next
How to Sew a Christmas Stocking: Draft Your Own Pattern
Draw your own boot-shaped stocking template in any size, then sew a lined stocking with a cuff and a hanging loop. No PDF download, no printer needed.
How to Read a Sewing Pattern (Envelope to First Cut)
Decode a sewing pattern envelope, instruction sheet and tissue symbols — grainline, notches, darts and seam allowance — right through to your first cut.