How to Thread a Sewing Machine (Any Brand, Step by Step)
Tools this guide uses
Machine Needles · SCHMETZ Universal 130/705$7.45 4.8 out of 5 stars · 709 ratings
A needle that is not blunt, before you start.
Thread · Coats & Clark thread$8.50 4.7 out of 5 stars · 4,705 ratings
A reel of ordinary all-purpose thread.
Researched, not hands-on tested. We may earn a commission; it never changes a pick.
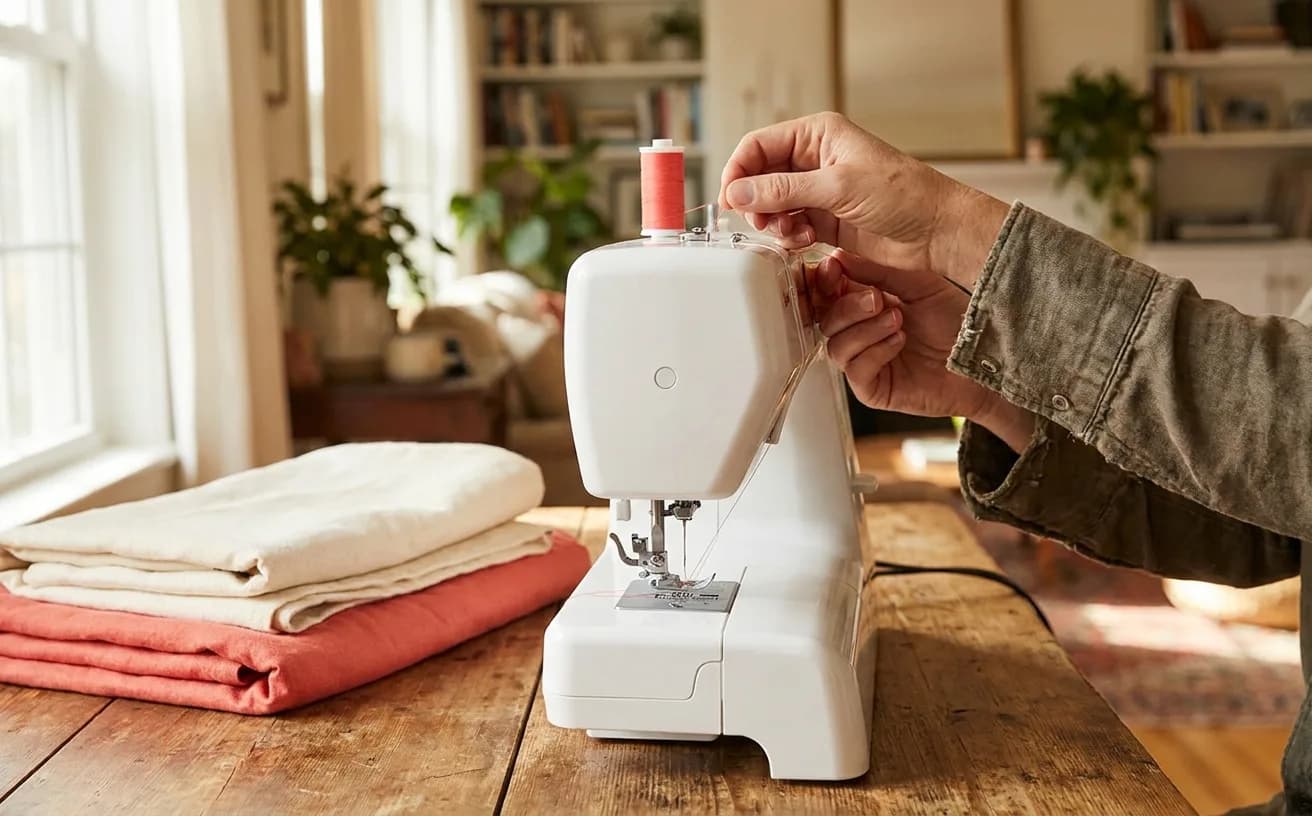
The short version
- Raise the presser foot before threading. It opens the tension discs; threading with it down is the number one cause of bad stitches.
- The upper path is the same on every brand: spool, tension, take-up lever, guides, needle, front to back.
- Take the thread across the separate bobbin-winder tension disc, or the bobbin winds soft and uneven.
- Bobbins are either top-drop under a clear cover or front-load in a removable metal case. That is the only step where brands really differ.
- A nest of thread underneath usually means the top thread has no tension, not that the bobbin is wrong. Rethread the whole upper path first.
- If the path is right and stitches still skip, suspect the needle: blunt, bent, not fully seated, or the wrong type for the fabric.
Threading is where most first sewing sessions end. Not because it is hard — because the diagram printed on the machine assumes you already know the vocabulary, and nothing on the machine tells you when you have got it wrong. The path is the same on every domestic machine ever made, whatever the brand: spool, tension, take-up lever, guides, needle, front to back. Learn that order and you can thread a machine you have never seen.
This guide covers the upper thread, winding a bobbin, dropping the bobbin in, and the five things that actually cause a nest of thread under your fabric. It is the core of Level 1 of The Pattern — Threader.
Before you thread: three things every manual says first
What this guide assumes you have: a sewing machine of any age, a needle that is not blunt, and a reel of ordinary all-purpose thread. Borrow the machine before you buy one — nothing here needs a new one.
- Turn the machine off, or at least keep your foot away from the pedal. You will have fingers near the needle.
- Raise the presser foot. This is the one people skip, and it is the single most common cause of bad stitches. The presser foot lever opens the tension discs inside the machine. Thread laid in with the foot down slides past them and never gets tensioned at all.
- Raise the needle to its highest position by turning the handwheel toward you. That lifts the take-up lever where you can see it and reach it.
Rule of thumb: presser foot UP to thread, presser foot DOWN to sew. If your stitches look loose and loopy on top, this is the first thing to check.
What we'd buy for this
One pick per category, chosen from the research pages linked in this piece. Borrow before you buy — nothing here is required to start.
 Sewing Machines
Brother XM2701$143.14 4.6 out of 5 stars · 19,162 ratings
A first machine — 27 built-in stitches is enough to sew clothes without a menu to decode, and the listing specifies the automatic needle threader and the jam-resistant drop-in top bobbin, which are the two steps beginners most often give up on.
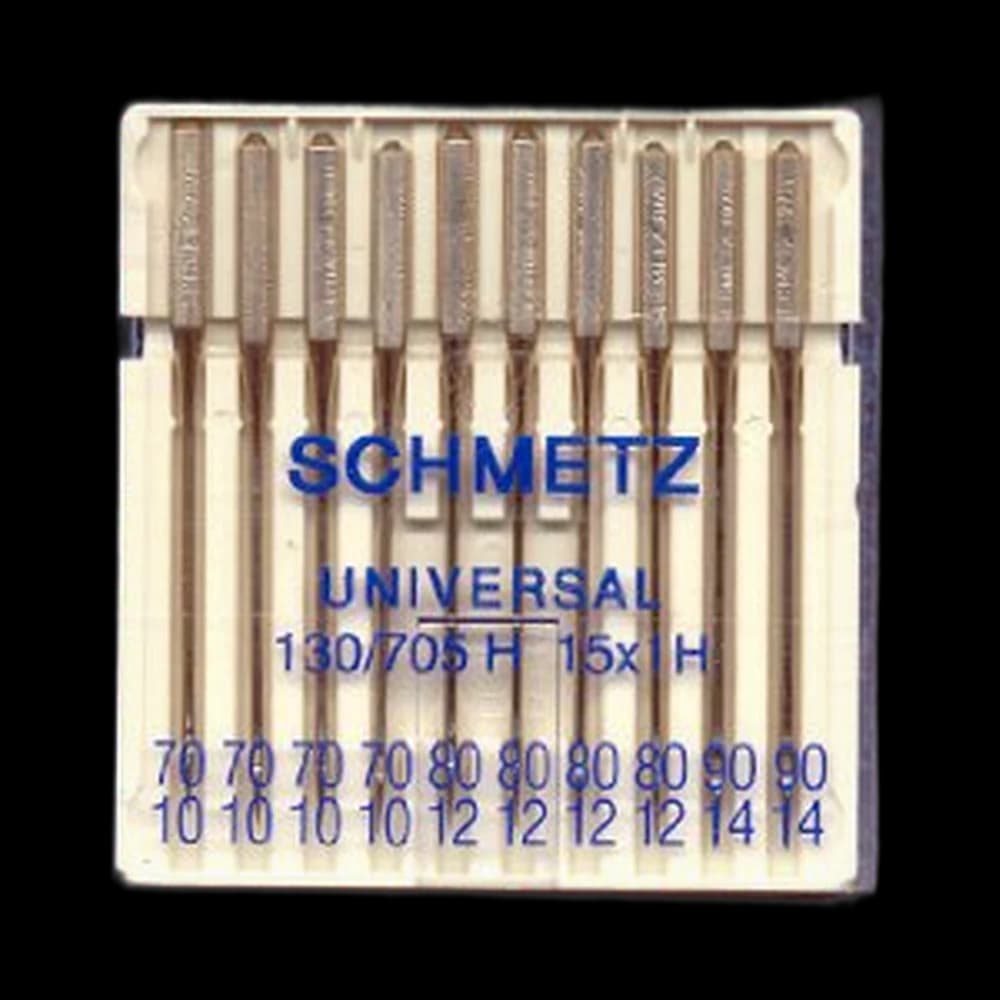 Machine Needles
SCHMETZ Universal 130/705$7.45 4.8 out of 5 stars · 709 ratings
Priced in the lower half of this category; universal points, the default for ordinary woven fabric.
 Thread
Coats & Clark thread$8.50 4.7 out of 5 stars · 4,705 ratings
The least expensive pick in this category, which makes it the low-risk way to find out whether you'll keep at it; all-purpose polyester, which covers nearly everything a beginner sews.
Researched from listings, specs and owner feedback — never hands-on testing. We may earn a commission; it never changes a pick.
The upper thread path, in order
Every machine follows this sequence. Only the shape of the parts changes.
- Spool on the pin. Horizontal pin: the thread should come off the top of the spool toward the machine, with the cap on. Vertical pin: it comes off the side. Cones and large spools do not sit well on either; a separate thread stand behind the machine holds them and feeds the thread down from a guide above, into the same path.
- Across the top guide. The metal hook or slot nearest the spool pin.
- Down the right-hand channel. Follow the printed numbers or arrows down.
- Around the bottom of the U and back up the left channel. The tension discs live in the right-hand channel — this U-turn is what seats the thread between them. Give the thread a gentle tug; it should feel like it is gripping something.
- Through the take-up lever, right to left. The lever is the moving metal arm with an eye near the top. It must be at its highest point or you cannot reach it.
- Down through the lower guides on the front of the needle bar.
- Through the needle eye, front to back. Front to back on essentially every domestic machine. If your machine has an automatic needle threader, put the needle at its highest position, lower the little lever, and let the hook do it.
Leave about 6 inches of tail hanging behind the needle. Then lower the presser foot.
Winding a bobbin
A bobbin is the lower thread, and it is wound on the machine itself.
- Put a spool on the spool pin, exactly as for sewing.
- Take the thread across the bobbin-winder tension disc — the separate small disc near the top of the machine, not the main tension path. Skipping it is why bobbins come out soft and lopsided.
- Thread the end up through the small hole in the bobbin's top plate, from the inside out, and set the bobbin on the winder spindle.
- Push the spindle to the right until it clicks. On most machines this disengages the needle, so nothing is stabbing while you wind.
- Hold the thread tail and press the pedal. After a few turns, stop and snip the tail flush.
- Wind until the bobbin is full and the machine slows or stops. Push the spindle back left, cut the thread, and lift the bobbin off.
A good bobbin is evenly filled edge to edge and firm to press. If it looks like a cotton reel that has been sat on, it missed the winder tension disc.
Rule of thumb: wind bobbins in the thread you are about to sew with, and wind two. Running out mid-seam is the most annoying way to be interrupted.
Putting the bobbin in: the two systems
Machines use one of two bobbin systems, and this is the only step where brands truly diverge.
| Top-drop (drop-in) | Front-load | |
|---|---|---|
| Where it lives | Under a clear cover on the bed, right of the needle | Behind a small door below the needle, in a removable metal case |
| How it goes in | Drop it in, follow the arrows | Into the case first, then the case into the machine |
| Which way it turns | Usually counter-clockwise — follow the diagram on the cover | Thread through the case's slot and under its tension arm |
| You can see thread left | Yes, through the cover | No |
| Typical of | Most modern beginner machines | Older machines and many heavy-duty models |
Top-drop: open the cover, drop the bobbin in so the thread unwinds in the direction the printed arrow shows, pull the tail through the slot and along the groove until it clicks into place. Close the cover.
Front-load: hold the metal bobbin case with the open side up, drop the bobbin in, pull the thread through the case's slit and under the flat tension spring until it comes out the small gap. Hold the case's latch, slide it onto the post, and let go — it should seat with a small click. If it falls out when you shut the door, it never seated.
Either way, finish by holding the top thread and turning the handwheel toward you one full turn. The needle goes down, catches the bobbin thread, and brings up a loop. Pull that loop out, put both tails behind the presser foot, and you are threaded.
The five mistakes behind almost every thread nest
That bird's nest of thread under the fabric feels like a broken machine. It almost never is.
- Threaded with the presser foot down. The tension discs stayed shut, so the top thread has no tension. This is the number one cause and the easiest fix — raise the foot and rethread from the spool.
- The thread jumped out of the take-up lever. It looks threaded, because every other guide is holding it. Rethread and watch the lever specifically.
- The bobbin is in backwards. Follow the arrow on the cover or in the manual; the direction is not decorative.
- Starting a seam with the thread tails loose or too short. The machine pulls them down into the bobbin race. Pull about 6 inches of both threads behind the foot before you press the pedal.
- You changed the wrong dial. Nests underneath usually mean the top thread is the problem, not the bobbin. Rethread the whole upper path from the spool before you touch the tension dial — and if you did move it, put it back to the middle setting.
If it happens: stop, raise the foot, lift the fabric out, cut the tangle away, remove and re-seat the bobbin, and rethread the top from the spool. Rethreading completely takes ninety seconds and fixes it more often than any adjustment.
When it's actually the needle
Sometimes the thread path is perfect and the stitches still misbehave. Then look at the needle:
- Skipped stitches. Usually a blunt or slightly bent needle, a needle inserted not fully up into the clamp, or the wrong needle type for the fabric — knits need a ballpoint, denim needs a heavier one.
- A knocking or crunching sound. The needle is hitting the plate or the bobbin case. Stop immediately, and check the needle is fully seated with its flat side facing the right way for your machine.
- Thread shredding or snapping. A burr in the needle eye, or a needle too fine for the thread.
- Puckered seams on light fabric. Too large a needle for the cloth.
A needle that is simply the wrong type for the cloth causes several of the symptoms above; the needle and thread guide gives the needle SCHMETZ recommends for each fabric, and the thread to pair with it.
Needles are consumable. A pack of universal machine needles in assorted sizes costs a few dollars, and changing one takes a minute. Change it when it sounds different, when you have hit a pin, or after a big project — whichever comes first. Nobody changes needles often enough at the start, and it is the cheapest fix in sewing.
Watch it once
Reading the path and seeing it are different things. We keep a small library of verified tutorials on the Watch page, grouped by level. The one to start with is How To: Thread a Sewing Machine by Made to Sew — Aneka walks the whole path calmly, one guide at a time, which is exactly the pace this needs the first time.
What next
If your machine hasn't arrived yet, or you are still choosing, read Best Beginner Sewing Machines Under $250 and browse the sewing machine category — an automatic needle threader is worth looking for, because it removes the fiddliest step here entirely.
Once you can thread it without the manual, the rest of Level 1: Threader takes you to a finished pillowcase. Wonky seams are the whole point.
Threaded and stitching? Give it a fresh needle and something easy to sew.
Frequently asked
Why does my thread keep nesting underneath the fabric?
Almost always because the top thread has no tension — usually because the machine was threaded with the presser foot down, or the thread has jumped out of the take-up lever. Raise the foot and rethread the entire upper path from the spool before touching the tension dial.
Which way does the bobbin go in?
Follow the arrow printed on the bobbin cover or in your manual. On most top-drop machines the thread unwinds counter-clockwise. On a front-load machine the thread goes through the case slit and under the flat tension spring.
Do I thread the needle front to back or back to front?
Front to back on essentially every domestic sewing machine. If yours has an automatic needle threader, raise the needle fully first or the hook will not line up with the eye.
How often should I change the needle?
When it sounds different, after you hit a pin, or at the end of a big project — whichever comes first. Needles are consumable, cost a few dollars a pack, and a dull one causes more trouble than any setting.
Is threading different on a SINGER, a Brother or a Janome?
The upper path is the same sequence on all of them. What differs is the shape of the guides and the bobbin system — top-drop versus front-load — which is why this guide covers both.
Why are my stitches skipping even though it is threaded correctly?
Look at the needle. A blunt or bent needle, a needle not pushed fully up into the clamp, or the wrong needle type for the fabric — knits need a ballpoint — will skip stitches on a perfectly threaded machine.
Prices and StitchScores reflect our most recent research and refresh on a cycle — confirm the live price before buying. We may earn a commission from affiliate retailers; it never changes what we recommend. See how we score gear.
Read next
How to Wind a Bobbin (and Why Yours Keeps Jamming)
Winding a bobbin evenly, seating it in drop-in and front-load machines, and why a soft bobbin leaves a nest of thread under your fabric.
Sewing Machine Tension Problems: Causes and How to Fix Them
What sewing machine tension actually is, a symptom table for reading your test seam, and the seven checks to run in order before you ever touch the dial.