The Shirt Dress
Every hard technique at once, on a dress you will wear for a decade.
- Equipment
- Machine, iron, fine needles; separate pattern required
- Materials cost
- $45–$114 in materials
- Assumes you can
- You can fit a garment and finish it properly
- Full supply list
- A separate shirt-dress pattern, its specified shirting and interfacing, buttons and a fine needle.
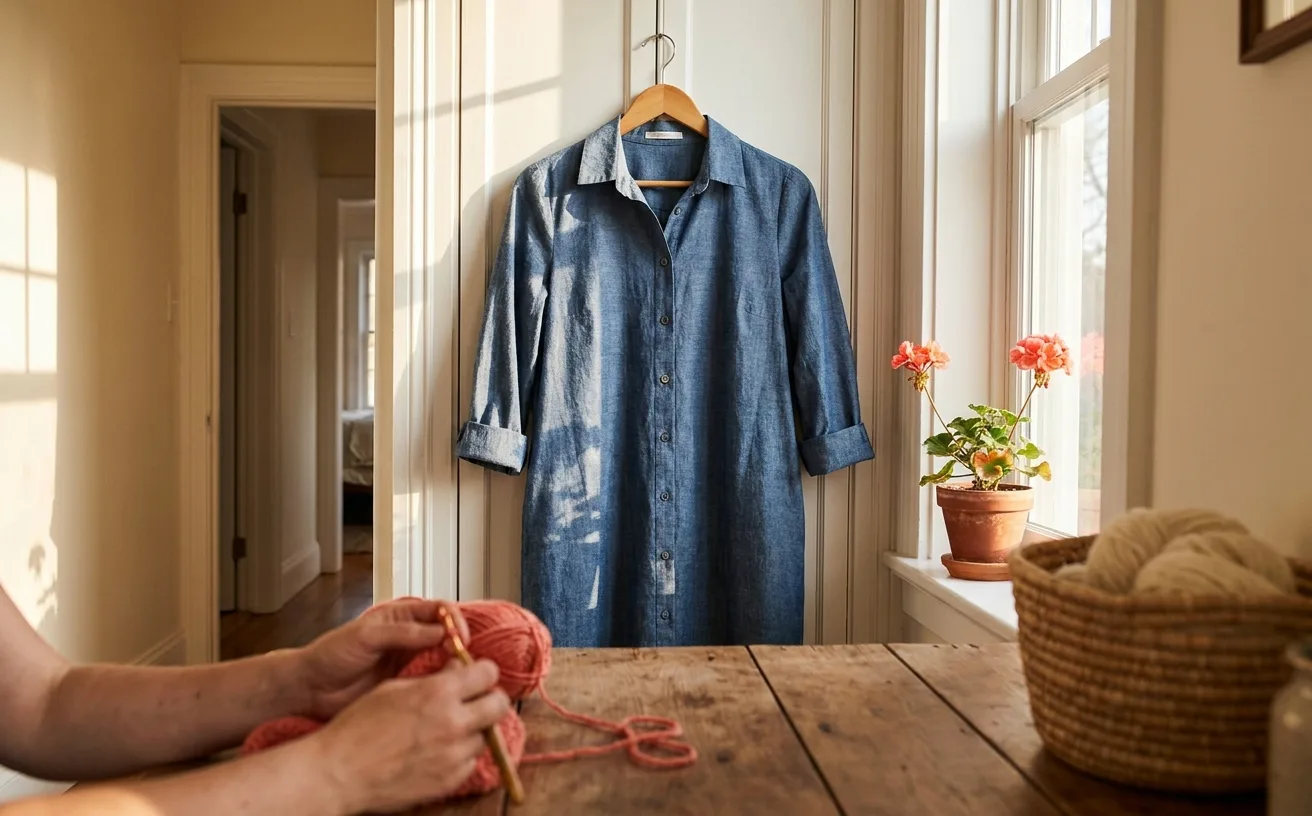
At the end of two weekends you will have a button-front shirt dress with a real collar, real cuffs, a real sleeve placket and a front band that lies flat — a garment people assume you bought. This is the Tailor-level project because it stacks every hard technique in one place: interfacing, curved seams, topstitching that shows, and buttonholes you cannot hide. Nothing here is beyond you. It is just a lot of things at once, which is exactly why it teaches so much.
Separate pattern required: this is a technique sew-along, not a standalone shirt-dress pattern. Buy or obtain a pattern in your measurement range that includes the collar, stand, sleeves, cuffs, plackets and front closure you want. Its pieces, seam allowances, fabric quantity and construction order govern; use the sequence here as orientation.
Two patterns that fit this sew-along
We have not sewn either of these. We opened each page on 23 September 2026 and checked the price, sizes and features.
- Free: Mood Sewciety Rosalie Shirt Dress. A collar on a collar stand, a front placket, front darts and a belt, for linen, chambray, poplin or seersucker. Mood calls it an ideal pattern for beginners to sharpen their skills. Free PDF, emailed after you fill in the form on the page. Its sleeves are hemmed rather than cuffed, so skip the cuff and sleeve-placket steps below.
- Paid: Closet Core Kalle Shirt + Shirtdress. View C is the shirtdress, with a curved yoke, short sleeves with arm cuffs, a standard or band collar and a button, popover or hidden placket. From $18 USD, in sizes 0 to 20 or 14 to 32; Closet Core rates it intermediate.
What you need
Costs are rough ranges for a mid-weight cotton shirting, not any particular brand.
| What | Why it matters | Roughly |
|---|---|---|
| A sewing machine with a buttonhole function | Eleven to thirteen buttonholes is the one thing this project genuinely asks of the machine. A four-step buttonhole is fine, it is just slower than a one-step | You may own one |
| Shirting (cotton poplin, chambray, tencel twill) | Buy the amount listed for your size, view and fabric width on the chosen pattern | Varies by size and pattern |
| Lightweight fusible interfacing | Buy the amount and type the chosen pattern specifies for its collar, stand, cuffs and front band | $6–$12 |
| Buttons | Buy the size and quantity specified for the selected pattern view, plus one spare | $5–$12 |
| A printed shirt dress pattern in your size | One of the two above, or another with the collar and placket you want. It supplies the shaped bodice, skirt and sleeve pieces | Free–$22, plus printing |
| All-purpose polyester thread to match | Topstitching shows, so colour matching earns its keep | $4–$8 |
| Fine machine needles, 70/11 or 80/12 sharp | A fine point makes cleaner holes in tightly woven shirting | $5–$10 |
| Sharp fabric scissors or a rotary cutter | Long straight skirt edges cut faster and truer with a blade | $15–$40 |
| A hot iron you are willing to use constantly | This project is roughly half pressing | you likely own one |
| A seam ripper | You will open a buttonhole with it, and probably a collar too | $3–$8 |
If you have never worked from a commercial pattern before, read how to read a sewing pattern before you unfold the tissue. It will save you an hour of squinting.
The gear this project uses
One current pick per tool or material the supply list links, in the order it lists them. Borrow, substitute or skip — a wonky first attempt with the wrong scissors still counts.
 Sewing Machines
Brother XM2701$143.14 4.6 out of 5 stars · 19,162 ratings
A first machine — 27 built-in stitches is enough to sew clothes without a menu to decode, and the listing specifies the automatic needle threader and the jam-resistant drop-in top bobbin, which are the two steps beginners most often give up on.
 Thread
Coats & Clark thread$8.50 4.7 out of 5 stars · 4,705 ratings
The least expensive pick in this category, which makes it the low-risk way to find out whether you'll keep at it; all-purpose polyester, which covers nearly everything a beginner sews.
 Machine Needles
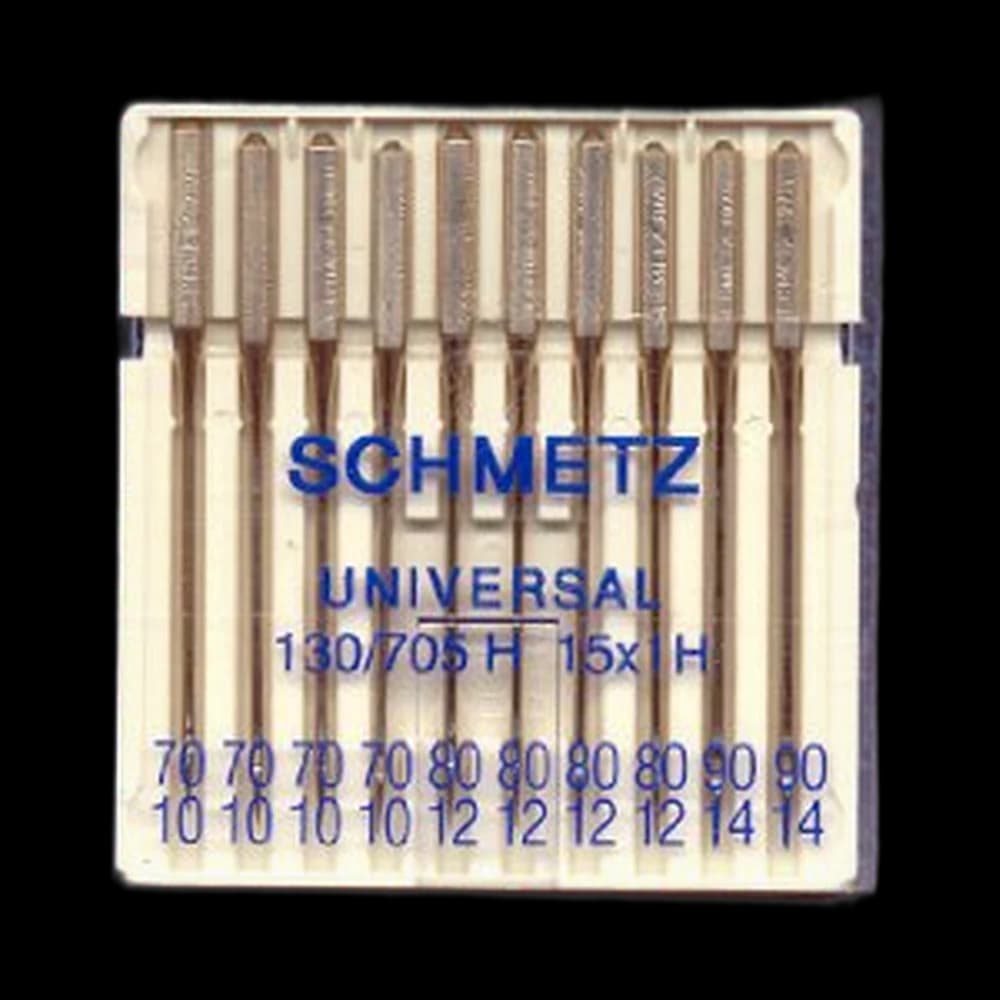
SCHMETZ Universal 130/705$7.45 4.8 out of 5 stars · 709 ratings
Priced in the lower half of this category; universal points, the default for ordinary woven fabric.
 Fabric Scissors
Proshear$8.99 4.8 out of 5 stars · 4,040 ratings
Researched from listings, specs and owner feedback — never hands-on testing. We may earn a commission; it never changes a pick.
Cut list
Use every shaped piece and cutting instruction supplied by your chosen pattern. A collar, stand, cuff, placket or front band cannot be replaced safely with a generic rectangle: its length must match the neckline, sleeve opening or bodice for your selected size and view.
Before cutting, confirm that the pattern includes:
- Front and back bodice pieces, skirt panels and any pockets
- Sleeves, sleeve plackets and cuffs
- Collar and collar stand
- Cut-on or separate front bands
- Interfacing pieces or clearly marked interfacing areas
- The pattern's own seam and hem allowances
Cut the optional belt and belt loops only if your pattern supplies dimensions or you draft them to your finished garment. If the pattern's sequence differs from the overview below, follow the pattern.
Steps
Weekend one: the flat work
- Preshrink the fabric. Wash and dry it the way you will wash the finished dress. Shirting cottons shrink, and a collar that shrinks at a different rate from its interfacing will ripple forever.
- Fuse the interfacing to the pieces your pattern marks. Press down and lift — do not slide the iron, which shifts the interfacing and leaves bubbles. Give each spot a slow ten-count.
- Build the front bands. Fold the extension in, then in again, so the raw edge is buried, and topstitch both long edges. This is the strip your buttons and buttonholes live on, so it needs to be the stiffest, straightest thing on the garment.
- Sew the shoulder seams, then set the bodice aside. Press seams open unless your pattern says to fell them.
- Assemble the skirt panels and any pockets. Long, easy, satisfying seams — a good reward after the fiddly bands.
Weekend one, later: the collar
- Sew the two collar pieces right sides together along the outer edge and the points. Trim the corners at an angle, turn, and poke the points out from inside with something blunt. A pin tip pushed hard will punch straight through.
- Press the collar flat, rolling the seam a hair to the underside so the seamline is invisible from the front. Topstitch if your pattern calls for it.
- Sandwich the collar between the two stand pieces, sew the curved edge, and clip the curve so it will lie flat when turned.
- Attach the stand to the neckline, interfaced side to the outside, then fold the inner stand down over the raw edge and edgestitch it closed.
Almost nobody's first collar sits perfectly symmetrical. Wonky seams are the whole point — the second one is always better, and a slightly uneven collar point is invisible to everyone except the person who sewed it.
Weekend two: sleeves, cuffs, buttons
- Sew the sleeve plackets before you close the sleeve seam. A tower placket is a strip folded around a slit; work slowly and press each fold as you make it, because the fold lines do the structural work.
- Set the sleeves in, easing the sleeve cap with a long stitch pulled gently rather than gathered. Pin at the notches first, then fill in between.
- Close the side seams and sleeve seams in one continuous run from cuff to hem.
- Build the cuffs the way you built the collar stand — two layers, one interfaced, sandwiched over the pleated sleeve end, then edgestitched shut.
- Hem the skirt to the depth and by the method your pattern specifies. The technique is the same one in how to hem trousers, only longer and curved.
- Mark and sew the buttonholes in the positions and orientation printed on your pattern. Open each with the seam ripper against a pin set at the far end so the ripper cannot run past the bar tack.
- Sew the buttons on last, through the band only. If your machine has no button foot, doing them by hand is genuinely faster and stronger — see how to sew on a button.
When it goes wonky
| What happened | Why | The fix |
|---|---|---|
| Collar points are blunt or bubbled | Corners not trimmed, or the seam allowance is bunched inside | Turn it back out, trim closer to the stitching, re-turn and press hard |
| Front band ripples down its length | Interfacing skipped, mis-fused, or the band was stretched while stitching | Re-fuse a fresh strip and let it cool flat before you touch it |
| Sleeve cap has little tucks in the seam | Too much ease pulled up in one spot | Unpick 3 inches either side, redistribute the ease, restitch |
| Buttonholes gape when you sit down | Spacing too wide, or no buttonhole at the fullest point | Add one button at the bust point; that single button fixes most gaping |
| The dress fits but hangs crooked | Cut off-grain | Nothing to fix on this one — square the fabric edge before cutting next time |
What you just learned
- Interfacing as structure. You now know that collars, cuffs and bands get their crispness from a second hidden layer, not from stiff fabric.
- Enclosed seams. Collar, stand and cuffs are all the same move: sew, trim, turn, press, edgestitch. That move builds waistbands, plackets and facings forever after.
- Easing a curve into a straight edge. Setting a sleeve is the hardest fitting skill in beginner sewing, and you did two of them.
- Buttonhole placement. Where a buttonhole goes matters more than how neatly it is sewn.
You have finished the hardest thing on The Pattern. The honest next move is to make this dress a second time in a fabric you love — everything you fought with will go quietly — or go back through the remaining projects on the Tailor level and pick whichever one you have been circling. If that is outerwear, the lined winter jacket reuses your interfacing, collar and buttonhole work at coat scale.
Supply checklist
10 lines · Two weekends · $45–$114 in materials
- A sewing machine with a buttonhole functionYou may own oneEleven to thirteen buttonholes is the one thing this project genuinely asks of the machine. A four-step buttonhole is fine, it is just slower than a one-step
- Shirting (cotton poplin, chambray, tencel twill)Varies by size and patternBuy the amount listed for your size, view and fabric width on the chosen pattern
- Lightweight fusible interfacing$6–$12Buy the amount and type the chosen pattern specifies for its collar, stand, cuffs and front band
- Buttons$5–$12Buy the size and quantity specified for the selected pattern view, plus one spare
- A printed shirt dress pattern in your sizeFree–$22, plus printingOne of the two above, or another with the collar and placket you want. It supplies the shaped bodice, skirt and sleeve pieces
- All-purpose polyester thread to match$4–$8Topstitching shows, so colour matching earns its keep
- Fine machine needles, 70/11 or 80/12 sharp$5–$10A fine point makes cleaner holes in tightly woven shirting
- Sharp fabric scissors or a rotary cutter$15–$40Long straight skirt edges cut faster and truer with a blade
- A hot iron you are willing to use constantlyyou likely own oneThis project is roughly half pressing
- A seam ripper$3–$8You will open a buttonhole with it, and probably a collar too
Quantities and substitutions are the ones in the supply table above; costs are rough US shop prices at the time of writing, not live listings. Borrowing and substituting are always fine — a wonky first attempt in the wrong fabric still counts.
Collars, plackets and buttonholes. Finishing the insides neatly is what makes it read as tailoring rather than homemade.
Every SewingPath project guide is free and stays free. Some shaped garments need a separately sourced paper pattern; those pages say so before the cut list. When a project needs equipment we link the gear category and name our current pick beside the supply list, with a link to buy it if you are missing it — never in the middle of the steps. Picks are researched, not hands-on tested — see how we score gear.