PJ Shorts: A Paper-Pattern Sew-Along
Your first time cutting from a paper pattern, on something nobody sees but you.
- Equipment
- Sewing machine, iron; separate pattern required
- Materials cost
- $18–$36 in materials
- Assumes you can
- Straight seams you can sew and press
- Full supply list
- A separate PJ-shorts pattern, its specified amount of woven fabric and elastic, a safety pin and thread.
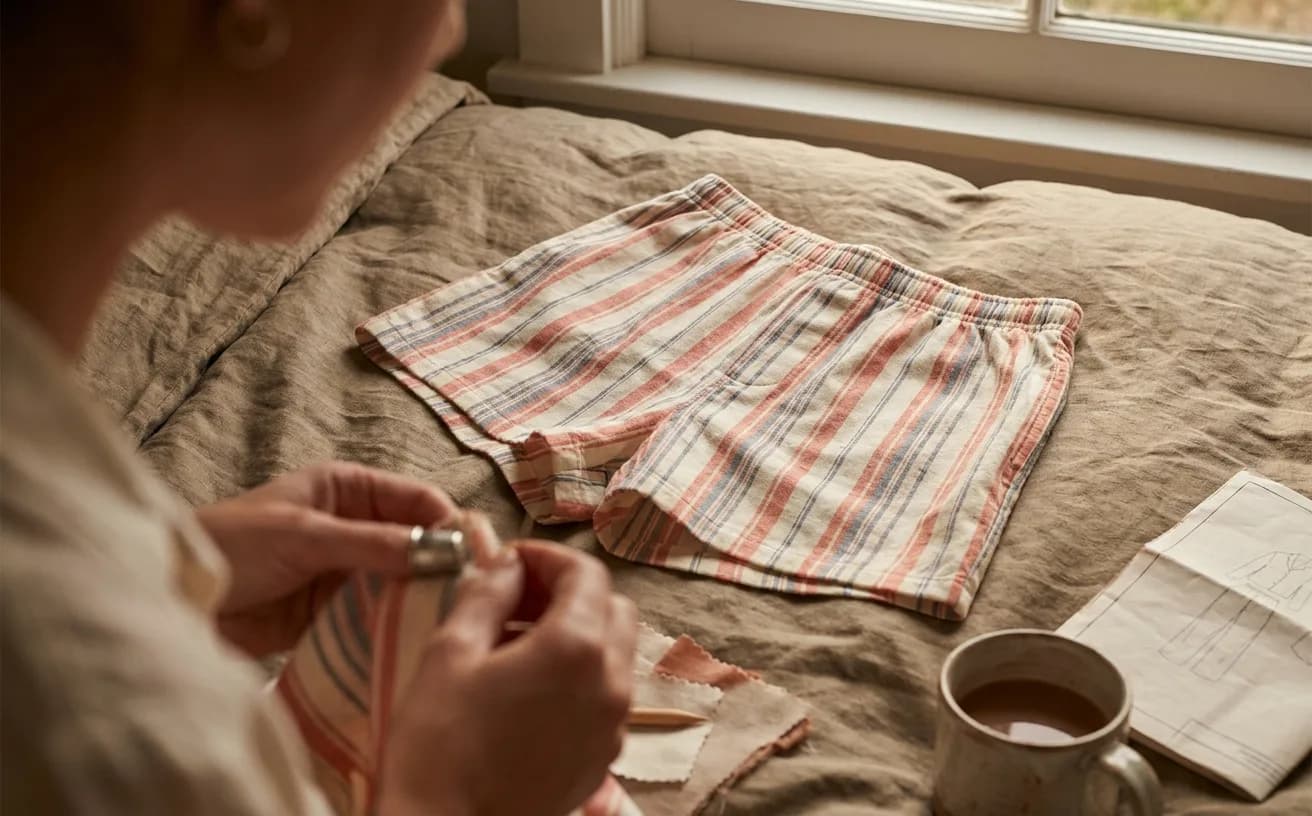
In three to four hours you will have a pair of pull-on pyjama shorts made from a paper pattern. This is the project where sewing stops being about joining two rectangles and starts being about following a shape somebody else drafted. PJ shorts are the kindest place to learn that, because the only person who ever sees the inside of the waistband is you.
Separate pattern required: SewingPath does not supply the leg shapes for this project. Choose a PJ-shorts pattern that includes your measurements and an elastic waist, either a fold-over casing or a separate waistband. This page is a technique sew-along for a pattern with separate front and back leg pieces; your chosen pattern governs the pieces, fabric quantity, seam allowance, elastic length and construction order whenever it differs.
Three free PJ-shorts patterns
All three are free printable PDFs, and each one asks for an email address or a free account before you download it. We have not sewn them. We checked each page on 23 September 2026 for the price, size range and waist style, so re-check a page if it looks different when you arrive.
| Pattern | Sizes | Waist | How you get it |
|---|---|---|---|
| Life Sew Savory Women's PJ Shorts | XXS to 3XXL, two leg lengths (3-inch or 6-inch inseam) | Separate waistband with elastic | $0.00 through the shop's checkout; the photo tutorial is on its own page. Woven or knit |
| The Assembly Line Free Pyjamas | XS to 3XL | Elastic waistband, side-seam pockets | Free with a free TAL sewing-club account. Includes a matching top; the maker rates it advanced beginner |
| Melly Sews pajama shorts | One women's size: small, hips up to 36 inches | Fold-over casing, the method on this page | Free to her newsletter subscribers; quilting cotton recommended |
If you fall outside those ranges, a paid multi-size pattern is worth the few dollars: Melly Sews sells a graded version as the Barton Shorts, which her page says runs to 55-inch hips.
What you need
Costs below are honest ballparks for buying new. If you already own scissors and an iron, this project can cost you the price of fabric alone.
| Supply | What to look for | Approximate cost |
|---|---|---|
| A sewing machine | Straight stitch, plus a zigzag to stop the seam allowances fraying in the wash | You may own one |
| Separate PJ-shorts pattern | One of the three free patterns above, or any pattern that includes your body measurements and an elastic waist; this page does not include the shaped pieces | Free or paid, plus paper |
| Cotton woven fabric | Buy the amount listed for your size and view on the chosen pattern; quilting cotton, poplin or cotton lawn are stable options | Varies by size and pattern |
| Elastic | Use the width and length specified by your chosen pattern so it matches the casing | $3–$6 |
| Thread | All-purpose polyester, matched roughly to the fabric | $3–$5 |
| Fabric scissors or a rotary cutter | Whatever cuts cleanly and you trust | $15–$40 |
| A safety pin | The largest one in the drawer | Pennies |
| Iron | Any working iron with steam | $25–$60 |
| Machine needles | Universal 80/12 for cotton | $5–$8 |
| Seam ripper | You will use it. That is normal. | $3–$6 |
Do not buy the fabric you love for this one. Buy the fabric you like. The first pair is a fit experiment wearing the disguise of a garment.
The gear this project uses
One current pick per tool or material the supply list links, in the order it lists them. Borrow, substitute or skip — a wonky first attempt with the wrong scissors still counts.
 Sewing Machines
Brother XM2701$143.14 4.6 out of 5 stars · 19,162 ratings
A first machine — 27 built-in stitches is enough to sew clothes without a menu to decode, and the listing specifies the automatic needle threader and the jam-resistant drop-in top bobbin, which are the two steps beginners most often give up on.
 Thread
Coats & Clark thread$8.50 4.7 out of 5 stars · 4,705 ratings
The least expensive pick in this category, which makes it the low-risk way to find out whether you'll keep at it; all-purpose polyester, which covers nearly everything a beginner sews.
 Fabric Scissors
Proshear$8.99 4.8 out of 5 stars · 4,040 ratings
 Rotary Cutters
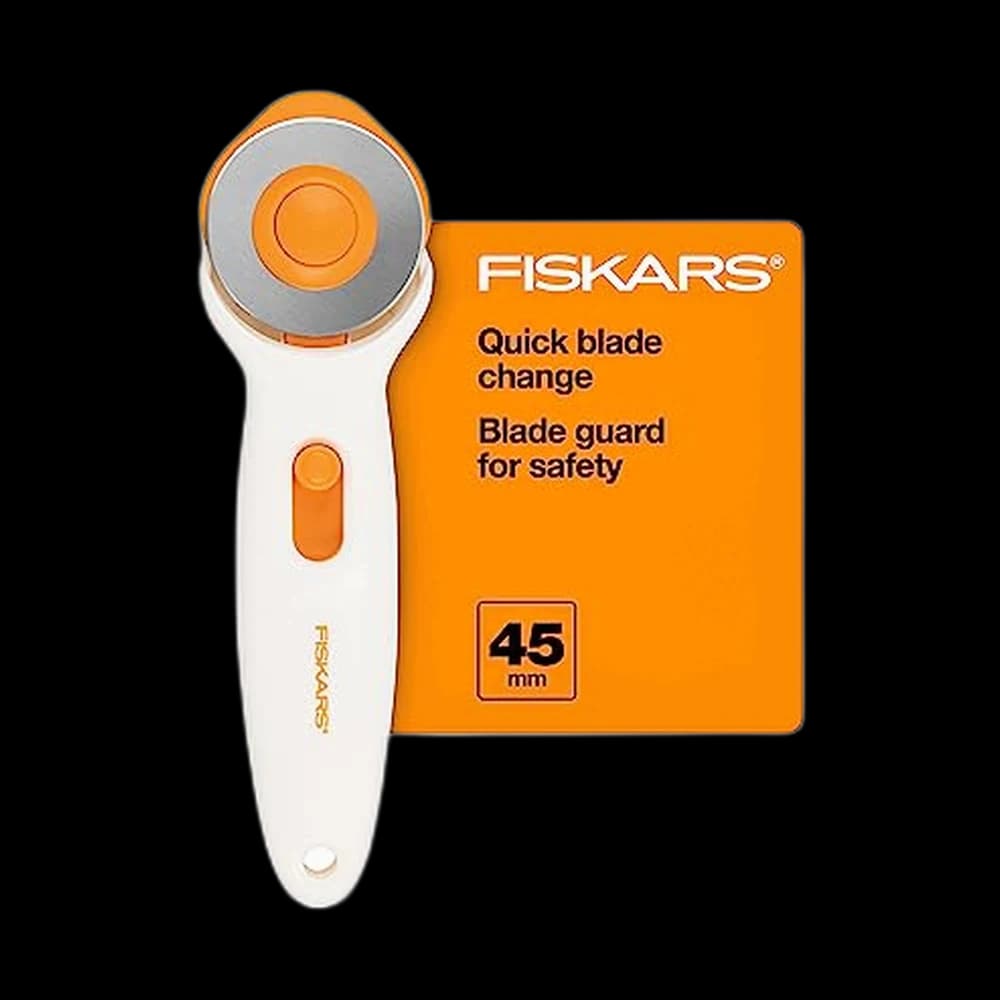
Fiskars 45mm$10.98 4.6 out of 5 stars · 2,112 ratings
Priced in the lower half of this category.
Researched from listings, specs and owner feedback — never hands-on testing. We may earn a commission; it never changes a pick.
Cut list
Print or trace your chosen pattern and check its test square before cutting. This sew-along assumes the pattern has separate front and back leg pieces and a casing folded from the shorts fabric. If yours has a separate waistband piece, as Life Sew Savory's does, cut it as the pattern says and follow its waistband steps in place of steps 11 and 12.
- Front leg: cut the quantity and orientation shown by your pattern
- Back leg: cut the quantity and orientation shown by your pattern
- Elastic: use the pattern's length. If it asks you to fit the elastic instead, wrap it comfortably snug at the intended waist, then add the pattern's overlap allowance before cutting
- Seam allowance, casing and hem: use the dimensions printed on your pattern; do not assume a generic 5/8-inch allowance
If your pattern uses one-piece legs, a separate waistband, pockets or a different assembly order, follow it rather than forcing those pieces into the steps below. How to read a sewing pattern covers grainlines, notches and cutting symbols.
Steps
Cut and mark
- Press the fabric before you cut. A wrinkle is a shape change, and a shape change at cutting time becomes a fit problem you cannot find later.
- Lay the fabric folded with the grain straight, selvedges together, and place the pattern pieces with the grainline arrows parallel to the selvedge. Off-grain legs twist around your knees after the first wash — that is where those weirdly spiralling seams on cheap pyjamas come from.
- Pin, then cut. Long confident strokes, blades resting on the table. Lifting the fabric to cut is what makes wobbly edges.
- Transfer the notches. Snip only as deep as your pattern allows, safely inside its seam allowance. These tell you which curve is the front and which is the back, and at 11pm they are the only thing standing between you and a pair of shorts on backwards.
Sew the legs
- Thread the machine and wind a bobbin. If it has been a while, how to thread a sewing machine is the refresher. Sew a test seam on a scrap first to check tension.
- Pin one front to one back, right sides together, along the outer side seam. Sew at your pattern's seam allowance. Repeat for the second leg.
- Sew the inner leg seams on both legs the same way. You now have two tubes.
- Press every seam open or to one side as you go, finishing the seam allowances first if your pattern asks — a zigzag works, or a serger if you already own one. Pressing is not tidiness. An unpressed seam sits proud inside the next seam you sew and throws the shape off.
Join the crotch seam
- Turn one leg right side out and slide it inside the other leg, right sides together, so the two curved crotch edges line up. Match the inner leg seams first and pin outward from there.
- Sew the curve slowly at the allowance your pattern specifies. Reinforce and finish the crotch seam by the method in that pattern; do not trim until you have checked its instructions, because allowance widths and finishes differ.
The crotch curve is the step that makes people put the project in a drawer. It looks wrong the entire time you are sewing it — like two mismatched bananas — and then it turns right side out and it is a pair of shorts. Trust the pins.
Casing and elastic
- Build the fold-over casing to your pattern's dimensions. The folded channel must be wide enough for its specified elastic without being so loose that the elastic can roll. Press and pin all the way around.
- Stitch close to the lower folded edge, leaving the casing opening your pattern specifies for inserting the elastic.
- Attach the safety pin to one end of the elastic and feed it through the casing, scrunching and pulling. Pin the free end to the fabric outside the casing so it cannot vanish inside — everybody loses it once.
- Join the elastic ends with the overlap and stitching method your pattern specifies, then let the elastic slip back inside.
- Close the gap with the same line of stitching you used before.
Hem
- Fold and stitch each leg hem to the depth your pattern specifies. The technique is the same one in how to hem trousers — a double fold, so no raw edge shows and the hem has weight to hang straight.
- Try them on. Press the whole thing. Pressing at the end is the difference between homemade and handmade.
When it goes wonky
| What happened | Why | The fix |
|---|---|---|
| Both legs are the same leg | Pattern pieces cut with the fabric unfolded, or flipped | Cut a replacement piece mirrored. This is why the fabric is folded double at cutting |
| The waistband elastic twisted inside the casing | Nothing anchors the elastic once it is in | Stitch vertically through the casing and elastic at each side seam. It stops the roll permanently |
| Puckered seams | Tension off, or the fabric was pushed through | Test on a scrap, loosen top tension slightly, and let the feed dogs pull instead of your hands |
| The crotch seam split | The seam was not reinforced or finished as the pattern directs | Unpick and resew that section, then use the pattern's reinforcement and seam-finish method |
| Legs twist when worn | Cut off-grain | Nothing to fix on this pair. Straighten the grain next time — it is a cutting-table fix, not a machine fix |
Any of these being your outcome is not evidence you cannot sew. Wonky seams are the whole point at this stage; a wearable pair with a crooked hem teaches more than a perfect pair you never started.
What you just learned
- Reading and cutting from a paper pattern — grainlines, notches, seam allowance, and cutting in mirrored pairs. That is the same skill for every garment you will ever make.
- Sewing a curved seam, which behaves nothing like a straight one and shows up in every sleeve, neckline, and pocket from here on.
- Building an elastic casing — the plainest waistband there is, and the one behind most skirts, joggers, and pull-on trousers.
- Pressing as construction, not as finishing.
The natural next step is the wrap skirt, where the numbers come off your own body instead of a printed pattern. If you would rather get the crotch curve right a second time first, Life Sew Savory's shorts page points to a full-length wide-leg lounge pants version of the same shape. If you would rather consolidate first, the Stitcher level page lists everything at this stage, and Maker is where the pattern pieces start getting interesting.
Supply checklist
10 lines · 3 to 4 hours · $18–$36 in materials
- A sewing machineYou may own oneStraight stitch, plus a zigzag to stop the seam allowances fraying in the wash
- Separate PJ-shorts patternFree or paid, plus paperOne of the three free patterns above, or any pattern that includes your body measurements and an elastic waist; this page does not include the shaped pieces
- Cotton woven fabricVaries by size and patternBuy the amount listed for your size and view on the chosen pattern; quilting cotton, poplin or cotton lawn are stable options
- Elastic$3–$6Use the width and length specified by your chosen pattern so it matches the casing
- Thread$3–$5All-purpose polyester, matched roughly to the fabric
- Fabric scissors or a rotary cutter$15–$40Whatever cuts cleanly and you trust
- A safety pinPenniesThe largest one in the drawer
- Iron$25–$60Any working iron with steam
- Machine needles$5–$8Universal 80/12 for cotton
- Seam ripper$3–$6You will use it. That is normal.
Quantities and substitutions are the ones in the supply table above; costs are rough US shop prices at the time of writing, not live listings. Borrowing and substituting are always fine — a wonky first attempt in the wrong fabric still counts.
Your first garment. Fitting is the whole of Level 3.
Every SewingPath project guide is free and stays free. Some shaped garments need a separately sourced paper pattern; those pages say so before the cut list. When a project needs equipment we link the gear category and name our current pick beside the supply list, with a link to buy it if you are missing it — never in the middle of the steps. Picks are researched, not hands-on tested — see how we score gear.