The Threader
The machine is not going to bite you. It just looks like it might.
Level 1 teaches you to use a sewing machine step by step: thread it with the presser foot up, wind and load a bobbin, sew a straight seam at an even speed, and finish a pillowcase. A borrowed machine is fine for every lesson here.
How to use a sewing machine, step by step →How to thread a sewing machine →
What you need for Level 1 (today's prices): $167 for the machine, machine needles, bobbins and thread, on top of the earlier levels' kit. See the picks
Level 1 is one machine, threaded correctly, sewing a straight line. That's it — and it is genuinely the hardest step in the whole path, because nothing about threading is intuitive the first time. Get through it and you'll finish a pillowcase in an afternoon and a tote bag the weekend after. A capable beginner machine starts around $129, and the whole level lands near $250 with notions.
Gear at this level: $130–250, all in
Start here — Level 1
Cloth Napkins You'll Actually Use
Mitred corners look hard and are not. Four of them and your table changes.
- Time
- 1 hour
- You need
- A metre of cotton or linen, thread, an iron and a ruler.
The gear that matters here
Researched from listings, specs and owner feedback — never hands-on testing. We may earn a commission on a purchase; it never changes a pick or a rank.

Brother XM2701 Lightweight Sewing Machine$143.14 4.6 out of 5 stars · 19,162 ratings
A first machine — 27 built-in stitches is enough to sew clothes without a menu to decode, and…
One machine, bought at the bottom of the range that will do what you want, plus about $60 of notions. The most common beginner mistake is buying a $600 machine to sew a pillowcase; the second is buying a $60 machine that vibrates off the table. The honest window is $120-$260. Nothing on this level needs to be replaced when you get better — you'll just add.
- Mechanical beginner machine (Brother XM2701 class)$120–180
Dials, a handful of useful stitches, light enough to lift onto a kitchen table. The default answer for 'I just want to start.'
Compare sewing machines - Universal machine needles, size 80/12 multipack$5–10
The everyday size for quilting cotton and shirting. Buy a pack now so a bent needle never stops a project.
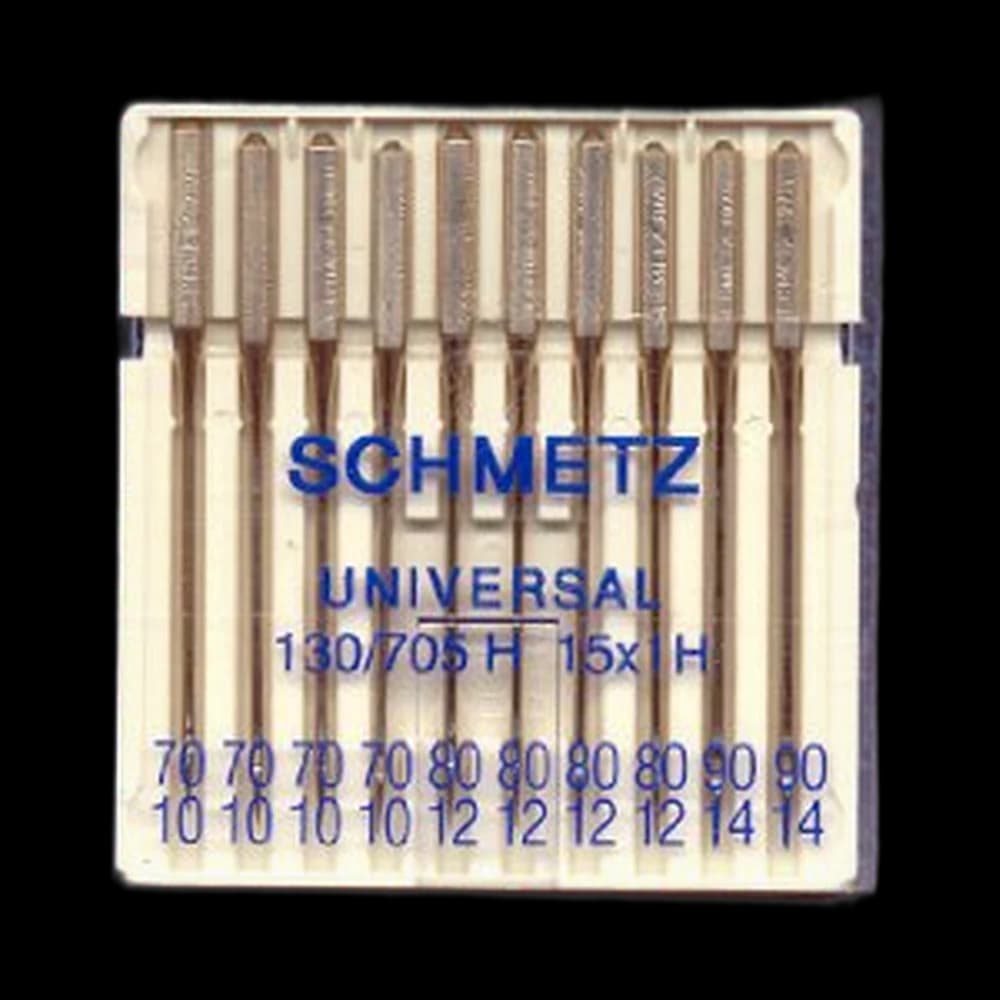 Our pick · Machine Needles
SCHMETZ Universal 130/705$7.45 4.8 out of 5 stars · 709 ratings
- Spare bobbins that match your machine class$6–12
Check the class (15, 15J, L) in your manual — the wrong bobbin fits well enough to jam. Ten spares means you stop unwinding one colour to sew another.
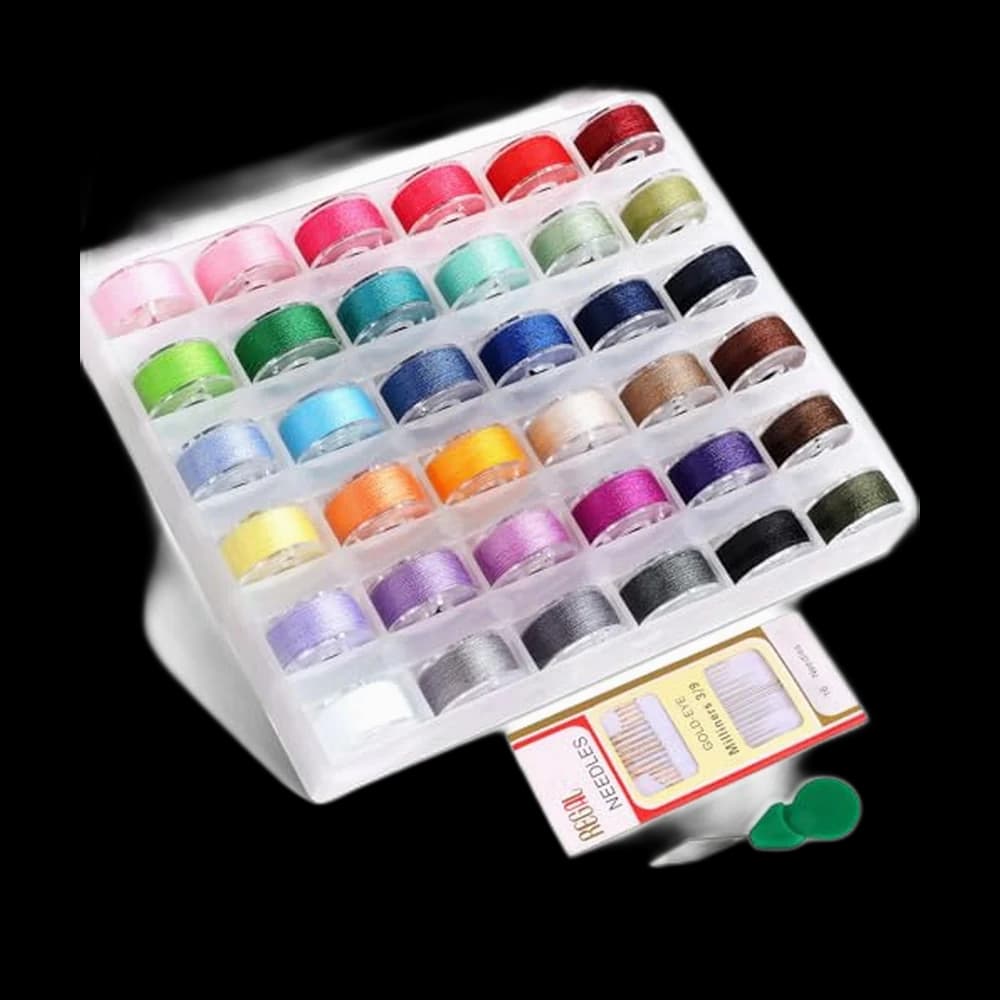 Our pick · Bobbins
Babelshar 36Pcs Prewound Bobbins$7.69 4.6 out of 5 stars · 136 ratings
- All-purpose polyester thread, a small colour set$10–20
Mid-weight, brand-name. Cheap thread sheds lint into the bobbin case and snaps under machine tension.
 Our pick · Thread
Coats & Clark thread$8.50 4.7 out of 5 stars · 4,705 ratings
- Computerized beginner machine (Brother CS7000X class)$200–260
A one-step buttonhole, needle up/down, and a wider table. The machine most people would keep for five years instead of two.
Compare sewing machines - Fabric shears, 8 inch$15–35
Cutting is where accuracy is won or lost. Blunt scissors chew the edge and every seam after that is fighting it.
 Our pick · Fabric Scissors
Proshear Professional Tailor Scissors$8.99 4.8 out of 5 stars · 4,040 ratings
- Steam iron$30–60
Pressing is not optional. A mid-range steam iron with a stainless plate does everything at this level.
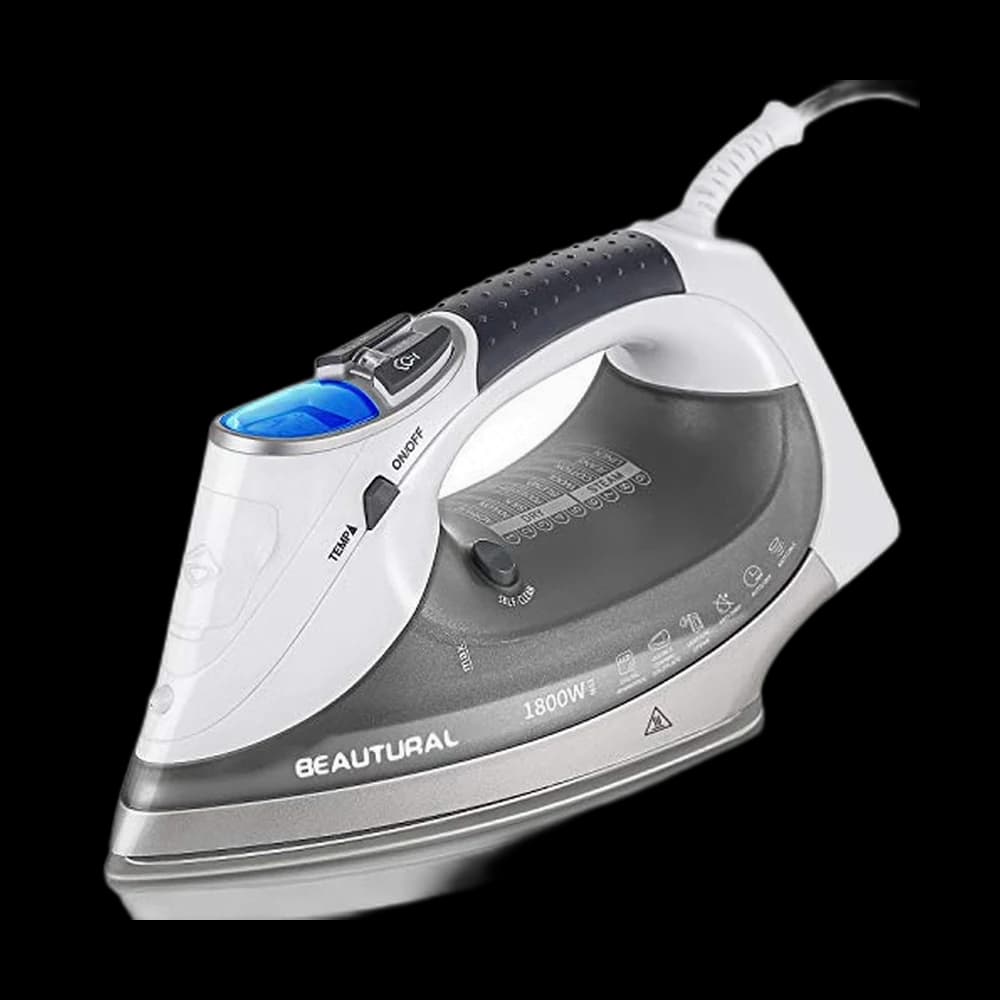 Our pick · Irons
Beautural steam iron$41.99 4.5 out of 5 stars · 19,802 ratings
- Ironing board or a folding pressing mat$30–70
A tabletop board is fine and stores flat — worth knowing if the sewing setup has to disappear before dinner.
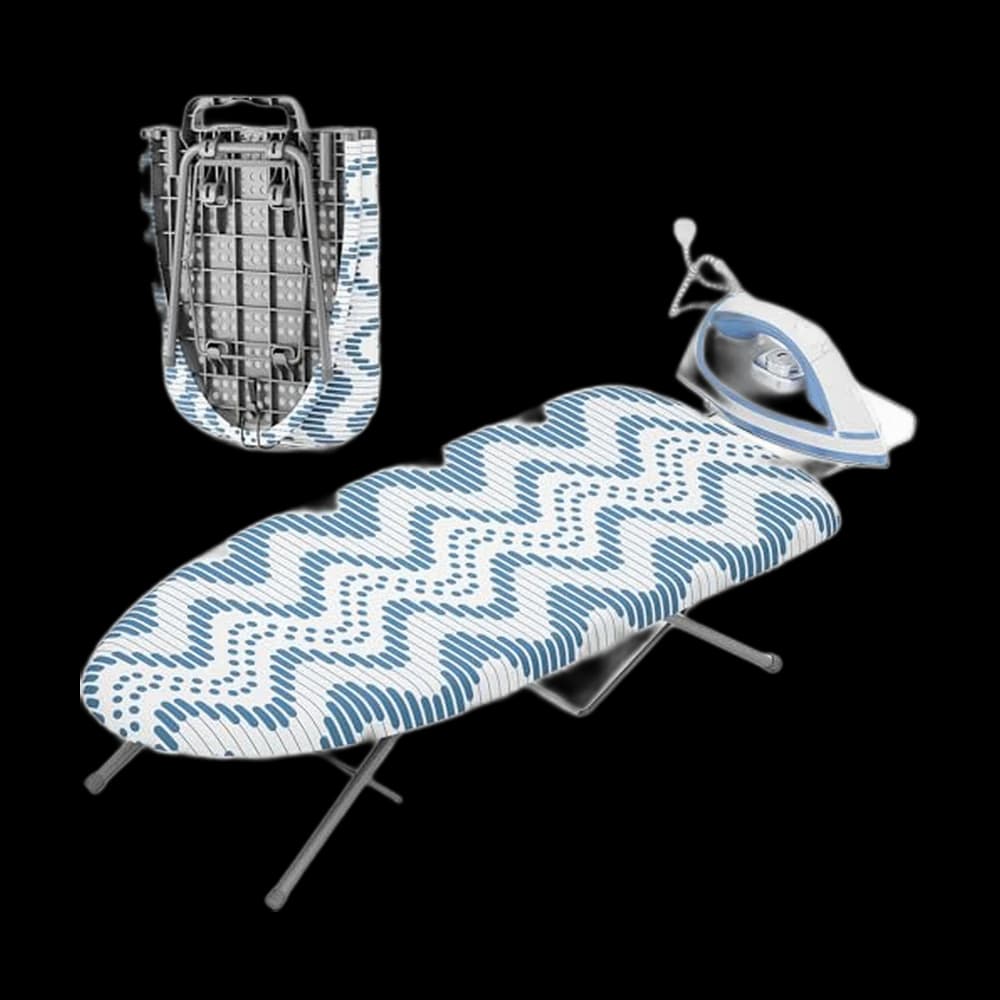 Our pick · Ironing Boards
KINGBOARD Small Ironing Board$32.99 4.6 out of 5 stars · 671 ratings
- Extra presser feet set for your brand$15–35
A zipper foot and a walking foot are the two you'll actually reach for. Check the shank type before buying a generic set.
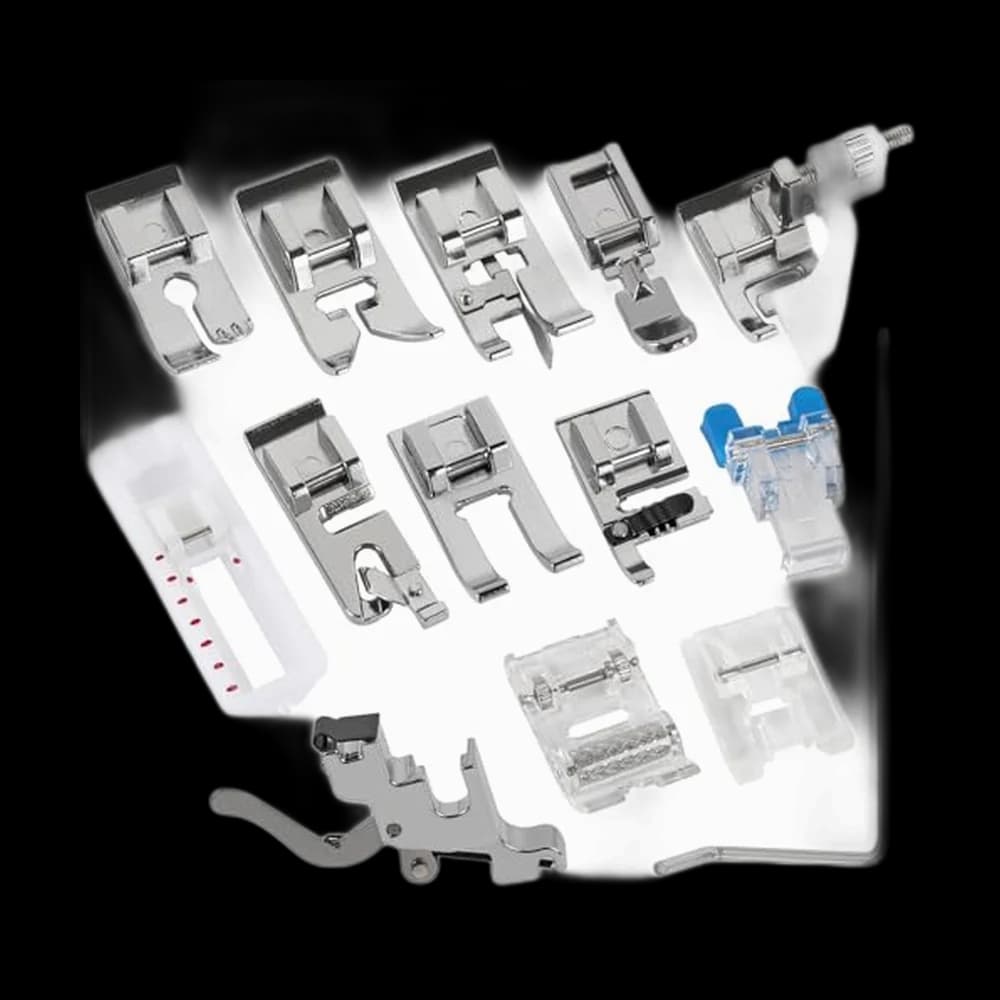 Our pick · Presser Feet
Shutao 14Pcs Snap On Presser Feet$8.99 4.5 out of 5 stars · 61 ratings
- Notions storage or a rolling caddy$20–50
Once thread, needles and feet multiply, five minutes of hunting kills a short sewing window. This is a real productivity buy.
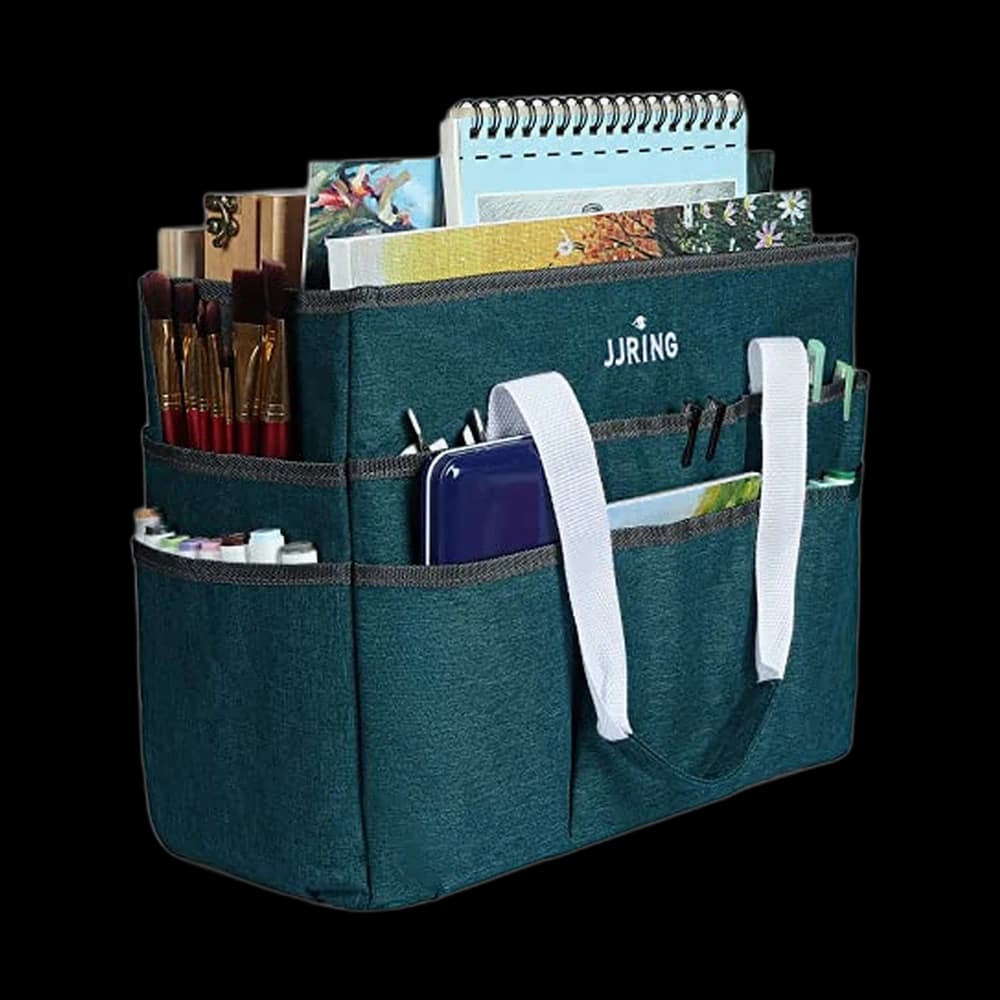 Our pick · Storage & Organizers
JJRING Craft Organizer Tote Bag$29.99 4.9 out of 5 stars · 1,876 ratings
- Ergonomic seam ripper$8–15
A fatter handle and a fresh blade. You are going to unpick a lot of seams this year and that is completely normal.
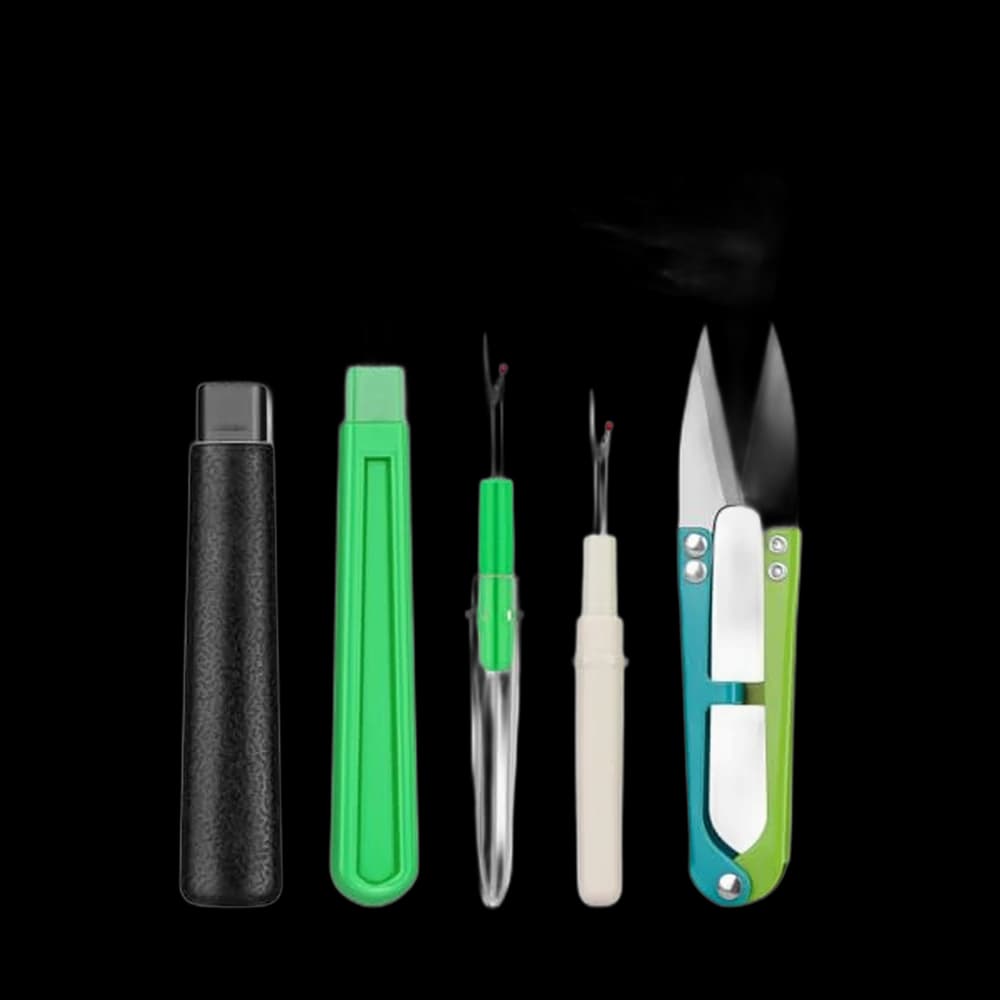 Our pick · Seam Rippers
ZMAAGG Seam Rippers, 2 Big and 2 Small$4.99 4.8 out of 5 stars · 250 ratings
The range beside each item is a researched market band, written by hand; the price under “our pick” is that product's live catalog price. Every pick and score lives in the Gear section. Nothing on this site is recommended above $1,500, at any level.
You're at this level if…
- You've decided you want a machine but the buying guides all contradict each other
- There's a machine in a closet (yours, or inherited) and you've never plugged it in
- You can hand-sew a repair but making something from fabric feels out of reach
- The bobbin is a mystery and you resent it slightly
- Your first attempt ended in a nest of thread under the fabric and you stopped there
Recognise two or three of these and you're in the right place. Not sure? Take the two-minute quiz.
Skills to build
What this level actually teaches your hands. Work down the list — each one is a thing you can practise on a scrap in ten minutes.
Thread the machine the same way every time
Presser foot UP while threading — that's what opens the tension discs, and it's the single most common reason a beginner's stitches go wrong. Then follow the printed numbers on the machine body, take-up lever included, and thread the needle front to back.
Wind and load a bobbin
Wind at an even speed with the thread seated in its guide, then load it so the thread unwinds in the direction the manual's diagram shows. Drop-in bobbins are easier to see; front-loading cases are easier to adjust. Both work.
Diagnose thread nests correctly
A bird's nest under the fabric is almost never a bobbin-tension problem — it's usually the top thread missing the tension discs, which happens when the presser foot was down while threading. Rethread completely before touching a single dial.
Sew a straight line at a consistent seam allowance
Watch the guide lines on the needle plate, not the needle. Your eye should be on the fabric edge running along the 5/8 inch mark; the needle takes care of itself. A strip of masking tape as an extra guide line is not cheating.
Backstitch, pivot, and finish an edge
Three or four stitches in reverse at each end locks the seam. To turn a corner, stop with the needle down, lift the foot, pivot, drop the foot. A zigzag along a raw edge keeps a woven fabric from fraying before you own anything fancier.
Press as you go
Press each seam before it crosses another one. Pressing is lifting and setting the iron down, not sliding it — sliding stretches the fabric. This one habit is most of the visible difference between homemade and handmade.
Worth knowing
The background that makes the skills above make sense — and stops you buying the wrong thing.
Mechanical or computerized — what actually changes
A mechanical machine sets stitches with dials and is easy to service. A computerized one adds a screen, more stitches, usually a one-step buttonhole, and needle-up/down. Both sew the same straight seam. Buy the one whose controls you'll actually understand.
Metal frame beats stitch count
A machine advertising 200 stitches will use four of them. Weight and an internal metal frame predict how it handles denim far better than the number on the box. This is why the $129 workhorse and the $500 machine often sew a seam identically.
The needle is a consumable
Change it every 6-8 hours of sewing, or after any project where you hit a pin. A dull or bent needle causes skipped stitches, snapped thread and puckering — and gets blamed on the machine constantly.
Fabric choice makes or breaks a first project
Quilting cotton is the beginner's friend: it doesn't stretch, doesn't slip, presses crisply, and costs little. Save jersey, satin and chiffon for when a straight seam is boring.
A serviced hand-me-down can be the best deal here
An old metal Singer or Kenmore from a relative, plus $80-120 for a service, often out-sews a new budget machine. The catch is finding a technician — call before you commit.
Guides for this level
Start with these, in order. The rest are optional branches — take the ones that match what you want to make.
Then explore — optional
Watch this level
Other people's tutorials, picked for exactly this stage and playable here. Seeing a technique once beats reading it three times.
How To: Thread a Sewing Machine (Sewing for Beginners)
Threading is the wall a lot of new machines die behind — Aneka walks the whole path calmly, one guide at a time.
▶ Made to Sew
Thread Tension & Troubleshooting | Sewing Machine Basics
When the stitches look like a bird's nest underneath, it is almost never you — it's tension, and this explains why.
▶ Paige Handmade
SEW A PILLOWCASE with 1 yard of fabric!
One yard, straight seams, and something you sleep on tonight — the first machine project we point everyone at.
▶ MADE Everyday
Do these next
Three concrete moves for this level. Pick one — momentum beats planning at every stage of this craft.
- UseWhich needle for this fabric?The needle guide pairs fabric with needle type and size — the fix for most skipped stitches
- ReadHow to thread a sewing machineThe step everyone gets stuck on, in order, with the bobbin part explained
- CompareFind your first machineBudget, what you'll make, computerized or mechanical — three picks
- ReadBest beginner sewing machines under $250The researched shortlist, with what each one is genuinely bad at
Frequently asked at Level 1
- How do you thread a sewing machine?
- Presser foot UP first — that is what opens the tension discs, and threading with it down is the single most common reason a beginner's stitches go wrong. Then follow the numbered path printed on the machine body, including the take-up lever, and pass the thread through the needle front to back.
- Why does thread bunch up underneath my fabric?
- A nest of thread under the fabric is almost never a bobbin-tension fault. It is usually the top thread missing the tension discs, which happens when the presser foot was down during threading. Rethread the machine completely, with the foot up, before touching a single tension dial.
- How do you wind a bobbin?
- Seat the thread in the bobbin-winding guide, put the bobbin on its post, click the post across to disengage the needle, and wind at an even speed rather than in bursts. Load the wound bobbin so the thread unwinds in the direction the machine's own diagram shows.
- What is the best first sewing machine for a beginner?
- One that sews a straight stitch, a zigzag and a buttonhole reliably. SewingPath's rank-1 sewing-machine pick is kept at or under $500 and the whole site caps machines at $1,500, because a first machine is not a lifetime purchase. Borrowing a machine before buying one is a completely valid way to finish Level 1.
- Do I need to buy a machine to do Level 1?
- No. A machine borrowed from a relative, inherited from a closet or used at a library makerspace does every Level 1 project. The Pattern's advice on gear is frequently to buy nothing yet; a pillowcase somebody actually made on a borrowed machine beats a machine bought for a project that never started.