Free Online Quilting Course for Beginners
Our picks, at a glance
- Top pick
Fiskars 45mm Rotary Cutter for Fabric
$10.98StitchScore 75 4.6 out of 5 stars · 2,112 ratings
- #6
Brother CS7000X Sewing and Quilting Machine
$249.99StitchScore 82 4.6 out of 5 stars · 3,626 ratings
The short version
- The course is eight lessons in order: machine basics, the quarter-inch seam, cutting, choosing a size, piecing, basting, quilting and binding.
- Any machine that sews a straight stitch can make the 36-by-48-inch lap throw this course builds; a quilting machine is optional.
- Run the strip test before you cut a quilt: three 2.5-inch strips sewn together should measure exactly 6.5 inches.
- The rotary cutter, self-healing mat and acrylic ruler only work as a set, and the cutter is the tool in the room that can hurt you.
- Check your machine's shank type before buying a walking foot; the one in our list is made for 7mm low-shank machines.
- Keep quilting lines within the maximum distance printed on your batting packet, which is 4 inches for the Fairfield batting we list.
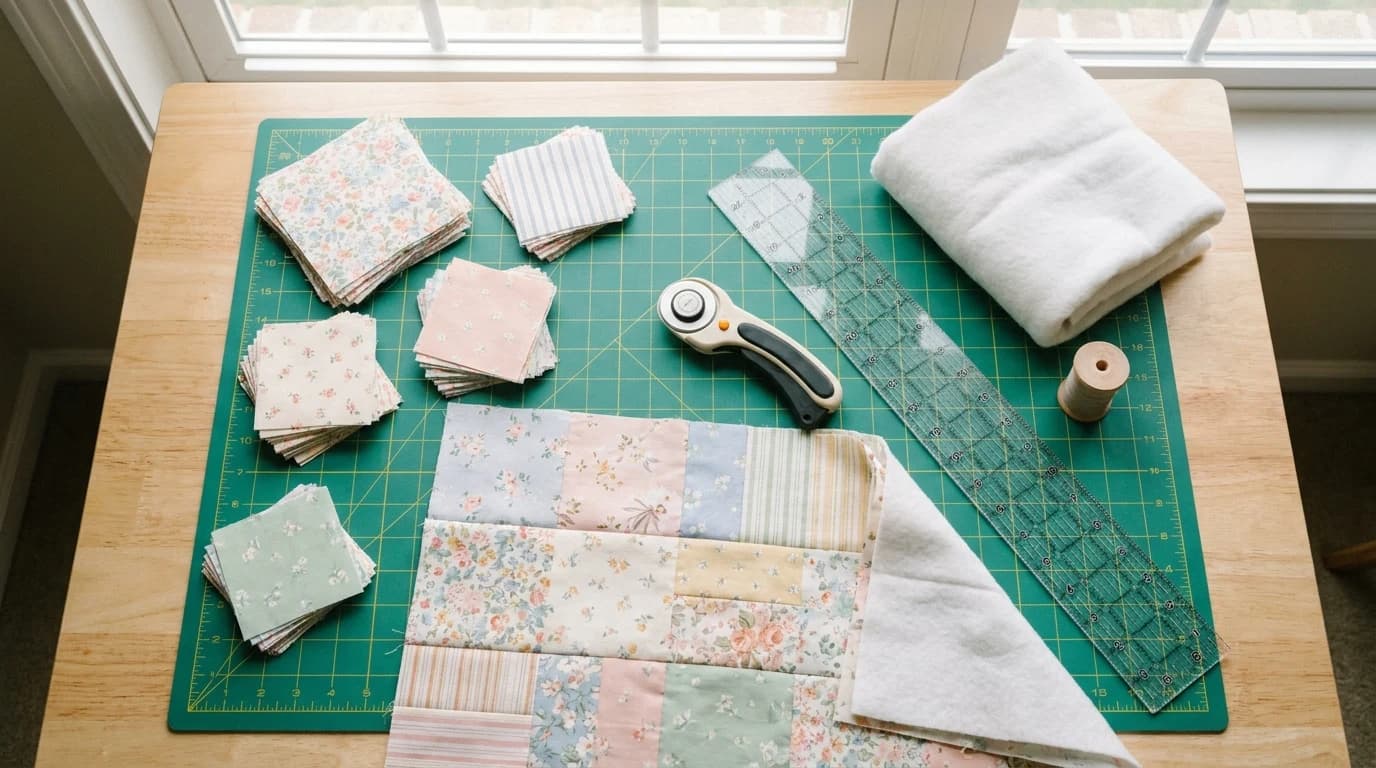
This is a free quilting course for beginners, and there is nothing to sign up for. It is eight lessons, in order, and the finished object at the end is a real quilt: a 36-by-48-inch patchwork lap throw with batting inside and a bound edge. Every lesson points at a page that already exists on this site, so you read one thing, make one thing, and move on.
If you want the background first, what a quilt sandwich is and why your regular machine is enough, read the beginner quilting guide. That page explains quilting. This page is the order to learn it in.
The course at a glance
| Lesson | What you learn | Read or make |
|---|---|---|
| 1 | Thread the machine and wind a bobbin | How to thread a sewing machine |
| 2 | Sew a straight, accurate quarter-inch seam | Practice strips, below |
| 3 | Cut with a rotary cutter, mat and ruler | Rotary cutter vs scissors |
| 4 | Choose a size and buy fabric | Quilt sizes chart |
| 5 | Cut and piece the top | Quilted lap throw, steps 1 to 6 |
| 6 | Make and baste the quilt sandwich | Basting the sandwich |
| 7 | Quilt straight lines with a walking foot | Quilted lap throw, quilting steps |
| 8 | Bind the edge | Quilted lap throw, binding steps |
Already sew? Skip to Lesson 2 and run the strip test. If it passes, go straight to Lesson 3.
What you need for the course
You need a sewing machine that sews a straight stitch, and the cutting trio. Everything else is fabric. The table at the top of this page is our researched pick in each category; below is why each one is on the list.
| What | Why | Compare |
|---|---|---|
| A 45mm rotary cutter | Cuts several layers of cotton dead straight | Rotary cutters |
| A self-healing mat, 24 by 36 inches | Takes a folded width of quilting cotton in one go | Cutting mats |
| A 6-by-24-inch acrylic ruler | Crosses folded fabric in a single cut | Quilting rulers |
| A walking foot for your machine | Feeds three layers evenly so the back does not pucker | Walking feet |
| Crib-size batting | The lap throw needs a piece about 44 by 56 inches | Quilt batting |
| Neutral thread and fresh 80/12 needles | One spool pieces and quilts the whole thing | Thread |
| A washable fabric marking pen | Marks quilting lines that do not follow a seam | Marking and measuring |
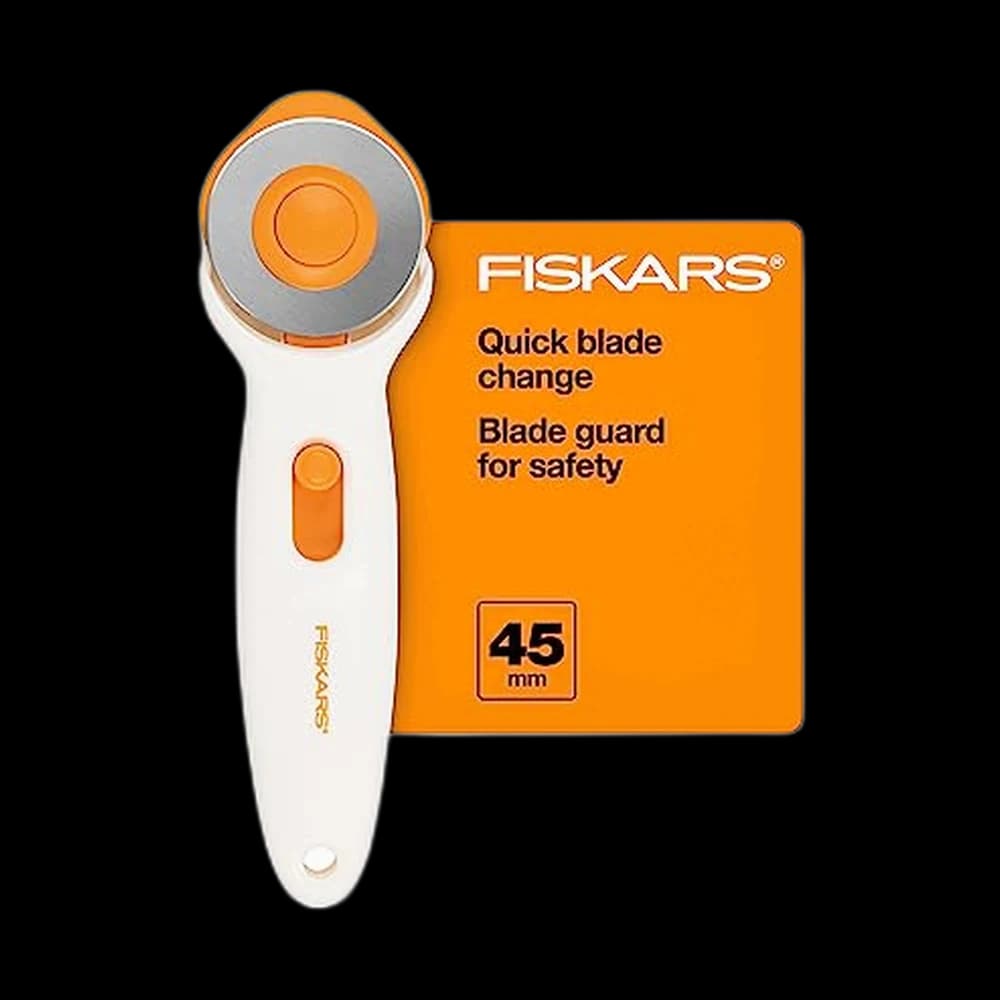
Fiskars 45mm Rotary Cutter
The standard 45mm blade, which is the all-rounder size for quilting cotton. The one rule worth repeating from the rotary cutter guide: close the blade every single time you put it down.
The mat and the ruler
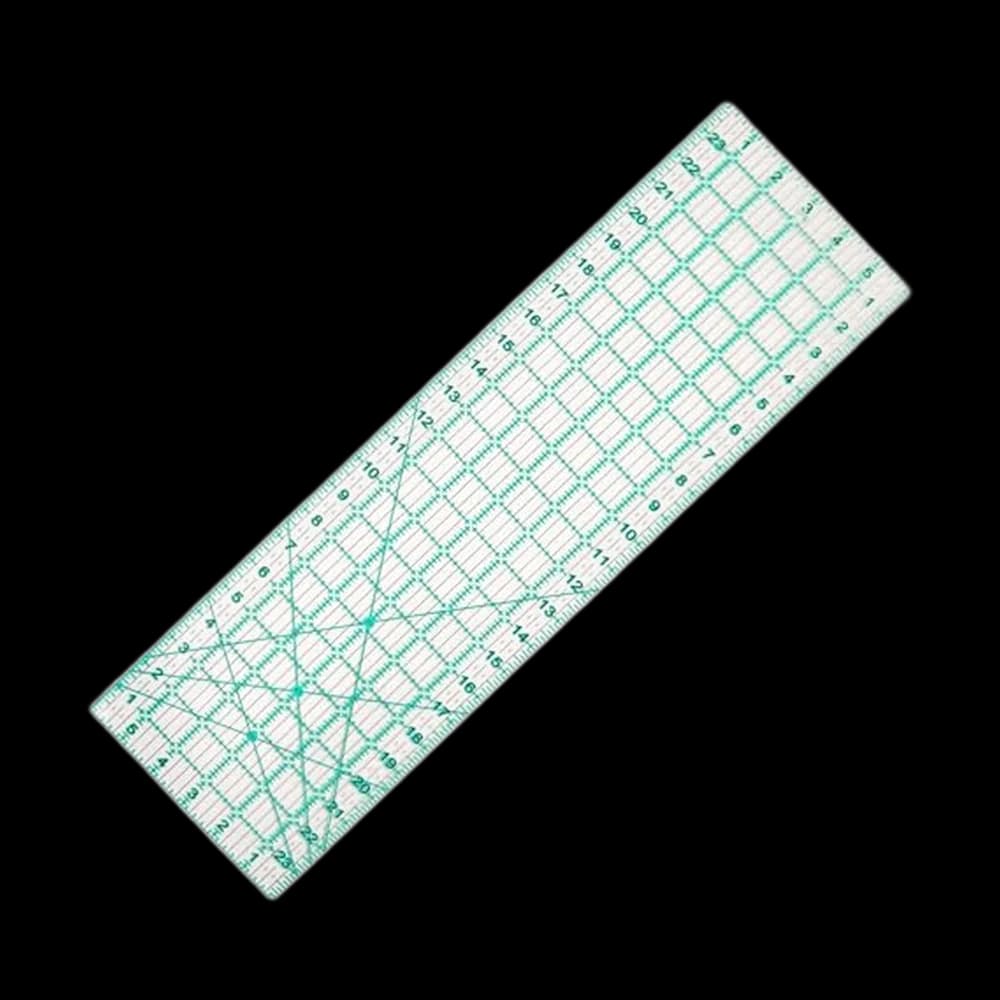
The cutting mat and ruler are the two pieces beginners under-buy. Our pick for the mat is the Idemeet 24-by-36-inch, because it takes a full folded width of fabric; if your table is small, a 12-by-18-inch mat will cut fat quarters, which is all this course uses. For the ruler, the MANUFORE 6-by-24-inch is the one long ruler we would buy first, and the quilting guide's ruler table compares it with the alternatives.
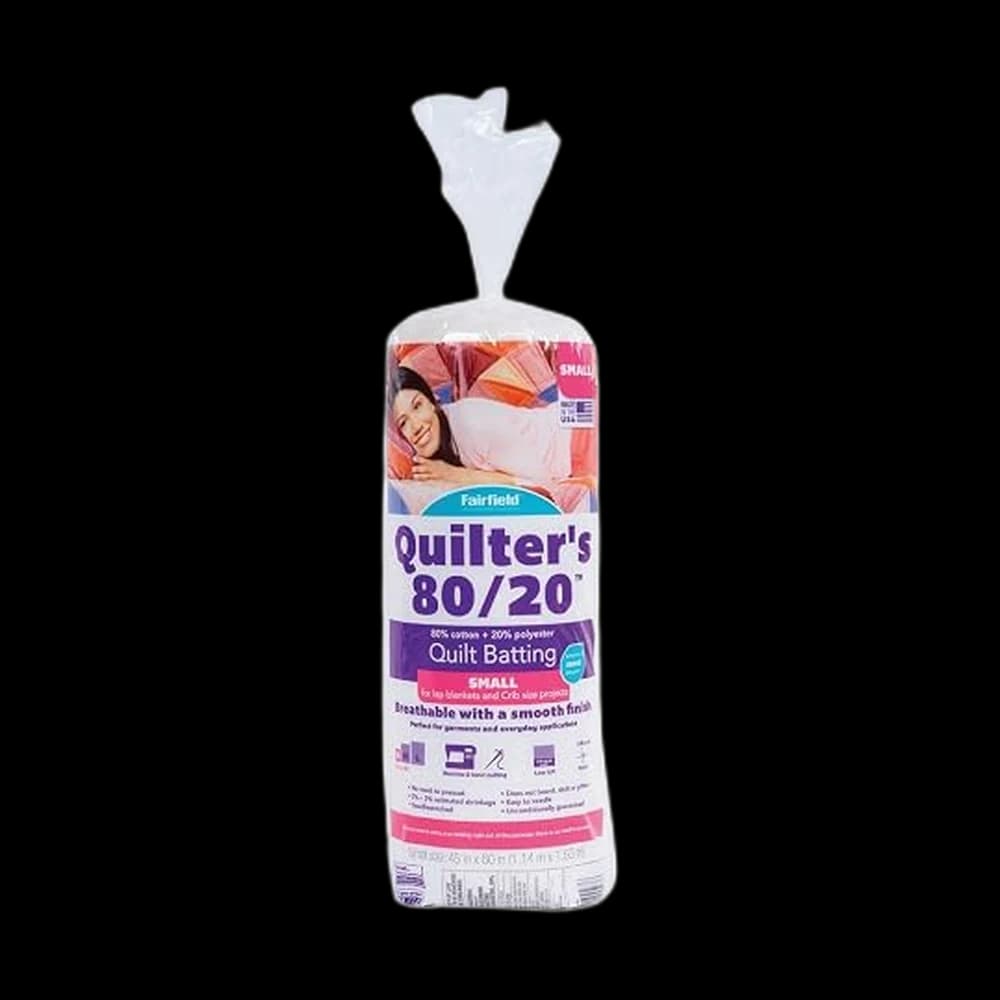
Fairfield QB4512 batting
Fairfield's listing gives this crib-size batting as 45 by 60 inches, about an eighth of an inch of loft, and a quilting distance of 2 to 4 inches. The size covers the lap throw's batting piece with room to spare, and the low loft is the easiest kind to feed through a home machine. The quilting distance is the number to obey in Lesson 7.
The walking foot
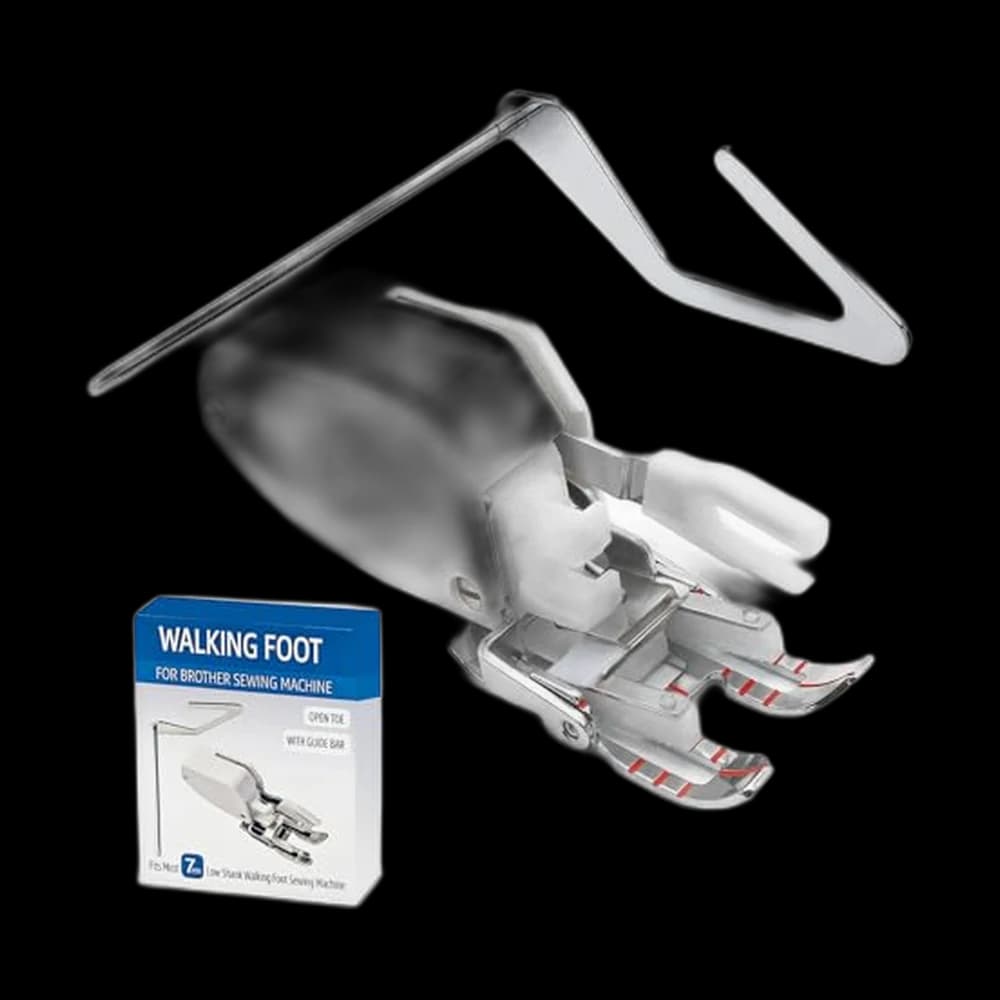
Our pick is the Fyroxx open-toe walking foot, and its listing is specific about fit: it is made for 7mm low-shank machines such as Brother, and not for high-shank, slant-shank, older or industrial machines. Check your machine's shank before you buy any walking foot. If your machine already came with one, as some quilting machines do, skip this.
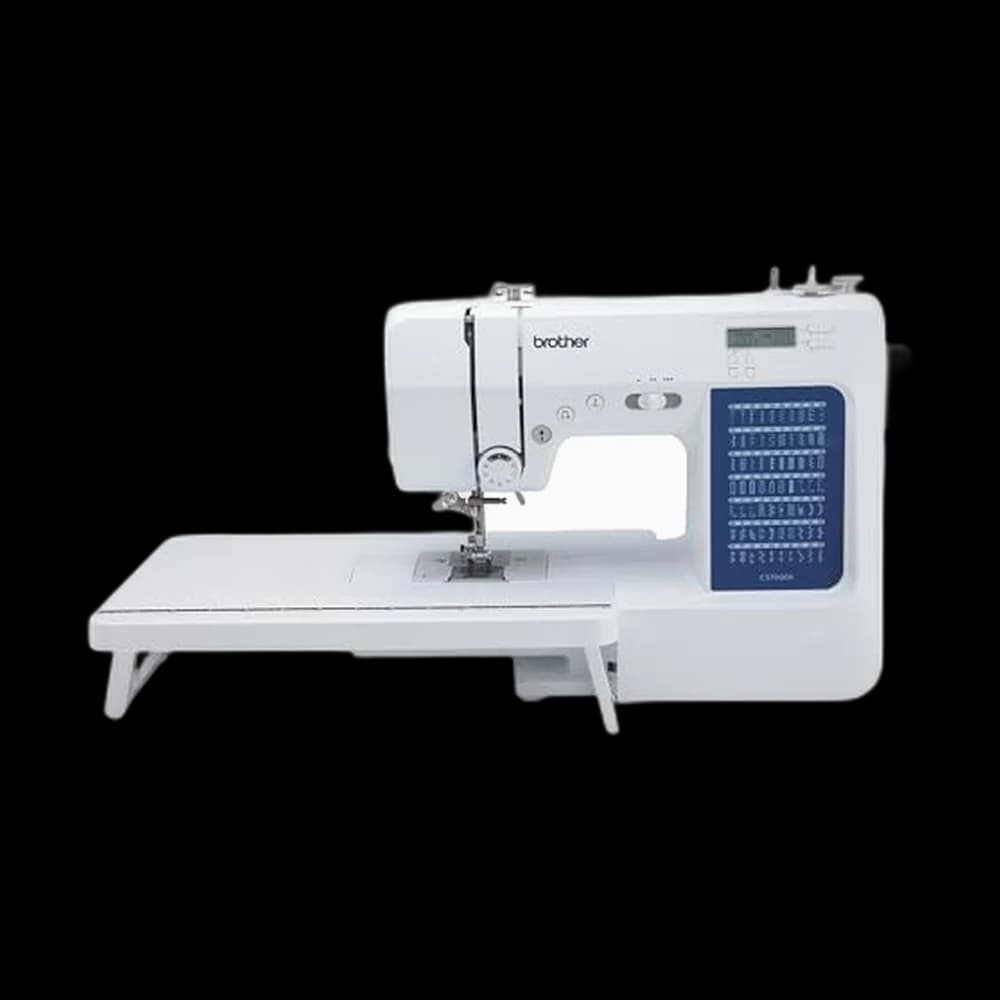
Brother CS7000X, only if you need a machine
You do not need a quilting machine for a lap throw; any machine that sews a straight stitch will do. If you have no machine at all and you know you want to quilt, the Brother CS7000X is our pick on the quilting machines shelf, because the listing includes a walking foot, a quarter-inch foot and a wide table in the box, which is most of this list already.
What we'd buy for this
One pick per category, chosen from the research pages linked in this piece. Borrow before you buy — nothing here is required to start.
 Rotary Cutters
Fiskars 45mm$10.98 4.6 out of 5 stars · 2,112 ratings
Priced in the lower half of this category.
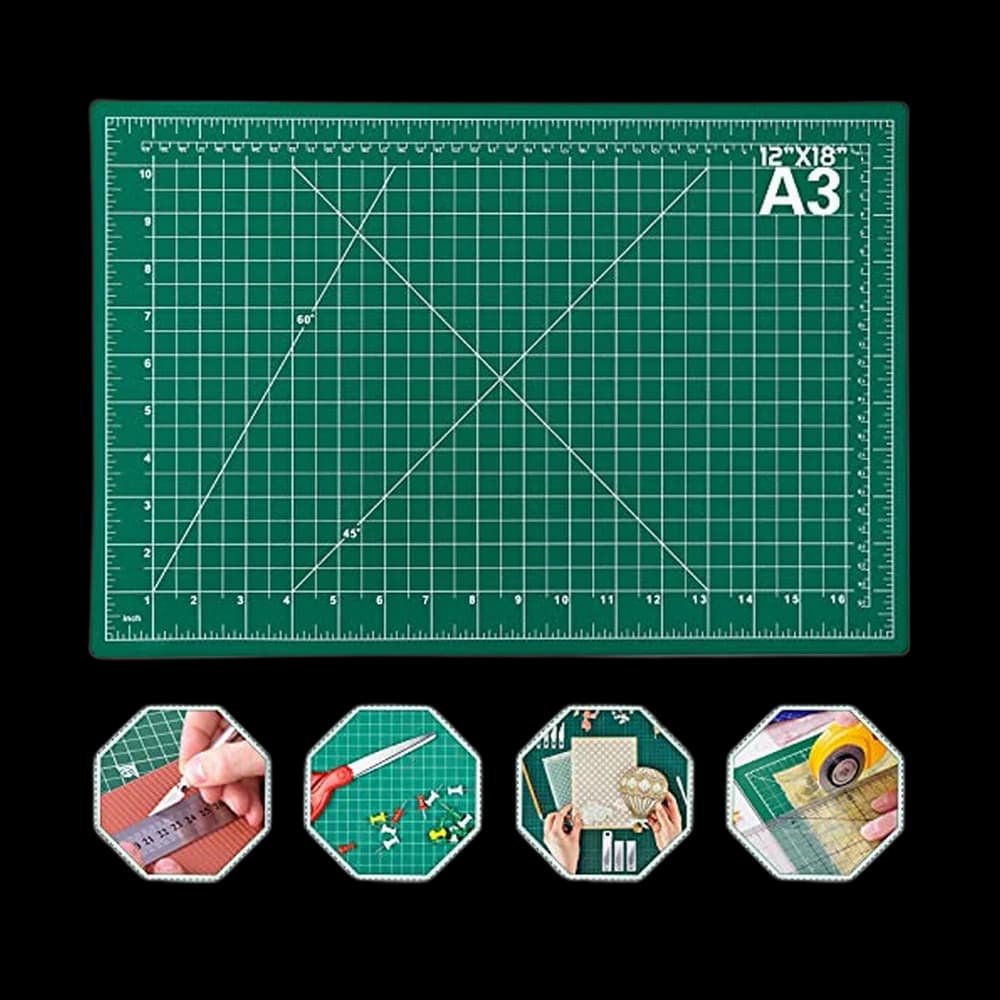 Cutting Mats
anezus 12inch$8.99 4.6 out of 5 stars · 21,006 ratings
The least expensive pick in this category, which makes it the low-risk way to find out whether you'll keep at it; the surface is self-healing, so rotary cuts close up instead of scarring into a groove that steers your next cut.
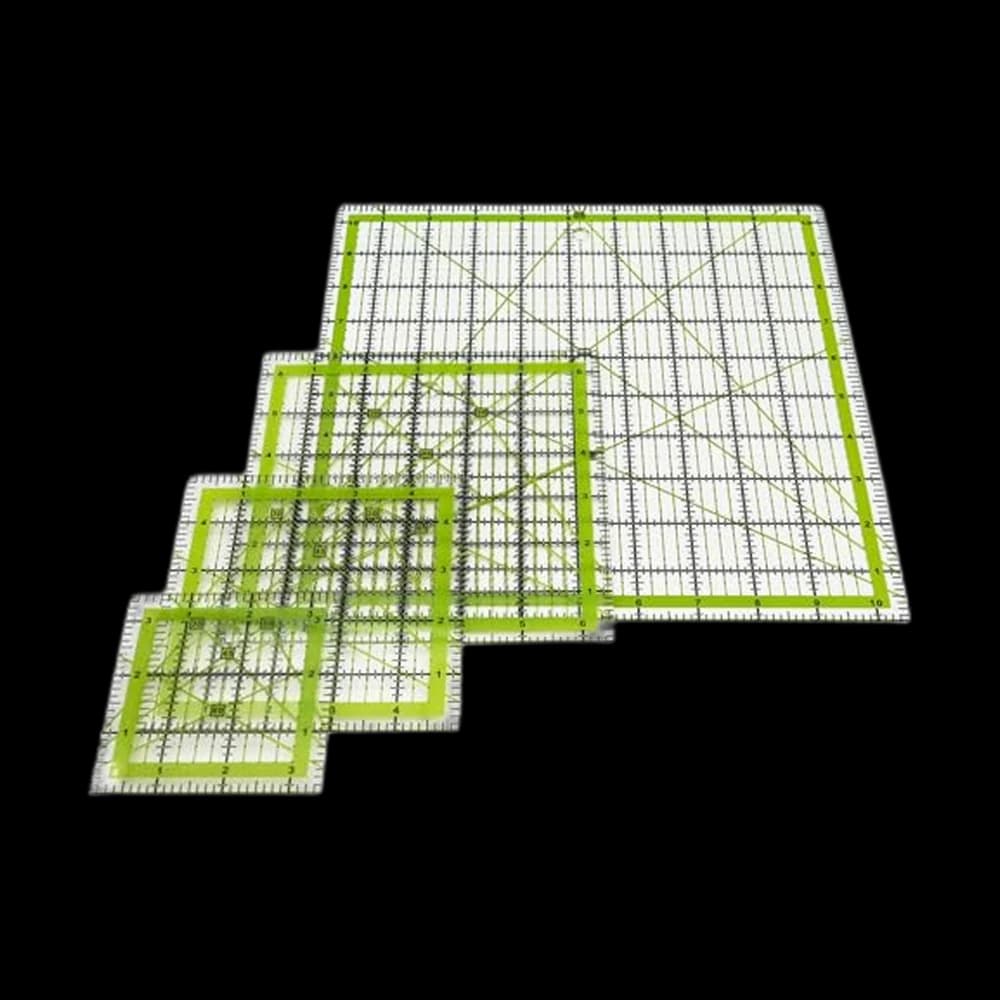 Quilting Rulers
LINXIAO$9.99 4.8 out of 5 stars · 1,141 ratings
Researched from listings, specs and owner feedback — never hands-on testing. We may earn a commission; it never changes a pick.
Lesson 1: Get the machine running
Nothing in quilting is hard if the machine is threaded properly, and almost everything goes wrong if it is not. Work through how to thread a sewing machine and how to wind a bobbin, then sew a few lines on a folded scrap. If you see loops underneath, it is almost always a threading problem rather than the machine, and the tension guide walks through the checks in order.
If you have never sewn anything at all, make a set of cloth napkins first. Four straight hems are the best practice there is for the long straight seams a quilt is made of.
Lesson 2: The quarter-inch seam
Quilting uses a quarter-inch seam allowance everywhere, and the whole quilt depends on it being the same quarter inch every time. A seam that is a thread too wide on every join adds up across a row of six squares, and the rows stop matching.
Find your quarter inch first. Some machines come with a quarter-inch foot; otherwise, measure a quarter inch to the right of the needle and stick a strip of masking tape on the bed as a guide.
Then run the strip test:
- Cut three strips of cotton, each exactly 2.5 inches wide and a few inches long.
- Sew them together side by side with your quarter-inch seam.
- Press the seams to one side.
- Measure across the middle. It should be exactly 6.5 inches.
Three strips of 2.5 inches lose half an inch at each of the two seams, so 6.5 inches is the right answer. If you get 6.25, your seam is too wide; move the tape guide a hair to the right and try again. This ten-minute test saves more first quilts than any tool.
Press, do not iron: lift the iron and set it down, rather than sliding it, so the seams do not stretch. You will press after every single seam in this course. An iron you already own is fine.
Lesson 3: The cutting trio
Read rotary cutter vs scissors before you cut anything. It explains why the cutter, the mat and the ruler only work as a set, and the safety rules that matter.
Then practise on fabric you do not care about. Fold it selvedge to selvedge, square up one edge with the ruler, and cut five strips. Stand up to cut, keep your fingers on the ruler away from its edge, and always cut away from yourself. When five strips in a row come out the same width, you are ready.
Lesson 4: Choose a size and buy fabric
This course makes the 36-by-48-inch quilted lap throw, and we suggest you do too. It is big enough to be useful and small enough to fit through a home machine without a fight. If you want something different, the quilt sizes chart gives every standard size with the batting and backing each one needs, and the quilt backing calculator works out the backing yardage for any size.
For the lap throw you need a bundle of ten fat quarters, about 1.75 yards of backing fabric, half a yard for binding and crib-size batting. The full table is in the project. Whether to wash the fabric first is a real question with a real answer, and should you prewash fabric has it, including the separate rules for precuts.
Lesson 5: Cut and piece the top
Follow the cut list and the piecing steps in the quilted lap throw: 48 squares at 6.5 inches, laid out six across and eight down, sewn into rows and then the rows into a top.
Two habits make the difference here:
- Lay out the whole quilt before you sew. Take a photo, then sew one row at a time and put it back in its place.
- Press each row's seams in the opposite direction to the row above. When two rows meet, the seams then lock against each other and the corners line up almost by themselves. The beginner quilting guide calls this nesting, and it is the single trick behind corners that meet.
Lesson 6: Make the quilt sandwich
The sandwich is the backing face down, the batting in the middle, and the top face up, with the backing and batting a few inches bigger than the top on every side. Tape the backing flat and taut on a floor or a large table, smooth the batting over it, lay the top on, and pin through all three layers with curved safety pins every few inches.
Take your time. Any wrinkle you leave in the backing now becomes a permanent pleat in Lesson 7. The basting section of the beginner quilting guide covers pin basting and spray basting.
Lesson 7: Quilt straight lines
Fit the walking foot and a fresh needle, lengthen the stitch a little, and sew straight lines through all three layers. The easiest pattern is stitching in the ditch, right along the seams between your squares, or a line corner to corner through each square.
Start in the middle and work outwards, and alternate the direction of each line so the layers do not creep one way. Keep your lines no further apart than the maximum quilting distance printed on your batting packet; for the Fairfield batting above, that is 4 inches, so add a line through the middle of each square as well as the seams.
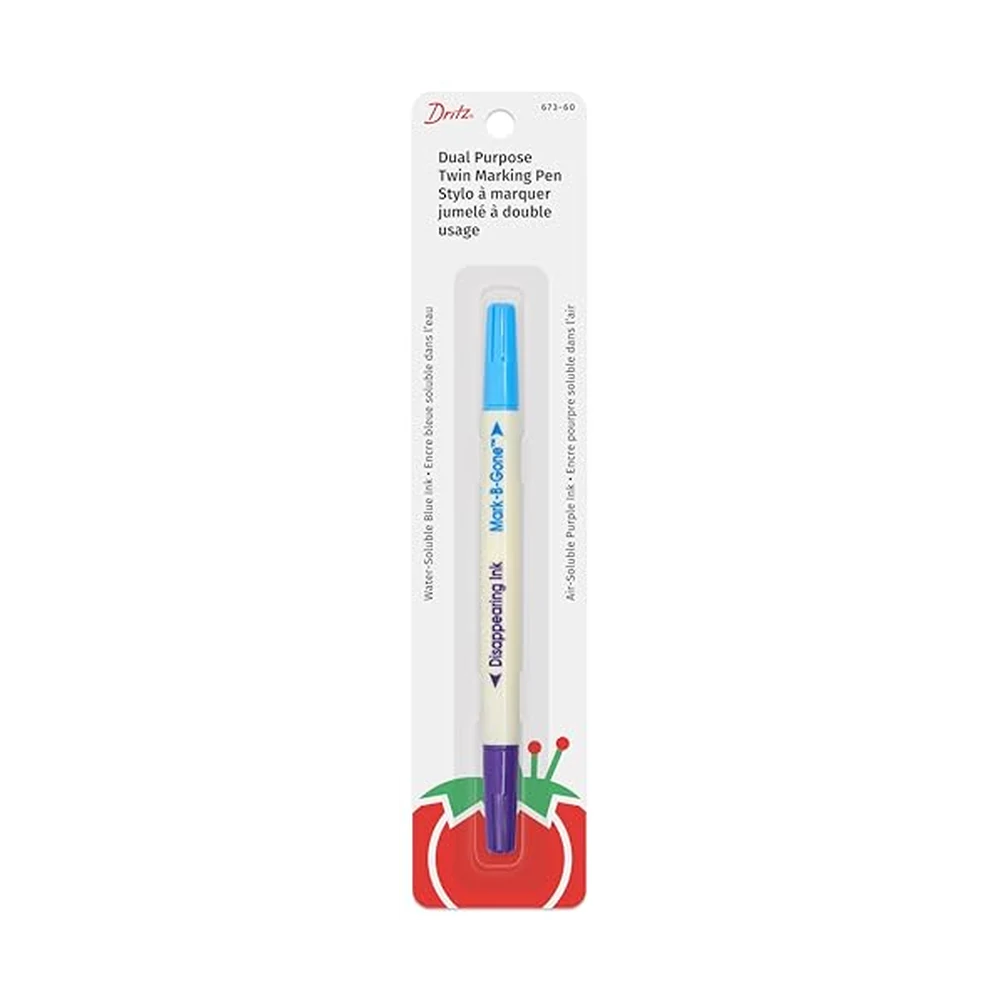
Lines that do not follow a seam are easier to sew straight if you draw them first, with the ruler and a washable marking pen. Our pick is the Dritz 673-60 dual-purpose pen, which Dritz lists for quilting designs; it says the blue marks wipe away with a damp cloth. Test it on a scrap of your fabric before you mark the quilt.
If it helps to watch it first, the quilting videos on our watch page are grouped under Level 3, including a low-stress method for quilting a finished top on a home machine.
Lesson 8: Bind the edge
Binding is the narrow strip of fabric that wraps the raw edge and frames the quilt. Follow the binding steps in the lap throw project: join strips at 45 degrees, press them in half, sew them to the front, mitre the corners, then fold to the back and hand-stitch with a slip stitch. If the slip stitch is new, it is the same invisible stitch taught in basic hand-sewing stitches.
Then wash it. The crinkle that appears is the quilt looking finished, not a mistake.
After the course
Your first quilt will have points that do not quite meet. Everyone's did. From here, the usual next steps are a bigger quilt from the sizes chart, half-square triangles for a new block, and, if the rolled-up bulk of a bigger quilt starts fighting your machine, a look at what extra throat space buys on the quilting machines shelf.
The rest of the free curriculum is on the course hub. Quilting sits at Level 3, The Maker, alongside the first garments.
Frequently asked
Is this quilting course really free?
Yes. There is no sign-up, no email and no paid level. Every lesson is a free page on SewingPath, and the only costs are your own fabric and tools.
Do I need a quilting machine to learn quilting?
No. A regular sewing machine that sews a straight stitch will piece and quilt a lap-sized quilt. A dedicated quilting machine mainly buys throat space and a wide table, which start to matter on bigger quilts. A walking foot for your existing machine matters far more for a first quilt.
How long does a first quilt take?
The lap throw this course makes is written as a week of evenings. Quilting is not hard so much as sequential, and each stage goes better when you come to it fresh.
What size should my first quilt be?
Small. This course uses a 36-by-48-inch lap throw because it is useful and still fits through a home machine without a fight. A baby quilt is smaller still. The quilt sizes chart on this site gives every standard size with its batting and backing.
Can I quilt without a rotary cutter?
You can cut squares with scissors, but it is slow and the edges drift, which makes seams harder to match. For a quilt of 48 identical squares, the rotary cutter, mat and ruler save a long evening and give straighter results.
What is the quarter-inch seam and why does it matter?
It is the standard seam allowance in quilting. Every square is cut half an inch bigger than it finishes, on the assumption that each seam takes exactly a quarter inch. If your seams are slightly wider, the error adds up across a row and the rows stop lining up.
Prices and StitchScores reflect our most recent research and refresh on a cycle — confirm the live price before buying. We may earn a commission from affiliate retailers; it never changes what we recommend. See how we score gear.
Read next
Beginner Quilting Guide: A First Quilt, Start to Finish
What a quilt sandwich is, why your regular machine is enough, the rotary cutting trio, and how to piece, baste, quilt and bind a first baby quilt.
Serger vs Sewing Machine: What Beginners Actually Need
A serger trims, sews and overlocks in one pass — but it cannot do zippers, buttonholes or topstitching. Why it is a second machine, not a first.