How to Wind a Bobbin (and Why Yours Keeps Jamming)
The short version
- Always run the thread across the bobbin-winder tension disc — it is the step behind almost every badly wound bobbin.
- A correctly wound bobbin is flat edge to edge, firm to press, and slightly below the rim.
- Never wind a new color of thread on top of an old one; the join changes your tension mid-seam.
- Drop-in bobbins follow the printed arrow; front-load bobbins must sit under the flat tension spring in the case.
- When thread nests underneath the fabric, suspect the upper threading first and the bobbin second.
- Bobbins come in classes that are not interchangeable — buy the type your manual names, not whatever fits.
A sewing machine makes a stitch with two threads, not one. The top thread comes down through the needle; the bottom thread sits under the needle plate on a little spool called a bobbin, and the two lock together inside the fabric. Which means half of setting up a machine happens down there, out of sight — and it is the half almost nobody explains. Threading guides stop at the needle. Then your first seam produces a bird's nest underneath and you have no idea why.
Winding and seating a bobbin takes about ninety seconds once you know the order. This guide covers winding one evenly, getting it into either kind of bobbin case, why a loose or unevenly wound bobbin causes those nests, and when prewound bobbins are worth it. It pairs with how to thread a sewing machine and belongs to Level 1 of The Pattern — Threader.
Wind the bobbin on the machine, not by hand
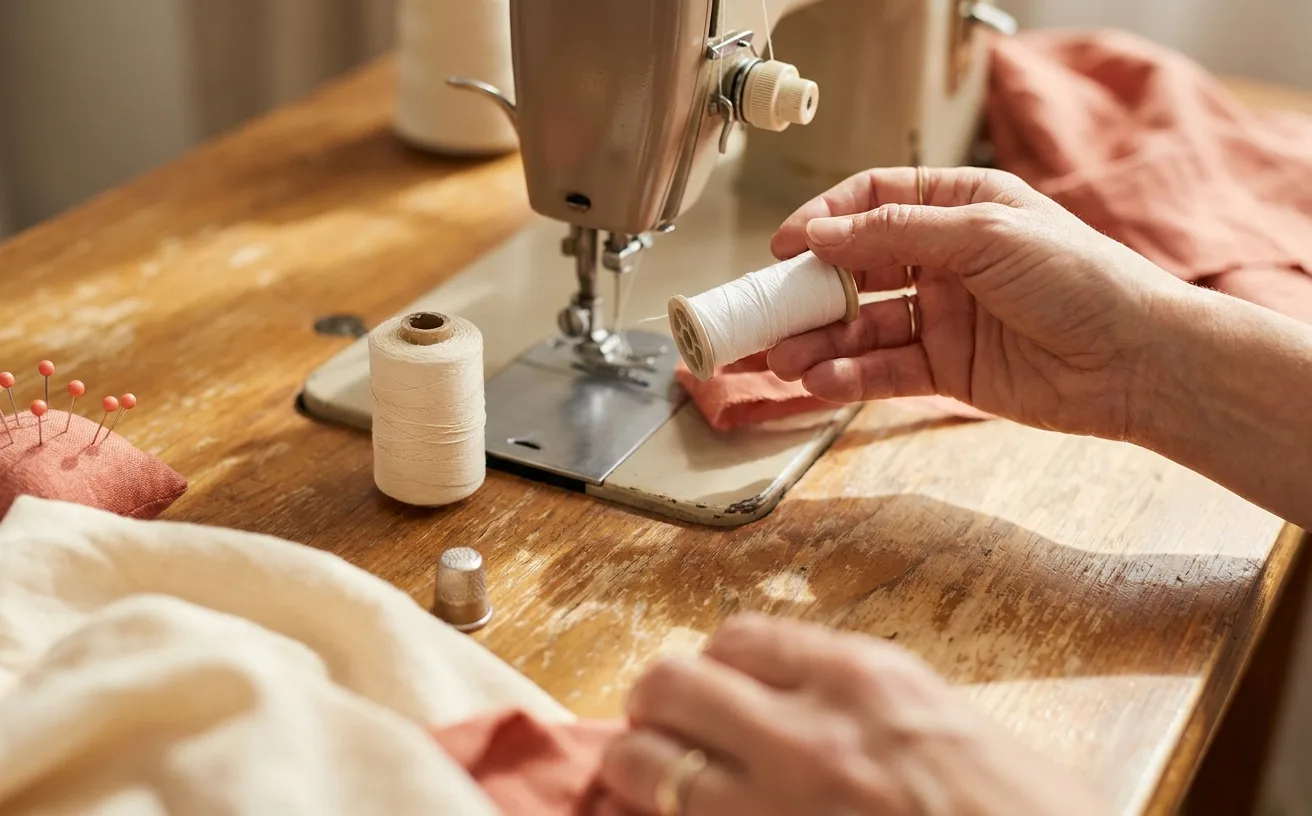
Every domestic machine has a bobbin winder built into the top: a small spindle, usually on the right, with a stopper next to it. You use the machine's own motor to fill the bobbin. Hand-winding a bobbin, or reusing one wound loosely years ago, is how you get thread that pays out in jerks instead of a smooth stream.
- Put a spool on the spool pin exactly as you would for sewing, with the cap on if your pin is horizontal.
- Take the thread across the bobbin-winder tension disc. This is the separate small disc near the top of the machine — not the main tension path the needle thread uses. This step is the whole ballgame. Skip it and the thread goes onto the bobbin with no resistance at all, which is why it comes out soft and lopsided.
- Thread the tail up through the small hole in the top plate of the bobbin, from the inside out, so a few inches stick up through the face of it.
- Drop the bobbin onto the spindle and push the spindle to the right until it clicks. On most machines that click disengages the needle, so nothing is moving up and down while you wind.
- Hold the tail and press the pedal gently. After the thread has caught and wrapped itself a dozen times, stop and snip the tail off flush with the bobbin's face.
- Wind at a steady medium speed until the bobbin is full and the machine slows or stops on its own. Push the spindle back to the left, cut the thread, and lift the bobbin off.
Rule of thumb: wind two bobbins in the color you are about to sew with, before you start. Running out halfway down a seam is the most avoidable interruption in sewing.
What a correctly wound bobbin looks like
Look at the side of it before you use it. A good bobbin is:
- Flat across the top, filling edge to edge like a tiny drum, with no bulge in the middle and no dip at the ends.
- Firm when you press a thumbnail into it — the thread should barely give.
- Not overfull. Thread should sit slightly below the rim. A bobbin packed proud of the edge drags against the case.
- Wound in one thread only. Never wind a new color on top of an old one. When the join passes through, your tension changes mid-seam and you will blame the machine.
If instead you get a bobbin that is fat in the middle and thin at the ends, or one you can squash, the thread missed the winder tension disc. Unwind it and start again — it costs you a minute now and saves you a seam ripper later.
Seating it: drop-in versus front-load
This is the only part of machine setup where brands genuinely differ, and it is worth knowing which kind you own before you buy spare bobbins.
| Drop-in (top-loading) | Front-load (removable case) | |
|---|---|---|
| Where it lives | Under a clear plastic cover in the bed, just in front of the needle | Behind a small door or the free-arm cover, in a metal case you pull out |
| How it goes in | Straight down into the well | Into the case first, then the case into the machine |
| Thread direction | Usually counter-clockwise, per the arrow printed by the well | Through the slit in the case, then under the flat tension spring |
| Telltale of a mistake | Bobbin spins the wrong way and thread has no drag | Case not clicked fully home; a rattle when you sew |
For a drop-in, set the bobbin in so the thread comes off in the direction the printed arrow shows, pull the tail through the slot and along the little channel until it seats, and close the cover. Give the tail a light pull: you should feel a gentle, even resistance, not free-running slack.
For a front-load, hold the case with the latch toward you, drop the bobbin in, and pull the thread into the slit and under the flat metal tension spring until it comes out of the small opening at the end. Then hold the latch open, push the case fully onto the center post until it clicks, and let go. A case that is not fully seated is a very common cause of loud clunking and skipped stitches.
Either way, the tail should hang loose by a few inches before you lower the presser foot.
What we'd buy for this
One pick per category, chosen from the research pages linked in this piece. Borrow before you buy — nothing here is required to start.
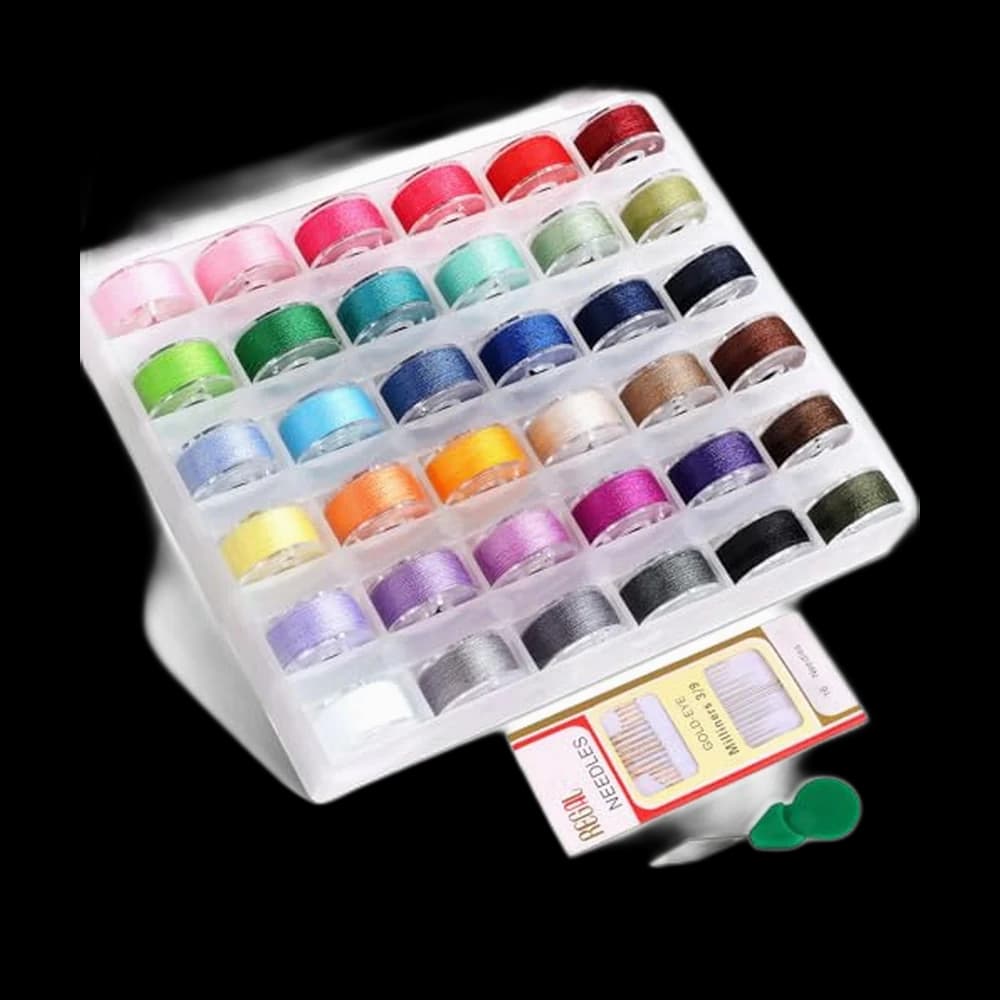
 Thread
Coats & Clark thread$8.50 4.7 out of 5 stars · 4,705 ratings
The least expensive pick in this category, which makes it the low-risk way to find out whether you'll keep at it; all-purpose polyester, which covers nearly everything a beginner sews.
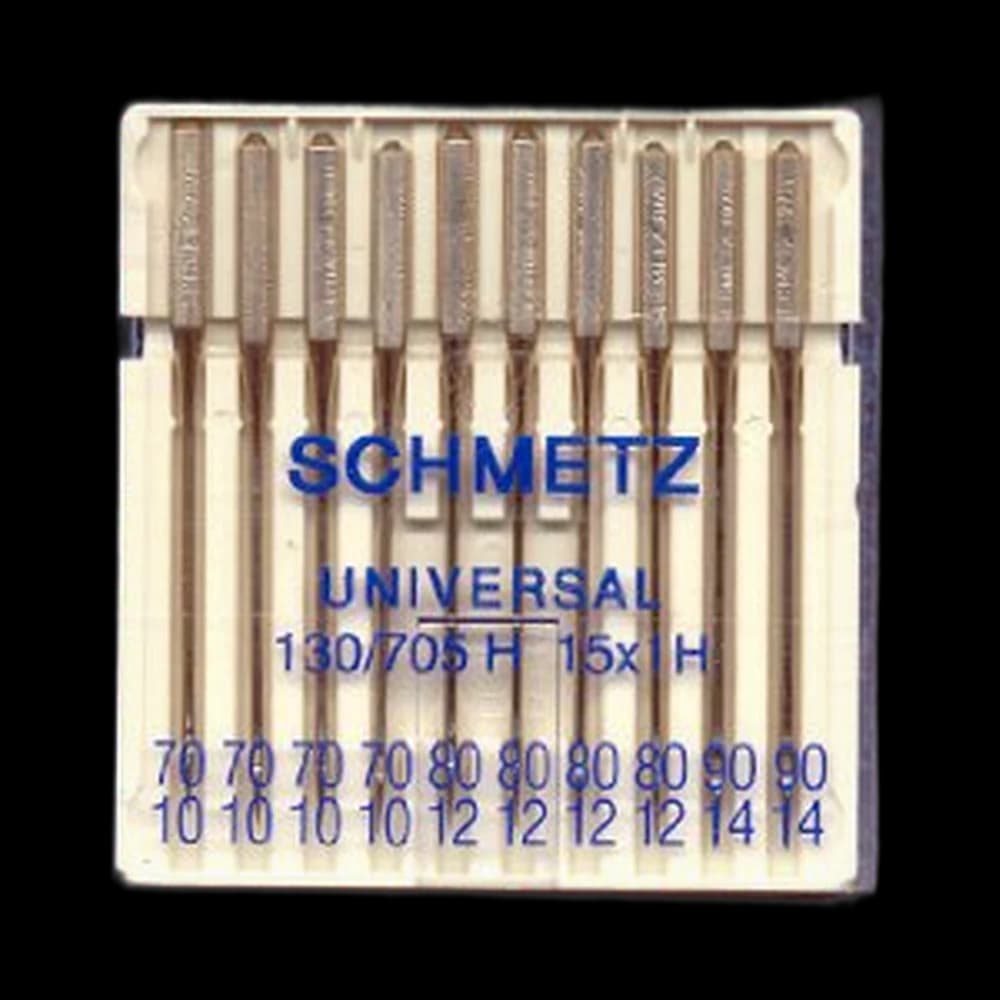 Machine Needles
SCHMETZ Universal 130/705$7.45 4.8 out of 5 stars · 709 ratings
Priced in the lower half of this category; universal points, the default for ordinary woven fabric.
Researched from listings, specs and owner feedback — never hands-on testing. We may earn a commission; it never changes a pick.
Why a bad bobbin nests thread under the fabric
That nest — a wad of loops on the underside while the top looks fine — is a tension story. Stitches form when the top thread's tension and the bobbin's tension pull against each other evenly. If either side has no tension, the other side's thread gets dragged down into the machine and piles up.
Two things put a bobbin on the wrong side of that balance:
- A cross-wound or soft bobbin pays out in surges. The thread bunches, then frees, then bunches, so the loop that should be pulled up into the fabric stays underneath.
- A bobbin threaded into the well or case wrongly — backwards on a drop-in, or skipping the tension spring on a front-load — has effectively no resistance at all.
Here is the honest order of suspicion though, and it surprises people: when you see a nest underneath, the culprit is more often the top thread than the bobbin. A machine threaded with the presser foot down never seated its thread between the tension discs. So rethread the entire upper path first, foot up, then check the bobbin, and only then consider touching a tension dial. Cheap, tired thread that sheds lint is worth ruling out too — lint packs into the bobbin case and quietly changes how it grips. So is a blunt or bent needle, which makes ragged loops that look exactly like a bobbin problem.
Prewound bobbins, and the class question
Prewound bobbins are factory-filled, sold by the box, and genuinely convenient — machine embroidery in particular runs on them. Two cautions before you buy a bag of them:
- They are only as useful as their fit. A prewound that is a hair too tall or too wide for your case will bind, and one that is slightly small will rattle.
- Cardboard-sided versions can flex as they empty. Sided or unsided, check what your machine's manual asks for.
Which brings up the thing nobody tells beginners: bobbins come in classes, and they are not interchangeable. Class 15 and Class 15J look nearly identical to the naked eye but have different profiles; metal and plastic of the same class behave differently in some machines. The rule is boring and reliable — read the bobbin type in your manual, then buy that exact one, and do not trust a bobbin from an unlabeled tin at a yard sale to be anything at all. A wrong-class bobbin is one of those faults that produces intermittent, maddening symptoms rather than an obvious failure.
When it still misbehaves
Pop the bobbin out, take the case out if yours removes, and brush the lint from the well with the little brush that came in the box. Lint is the most common cause of a machine that used to sew fine and now does not. Then rethread top and bottom from scratch rather than hunting for the one thing you got wrong — a full rethread takes two minutes and fixes more than any adjustment you can make with a screwdriver.
Wonky first seams are the point. Nobody's first bobbin goes in the right way round.
Bobbin wound? Most of what goes wrong next is thread and needles.
Frequently asked
Why does my bobbin thread keep bunching under the fabric?
That nest is usually a top-thread problem, not a bobbin problem. A machine threaded with the presser foot down never seats the thread between its tension discs, so the bobbin thread gets dragged down and piles up. Raise the foot, rethread the whole upper path, then check the bobbin is seated with the thread pulling against a little resistance.
Can I wind a bobbin by hand or reuse an old one?
You can, but it rarely sews well. A hand-wound or long-stored bobbin pays out in surges rather than a steady stream, and that unevenness shows up as skipped or loopy stitches. Winding a fresh one on the machine takes under a minute, so it is almost never worth saving the time.
What is the difference between a drop-in and a front-load bobbin?
A drop-in sits under a clear cover in the bed of the machine, right in front of the needle, and goes straight down into the well following a printed arrow. A front-load bobbin goes into a removable metal case first, under a flat tension spring, and the case then clicks onto a post behind a small door. Neither sews better; drop-in is easier to learn.
Are prewound bobbins worth buying?
They are convenient, especially for machine embroidery, but fit matters more than price. A prewound that is slightly too tall or wide will bind in the case, and one that is slightly small will rattle. Check the bobbin class your manual specifies before buying a box, and treat cardboard-sided versions with a little extra caution.
Does any bobbin fit any machine?
No. Bobbins come in classes, and lookalikes such as Class 15 and Class 15J have different profiles. The wrong class often does not fail outright — it produces intermittent tension faults that are maddening to diagnose. Read the bobbin type in your manual and buy exactly that, rather than trusting an unlabeled tin of mixed bobbins.
Prices and StitchScores reflect our most recent research and refresh on a cycle — confirm the live price before buying. We may earn a commission from affiliate retailers; it never changes what we recommend. See how we score gear.
Read next
How to Thread a Sewing Machine (Any Brand, Step by Step)
The upper thread path, winding and inserting a bobbin, and the five mistakes behind almost every nest of thread under your fabric.
Sewing Machine Tension Problems: Causes and How to Fix Them
What sewing machine tension actually is, a symptom table for reading your test seam, and the seven checks to run in order before you ever touch the dial.