Fix a Fallen Hem So It Disappears
The slip stitch that rescues trousers you had quietly stopped wearing.
- Equipment
- Needle, pins and an iron — no machine
- Materials cost
- About $3 in thread
- Assumes you can
- Nothing at all — this is the starting line
- Full supply list
- A needle, thread matched to the garment, pins and an iron.
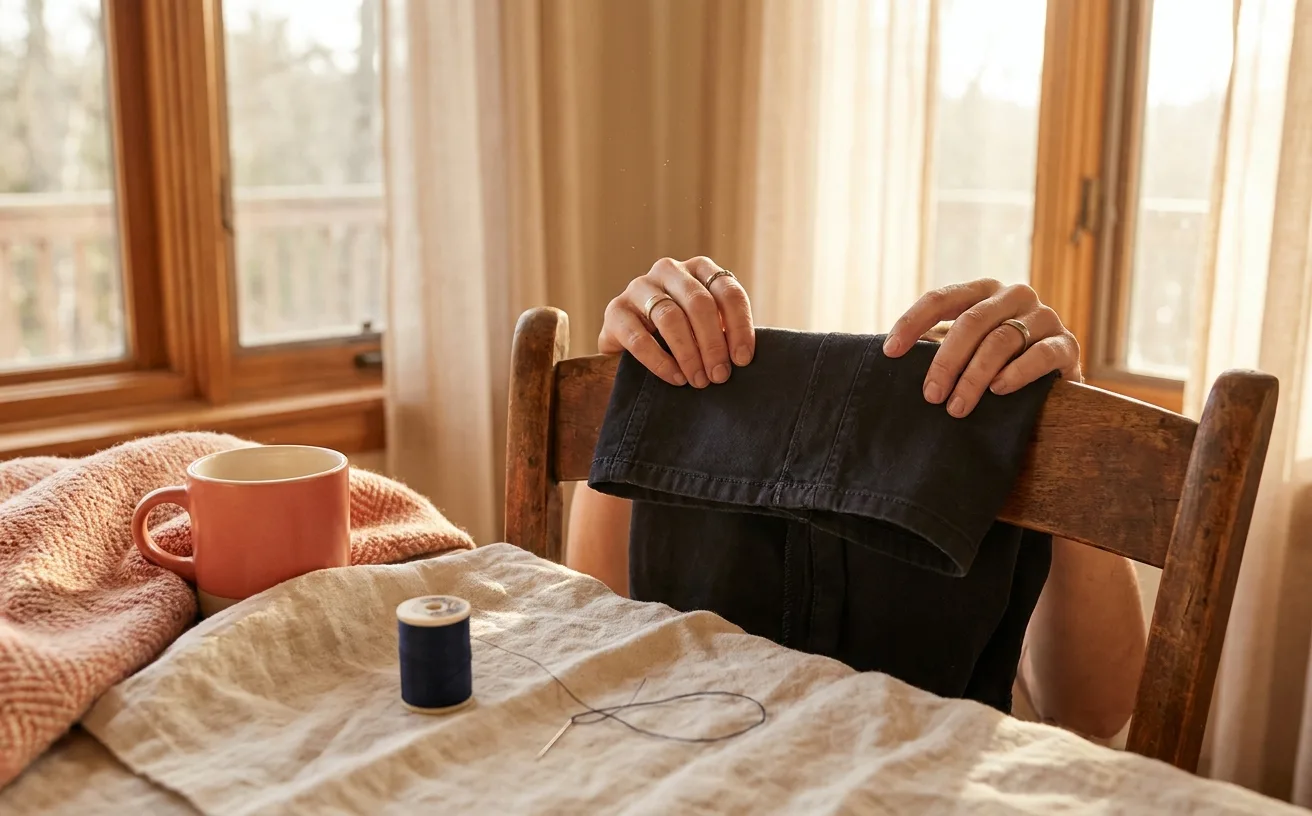
By the end of this half hour you will have a pair of trousers (or a skirt, or a lined coat) back in your rotation with a hem that holds and shows nothing at all from the right side. This is the smallest possible sewing project that saves a real garment, and it needs no machine, no pattern and no sewing room — a needle, matched thread and a flat surface will do it.
It is also the first place most beginners meet the slip stitch, the stitch that hides itself inside a fold. Learn it here, on a garment you had already half given up on.
What you need
Everything here is reusable across every future project, so the cost is a one-time thing rather than a per-repair thing.
| What | Why it matters | About |
|---|---|---|
| Hand sewing needle (a medium sharp) | Fine enough to slide between fibres without leaving a visible hole | about $5 a pack |
| Thread matched to the garment | Matched thread is most of why a repair disappears; match the darkest tone in the fabric, not the lightest | about $3 a spool |
| Pins | Hold the fold exactly where it was before you commit a stitch | about $5 a box |
| Small scissors or snips | Clean thread cuts; a blunt pair chews the tail and makes knotting harder | about $12 |
| An iron | Pressing the fold back into place does half the work of the stitching | about $30 |
| A pressing surface | A board, or a towel folded on a table — either is fine | you may already have one |
| A seam ripper (optional) | Only if old broken stitches need removing first | about $6 |
You do not need a thimble to finish this. If you find yourself pushing hard enough to want one, your needle is probably too thick for the fabric — swap it before you buy anything.
The gear this project uses
One current pick per tool or material the supply list links, in the order it lists them. Borrow, substitute or skip — a wonky first attempt with the wrong scissors still counts.
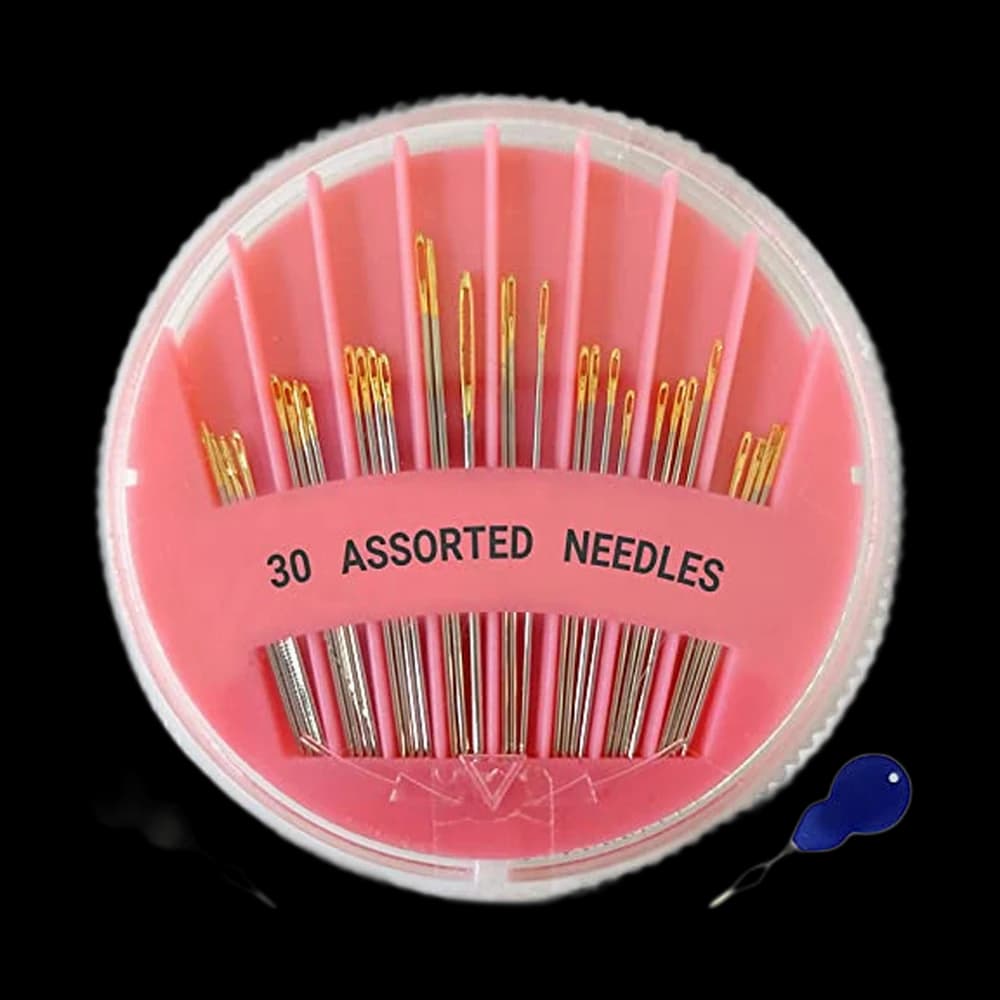 Hand-Sewing Needles
jekiinova$3.99 4.7 out of 5 stars · 2,011 ratings
The least expensive pick in this category, which makes it the low-risk way to find out whether you'll keep at it.
 Thread
Coats & Clark thread$8.50 4.7 out of 5 stars · 4,705 ratings
 Pins & Fabric Clips
MumCraft 100$5.69 4.8 out of 5 stars · 45,086 ratings
Priced in the lower half of this category.
 Fabric Scissors
Proshear$8.99 4.8 out of 5 stars · 4,040 ratings
Researched from listings, specs and owner feedback — never hands-on testing. We may earn a commission; it never changes a pick.
Numbers to know
There is no cutting in this project, so there is no cut list — but there are a few measurements worth having in your head before you start.
- Thread length: about 18 inches. Longer thread feels efficient and then tangles, which is a much slower problem than re-threading.
- Hem allowance: the folded-up fabric inside a trouser hem is usually 1 to 2 inches deep. Whatever yours measures, that is the depth you are restoring — do not adjust it.
- Repair overlap: start and finish your stitching about 1 inch inside the intact original stitching on each side. That overlap is what stops the repair unzipping again from the ends.
- Stitch spacing: about a quarter-inch between stitches. Closer is stronger but stiffer; wider is faster but starts to sag between stitches.
- Bite depth: catch one or two threads of the outer fabric per stitch. That is genuinely all.
Steps
Prepare the hem
- Turn the garment inside out and lay it flat with the fallen section facing you. Working from the inside is the whole trick — everything you do from here happens on a surface nobody sees.
- Remove any loose old thread. Pull broken tails out by hand, using a seam ripper only where they are still anchored. Thread left in the fold creates lumps that show through the finished hem.
- Fold the hem back up along its original crease. There will be a pressed line and often a faint needle-mark line from the factory stitching. Follow them — that crease is a free, accurate guide you could not mark straighter by eye.
- Press the fold with a warm iron, matching the heat to the fabric type. Pressing sets the fold so it stops fighting you while you stitch, and a set fold is far easier to sew invisibly than one you have to hold in place.
- Pin every 2 to 3 inches, placing pins perpendicular to the fold so they are easy to pull out as you go.
If the hem fell because the fabric itself tore rather than the thread breaking, stop here. That is a patch job, not a hem job, and forcing a hem stitch through weakened cloth will tear it again in a week.
Stitch the slip stitch
- Thread the needle and tie a knot in the long end. If threading is fiddly, cut the thread end at an angle and press it flat between your fingernails first. Working with a single thread rather than a doubled one keeps the repair flexible — the same logic as any of the basic hand sewing stitches.
- Bury the knot inside the fold. Bring the needle up through the folded edge only, an inch inside the intact stitching, so the knot sits hidden between the layers rather than sitting proud where it can catch.
- Take a tiny bite of the garment fabric directly opposite where the thread emerged — one or two threads' worth, no more. This is the only stitch that touches the outside of the garment, and its whole job is to be too small to see.
- Slide the needle back into the fold and travel about a quarter-inch inside the folded edge before coming out again. The thread is now hidden in the tunnel of the fold, which is why the finished line reads as blank fabric from outside.
- Repeat: tiny bite, quarter-inch slide. Keep the thread relaxed. Pulling each stitch tight is the usual cause of the puckered, dimpled hem line you have seen on badly repaired trousers — the stitches should lie, not grip.
- Check the right side every 4 or 5 inches. Turn the garment over and look. Catching a too-deep bite after five stitches costs you five stitches; catching it after fifty costs you the afternoon.
Finish and press
- Overlap the original stitching by about an inch at the far end, then anchor with two or three small stitches worked in the same spot, inside the fold.
- Knot and bury the tail. Make your knot close to the fabric, then run the needle through the fold for an inch before cutting. The tail ends up trapped inside where it cannot work loose.
- Press the finished hem from the inside, then from the outside with a cloth between iron and garment if the fabric has any sheen. Pressing settles the stitches into the fabric, and it is genuinely the moment the repair becomes invisible.
No needle at all: does hemming tape work?
Iron-on hemming tape is the genuine no-sew alternative, and it works on plenty of fabrics — with conditions its makers print themselves. Therm O Web sells HeatnBond Hem as a permanent no-sew hem in two weights: Regular Weight for light fabrics such as cotton, rayon and polyester blends, and Super Weight for heavy cotton, denim, wool and corduroy. Its directions say to pre-wash the garment without fabric softener, test the tape on your fabric first, and press with a medium iron and no steam, held in place for the time the packet gives. Dritz gives the same test-first advice for Stitch Witchery, which it sells as machine washable and dry cleanable.
So: match the tape weight to the fabric, test on the inside of the hem, and follow the pressing times on the packet. If a taped hem lifts after washing anyway, re-press it by those directions, or slip-stitch it as above. A stitched hem is also the one you can undo cleanly when you want to change the length later.
When it goes wonky
Wonky is the expected outcome the first time, and almost all of it is fixable from the inside where nobody will ever know.
| What happened | Why | The fix |
|---|---|---|
| Dimples or puckers along the hem line | Stitches pulled too tight | Snip every third stitch, ease the thread, restitch that section with a loose hand |
| Stitches visible from the outside | Your bite is catching too many fabric threads | Take shallower bites; on thick fabric aim for the very surface fibres only |
| The repair pops open again at one end | You started or stopped level with the break instead of overlapping | Restitch, overlapping an inch into sound original stitching at both ends |
| Thread keeps knotting on itself | Thread is too long, or it is twisting as you stitch | Cut back to 18 inches and let the needle dangle free every so often to untwist |
| The new hem sits lower than the other leg | The fold drifted off the original crease | Unpick, press the original crease back in, re-pin, and measure both legs before restitching |
What you just learned
- The slip stitch — the invisible-finish stitch used on hems, linings, bag openings and the closing gap of anything you turn right-side-out.
- Pressing as a construction step, not a tidying step. A pressed fold is a fold that stitches accurately.
- Reading a garment's original construction — following factory creases and stitch lines instead of inventing your own placement.
- Anchoring and burying thread so a repair ends where it should rather than unravelling from the ends.
Next, take the same needle to the Sew On a Button project in the library — it uses the same knot-burying finish on a different anchor — or browse everything else you can make without a machine on the Curious level page. When you eventually want to shorten a pair rather than rescue one, how to hem trousers picks up exactly where this leaves off.
Supply checklist
7 lines · 30 minutes · About $3 in thread
- Hand sewing needle (a medium sharp)about $5 a packFine enough to slide between fibres without leaving a visible hole
- Thread matched to the garmentabout $3 a spoolMatched thread is most of why a repair disappears; match the darkest tone in the fabric, not the lightest
- Pinsabout $5 a boxHold the fold exactly where it was before you commit a stitch
- Small scissors or snipsabout $12Clean thread cuts; a blunt pair chews the tail and makes knotting harder
- An ironabout $30Pressing the fold back into place does half the work of the stitching
- A pressing surfaceyou may already have oneA board, or a towel folded on a table — either is fine
- A seam ripper (optional)about $6Only if old broken stitches need removing first
Quantities and substitutions are the ones in the supply table above; costs are rough US shop prices at the time of writing, not live listings. Borrowing and substituting are always fine — a wonky first attempt in the wrong fabric still counts.
One rescued garment. Pressing well is what makes the next one invisible.
Frequently asked
Does hemming tape really work?
On many fabrics, yes, if you follow the packet. Therm O Web sells HeatnBond Hem as a permanent no-sew hem, in a Regular Weight for light fabrics like cotton and rayon and a Super Weight for denim, wool and corduroy. Both makers say to test it on your fabric first, and HeatnBond says to pre-wash without fabric softener. If a taped hem lifts after washing, re-press it or slip-stitch it instead.
How can I fix a loose hem without sewing?
Use iron-on hemming tape. Turn the garment inside out, press the hem back along its original crease, lay the tape inside the fold, and press with a dry iron for the time the packet gives, holding rather than sliding. Pick the tape weight that matches the fabric. For a repair you can adjust or undo later, the slip stitch on this page takes about 30 minutes and only a needle and thread.
How long does it take to fix a fallen hem by hand?
About 30 minutes for a trouser leg, including pressing. The stitching itself is quick once the fold is pressed and pinned; most of the time goes on preparing the hem and checking the right side every few inches so the stitches stay invisible.
Every SewingPath project guide is free and stays free. Some shaped garments need a separately sourced paper pattern; those pages say so before the cut list. When a project needs equipment we link the gear category and name our current pick beside the supply list, with a link to buy it if you are missing it — never in the middle of the steps. Picks are researched, not hands-on tested — see how we score gear.