Tailored Trousers
Fly, waistband, and a fitting process that finally makes sense.
- Equipment
- Machine, iron, tailor's ham; separate pattern required
- Materials cost
- $41–$109 in materials
- Assumes you can
- You can fit a garment and finish it properly
- Full supply list
- A separate trouser pattern, its specified amount of suiting, a zip, interfacing and a tailor's ham.
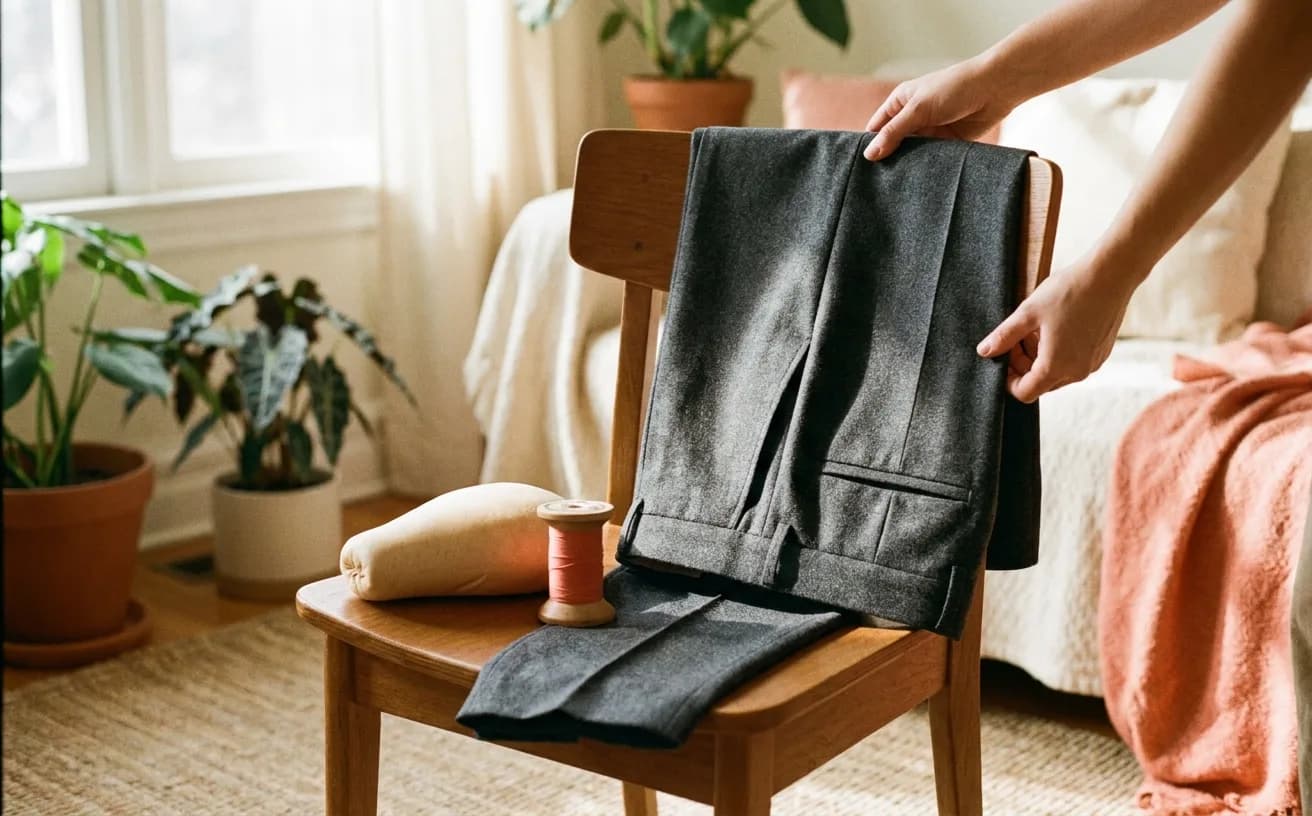
At the end of two weekends you will have a pair of trousers with a real fly zip, a proper curved waistband, and a crease pressed down each leg — the kind of garment most people assume you have to buy. This is the project where fitting stops being guesswork, because trousers show you exactly where your body and a flat piece of paper disagree. Nothing else on the path teaches that as fast.
Separate pattern required: this is a fitting and construction sew-along, not a standalone trouser pattern. Choose a woven-trouser pattern in your measurement range with the fly, waistband and pockets you want. That pattern governs every shaped piece, extension, seam allowance, zip length, fabric quantity and construction order.
Two patterns that fit this sew-along
We have not sewn either of these. We opened each page on 23 September 2026 and checked the price, sizes and the features this sew-along needs: a fly zip, a waistband and pockets.
- Free: Mood Sewciety Firenze Trousers. Front pleats, back darts, a fly zip, pocket bags, a waistband and a pressed front crease — the classic tailored shape. Free PDF, emailed to you after you fill in the form on Mood's page; the size chart is on the same page.
- Paid: Peppermint Wide-Leg Pants, drafted by In The Folds. A fly front with a button closure, a shaped waistband, back darts and curved pockets, in sizes A to J. Pay what you can, from A$10 on the page; Peppermint rates it intermediate.
What you need
The shortlist is a trouser pattern, its specified suiting and notions, a zip, interfacing and a tailor's ham. Here is what that means at the shop counter.
| Item | What to look for | Rough cost |
|---|---|---|
| A sewing machine | Straight stitch and a zigzag. Trousers are a patience project, not a machine project | You may own one |
| Suiting fabric | Buy the amount listed for your size, view and fabric width on the chosen pattern. A mid-weight wool blend or stable poly suiting is easier than stretch for a first pair | Varies by size and pattern |
| Trouser pattern, printed | One of the two above, or any trouser with a fly. Choose the size by your hip measurement, not your jeans size | Free–$20, plus printing |
| Trouser zip | Buy the type and length specified for the selected view; metal and nylon require different handling | $2–$4 |
| Fusible interfacing | Buy the type and amount specified for the waistband and fly pieces in your pattern | $4–$8 |
| Pocketing fabric | Buy the amount specified for the selected pocket view; cotton lawn or plain quilting cotton are common stable choices | $5–$10 |
| Tailor's ham | The curved cushion that lets you press a curved seam flat | $15–$30 |
| Polyester thread | One spool matching the suiting | $3–$5 |
| Sharp fabric scissors | Or a rotary cutter if you prefer | $15–$40 |
| Size 80/12 or 90/14 machine needles | Universal is fine for woven suiting | $5–$8 |
| A hook-and-bar closure | Two small metal pieces, sold on a card | $2 |
Two things are worth borrowing rather than buying if money is tight: a dress form and a full-length mirror. Neither is required. A friend with pins is better than both.
Buy a cheap cotton drill for a first version if you can stretch to it. Making the same trousers twice is not a waste — it is the actual technique.
The gear this project uses
One current pick per tool or material the supply list links, in the order it lists them. Borrow, substitute or skip — a wonky first attempt with the wrong scissors still counts.
 Sewing Machines
Brother XM2701$143.14 4.6 out of 5 stars · 19,162 ratings
A first machine — 27 built-in stitches is enough to sew clothes without a menu to decode, and the listing specifies the automatic needle threader and the jam-resistant drop-in top bobbin, which are the two steps beginners most often give up on.
 Thread
Coats & Clark thread$8.50 4.7 out of 5 stars · 4,705 ratings
The least expensive pick in this category, which makes it the low-risk way to find out whether you'll keep at it; all-purpose polyester, which covers nearly everything a beginner sews.
 Fabric Scissors
Proshear$8.99 4.8 out of 5 stars · 4,040 ratings
 Machine Needles
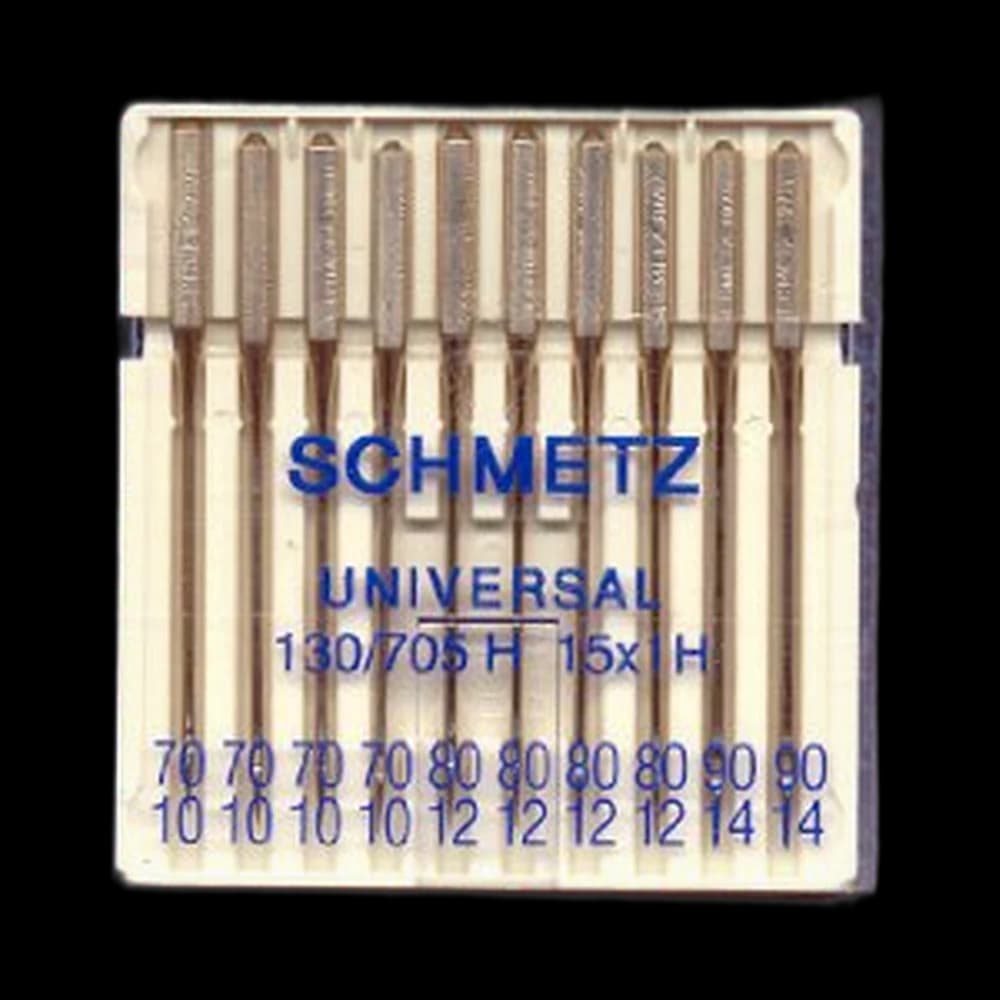
SCHMETZ Universal 130/705$7.45 4.8 out of 5 stars · 709 ratings
Priced in the lower half of this category; universal points, the default for ordinary woven fabric.
Researched from listings, specs and owner feedback — never hands-on testing. We may earn a commission; it never changes a pick.
Cut list
Cut the front and back legs, waistband, fly pieces, pocket pieces and belt loops exactly as your chosen pattern specifies. Do not substitute universal waistband or fly rectangles: their shape and dimensions depend on the rise, waist treatment, size and zip method in that pattern.
Before cutting, identify:
- Front and back leg pieces, grainlines and lengthen/shorten lines
- Pocket bags and facings for the selected view
- Fly extension or separate fly pieces and the required zip length
- Shaped or straight waistband pieces and interfacing
- Belt loops, closure placement and hem allowance
- The pattern's own seam allowances
The muslin and fitting steps below explain what to inspect, but any alteration must be transferred to all affected pattern pieces before you cut the final fabric.
Steps
Fit before you cut the good stuff
- Measure your waist and hip, and choose the size by hip. Waists are easy to let out at a side seam. Hips are not — there is nowhere to find the fabric.
- Cut and sew a quick version in cheap cotton. Side seams, inseam, crotch seam, a safety pin at the waist. No fly, no pockets, no finishing.
- Put it on and look at the wrinkles, not the size. Horizontal drag lines under the seat mean you need more length in the back crotch curve. Diagonal lines from the hip mean the crotch depth is short. Baggy pooling under the seat means the opposite.
- Transfer every change to the paper pattern in pen. The pattern is now yours, not the envelope's.
Almost nobody fits a straight-from-the-envelope trouser. The adjustment you are making is not a flaw in your body or your sewing — it is the entire reason patterns are printed with tissue you can redraw.
Pockets and fly
- Cut the real fabric, and mark the fly stitching line and pocket placement with tailor's tacks or chalk. Chalk brushes off; on dark suiting, thread tacks survive handling.
- Fuse the interfacing to the waistband, fly extension, and fly shield. Press, do not iron — lift and set the iron down rather than sliding it, or the fusible shifts and bubbles.
- Sew the front pockets first, while the fronts are still flat and easy to handle. Understitch the pocket bag so it rolls to the inside.
- Install the fly zip. Follow your pattern's fly diagram; the general zip mechanics are covered in how to sew a zipper. Baste the centre front closed before you stitch — the zip goes in far more calmly when the opening cannot shift.
Legs, seat, and waistband
- Assemble the legs and crotch in your pattern's order. Preserve the fitting checkpoints it provides before permanently finishing the seat and waistband seams.
- Press the crotch curve over the tailor's ham. This is what the ham is for. A curved seam pressed flat on a flat board gets a permanent crease in the wrong place.
- Reinforce and finish the crotch seam by the method your pattern specifies. It takes substantial strain, but a second stitching line is not the right finish for every fabric or seam allowance.
- Attach the waistband, sewing the outside first, then folding to the inside and finishing by hand or by stitching in the ditch. A slip stitch on the inside gives the cleanest front.
- Add belt loops and the hook-and-bar. Five loops: centre back, two at the side seams, two roughly over the front darts.
Hem and final press
- Try them on with the shoes you will actually wear. Trouser length is a shoe decision.
- Hem to the length you marked — how to hem trousers walks the blind hem in full.
- Press a crease down each leg, front and back, aligning the inseam and outseam. This is the step that makes them read as tailored.
When it goes wonky
| What happened | Why | The fix |
|---|---|---|
| The fly gapes or bulges | Centre front was not basted closed, so the layers shifted under the needle | Unpick with a seam ripper, baste, restitch. Fly zips are routinely redone |
| Diagonal wrinkles from hip to crotch | Crotch depth is too short for you | Lengthen the crotch curve on the paper and recut, or let out the inseam if there is allowance |
| Waistband is too tight after attaching | Waistbands are cut to the pattern's waist, which sits higher than most people wear them | Let out the centre back seam — that is exactly why it is there |
| Seams look bubbled and puckered | Pressing with a sliding iron, or skipping the ham on curves | Re-press, lifting and setting, and use the ham on anything curved |
| Fabric frayed to shreds while sewing | Suiting frays fast at raw edges | Finish edges early with a zigzag, a serger, or pinking shears before assembly |
What you just learned
- Fitting from wrinkles — reading drag lines to diagnose a pattern change, which applies to every fitted garment you will ever make
- Fly construction — the single most intimidating closure in garment sewing, now demystified
- Curved-seam pressing — the ham technique that separates homemade-looking from tailored
- Sequencing for adjustability — leaving the crotch seam and hem until last so the garment stays changeable
Trousers are the deep end of Level 4, and finishing a pair — even a wonky pair, even a pair you would only wear at home — means the rest of the Tailor level is squarely within reach. When you are ready for outerwear, the lined winter jacket takes the same pressing and interfacing discipline to a collar, facings and a full lining.
Supply checklist
11 lines · Two weekends · $41–$109 in materials
- A sewing machineYou may own oneStraight stitch and a zigzag. Trousers are a patience project, not a machine project
- Suiting fabricVaries by size and patternBuy the amount listed for your size, view and fabric width on the chosen pattern. A mid-weight wool blend or stable poly suiting is easier than stretch for a first pair
- Trouser pattern, printedFree–$20, plus printingOne of the two above, or any trouser with a fly. Choose the size by your hip measurement, not your jeans size
- Trouser zip$2–$4Buy the type and length specified for the selected view; metal and nylon require different handling
- Fusible interfacing$4–$8Buy the type and amount specified for the waistband and fly pieces in your pattern
- Pocketing fabric$5–$10Buy the amount specified for the selected pocket view; cotton lawn or plain quilting cotton are common stable choices
- Tailor's ham$15–$30The curved cushion that lets you press a curved seam flat
- Polyester thread$3–$5One spool matching the suiting
- Sharp fabric scissors$15–$40Or a rotary cutter if you prefer
- Size 80/12 or 90/14 machine needles$5–$8Universal is fine for woven suiting
- A hook-and-bar closure$2Two small metal pieces, sold on a card
Quantities and substitutions are the ones in the supply table above; costs are rough US shop prices at the time of writing, not live listings. Borrowing and substituting are always fine — a wonky first attempt in the wrong fabric still counts.
Fitted trousers are a real milestone. A form makes the fitting less lonely.
Every SewingPath project guide is free and stays free. Some shaped garments need a separately sourced paper pattern; those pages say so before the cut list. When a project needs equipment we link the gear category and name our current pick beside the supply list, with a link to buy it if you are missing it — never in the middle of the steps. Picks are researched, not hands-on tested — see how we score gear.