How to Read a Sewing Pattern (Envelope to First Cut)
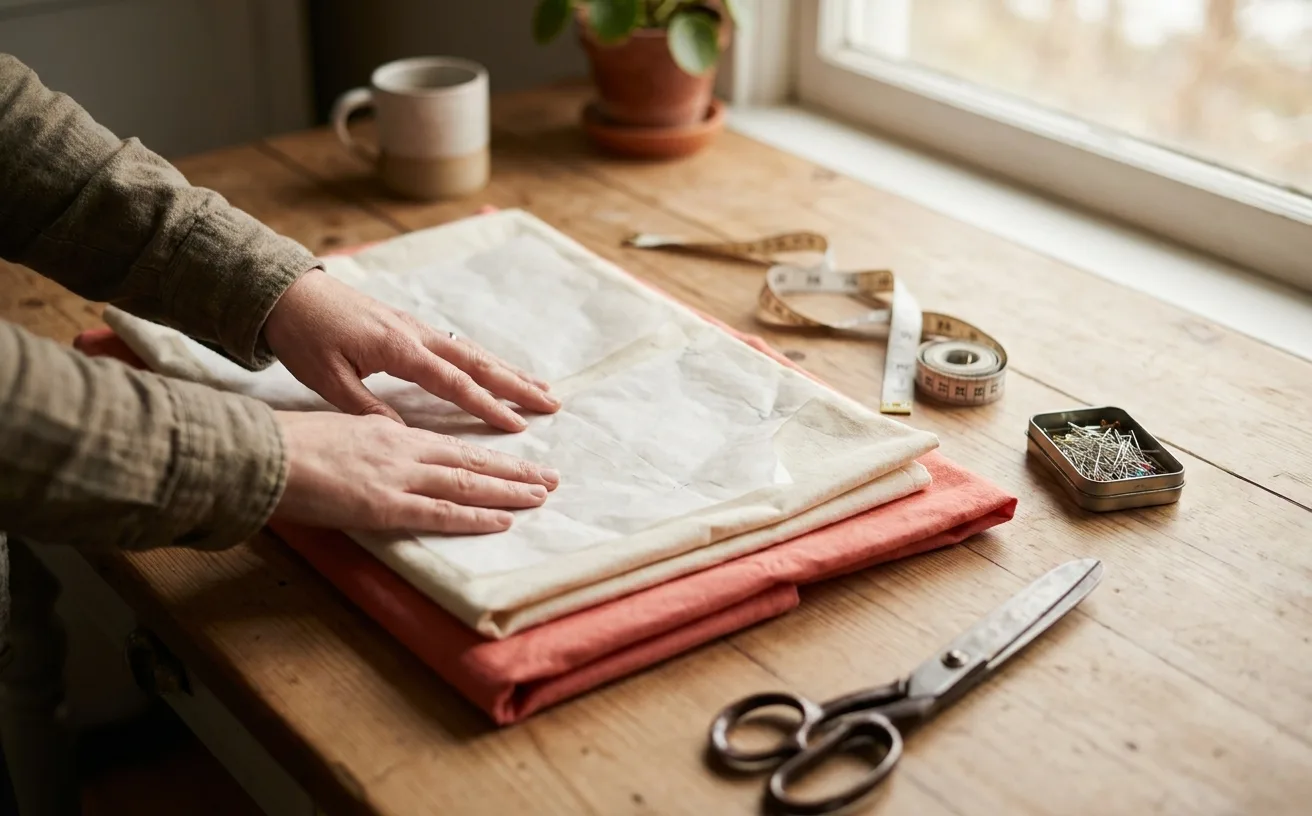
The short version
- Pattern sizes are not ready-to-wear sizes. Simplicity says your pattern size may be one or two sizes larger than your store size, so measure yourself and read the envelope chart.
- Measurements pick the size and ease decides the fit: compare the finished garment measurements with a garment you already like.
- The envelope back holds the fabric yardage grid, notions list and suggested fabrics; decide everything there before buying.
- The grainline arrow must sit parallel to the selvedge, checked with a tape measure at both ends, or the garment will hang crooked.
- Notches are matching points between pieces, not decoration — snip them outward before the tissue comes off.
- Seam allowance is the gap between cutting line and stitching line, commonly 5/8 inch, and sewing a different one resizes the whole garment.
- Add or remove length only at the printed lengthen and shorten lines, never at the hem.
A sewing pattern is where sewing stops being repairs and starts being making. It is also, on first contact, a paper envelope covered in grids, an instruction sheet in tiny type, and a sheet of tissue marked with arrows, triangles, dots and dashed lines that nobody ever sits you down and explains. None of it is difficult. It is a notation system, like sheet music, and once you can read it the pattern stops feeling like a test and becomes what it is: instructions written by someone who wants you to finish the thing.
This is the gateway skill of Level 2 Stitcher. You do not need a sewing room or a cutting table — a tape measure, a pencil, and forty minutes with the envelope before you touch the fabric.
Beyond that, the gear this guide assumes is a pair of fabric scissors you keep for fabric only, a hot iron for the creases in the tissue, and a cutting mat if you have the table for one. Borrow before you buy — none of it has to be new.
Start with the envelope, not the tissue
The envelope is the spec sheet, and almost everything you need to decide before buying fabric is printed on the back.
The front gives you:
- Views — the same pattern drawn as two or three garments, labelled A, B, C. Usually one set of pieces, with different lengths, sleeves or trims.
- A difficulty note — Easy, Learn to Sew, 1 Hour. These are broadly honest: a beginner pattern really does have fewer pieces and fewer techniques.
- A size band — patterns are usually sold in ranges, not one size per envelope.
The back gives you:
- The body measurement chart — the sizes this envelope contains, in real measurements.
- The fabric requirement grid — rows for size, columns for view and fabric width (usually 45-inch and 60-inch goods). Where your row meets your column is how much fabric to buy. Circle it in the shop.
- Notions — zipper length, button count, interfacing, elastic, thread. Buy them with the fabric or the project stalls on a Sunday afternoon.
- Suggested fabrics — a constraint, not a hint. A pattern drafted for drapey rayon looks wrong in stiff quilting cotton, and it is not your sewing that will be at fault.
- Finished garment measurements, which are larger than the body measurements. The gap between them is ease — the room designed in so you can move.
Sizing: measure, never assume
Pattern sizes are not ready-to-wear sizes, and they are not close. The number on the envelope is a measurement code, not a compliment or an insult, and it often lands a size or two larger than the label in the clothes you have on right now. Run a tape measure over yourself, snug but not tight, then pick your size from the chart on the envelope — never from memory.
| What you are making | The measurement that picks your size | Why |
|---|---|---|
| Top, blouse, bodice | Bust — or high bust if your bust is more than 2½ inches bigger than your high bust | The shoulders and armholes are the hardest area to alter |
| Skirt or trousers | Waist — or hip if your hips are two or more sizes larger than your waist | Waists are quick to take in; hips are not |
| Dress | The largest of the three, then blend the cutting lines between sizes | You can add width far more easily than you can invent it |
The high-bust and hip rules in that table are Simplicity's own, from the measurement guide on its size chart page.
Rule of thumb: if you land between two sizes, Simplicity's chart says the smaller for a closer fit and the larger for a looser one. On a first garment the larger is the forgiving choice. Taking a seam in is a ten-minute job. Letting one out requires seam allowance that is not there.
Why your pattern size is bigger than your store size
It is the most common shock in garment sewing, and it is not you. Two different sizing systems are being compared as if they were one.
- Store sizes are brand decisions. Simplicity's own guide to choosing your ideal pattern size puts it plainly: body measurements vary from one garment manufacturer to another, and the ones your favourite brands use may not match each other or the standard the patterns are drafted to.
- Pattern sizes are a fixed measurement code. The big pattern companies publish one body-measurement chart and draft to it. On Simplicity's Misses chart, a size 12 means a 34-inch bust, a 26½-inch waist and a 36-inch hip, whatever the 12 on a clothing label means this year.
- So you often go up. The same Simplicity guide says your pattern size may be one or two sizes larger than your ready-to-wear size, and asks you not to let that get in the way of a good fit. Nobody sees the number; the finished garment has no size label sewn in.
A worked example on that Misses chart: a 36-inch bust, 28-inch waist and 38-inch hip is a size 14 in all three places, whatever size is printed in the jeans you are wearing.
Pick by measurement, then check the ease
Measurements pick the size; ease decides whether it is the size you actually want. Simplicity's guide describes two kinds:
- Wearing ease is the minimum room to move, built into almost every garment.
- Design ease is the extra the designer adds for the look. A boxy shirt has a lot; a fitted dress very little.
The number that tells you how much ease a pattern has is the finished garment measurement, printed on the tissue and on the back of many envelopes. Simplicity's instruction is to compare it with the body measurement for your size, and the difference is the ease. Then do the step that saves most first garments: lay a tape measure across a top or skirt you already own and like the fit of, and compare. If the pattern's finished bust is four inches bigger than your favourite top's, you will get a looser top than you are used to, whatever size you cut.
Simplicity also says you may end up choosing a different size from the one your measurements suggest, because you prefer more or less wearing ease. The chart is where you start, not a verdict.
The instruction sheet, decoded
Unfold it fully before you start. Every sheet contains four things, in roughly this order.
- The piece key — a line drawing of every piece with its number and name. Use it to work out which tissue pieces you need, because one envelope often holds pieces for three views.
- Cutting layouts — diagrams showing how to arrange the pieces on folded fabric. Find the one for your view, size and fabric width, and circle it. Following the wrong layout is the most common way people run out of fabric.
- A glossary — the terms the steps will use: baste, understitch, clip the curve, right sides together. Read it once now rather than mid-seam.
- The steps, with a small illustration each. In most illustrations the shaded side of the fabric is the wrong side.
The tissue symbols cheat sheet
Every mark on the tissue is an instruction. This is the whole language:
| Symbol | What it looks like | What it means | If you ignore it |
|---|---|---|---|
| Grainline | A long straight arrow, often with arrowheads at both ends | Lay this line exactly parallel to the fabric's selvedge | The garment twists on the body and hangs crooked |
| Place on fold | An arrow bent at both ends, pointing to the pattern edge | This edge sits on the folded fabric, so the piece is cut as one symmetrical shape | You cut two half-fronts and one whole front is missing |
| Notches | Small triangles or diamonds on the cutting line | Matching points between two pieces — align triangle to triangle | Seams that will not line up, and no way to tell which end is which |
| Dots or circles | Small printed circles, sometimes filled | Pivot points, dart tips, pocket corners, where to start and stop stitching | Zip openings and pockets end up in the wrong place |
| Darts | A long V of dashed lines with a dot at the point | Fold along the centre, stitch down the dashed leg to the dot — this is what creates shape | A flat garment where a curved one was intended |
| Cutting line | The solid outer line, often size-labelled | Where your scissors go | — |
| Stitching line | A dashed line inside the cutting line | Where the needle goes; the gap between the two is the seam allowance | — |
| Lengthen/shorten | Two parallel lines across a piece | The only correct place to add or remove length | Adding length at the hem distorts curves and pocket placement |
| Buttonhole marks | A short line or bracket with a dot | Position and length of each buttonhole | Uneven spacing, which is what the eye notices most |
| Piece information block | Text such as Front, cut 2, or cut 1 on fold | How many of this piece, and how | Discovering at step nine that you need a second sleeve |
Grainline is the one to get right
Fabric behaves differently along its length, across its width and diagonally, and the grainline arrow tells you which direction the piece was drafted for. Pin one end of the arrow down, measure from that pin to the selvedge, then measure again from the other end of the arrow. When both numbers match, the piece is on grain — a two-minute check that separates a garment hanging straight from one that spirals around the wearer.
Seam allowance is the number everything depends on
Seam allowance is the strip between the cutting line and the stitching line, and the pattern states it — commonly 5/8 inch on envelope patterns, often 3/8 inch on printable ones. Find that number and keep it in front of you. Sew wider than the pattern assumes and the garment comes out small; sew narrower and it comes out large, with the error multiplied by every seam.
From envelope to first cut
- Measure yourself and choose your size from the envelope chart.
- Buy fabric and notions from the grid, for your size, view and fabric width.
- Prewash and press the fabric the way you will wash the finished garment, so any shrinking happens now. A hot iron does more for a beginner's results than any other tool in the room.
- Press the tissue on a dry, low setting to flatten the fold creases. Creased tissue is inaccurate tissue.
- Cut out only the pieces your view needs, roughly, outside the lines — trim precisely later.
- Lay out the pieces following the circled diagram, grainlines checked, fold edges on the fold.
- Pin or weight, then cut. Long, smooth strokes with sharp fabric scissors, lower blade on the table. Snipping cuts leave a ragged edge that is hard to sew to.
- Transfer the markings — snip notches outward as tiny triangles, mark dots and darts with tailor's chalk. Do this before you unpin the tissue; none of it can be recovered afterwards.
Keep the tissue. Fold the pieces back into the envelope with the instruction sheet, or into a labelled bag. A pattern you have already sized to yourself is worth far more the second time you use it.
What we'd buy for this
One pick per category, chosen from the research pages linked in this piece. Borrow before you buy — nothing here is required to start.
 Fabric Scissors
Proshear$8.99 4.8 out of 5 stars · 4,040 ratings
The least expensive pick in this category, which makes it the low-risk way to find out whether you'll keep at it; the handles are the ergonomic style, which matters more than it sounds once you are cutting out a whole garment.
 Irons
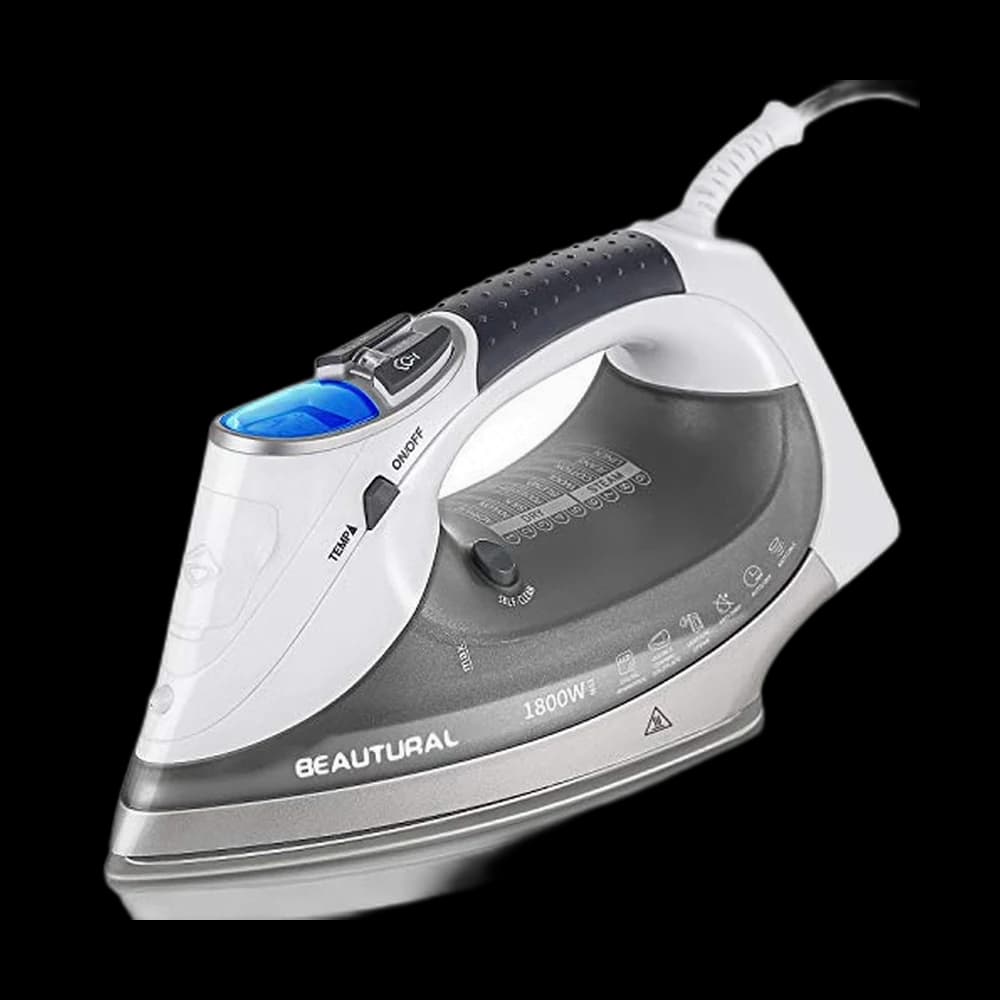
IronsBeautural steam iron$41.99 4.5 out of 5 stars · 19,802 ratings
Priced in the lower half of this category; the listing states a ceramic soleplate; it is a steam iron — pressing seams flat is half of sewing well.
 Cutting Mats
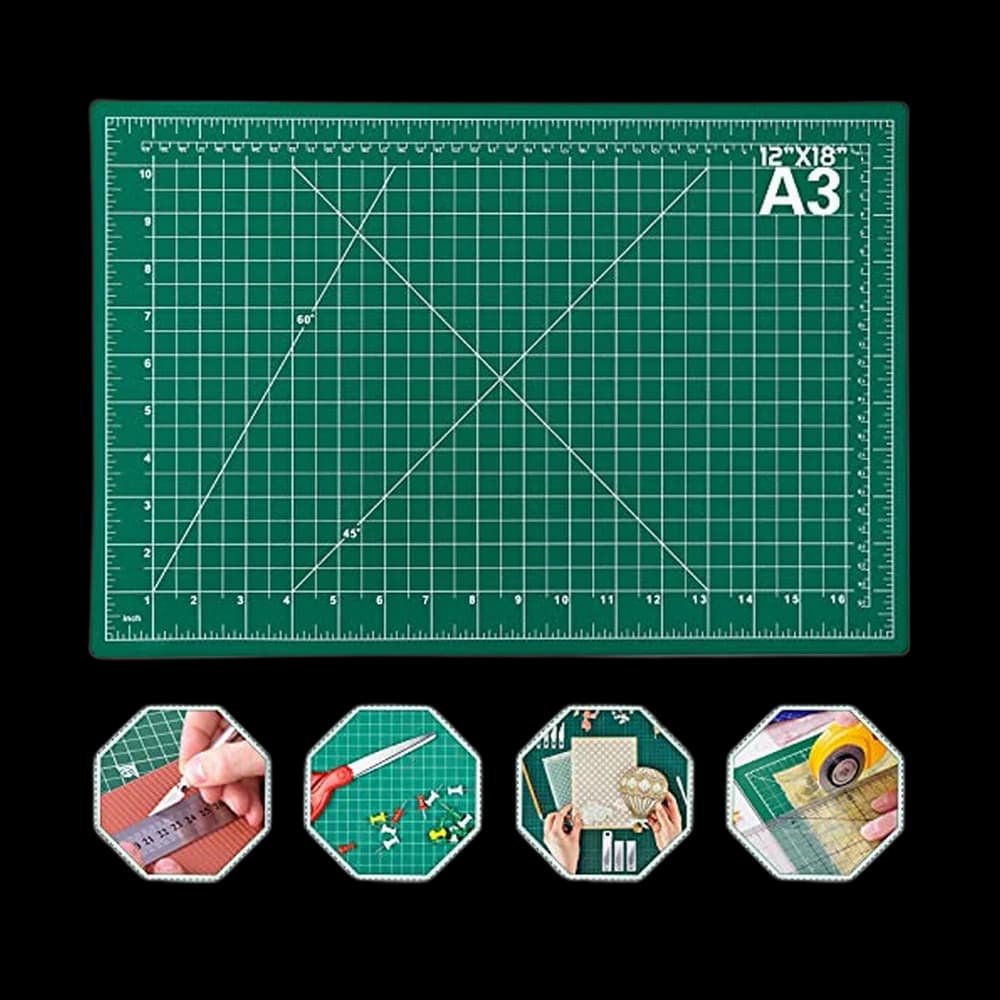
anezus 12inch$8.99 4.6 out of 5 stars · 21,006 ratings
Researched from listings, specs and owner feedback — never hands-on testing. We may earn a commission; it never changes a pick.
Where first patterns go wrong
- Choosing a size from clothing labels instead of the chart.
- Cutting with the grainline eyeballed rather than measured.
- Skipping the notches because they look decorative.
- Ignoring the suggested fabrics and blaming the resulting garment on your sewing.
- Adding length at the hem instead of at the lengthen/shorten lines.
For a low-stakes first read, the reversible bucket hat uses a free printable pattern with a one-inch test square, so you can check the print scale before you cut anything.
None of these ruin a garment permanently, and a wonky first make is still a make. Once the envelope reads as instructions rather than noise, the techniques inside it come one at a time — most beginner patterns will ask you for a zipper or a buttonhole next, and both are far less frightening than the tissue was.
Pattern read. Now cut it out without fighting it.
Frequently asked
Why is my pattern size so much bigger than my usual clothing size?
Because pattern sizes are a measurement code, not a fashion label. Store sizes vary from brand to brand, while the big pattern companies draft every pattern to one published body-measurement chart. Simplicity's own sizing guide says your pattern size may be one or two sizes larger than your ready-to-wear size. Measure yourself, read the chart, and ignore the number itself.
Should I pick my pattern size by measurements or by ease?
Measurements first, then ease. Pick the size from the body measurement chart, then compare the finished garment measurements printed on the tissue or envelope with the body measurement for that size: the difference is the ease. Simplicity notes you may end up choosing a different size because you prefer more or less wearing ease. Measuring a garment you already like is the quickest way to know which you want.
What is the difference between the cutting line and the stitching line?
The cutting line is the solid outer edge of the pattern piece and is where your scissors go. The stitching line is the dashed line inside it, showing where the needle runs. The strip between them is the seam allowance, commonly 5/8 inch on envelope patterns and often 3/8 inch on printable ones. Many modern patterns print only the cutting line and state the allowance in the instructions instead.
Do I really have to follow the grainline arrow?
Yes, and it is the fastest fix for garments that look homemade. Fabric behaves differently along its length, across its width and on the diagonal, and each piece was drafted for one of those directions. Pin one end of the arrow, measure from the pin to the selvedge, then measure again from the other end. When both numbers match, the piece is on grain.
What do the notches and dots on the tissue actually do?
They are the alignment system. Notches are small triangles on the cutting line that match one piece to another, so a sleeve meets an armhole at the right point and you can tell front from back. Dots mark pivot points, dart tips, pocket corners and the places where stitching starts or stops. Transfer both before the tissue comes off, because you cannot recover them afterwards.
How do I lengthen or shorten a pattern to fit me?
Use the two parallel lines printed across the piece, marked lengthen or shorten here. Cut along them and spread the tissue to add length, or overlap it to remove length, then true the side seams into a smooth line. Adding at the hem instead distorts curved hems, moves pocket placement, and changes the flare of a skirt.
Prices and StitchScores reflect our most recent research and refresh on a cycle — confirm the live price before buying. We may earn a commission from affiliate retailers; it never changes what we recommend. See how we score gear.
Read next
Sewing Patterns for Beginners: How to Pick Your First One
How to choose your first sewing pattern: formats, what beginner really means, sizing versus ready-to-wear, ease, PDF or paper, and legit free patterns.
How to Sew a Christmas Stocking: Draft Your Own Pattern
Draw your own boot-shaped stocking template in any size, then sew a lined stocking with a cuff and a hanging loop. No PDF download, no printer needed.