The Wonky-Is-Fine Pillowcase
Straight seams, a real hem, and something on your bed by bedtime.
- Equipment
- Sewing machine, iron and pins
- Materials cost
- $11–$25 in fabric and thread
- Assumes you can
- A machine you can thread, and nothing more
- Full supply list
- About a metre of quilting cotton, matching thread, pins and an iron.
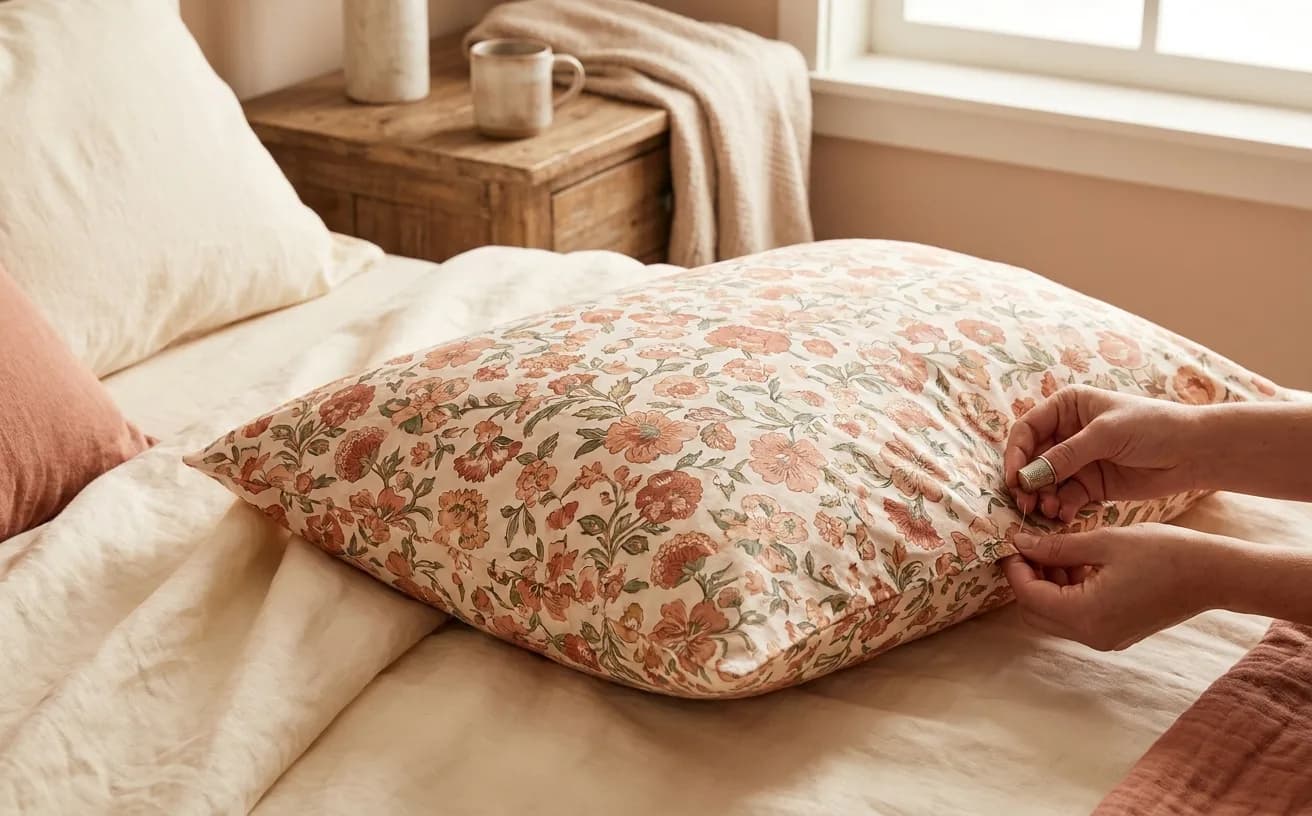
By bedtime you can have a pillowcase you made yourself — a real one, with a proper turned hem, that fits a standard bed pillow and goes through the wash like anything else. It takes about 90 minutes and roughly a metre of quilting cotton, and every single stitch on it is a straight line.
That is why it is the first thing you make on a machine: the sewing is plain enough that your attention can go to the machine — feeding fabric evenly, holding a seam allowance, stopping where you meant to — instead of to a complicated shape.
What you need
| What | Why it matters | Roughly |
|---|---|---|
| A sewing machine that sews a straight stitch | The pillowcase is four straight seams. Straight stitch is the only stitch it needs, and a borrowed machine is a perfectly good first machine | You may own one |
| About a metre of quilting cotton with at least 41 inches of usable width after the selvedges are trimmed | Stable, non-stretchy, forgiving. It does not slide around under the needle | $8–$16 |
| Matching thread | All-purpose polyester in a close colour hides wobble better than a contrast colour. One spool in a matching colour is the cheap end; a two-spool black-and-white pack like our current pick costs a few dollars more and covers your next few projects | $3–$9 |
| Sharp fabric scissors or a rotary cutter | Dull blades chew the edge, and a chewed edge is hard to sew straight to | $15–$40 |
| Straight pins or clips | They hold two layers together so the top layer cannot creep ahead | $4–$8 |
| An iron and any flat heatproof surface | The hem is folded and pressed, not measured in mid-air. Pressing is most of the accuracy | you likely have one |
| A fresh universal machine needle, size 80/12 | A general-purpose size that suits mid-weight cotton | $5–$9 a pack |
| Optional: pinking shears | A zigzag cut edge frays much more slowly than a straight cut one | $12–$25 |
| Optional: a seam ripper | You will use it. Everyone uses it | $3–$8 |
Pick a print you actually like. A pillowcase in a fabric you love gets looked at every night; one in whatever was cheapest ends up in a drawer. Avoid anything slippery, stretchy or very thin this time.
Still choosing a cutting tool? Rotary cutter vs scissors covers which earns its place first. Either works here.
The gear this project uses
One current pick per tool or material the supply list links, in the order it lists them. Borrow, substitute or skip — a wonky first attempt with the wrong scissors still counts.
 Sewing Machines
Brother XM2701$143.14 4.6 out of 5 stars · 19,162 ratings
A first machine — 27 built-in stitches is enough to sew clothes without a menu to decode, and the listing specifies the automatic needle threader and the jam-resistant drop-in top bobbin, which are the two steps beginners most often give up on.
 Thread
Coats & Clark thread$8.50 4.7 out of 5 stars · 4,705 ratings
The least expensive pick in this category, which makes it the low-risk way to find out whether you'll keep at it; all-purpose polyester, which covers nearly everything a beginner sews.
 Fabric Scissors
Proshear$8.99 4.8 out of 5 stars · 4,040 ratings
 Pins & Fabric Clips
MumCraft 100$5.69 4.8 out of 5 stars · 45,086 ratings
Priced in the lower half of this category.
Researched from listings, specs and owner feedback — never hands-on testing. We may earn a commission; it never changes a pick.
Cut list
You need one rectangle. That is the entire pattern.
- Cut one rectangle: 41 inches across the fabric width by 35 inches down the length
- Side seam and closed-end seam allowance: half an inch
- Hem allowance: 4 inches along one 41-inch opening edge, folded twice at 2 inches
- Finished pillowcase: approximately 20 inches by 30.5 inches — check that against the pillow you plan to use before cutting
Label the 41-inch edges as the opening edge and closed-end edge before you fold anything. The 41-inch width folds to 20.5 inches; the half-inch side seam leaves 20 inches. Along the other direction, 35 inches minus the 4-inch hem and half-inch closed-end seam leaves 30.5 inches.
Steps
Prepare the fabric
- Wash and dry the fabric first. Cotton shrinks, and if you skip this it shrinks after it is sewn — the case comes out of its first laundry cycle smaller and slightly twisted.
- Press it flat. Every wrinkle you cut across becomes a wobble in the cut line, which becomes a wobble in the seam.
- Thread the machine and wind a bobbin. If this is new territory, work through how to thread a sewing machine before you touch the good fabric.
- Sew a test line on a scrap. You are checking that the stitches look the same on both sides of the fabric. Loops on the underside almost always mean the top thread is not properly seated in the tension discs — rethread with the presser foot up.
Cut the rectangle
- Square up one end. Fabric almost never comes off the bolt cut straight. Fold the fabric selvedge to selvedge and trim the cut end so it sits at a right angle to the folded edge.
- Measure and cut 41 inches across the fabric width by 35 inches down the length. Trim the selvedges first, then label one 41-inch edge as the opening. Measure twice from the squared end.
Hem the opening first
Hemming while the fabric is still flat is far easier than hemming a tube, and the raw ends of the hem get sealed inside the side seam later.
- Fold the labeled 41-inch opening edge over by 2 inches, wrong sides together, and press. Use the iron, not your fingers.
- Fold that same opening edge over another 2 inches and press again. The raw cut edge is now completely enclosed. This is a double-fold hem, and it is the same manoeuvre used on how to hem trousers — once you own it, it shows up everywhere.
- Pin along the fold every 4 inches or so, with the pin heads pointing toward you so they are easy to pull as you sew.
- Stitch close to the inner folded edge, about an eighth of an inch in, removing pins as you reach them. Go slowly. Straight is more valuable than fast.
Your hem stitching will wander a little. Everyone's first one does. It is on the inside end of a pillowcase, under someone's head, in the dark. Wonky seams are the whole point of a first project — the skill is what you keep, not the millimetres.
Sew it closed
- Fold the rectangle in half, right sides together, bringing the two 35-inch side edges together and matching the two ends of the hem. The fold makes one side of the case; the matched 35-inch edges make the long side seam; the unhemmed 41-inch edge becomes the closed-end seam.
- Pin both open edges. Make sure the two ends of the hem line up with each other at the top.
- Sew the long open side with a half-inch seam allowance, backstitching a few stitches at the start and end so it cannot unravel.
- Sew the short end the same way. Backstitch at both ends again.
- Finish the raw edges so they do not fray in the wash. Pick one: a zigzag stitch along each raw edge, or a trim with pinking shears about an eighth of an inch from the seam.
Turn and press
- Clip the corner at the closed end, cutting diagonally across the seam allowance without cutting the stitching. This removes bulk so the corner can actually turn out square.
- Turn it right side out. Push the corners out gently from the inside with a chopstick or your fingertip, never with anything sharp.
- Press the whole thing, seams first, then the hem. Pressing does more for how finished a project looks than the stitching does.
- Put a pillow in it.
When it goes wonky
| What happened | Why | The fix |
|---|---|---|
| The seam wanders away from the edge | You were watching the needle instead of the seam guide | Watch the fabric edge against the marked guide line on the needle plate, not the needle itself |
| Loops of thread on the underside | The top thread is not properly in the tension discs | Rethread the top from scratch with the presser foot raised, then test on a scrap |
| The case is too narrow for the pillow | The seam allowance crept wider than half an inch | Unpick the long seam and resew closer to the edge. A normal repair, not a failure |
| A corner will not turn square | The corner seam allowance was not clipped, or clipped too little | Turn it inside out, clip closer to the stitching, turn again |
| The hem is twisted or puckered | Pinned unevenly, or the layers shifted while sewing | Unpick, press the folds crisply again, pin more often, sew slowly |
What you just learned
- A straight seam with a consistent seam allowance — the single most transferable skill in sewing. Almost everything is made of these.
- A double-fold hem — pressed twice, stitched once. It finishes cushion covers, curtains, tote bag tops, skirt edges and sleeves.
- Finishing a raw edge without a serger — zigzag or pinking, both perfectly legitimate.
- Clipping and turning corners, which is how every bag, cushion and lining you ever make gets a sharp point.
Next, take those same straight seams somewhere with a little more shape: try the Drawstring Project Bag project in the library, or look at the rest of what belongs at this stage on the Threader level page.
Supply checklist
9 lines · 90 minutes · $11–$25 in fabric and thread
- A sewing machine that sews a straight stitchYou may own oneThe pillowcase is four straight seams. Straight stitch is the only stitch it needs, and a borrowed machine is a perfectly good first machine
- About a metre of quilting cotton with at least 41 inches of usable width after the selvedges are trimmed$8–$16Stable, non-stretchy, forgiving. It does not slide around under the needle
- Matching thread$3–$9All-purpose polyester in a close colour hides wobble better than a contrast colour. One spool in a matching colour is the cheap end; a two-spool black-and-white pack like our current pick costs a few dollars more and covers your next few projects
- Sharp fabric scissors or a rotary cutter$15–$40Dull blades chew the edge, and a chewed edge is hard to sew straight to
- Straight pins or clips$4–$8They hold two layers together so the top layer cannot creep ahead
- An iron and any flat heatproof surfaceyou likely have oneThe hem is folded and pressed, not measured in mid-air. Pressing is most of the accuracy
- A fresh universal machine needle, size 80/12$5–$9 a packA general-purpose size that suits mid-weight cotton
- Optional: pinking shears$12–$25A zigzag cut edge frays much more slowly than a straight cut one
- Optional: a seam ripper$3–$8You will use it. Everyone uses it
Quantities and substitutions are the ones in the supply table above; costs are rough US shop prices at the time of writing, not live listings. Borrowing and substituting are always fine — a wonky first attempt in the wrong fabric still counts.
First seams sewn. A sharp needle and a straight cut make the next project easier.
Every SewingPath project guide is free and stays free. Some shaped garments need a separately sourced paper pattern; those pages say so before the cut list. When a project needs equipment we link the gear category and name our current pick beside the supply list, with a link to buy it if you are missing it — never in the middle of the steps. Picks are researched, not hands-on tested — see how we score gear.