A Wrap Skirt With Real Fit
A garment that fits because you measured, not because you got lucky.
- Equipment
- Sewing machine, iron and a measuring tape
- Materials cost
- $23–$46 in materials
- Assumes you can
- You have finished something from a simple pattern
- Full supply list
- Drapey woven fabric, a measuring tape, marking tool and thread.
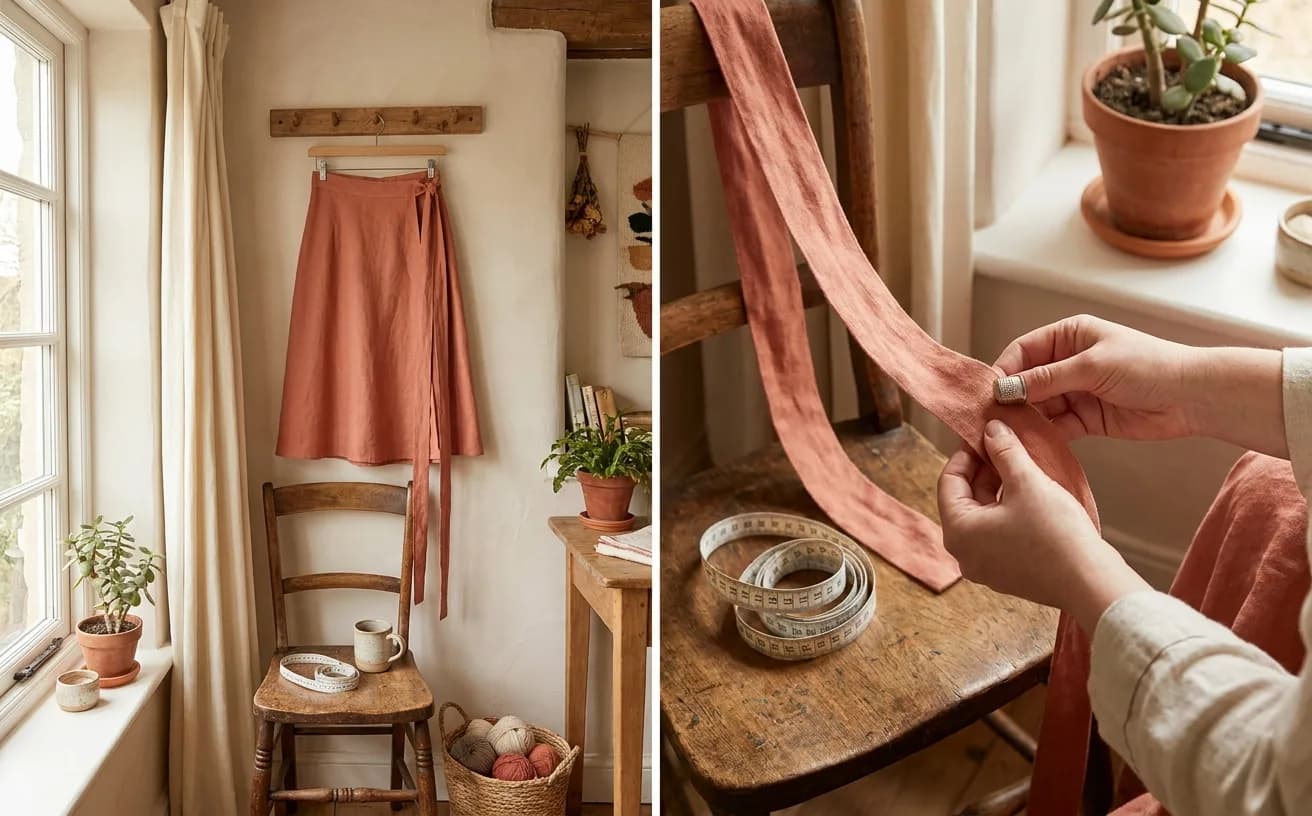
By Sunday evening you will own a wrap skirt that closes where you want it to close, because every number in it came off your own body with a tape measure. That is the real jump at this level — the moment sewing stops being follow-the-picture and starts being these-are-my-measurements. A wrap skirt is the kindest place to learn it: no zipper, no buttonhole, and no closure that can be a half-inch wrong, because the overlap absorbs the difference.
What you need
| What | Why it matters | Roughly |
|---|---|---|
| A sewing machine | Straight stitch for the seams, zigzag to finish the raw edges of a drapey woven. Both live on the cheapest machine in the shop | You may own one |
| 2 m drapey woven fabric | Rayon challis, linen blend, cotton lawn — something that falls rather than sticks out | about $20–$40 |
| A measuring tape | The whole project runs on it | about $5 |
| Thread to match | All-purpose polyester in the nearest shade darker than your fabric | about $3–$6 |
| Fabric scissors or a rotary cutter | Long clean edges; the cutter is faster on straight panels | about $15–$40 |
| An iron | The single biggest difference between homemade and handmade | about $25–$60 |
| Pins or clips, a seam ripper | You will use both. That is normal | about $10 |
A fresh universal machine needle in 80/12 suits most of these fabrics. If you have never loaded the machine yourself, run through how to thread a sewing machine first.
This project is self-drafted from the rectangle formulas below; there is no missing paper pattern. Lay the calculated rectangles out against your fabric's actual width before buying. Two metres works for the example size on common apparel widths, but larger measurements or narrow fabric may need more.
The gear this project uses
One current pick per tool or material the supply list links, in the order it lists them. Borrow, substitute or skip — a wonky first attempt with the wrong scissors still counts.
 Sewing Machines
Brother XM2701$143.14 4.6 out of 5 stars · 19,162 ratings
A first machine — 27 built-in stitches is enough to sew clothes without a menu to decode, and the listing specifies the automatic needle threader and the jam-resistant drop-in top bobbin, which are the two steps beginners most often give up on.
 Thread
Coats & Clark thread$8.50 4.7 out of 5 stars · 4,705 ratings
The least expensive pick in this category, which makes it the low-risk way to find out whether you'll keep at it; all-purpose polyester, which covers nearly everything a beginner sews.
 Fabric Scissors
Proshear$8.99 4.8 out of 5 stars · 4,040 ratings
 Rotary Cutters
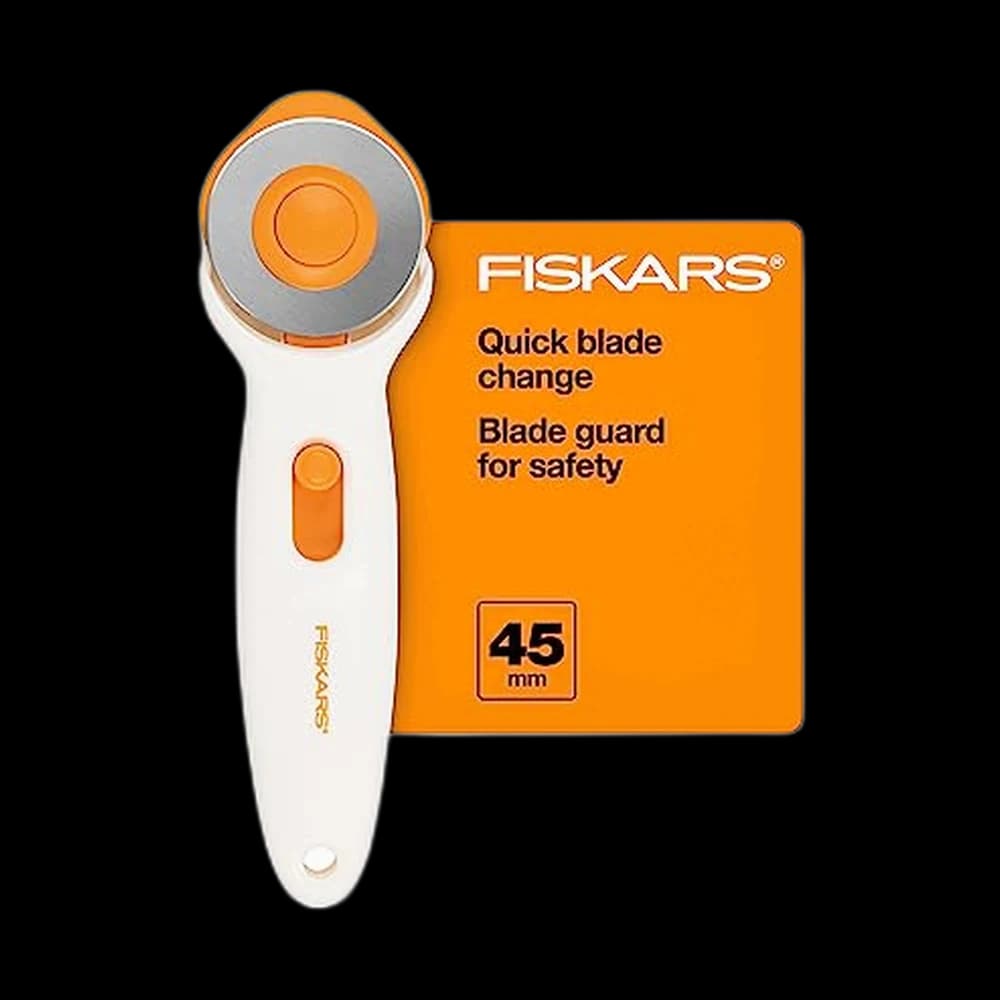
Fiskars 45mm$10.98 4.6 out of 5 stars · 2,112 ratings
Priced in the lower half of this category.
Researched from listings, specs and owner feedback — never hands-on testing. We may earn a commission; it never changes a pick.
Cut list
Take three numbers first, over the underwear you will actually wear with the skirt:
- Waist — where you want the band to sit, not where a jeans label thinks your waist is.
- Hip — the fullest part, usually 7 to 9 inches below the waist.
- Length — from that waist line to where you want the hem to land.
Everything below includes a 5/8-inch seam allowance on every seam edge, and a 1.5-inch hem allowance at the bottom. Cut on the crosswise grain only if you have to; lengthwise hangs better.
| Piece | Cut | Width | Length |
|---|---|---|---|
| Back panel | 1 | (hip ÷ 2) + 3-inch | length + 2-inch |
| Front panels | 2 | (hip ÷ 4) + 8-inch | length + 2-inch |
| Waistband and ties | 2 strips | 4-inch | (waist ÷ 2) + 32-inch each |
Worked example — 38-inch hip, 28-inch waist, 24-inch finished length: back panel 22-inch by 26-inch, two front panels 17.5-inch by 26-inch, two waistband strips 4-inch by 46-inch. Those extra 8 inches on each front panel are the wrap overlap, and they are why this garment forgives a measurement that was off by a bit. If the pattern markings look like a foreign language, how to read a sewing pattern covers the notches, grainlines and cutting lines you are about to meet.
Steps
Cut and mark
- Press the fabric before you cut it. Wrinkles displace fabric, and a displaced inch at the hip becomes a crooked hem. Press, then lay it flat on the floor if you do not have a big table.
- Cut the back panel first. It is the biggest piece and the least forgiving of a fabric shortage. Fronts and waistband come out of what remains.
- Mark the top edge of each panel with a clipped notch or a chalk cross. Drapey fabric looks identical either way up, and a panel sewn upside down means seam-ripping three feet of stitching.
Build the skirt body
- Join a front panel to the back panel, right sides together, along one side seam. Stitch at 5/8-inch. Repeat with the second front panel on the other side. You now have one long flat piece, not a tube — a wrap skirt is deliberately open.
- Finish those two seam allowances with a zigzag stitch along the raw edge, or pinking shears, or a narrow double-fold. Woven fabric frays in the wash, and this is the step that decides whether the skirt survives a year.
- Press both seam allowances toward the back. Pressing as you go, rather than at the end, is most of what makes a seam look intentional.
If a side seam comes out puckered, do not rip it yet. Press it hard with steam first. A surprising number of seams that look wrong are just seams that have not been pressed.
Hem the vertical edges
- Hem the two front raw edges — the ones that will overlap at the front — with a double-fold: turn 1/4-inch, press, turn another 1/2-inch, press, stitch close to the inner fold. These edges are visible on the finished skirt, so take the extra minute.
- Do the bottom hem the same way, using your 1.5-inch allowance: turn 1/2-inch, then 1-inch. The technique is identical to how to hem trousers — same fold, same logic, longer run.
Waistband and ties
- Join your two waistband strips end to end into one long strip and press that seam open. It should now measure your waist plus about 64 inches. That surplus is the ties.
- Press the whole strip in half lengthwise, wrong sides together, then press each long raw edge in to meet that centre crease. You have made a four-fold binding, and it will swallow the skirt's raw waist edge.
- Find the centre of the strip and the centre of the skirt's top edge, match them, and pin outward from there. Centring first is why the ties end up the same length. Working from one end is why they usually do not.
- Slide the skirt's top edge into the fold and pin through all layers. If the skirt is slightly wider than expected, gather it in with two or three small pleats at the back rather than stretching the band.
- Topstitch the entire length of the band in one pass, close to the lower folded edge, running off the end of one tie, across the skirt, and off the other. Stitch the tie ends closed as you pass them, or slip-stitch them by hand using a stitch from basic hand sewing stitches.
- Try it on and mark the tie position. Most wrap skirts get a small buttonhole or a gap left in the side seam so one tie can pass through to the outside; tying both ties on the same side also works and takes zero extra construction.
When it goes wonky
| What happened | Why | The fix |
|---|---|---|
| The hem dips at the sides | The panels stretched slightly while you sewed, or the fabric was cut off-grain | Hang the skirt overnight before hemming, then re-mark the hem while wearing it |
| The waistband ran short | The strips were cut before the panels, so the surplus went elsewhere | Piece in an extra length at the tie end — the seam lands inside the knot and disappears |
| The skirt gapes open when you sit | Not enough overlap on the front panels | Add 2 to 3 inches to each front panel next time; for this one, move the tie point further around |
| Puckered side seams | Too much pressure on drapey fabric, or a blunt needle | Fresh needle, lighter presser-foot pressure, and let the machine feed the fabric instead of pulling it |
What you just learned
- Drafting from body measurements. You turned three numbers into a cut list. That skill transfers directly to trousers, a shift dress, and every pattern you ever adjust.
- Enclosed edge finishing. The four-fold waistband is the same binding logic used on quilt edges, necklines and armholes.
- Hem hierarchy. Vertical edges before the bottom hem, always — it is the order that keeps corners square.
- Pressing as construction. Not tidying at the end. A structural step.
The natural follow-on is the shirt dress, which adds a collar and a closure that cannot be fudged. For a smaller make at this same level, the reversible bucket hat trades straight panels for curves and a topstitched brim. If you would rather consolidate first, the rest of the Maker level has more garments at this same difficulty.
Supply checklist
7 lines · A weekend · $23–$46 in materials
- A sewing machineYou may own oneStraight stitch for the seams, zigzag to finish the raw edges of a drapey woven. Both live on the cheapest machine in the shop
- 2 m drapey woven fabricabout $20–$40Rayon challis, linen blend, cotton lawn — something that falls rather than sticks out
- A measuring tapeabout $5The whole project runs on it
- Thread to matchabout $3–$6All-purpose polyester in the nearest shade darker than your fabric
- Fabric scissors or a rotary cutterabout $15–$40Long clean edges; the cutter is faster on straight panels
- An ironabout $25–$60The single biggest difference between homemade and handmade
- Pins or clips, a seam ripperabout $10You will use both. That is normal
Quantities and substitutions are the ones in the supply table above; costs are rough US shop prices at the time of writing, not live listings. Borrowing and substituting are always fine — a wonky first attempt in the wrong fabric still counts.
A garment that fits you rather than a size chart. Keep going.
Every SewingPath project guide is free and stays free. Some shaped garments need a separately sourced paper pattern; those pages say so before the cut list. When a project needs equipment we link the gear category and name our current pick beside the supply list, with a link to buy it if you are missing it — never in the middle of the steps. Picks are researched, not hands-on tested — see how we score gear.