The Stitcher
Straight seams are solved. Now for the parts that show.
Level 2 turns straight seams into things that look finished: sewing a zipper, a buttonhole and a hem that hides, and cutting accurately with a rotary cutter and mat. Almost all of it is technique rather than new equipment.
How to sew a zipper →How to hem pants →
What you need for Level 2 (today's prices): $60 for rotary cutters, cutting mats, presser feet and machine needles, on top of the earlier levels' kit. See the picks
Level 2 is the difference between something you made and something that looks made. Zippers, buttonholes, hems that hide, curves that lie flat, and cutting accurately enough that the pieces actually match. Almost all of it is technique rather than equipment — the gear here is a rotary cutter, a mat, two presser feet, and better shears, for around $150 on top of Level 1.
Gear at this level: About $150 of better tools
Start here — Level 2
Café Apron With Pockets
Where topstitching stops being scary and starts looking deliberate.
- Time
- 2 hours
- You need
- Five-eighths of a yard of mid-weight cotton, cotton tape for ties, thread and an iron.
The gear that matters here
Researched from listings, specs and owner feedback — never hands-on testing. We may earn a commission on a purchase; it never changes a pick or a rank.
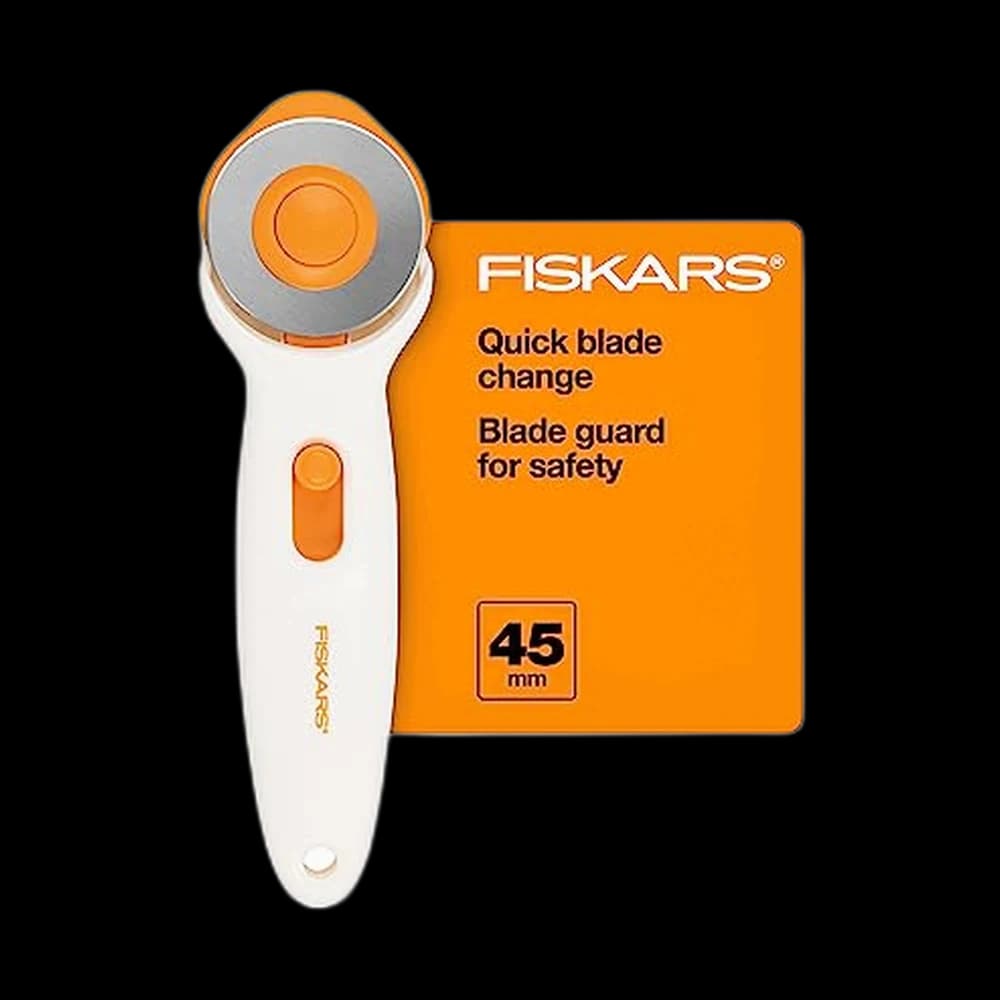
Fiskars 45mm Rotary Cutter$10.98 4.6 out of 5 stars · 2,112 ratings
Priced in the lower half of this category.
This is the level where a few specific tools genuinely change output, and none of them are machines. A rotary cutter and mat make cutting accurate; a zipper foot and a buttonhole foot make the two scary techniques routine; sharper shears make everything else easier. Resist upgrading the machine — the machine is not what's limiting you yet.
- Rotary cutter, 45mm$15–30
45mm is the do-everything size. Buy spare blades at the same time; a dull blade skips threads and gets blamed on technique.
Compare rotary cutters - Self-healing cutting mat, 18x24 inch$25–55
The largest mat that fits your table. Store it flat — a mat stored leaning against a wall in a warm room warps permanently.
 Our pick · Cutting Mats
Idemeet 24" x 36" Self Healing Sewing Mat$32.98 4.7 out of 5 stars · 6,965 ratings
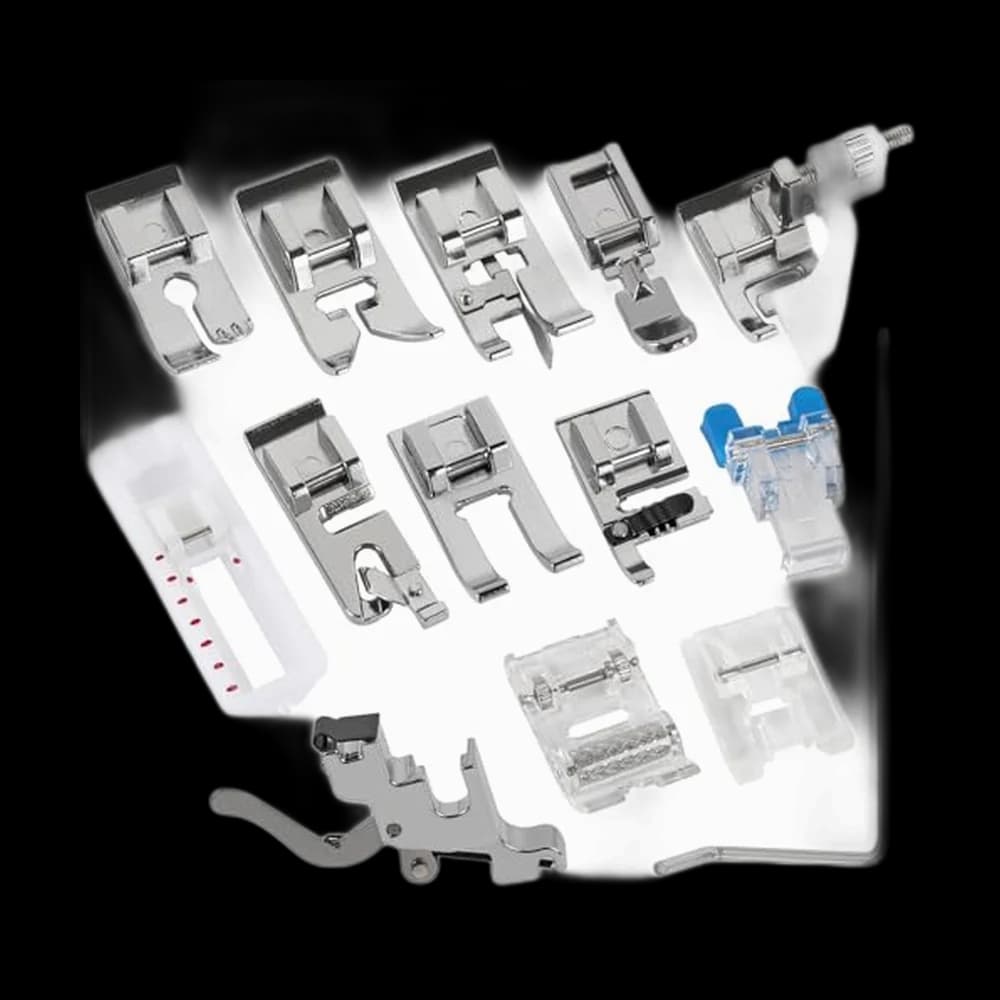
- Zipper foot for your machine$8–20
Often already in the box. An invisible-zipper foot is a separate, cheap, and worthwhile addition.
 Our pick · Presser Feet
Shutao 14Pcs Snap On Presser Feet$8.99 4.5 out of 5 stars · 61 ratings
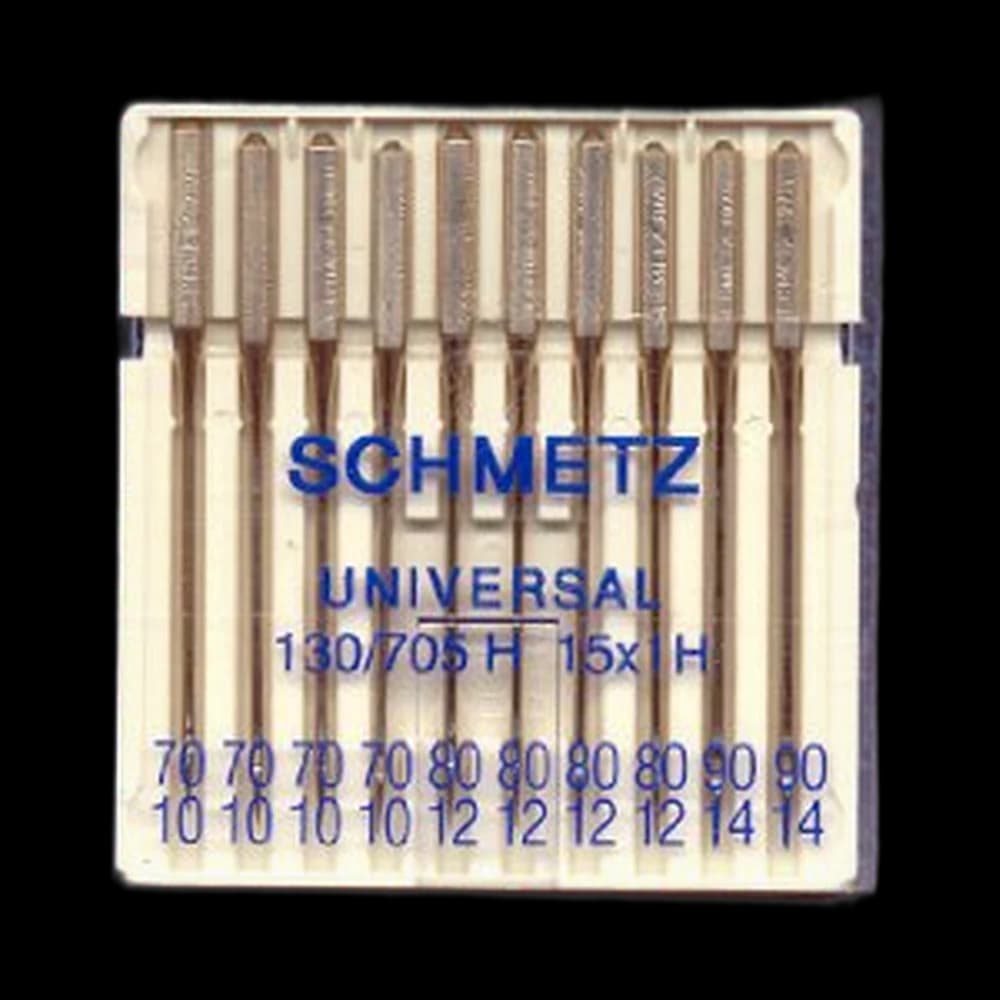
- Machine needle variety pack$10–20
Universal, ballpoint and denim in one box, so the right needle is never a reason to postpone a project.
 Our pick · Machine Needles
SCHMETZ Universal 130/705$7.45 4.8 out of 5 stars · 709 ratings
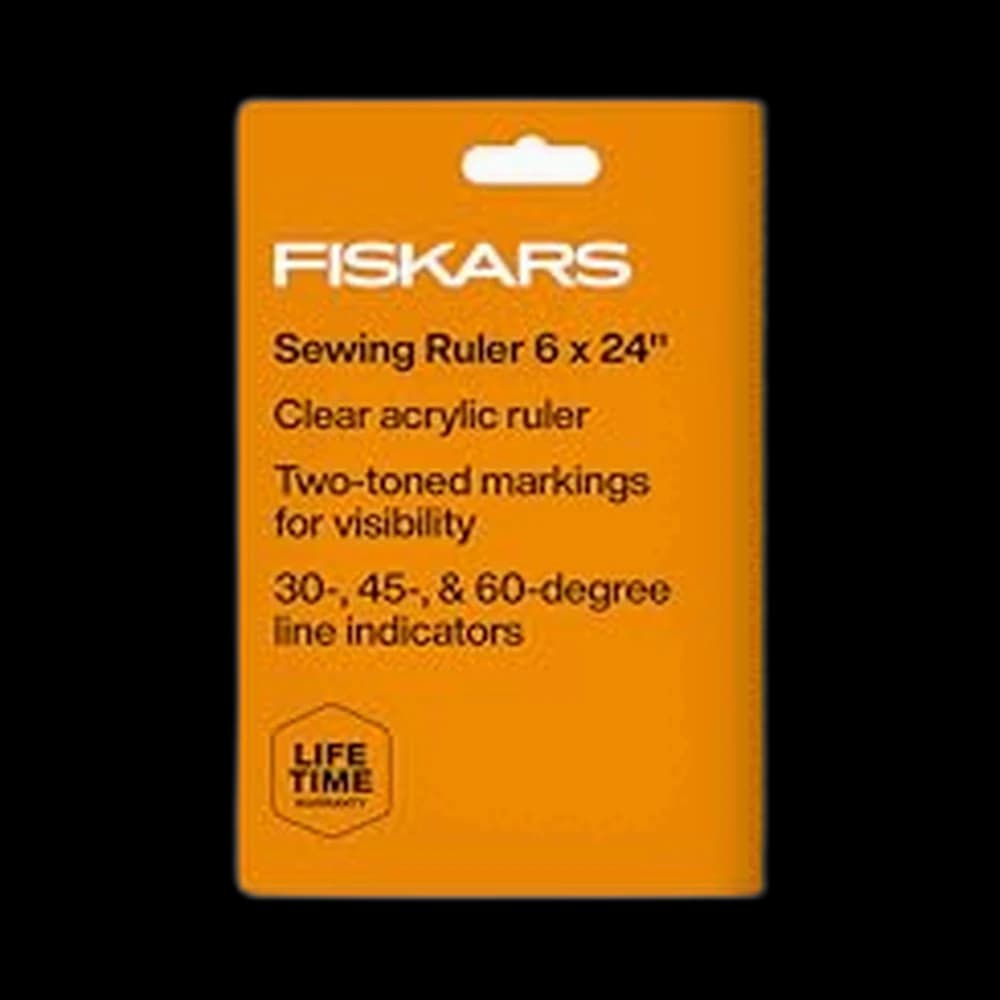
- Acrylic quilting ruler, 6x24 inch$15–30
The long ruler is what makes a rotary cutter accurate. Non-slip backing or a few stick-on grips are worth it.
 Our pick · Quilting Rulers
Fiskars 6" x 24" Sewing & Quilting Ruler$21.49 4.8 out of 5 stars · 3,291 ratings
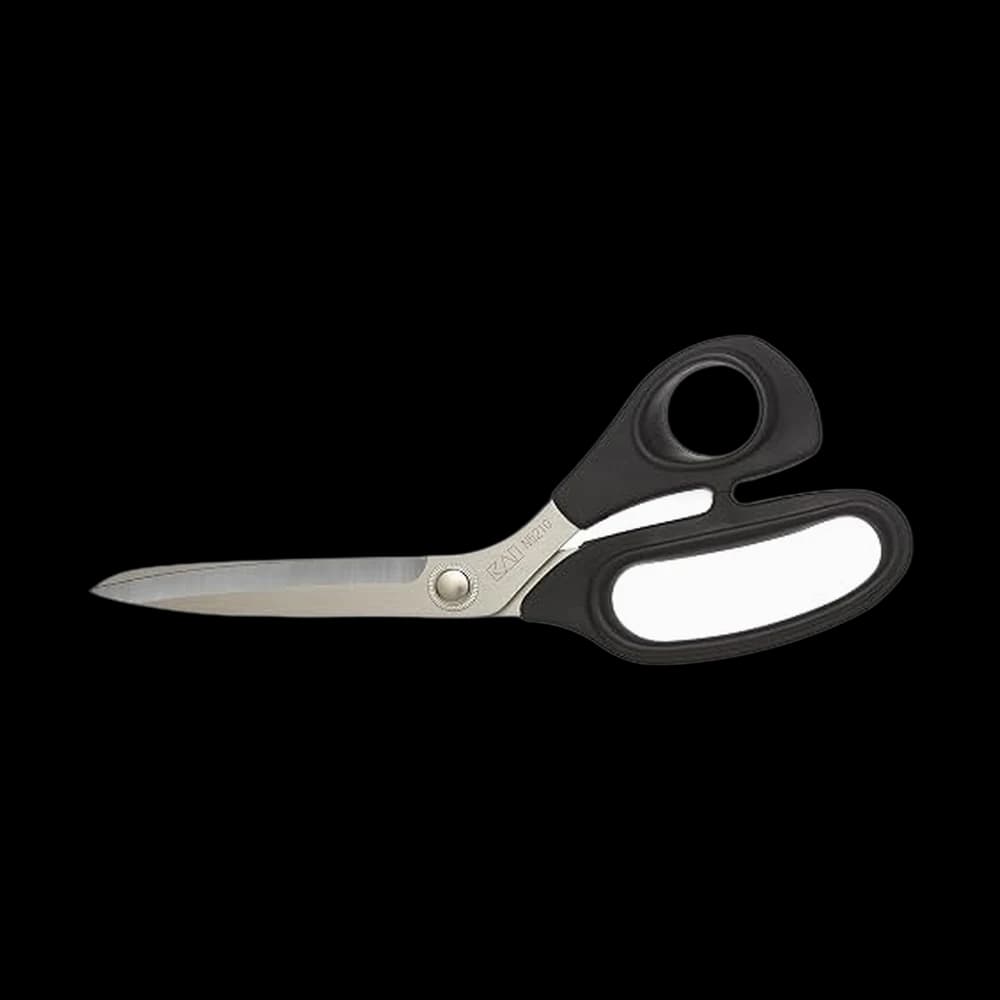
- Better fabric shears, 8-10 inch$25–50
Heavier, sharper, and worth sharpening rather than replacing. Bent-handle shears keep the fabric flat on the table as you cut.
 Our pick · Fabric Scissors
Kai 5210 8-Inch Dressmaking Shears$17.95 4.8 out of 5 stars · 2,956 ratings
- Buttonhole and blind-hem feet$12–30
A one-step buttonhole foot turns the level's scariest technique into a single button press.
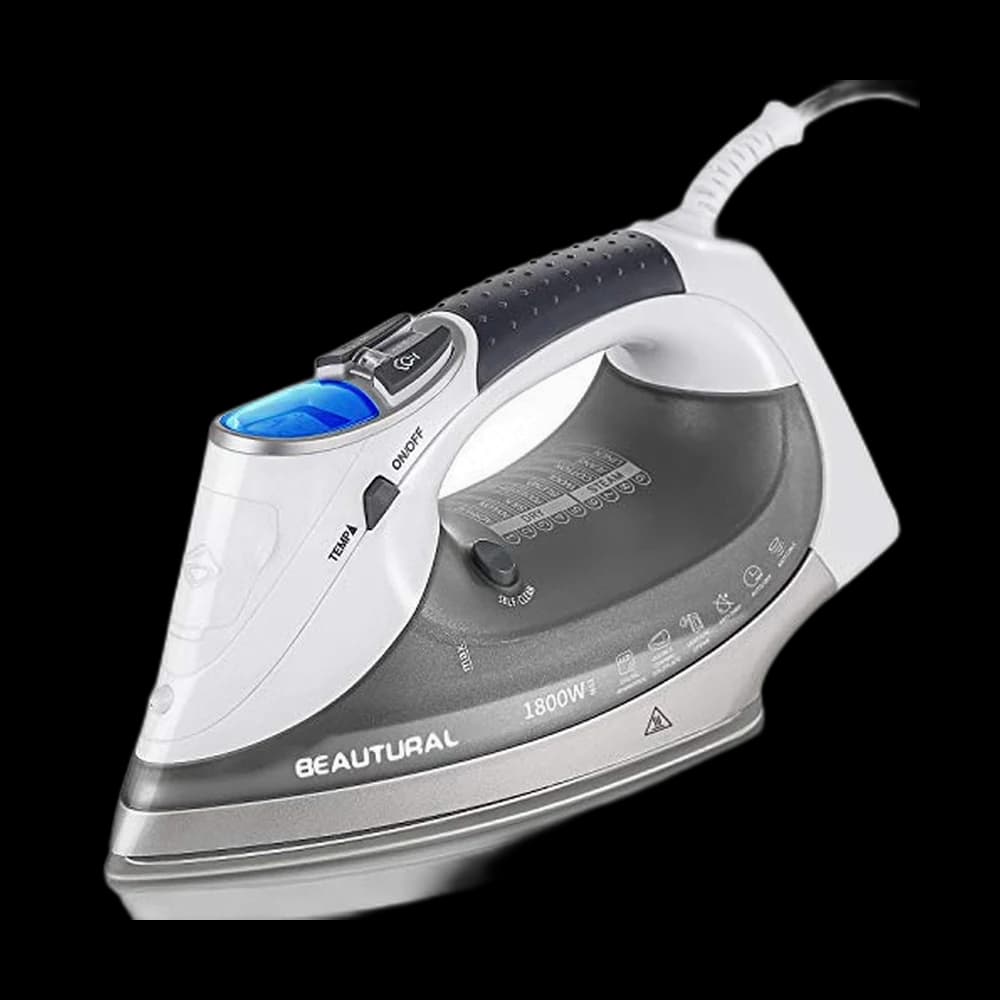
Compare presser feet - Steam iron with a decent shot of steam$45–90
Setting a hem and fusing interfacing both want real steam. This is the upgrade whose effect shows in photographs.
 Our pick · Irons
Beautural steam iron$41.99 4.5 out of 5 stars · 19,802 ratings
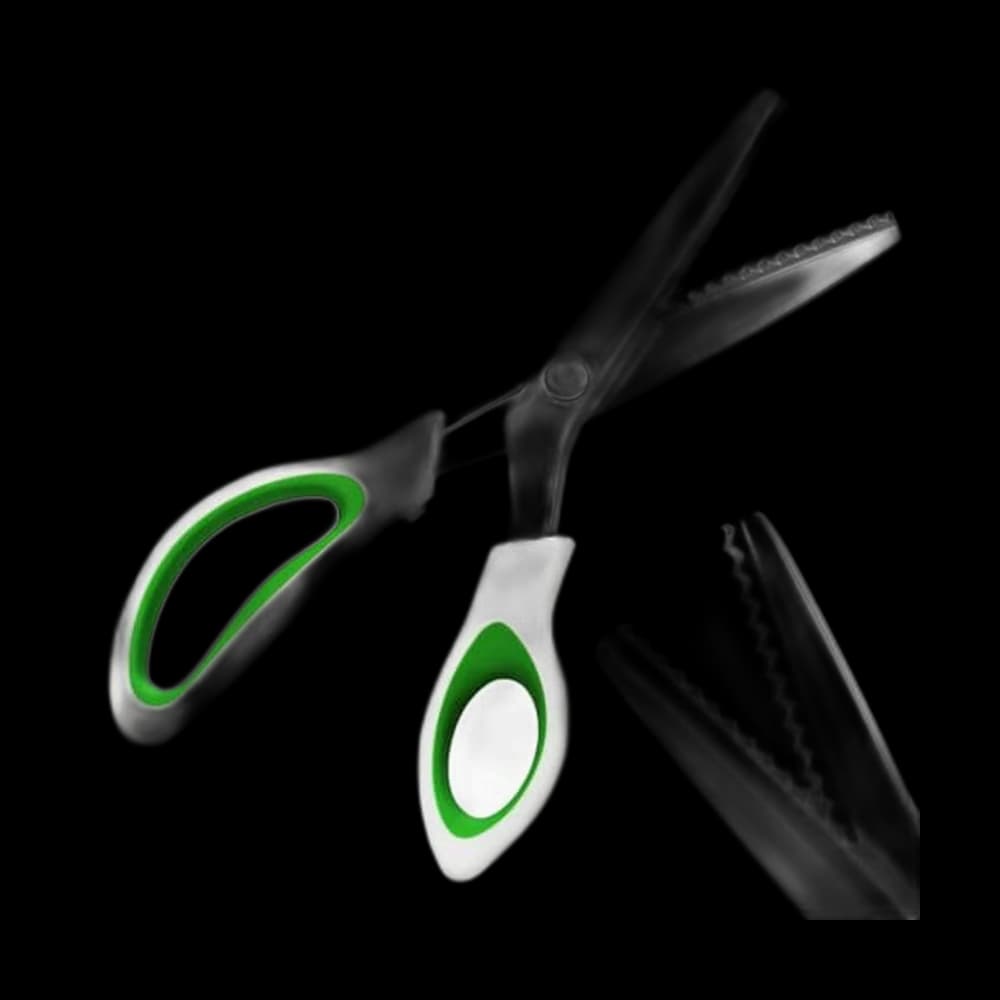
- Pinking shears$15–35
A zigzag edge that slows fraying on cottons — the cheapest seam finish there is, and still standard in home sewing.
 Our pick · Pinking Shears
VPQZUPG 9" Zig Zag Pinking Shears$6.49 4.5 out of 5 stars · 277 ratings
- Full-size ironing board$35–90
Once garments enter the picture, a tabletop board runs out of room. A stable board with a firm cover, not a wobbly one.
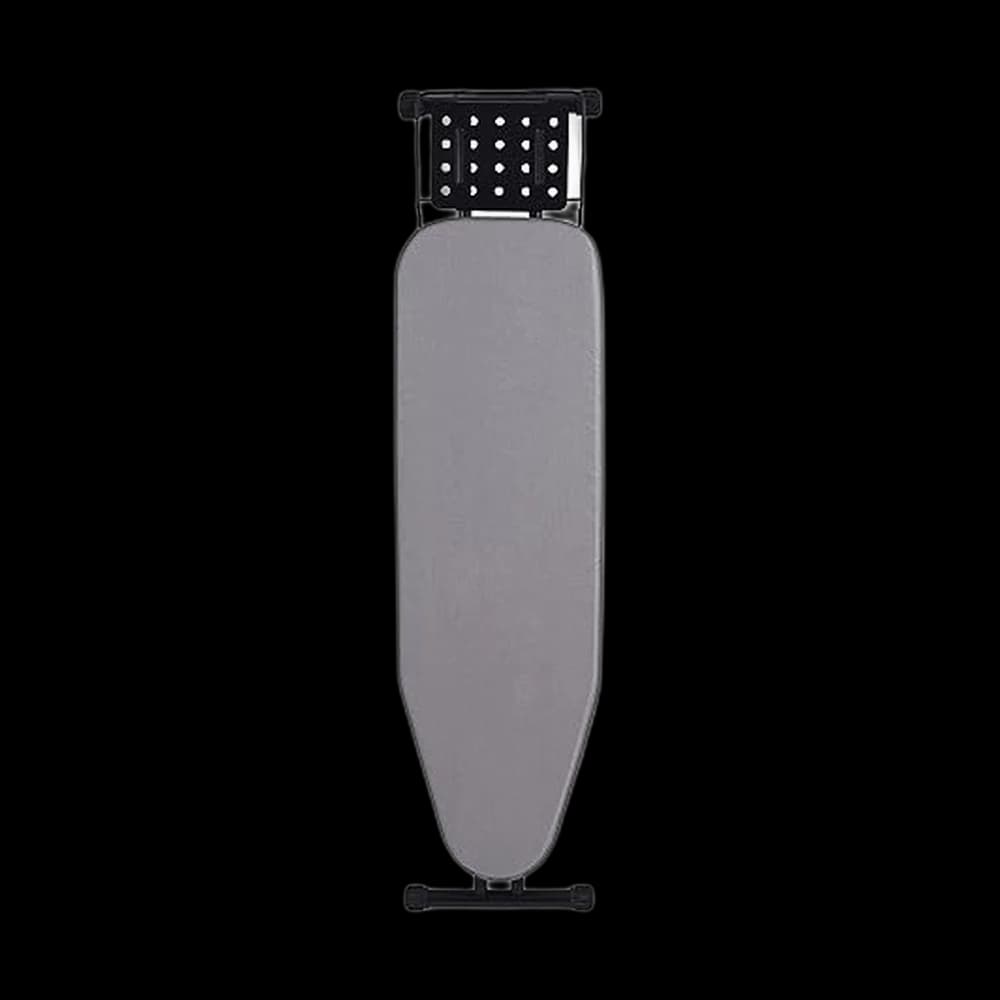 Our pick · Ironing Boards
Jakeefud Deluxe Full Size Ironing Board$59.99 4.4 out of 5 stars · 1,562 ratings
- Thread storage rack or box$15–40
Colour-matched thread stops being a nice idea and becomes a collection somewhere around here.
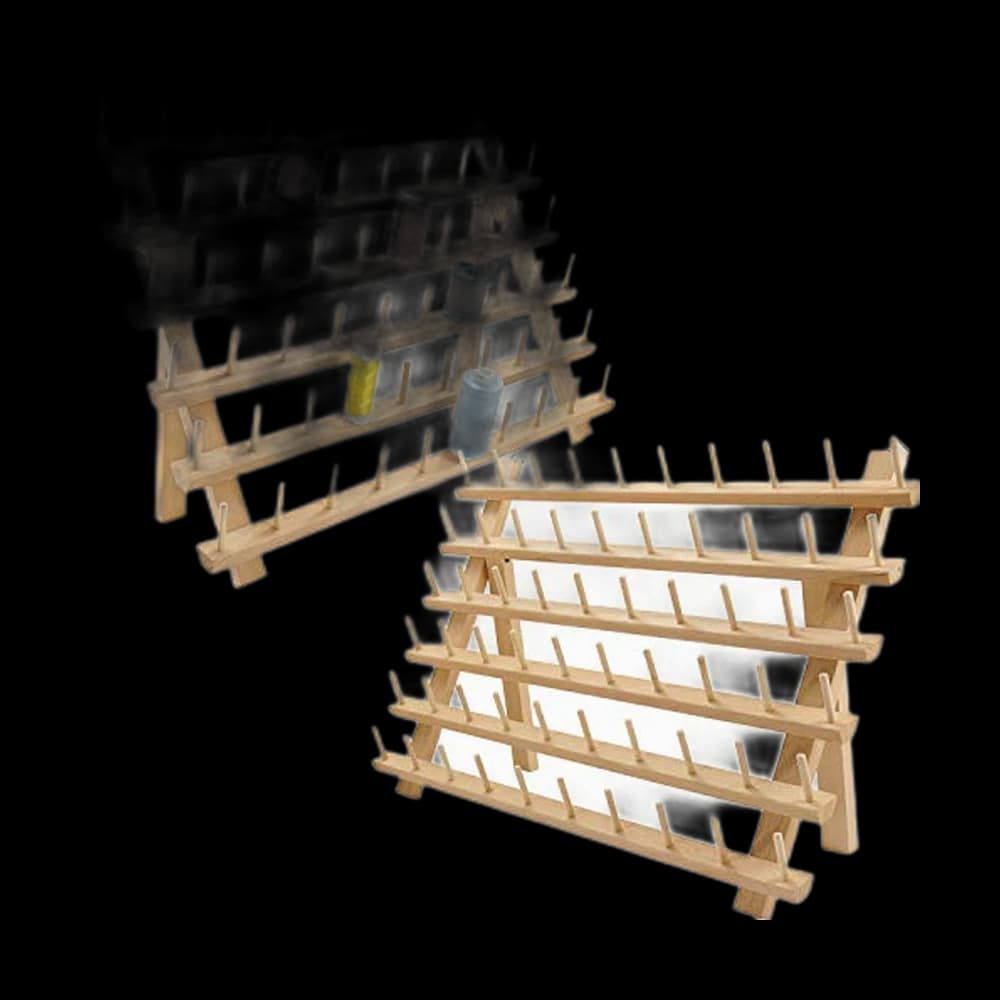 Our pick · Storage & Organizers
New brothread 2X60 Spools Wooden Thread Rack$24.67 4.9 out of 5 stars · 4,412 ratings
The range beside each item is a researched market band, written by hand; the price under “our pick” is that product's live catalog price. Every pick and score lives in the Gear section. Nothing on this site is recommended above $1,500, at any level.
You're at this level if…
- You've finished a few flat projects and want to make something with structure
- Zippers have defeated you at least once and you'd like that to stop
- Your seams are fine but your hems announce themselves from across the room
- You've bought a commercial pattern and the envelope's instructions read like a foreign language
- Cutting with scissors is your slowest and least accurate step
Recognise two or three of these and you're in the right place. Not sure? Take the two-minute quiz.
Skills to build
What this level actually teaches your hands. Work down the list — each one is a thing you can practise on a scrap in ten minutes.
Install a zipper three ways
Centred, lapped, and invisible. Baste the seam closed first, press it open, then sew from the outside with a zipper foot — basting is the step people skip and it's the one doing the work.
Sew a buttonhole that isn't a disaster
Stabilize behind the fabric, mark the length as the button's diameter plus its thickness, and place a pin across each end before you cut so the seam ripper can't run past. Practise on a scrap of the actual fabric, not on calico.
Hem four different ways and pick the right one
Double-fold for cottons, blind hem for trousers, narrow rolled for lightweights, and a knit hem with a twin needle or a zigzag. The wrong hem on the right fabric is what makes a garment read as homemade.
Clip, notch, and grade a curve
Clip into the seam allowance on inward curves, cut wedges out of outward ones, and trim the two layers to different widths so the seam doesn't sit as a ridge. This is why a shop-bought neckline lies flat and your first one didn't.
Cut accurately with a rotary cutter
Ruler held firm with fingertips arched back, blade against the ruler's edge, one long cut away from your body. Closed blade every single time you set it down — this tool is a scalpel and it will not warn you.
Read a commercial pattern envelope
Pick your size by the finished-garment measurements, not the number on the envelope — pattern sizing runs several sizes larger than retail. Check the fabric suggestions, the notions list, and the layout diagram before cutting anything.
Worth knowing
The background that makes the skills above make sense — and stops you buying the wrong thing.
Tension, honestly
If the top thread shows on the underside, the top tension is too loose or the machine needs rethreading. Change one number at a time and test on a doubled scrap. Bobbin tension is a last resort, not a first move.
Needle type matters as much as size
Universal for wovens, ballpoint or jersey for knits, denim for heavy twill, microtex for tightly woven synthetics. Skipped stitches on a t-shirt are a needle problem in nearly every case, not a machine fault.
Interfacing is what gives a collar a spine
Fusible or sew-in, woven or knit, in three weights. A limp cuff, a floppy waistband and a soft buttonhole are usually the same missing step.
Grain line is not a suggestion
Cut off-grain and the finished garment twists on the body no matter how well it was sewn. Line the pattern's grain arrow parallel to the selvedge and measure it at both ends.
Prewash before you cut
Cotton can shrink noticeably on its first wash. Wash and dry the fabric the way you'll treat the finished object, then press it. Skipping this is how a perfectly fitted shirt becomes a size smaller.
Guides for this level
Start with these, in order. The rest are optional branches — take the ones that match what you want to make.
Then explore — optional
Watch this level
Other people's tutorials, picked for exactly this stage and playable here. Seeing a technique once beats reading it three times.
How to Sew a Zipper, TWO ways
Two zipper methods side by side, so you can pick the easier one the first time and nobody will know.
▶ MADE Everyday
How To Sew With a One Step Buttonhole Foot
That odd sliding foot in the accessory box makes buttonholes for you — here is how to actually use it.
▶ Professor Pincushion
How to Sew a Zipper Pouch - Easy Beginner Sewing Project
The project that turns a scary zipper into muscle memory, because you will want to make ten of these.
▶ Melly Sews
Do these next
Three concrete moves for this level. Pick one — momentum beats planning at every stage of this craft.
- ReadHow to sew a zipperCentered and invisible zippers with the foot you already own — a wavy first zipper still zips
- Set upMachine needles, comparedUniversal, ballpoint, denim — the $5 fix for most skipped stitches
- ReadRotary cutter vs scissorsThe upgrade that makes straight cuts stop being a fight — and when scissors are still right
Frequently asked at Level 2
- How do you sew a zipper?
- Swap to the zipper foot so the needle can run close to the teeth, baste the seam closed first, then stitch down one side, pivot at the bottom and come back up the other. A wavy first zipper still zips, which is the point of practising on a pouch rather than a dress.
- How do you sew a buttonhole?
- Interface the fabric behind the buttonhole before anything else — that step, not the machine, is what stops the hole stretching. Then use the buttonhole foot with the button in its holder so the machine sizes the hole, and cut the opening with a seam ripper against a pin at each end.
- How do you hem pants?
- Measure the finished length while wearing the shoes you will wear with them, press the fold, then choose the finish: a machine straight stitch is fastest and shows, a hand slip stitch is invisible and slower, and the original-hem trick keeps a jeans hem's factory look. Press at every stage.
- Do I need a rotary cutter?
- Not to sew, but it changes cutting from the worst part of a project into the fast part. A 45mm cutter used against an acrylic ruler on a self-healing mat cuts straighter than scissors and through several layers at once. Buy the cutter, the mat and the ruler together, because none of them works alone.