Sewing Lessons for Kids: A Free At-Home Course for Parents
Our picks, at a glance
- Top pick
Brother XM2701 Lightweight Sewing Machine
$143.14StitchScore 85 4.6 out of 5 stars · 19,162 ratings
- #2
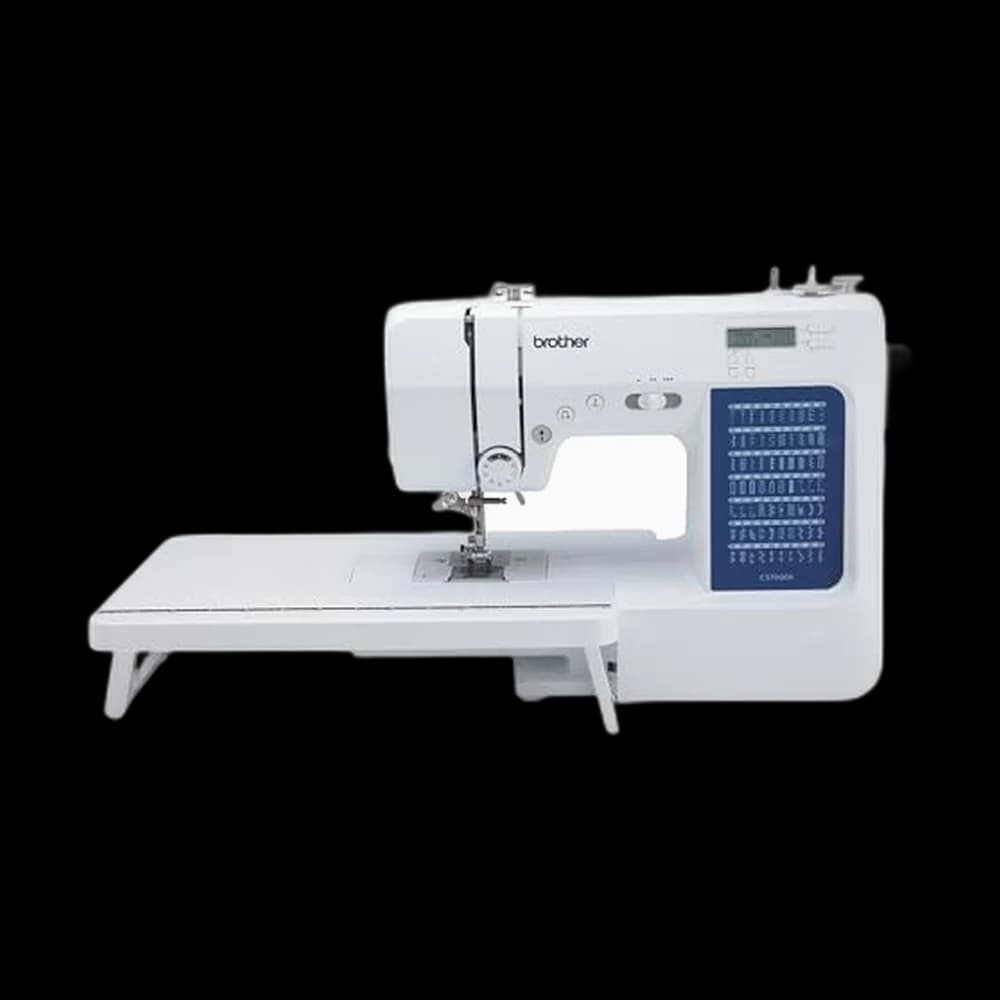
Brother CS7000X Sewing and Quilting Machine
$249.99StitchScore 82 4.6 out of 5 stars · 3,626 ratings
- #4
MumCraft Multipurpose Sewing Clips, 100 Pack
$5.69StitchScore 92 4.8 out of 5 stars · 45,086 ratings

The short version
- Go by readiness, not birthday: a child who can sit with something fiddly for twenty minutes is ready to start hand sewing.
- Start with no needle at all on a fleece tie blanket, then a large-eye needle and felt.
- Use sewing clips instead of pins for as long as you can, and count needles out and back in.
- Brother's XM2701 manual says children 8 and over can use it with supervision or instruction, and that it is not a toy.
- Teach two machine rules first: switch off before touching the needle area, and never switch on with a foot on the pedal.
- A speed control slider makes a machine calmer for a child; the Brother CS7000X lists one and the XM2701 does not.
Yes, you can teach a child to sew at home, for free, without being an expert yourself. This page is a short course written for the parent: four stages that start with a needle and felt at the kitchen table and end with a child sewing a pillowcase on a real machine, with you beside them. Each stage links to free step-by-step projects on this site, so you never have to invent a lesson.
The single most useful thing to know before you start: go by readiness, not birthday. A child who can sit with something fiddly for twenty minutes and follow a two-step instruction is ready for Stage 1, whatever their age.
The course at a glance
| Stage | What they learn | First projects | Machine? |
|---|---|---|---|
| 1. No needle, then a big needle | Knots, threading, the running stitch | Fleece tie blanket, felt keyring | No |
| 2. Real hand sewing | Backstitch, buttons, a tube | Sew on a button, scrunchies | No |
| 3. Meeting the machine | Speed, steering, stopping | Lines on paper, then fabric scraps | Yes, with an adult |
| 4. First machine projects | Straight seams, hems, a casing | Napkins, pillowcase, drawstring bag | Yes, with an adult |
What you need
For Stages 1 and 2 you need almost nothing, and the important swap is sewing clips instead of pins. For Stages 3 and 4 you need a sewing machine, and you will be sitting next to it. The table at the top of this page is our researched pick for each item.
| What | Why it suits kids | Compare |
|---|---|---|
| Large-eye hand needles | Easier to thread with thicker thread or floss | Hand-sewing needles |
| Sewing clips | Hold fabric together with no sharp points to step on | Pins and clips |
| A multi-colour thread kit | Choosing the colour is half the fun | Thread |
| A simple sewing machine | One they can learn on and keep | Sewing machines |
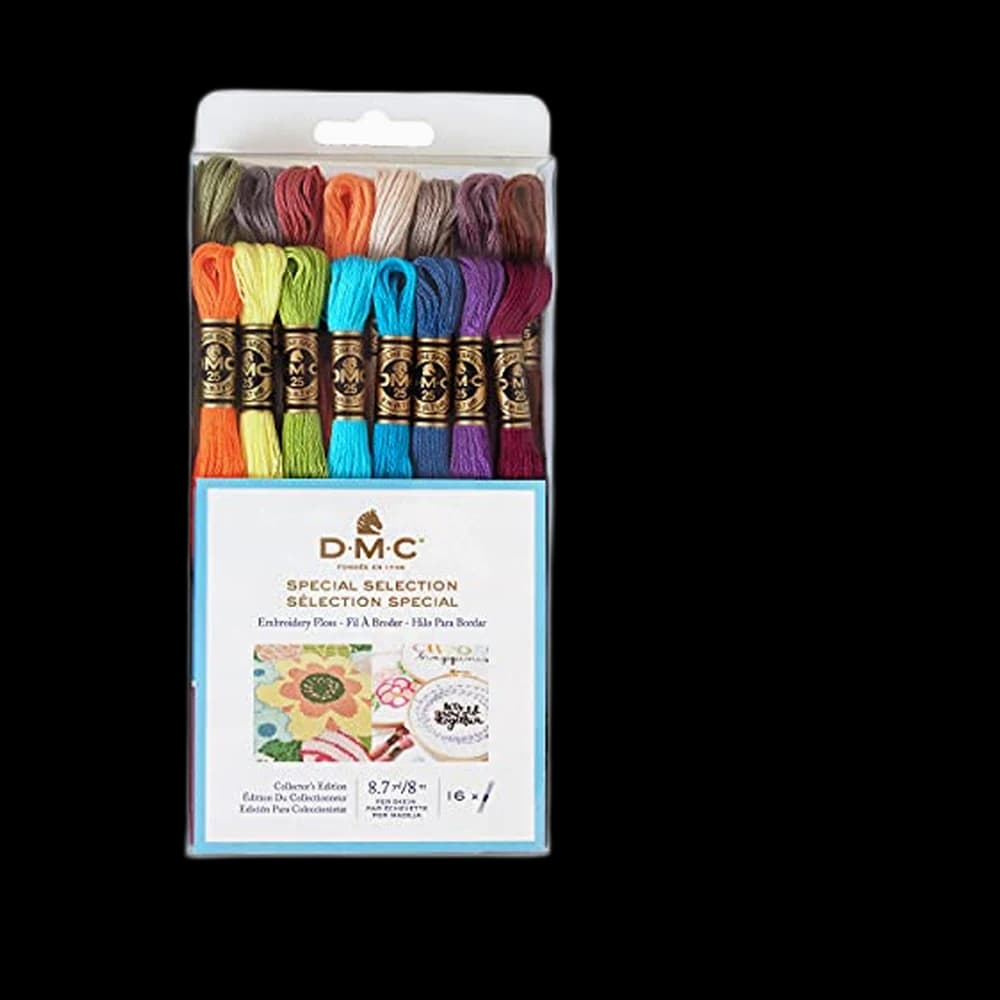
| Craft felt and embroidery floss | Felt does not fray; floss shows every stitch | Felt: any craft aisle. Floss: DMC floss pack |
Brother XM2701, the machine we would start on
If you are buying a machine the whole family will use, our researched pick for a first machine is the Brother XM2701. It is a dial machine with 27 stitches, an automatic needle threader and a drop-in bobbin, so there is no menu to learn. Brother's own operation manual for it is unusually direct about children, and we quote it in the safety section below. More detail is in the best beginner sewing machines under $250.
Brother CS7000X, if you want a speed limit
The one feature that makes a machine noticeably calmer for a child is speed control: a slider that caps how fast the machine can go however hard the foot pedal is pressed. The XM2701 does not list one. The Brother CS7000X does, along with a needle threader and a drop-in bobbin, and it doubles as a first quilting machine for the adults in the house.
We have not researched the small machines sold specifically as children's sewing machines, so we do not recommend one either way. A full-size beginner machine is something a child can keep using for years.
The small things
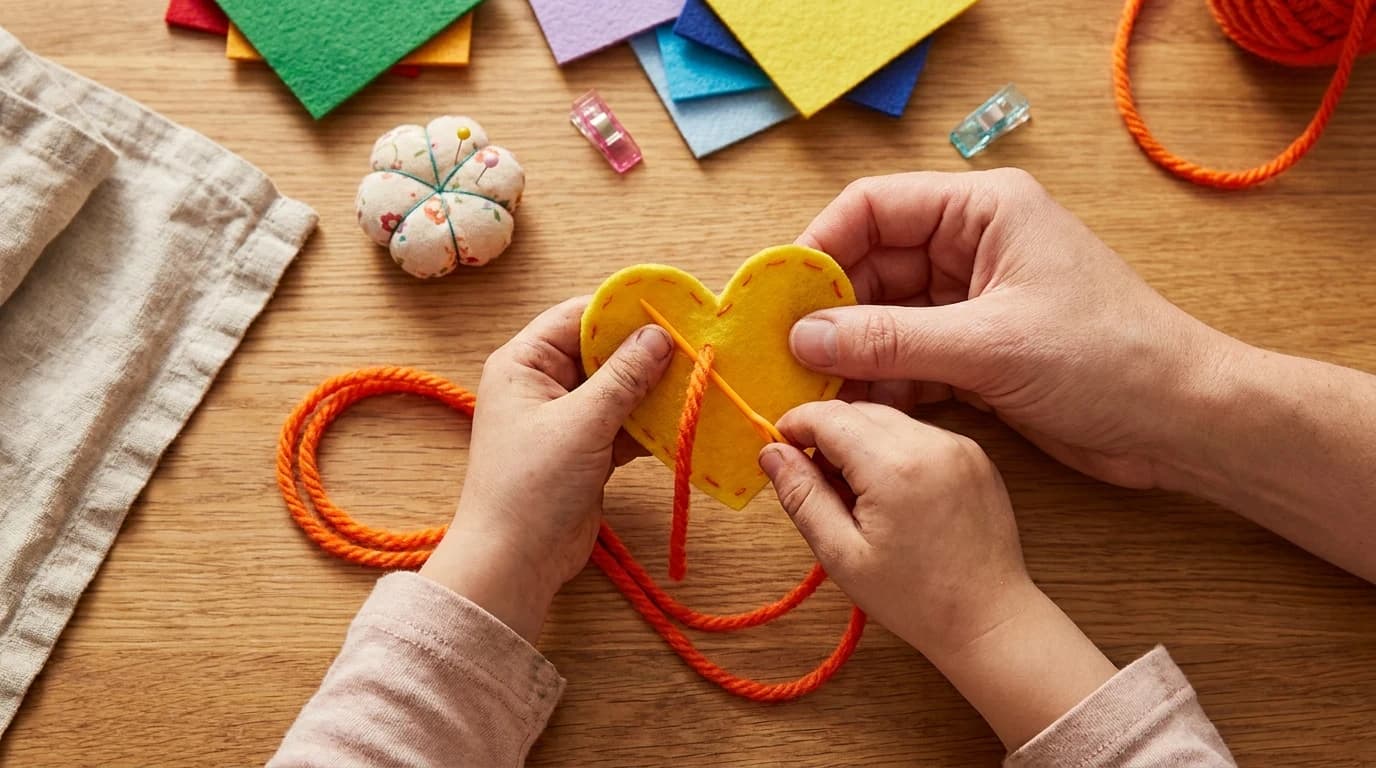
Large-eye needles, a pack of clips and a thread kit cost very little. The clips matter more than they look: a pin dropped in a carpet gets found by a bare foot sooner or later, and a child can hold two layers of felt together with a clip just as well.
What we'd buy for this
One pick per category, chosen from the research pages linked in this piece. Borrow before you buy — nothing here is required to start.
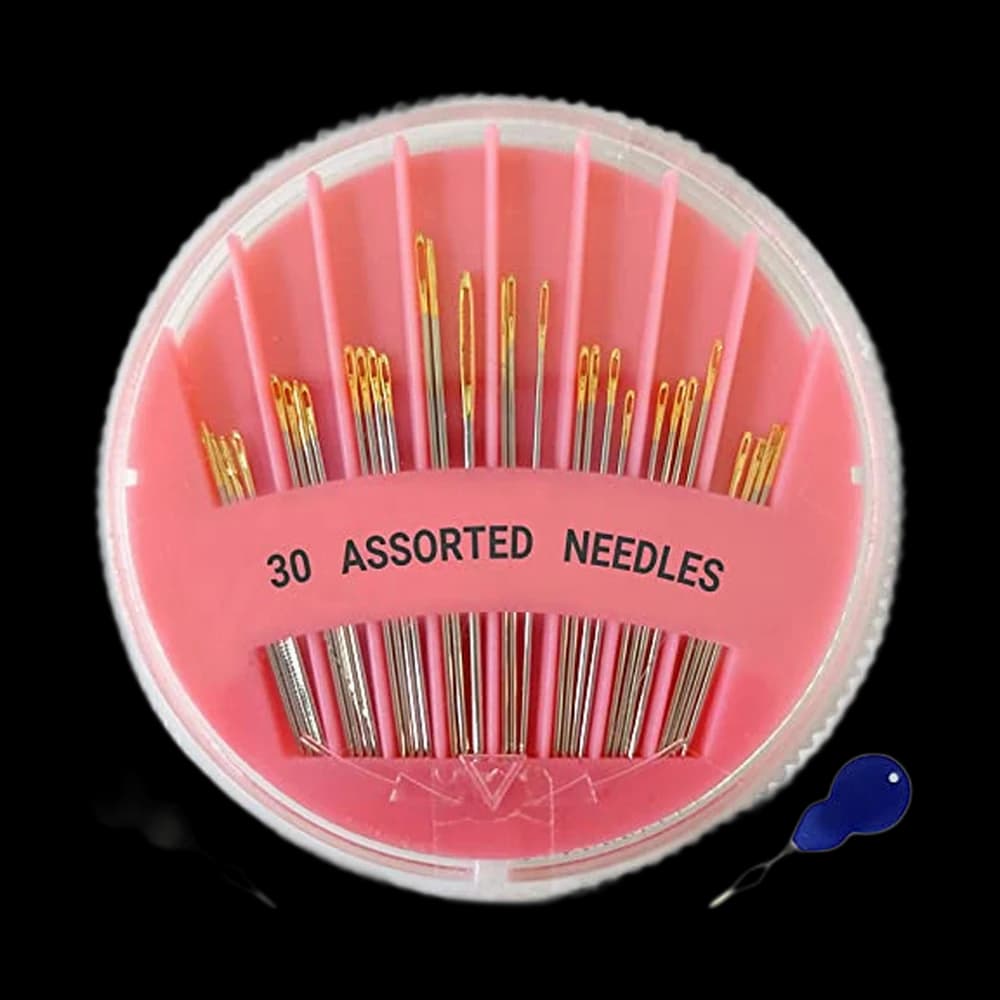 Hand-Sewing Needles
jekiinova$3.99 4.7 out of 5 stars · 2,011 ratings
The least expensive pick in this category, which makes it the low-risk way to find out whether you'll keep at it.
 Pins & Fabric Clips
MumCraft 100$5.69 4.8 out of 5 stars · 45,086 ratings
Priced in the lower half of this category.
 Thread
Coats & Clark thread$8.50 4.7 out of 5 stars · 4,705 ratings
Researched from listings, specs and owner feedback — never hands-on testing. We may earn a commission; it never changes a pick.
Safety, said plainly
Most of sewing's risks are small and easy to manage, and naming them up front makes a child more careful, not more nervous.
- Needles and pins. Count them out and count them back. Use clips instead of pins for as long as you can, and keep a pincushion or a magnetic dish on the table.
- Scissors. Keep the good fabric scissors for fabric and for grown-ups until a child can carry scissors closed and pointing down. Younger children can cut felt with ordinary children's craft scissors.
- The iron. An adult job, or very close supervision. Pressing is part of sewing, but it is the hottest thing in the room.
- Rotary cutters. Adults only. On the fleece tie blanket, an adult does the cutting and the child does the knots, which is how that project is written.
- The machine. Brother's operation manual for the XM2701 says the machine "is not a toy", that close attention is needed when it is used by or near children, and that it can be used by children aged from 8 years and above if they have been given supervision or instruction in using it safely and understand the hazards. The same manual says to switch the machine off before making any adjustments in the needle area, and not to turn it on while pressing the foot controller. Teach those two rules first. Other machines' manuals say similar things; read yours.
Stage 1: No needle, then a big needle
Start without a needle at all. The no-sew fleece tie blanket is all knots: an adult cuts the fringe and the child ties it. It teaches patience and finishing, and the result is something they can use that night.
Then the needle. Thread a large-eye needle with embroidery floss and tie a knot at the end. Draw a line on a square of felt and teach the running stitch: up, down, up, down, along the line. Felt does not fray and does not slip, so the stitches are the only thing to think about. Show them the basic hand stitches and let them copy the first two.
First finished object: the felt keyring. Two felt shapes, stitched round the edge, a little stuffing, a ring. It takes about 45 minutes and it goes straight onto a schoolbag.
Stage 2: Real hand sewing
Now ordinary sewing thread, a smaller needle and a few real repairs.
- Sew on a button. The most useful thing anyone can learn to sew, and a child who can do it will be asked to do it for the rest of the family.
- Scrunchies from scraps. A tube, elastic and a closed loop. Children love making these for friends, and they use up the scraps from everything else.
- Backstitch. The strong stitch, for anything that has to hold. Once they can backstitch, they can hand-sew almost anything small.
If they enjoy the stitching itself more than the objects, the free hand embroidery course is a natural detour; it uses the same hoop-and-floss kit and turns stitches into pictures.
Stage 3: Meeting the machine
Go slowly here, and sit beside them for every session.
- Learn the machine together, switched off. Name the parts: needle, presser foot, foot pedal, the handwheel. Show how to raise and lower the presser foot.
- Teach the two rules from the manual. Switch off before touching anything near the needle. Never switch on with a foot on the pedal.
- Practise on paper, with no thread. Draw straight lines, gentle curves and a zigzag road on plain paper and let them sew along the lines with an unthreaded machine. It teaches speed and steering with nothing to tangle. Use an old needle for this, because paper dulls it.
- Then thread it together. Follow how to thread a sewing machine side by side and let them do each step. Then wind a bobbin.
- Sew lines on scrap fabric. Straight lines, then a corner: stop with the needle down, lift the foot, turn, lower the foot, carry on.
Keep sessions short. Twenty good minutes beats an hour that ends in a tangle.
Stage 4: First machine projects
These are the same first four machine projects we give adult beginners, because they are good projects, not because they are easy ones.
- Cloth napkins. Four straight hems and nothing else. Perfect practice, and the table looks different afterwards.
- A pillowcase. Two seams and a hem, in a fabric they chose, on their own bed that night.
- A drawstring bag. Their first casing, and a bag for the next project.
- A tote bag. Straps, four seams and something they will carry around for years.
After those, they are working at Level 2 of The Pattern, the free sewing course this site is built around, and the rest of it is open to them at their own pace.
Classes, if you would rather not teach
Some children learn better from someone who is not their parent. County Extension offices run 4-H clothing and textiles projects for young people, and local sewing studios often run summer camps. Where to take sewing classes now that Joann is closed explains how to find either near you.
Frequently asked
What age can a child start sewing?
Go by readiness rather than age. Hand sewing with a large-eye needle on felt suits a child who can concentrate for twenty minutes and follow a two-step instruction. For machines, Brother's XM2701 operation manual says it can be used by children aged 8 and above who have been given supervision or instruction and understand the hazards.
What should a child sew first?
A no-sew fleece tie blanket, which is all knots, then a felt keyring stitched by hand. After that, sewing on a button and scrunchies. The first machine projects are cloth napkins and a pillowcase.
Should I buy a children's sewing machine?
We have not researched machines sold specifically for children, so we do not recommend one either way. A simple full-size beginner machine, used with an adult beside the child, is one they can keep using for years. A speed control slider is the feature that helps most.
How do I keep my child safe while sewing?
Use clips instead of pins, count needles out and back, keep the iron and rotary cutter as adult jobs, and sit beside them at the machine. Teach them to switch the machine off before touching anything near the needle, as Brother's manual instructs.
Can kids learn on paper before using fabric?
Yes. Sewing along drawn lines on plain paper with an unthreaded machine is a good way to practise speed and steering with nothing to tangle. Use an old needle, because paper dulls it.
Are there sewing classes for kids?
Yes. County Extension offices run 4-H clothing and textiles projects, and many sewing studios run summer camps. Our guide to where to take sewing classes explains how to find them near you.
Sources & further reading
Where our guidance rests on a fact, here is where that fact comes from.
- Brother XM2701 operation manual (PDF) — the safety instructions on children, supervision, switching off before adjusting the needle area and the foot controller
- 4-H Clothing & Textiles Project — SDSU Extension — an example of a county Extension 4-H sewing project for young people
Prices and StitchScores reflect our most recent research and refresh on a cycle — confirm the live price before buying. We may earn a commission from affiliate retailers; it never changes what we recommend. See how we score gear.
Read next
Free Mending Course for Beginners: Fix Clothes by Hand
A free, no-signup mending course in six lessons: hand stitches, buttons, a fallen hem, a split seam, a small tear and shortening trousers. No machine.
Free Hand Embroidery Course for Beginners
A free, no-signup hand embroidery course: set up a hoop, learn eight stitches on a sampler, then transfer a design and finish it in the hoop. No machine.