Scrunchies From Scraps
A finished object in one sitting, made from fabric you were about to throw away.
- Equipment
- Needle and thread — no machine
- Materials cost
- About $8 in elastic and thread
- Assumes you can
- Nothing at all — this is the starting line
- Full supply list
- A strip of any woven fabric, a length of elastic, needle and thread.
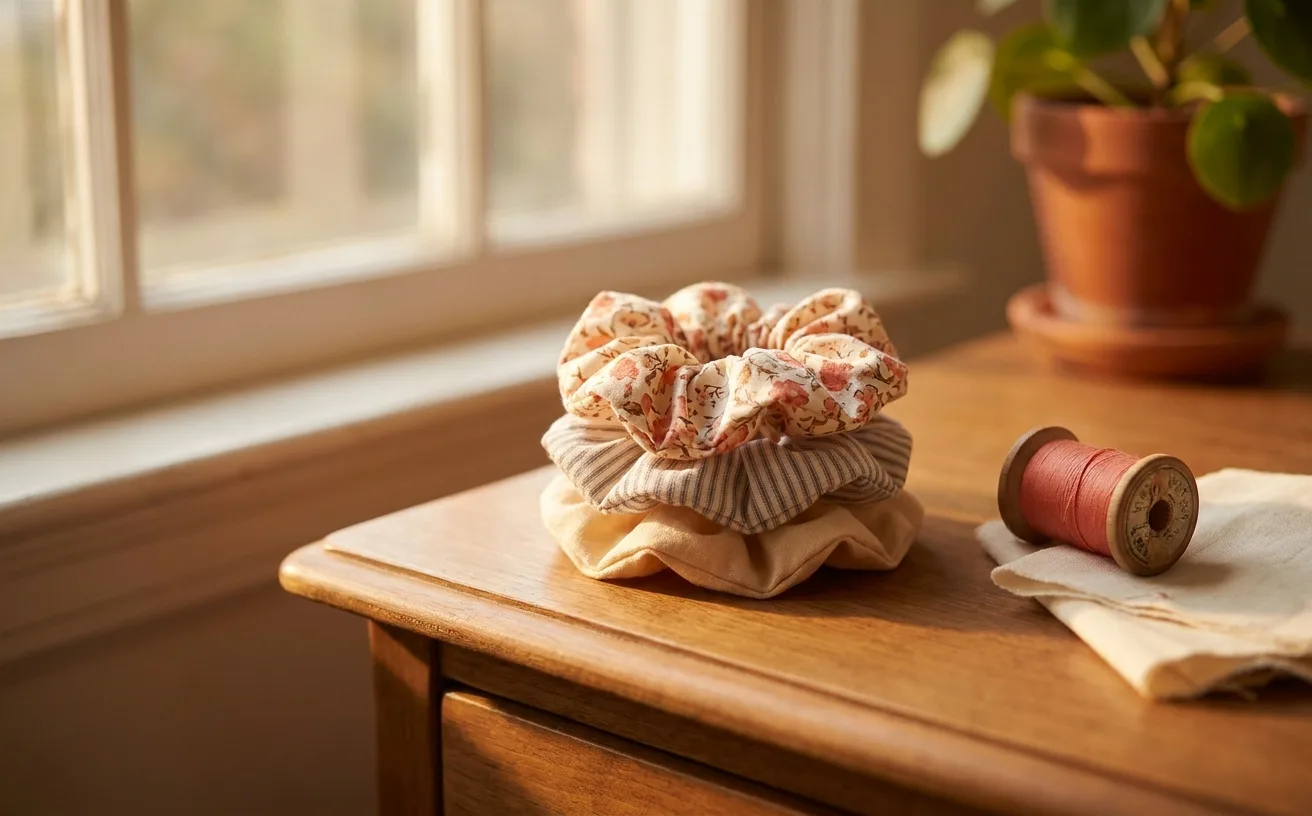
By the end of tonight you will have a real, wearable scrunchie — the kind you would actually put in your hair or hand to a friend — made entirely by hand from a strip of fabric that was heading for the bin. It takes about 30 minutes each, needs no machine, and it teaches you the single most useful trick in beginner sewing: how to sew a tube inside out so every raw edge disappears. That one move shows up again in tote straps, drawstring casings and waistbands for the rest of your sewing life.
What you need
Most of this you may already own. Nothing here is specialist.
| What | Roughly | Notes |
|---|---|---|
| A woven fabric scrap | free | An old cotton shirt, a pillowcase, a fat quarter — anything woven and not stretchy |
| Quarter-inch flat elastic | about $4 a card | One card makes a lot of scrunchies |
| Hand-sewing needle | about $4 a pack | A medium sharp; a pack lasts years |
| All-purpose thread | about $4 a spool | Polyester all-purpose, in a color near your fabric |
| Fabric scissors | about $20 and up | Kept for fabric only, so they stay sharp |
| A safety pin | about $2 a pack | The turning tool that does all the work |
| An iron | likely $0 | Helpful, not compulsory — most homes have one |
| A seam ripper | about $5 | For the stitches you will want back |
No fabric scissors yet? Paper scissors will cut one scrunchie badly and then blunt further. Borrow a sharp pair for tonight rather than buying in a panic — the rotary cutter versus scissors comparison is worth reading before you spend anything.
Woven matters more than the rest. Jersey and other knits stretch as you stitch and the tube goes ripply. Quilting cotton, poplin, an old cotton shirt back, a light satin — all behave.
The gear this project uses
One current pick per tool or material the supply list links, in the order it lists them. Borrow, substitute or skip — a wonky first attempt with the wrong scissors still counts.
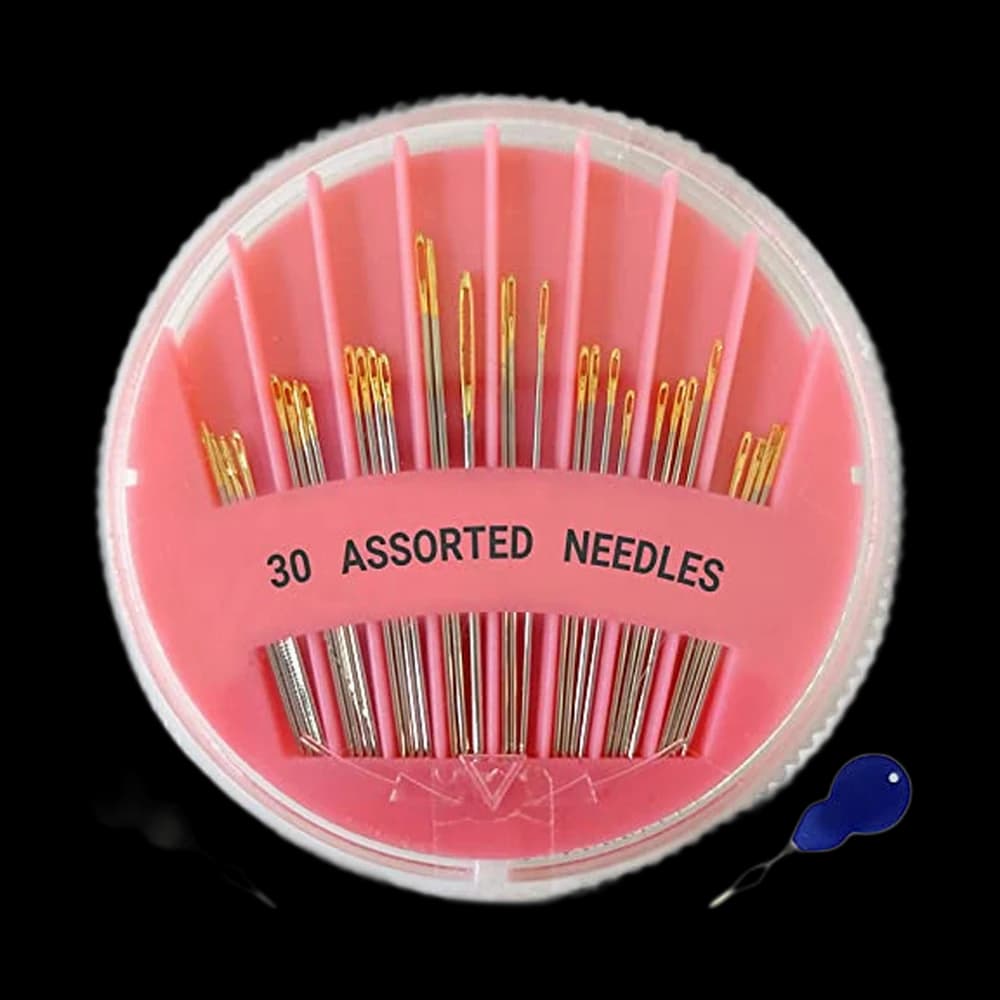 Hand-Sewing Needles
jekiinova$3.99 4.7 out of 5 stars · 2,011 ratings
The least expensive pick in this category, which makes it the low-risk way to find out whether you'll keep at it.
 Thread
Coats & Clark thread$8.50 4.7 out of 5 stars · 4,705 ratings
 Fabric Scissors
Proshear$8.99 4.8 out of 5 stars · 4,040 ratings
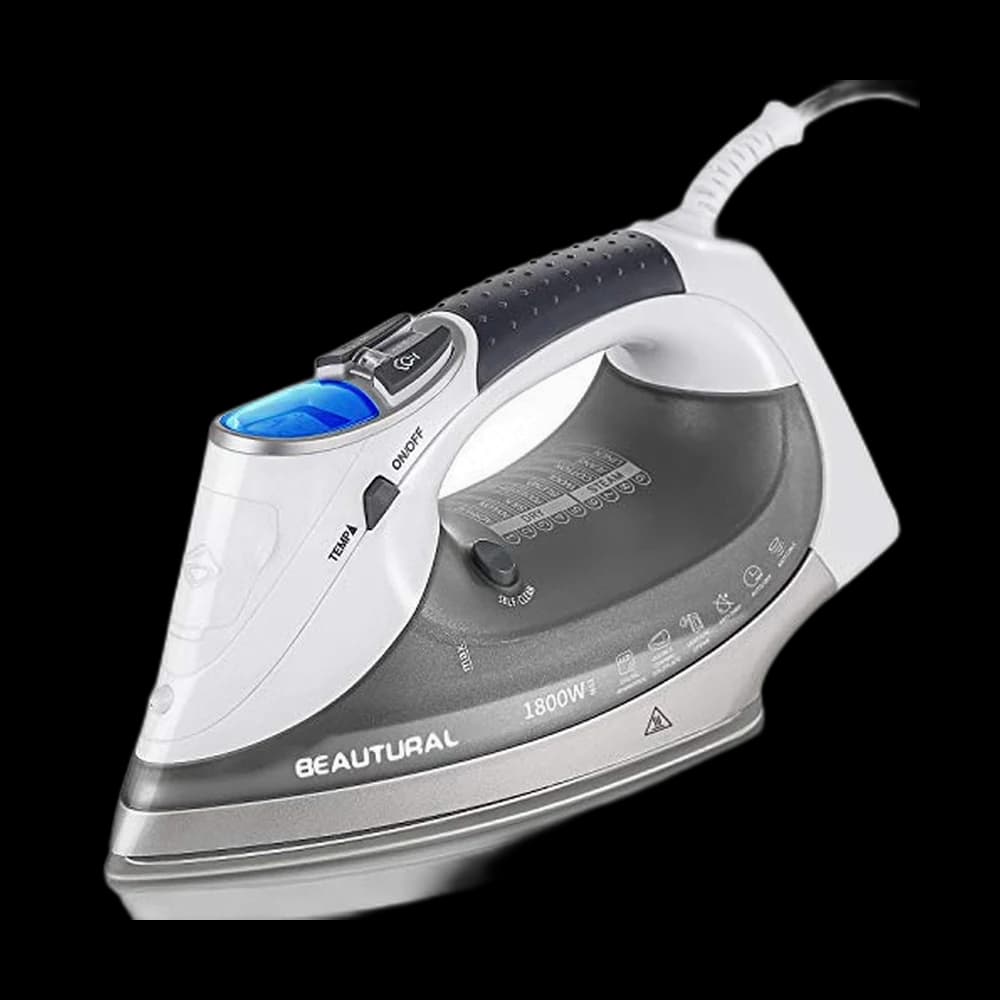 Irons
IronsBeautural steam iron$41.99 4.5 out of 5 stars · 19,802 ratings
Priced in the lower half of this category; the listing states a ceramic soleplate; it is a steam iron — pressing seams flat is half of sewing well.
Researched from listings, specs and owner feedback — never hands-on testing. We may earn a commission; it never changes a pick.
Cut list
Classic scrunchie proportions, cut from a single strip:
- Fabric strip — 20 inches long by 4 inches wide. Cut along the straight grain (parallel to the woven edge), not diagonally, or the tube twists.
- Elastic — 9 inches of quarter-inch flat elastic. Shorter for a tighter grip, longer for a loose, slouchy scrunchie.
- Seam allowance — 3/8-inch throughout, unless a step says otherwise.
Same method, three sets of proportions:
| Version | Fabric strip | Elastic |
|---|---|---|
| Classic | 20-inch by 4-inch | 9-inch |
| Extra puffy | 24-inch by 5-inch | 9-inch |
| Child size | 16-inch by 3-inch | 7-inch |
Steps
Cut and press
- Press the fabric flat first. Wrinkles hide a crooked cut, and a crooked cut is what makes a scrunchie look homemade in the bad way.
- Cut your 20-inch by 4-inch strip. Measure twice. A ruler edge beats eyeballing.
- Fold the strip in half lengthwise, right sides together, so it is now 20 inches by 2 inches with the pretty side hidden on the inside. Press the fold. You are building the tube inside out on purpose — that is how the seam ends up buried.
Sew the tube
- Pin along the long raw edge, heads pointing out so you can pull them as you go.
- Backstitch the entire long edge closed with a 3/8-inch seam. Backstitch is the hand stitch that holds under tension — a running stitch will pop the first time someone yanks the scrunchie out of a ponytail. If backstitch is new to you, the basic hand-sewing stitches guide walks through it.
- Leave the two short ends open. Do not stitch them shut. They become the join at the very end.
Your stitches will be uneven. Mine still are. Wonky seams are the whole point — this seam lives on the inside of a tube nobody will ever see, which makes it the safest possible place to practice.
Turn it right side out
- Attach a safety pin to one short end. Push the pin into the tunnel and inch it along, feeding the fabric back over itself, until it comes out the far end. The tube flips right side out and the raw seam vanishes inside.
- Press the tube flat. Optional, but it makes the next step less fiddly.
Turning takes a couple of minutes and feels wrong for the first thirty seconds. Keep going. Nothing is stuck.
Thread the elastic
- Pin the safety pin to one end of the 9-inch elastic.
- Feed the pin through the tube, gathering the fabric back along the elastic as you go. Hold the far end of the elastic so it does not disappear inside — that is the classic first-timer moment.
- Overlap the two elastic ends by about half an inch and stitch them together with a small square of backstitch, going over the join several times. This is the joint that fails if you rush it.
Close it up
- Slide the fabric around until the two raw short ends meet.
- Tuck one short end inside the other by about half an inch, so no raw edge is exposed, and pin.
- Slipstitch or whipstitch the join closed, catching both layers. Work small and close together; this is the only seam anyone will actually see.
- Knot, bury the thread tail inside the tube, and trim. Done.
When it goes wonky
| What happened | Why | The fix |
|---|---|---|
| The tube twists like a candy cane | The strip was cut off-grain | Recut parallel to the woven selvedge; the current one still works as a practice piece |
| The elastic vanished inside the tube | Nothing anchored the far end | Fish it out with the safety pin, then pin the loose end to the fabric before threading next time |
| The gathers are limp and sad | Elastic too long, or fabric strip too short | Trim the elastic an inch and re-join, or go longer on the strip next time |
| The join keeps popping open | Running stitch instead of backstitch, or too few passes | Unpick with a seam ripper and redo the elastic join with several overlapping backstitches |
| The seam looks lumpy from outside | Seam allowance wandered wider and narrower | Ignore it — it is inside the tube. Consistency comes with repetition, not effort |
If the first one is a disaster, make the second one immediately, while the mistake is fresh. Scrunchie two is almost always noticeably better than scrunchie one. That is the whole reason this is a good first project.
What you just learned
- Sewing a tube right sides together and turning it. The core move behind straps, ties, belt loops and casings.
- Backstitch under real tension — the hand stitch you reach for whenever a seam has to hold.
- Threading elastic with a safety pin, which is exactly how waistbands get made.
- Closing a gap invisibly with a slipstitch, the finish that makes handmade look intentional.
When you want a second sitting-length win, the Cloth Napkins project in the library uses the same fabric-scrap logic but teaches you corners and hems instead of tubes. If you would rather see what else sits at this level before picking, the Curious level page lays out the whole no-machine track, and what to sew first helps you choose.
Supply checklist
8 lines · 30 minutes each · About $8 in elastic and thread
- A woven fabric scrapfreeAn old cotton shirt, a pillowcase, a fat quarter — anything woven and not stretchy
- Quarter-inch flat elasticabout $4 a cardOne card makes a lot of scrunchies
- Hand-sewing needleabout $4 a packA medium sharp; a pack lasts years
- All-purpose threadabout $4 a spoolPolyester all-purpose, in a color near your fabric
- Fabric scissorsabout $20 and upKept for fabric only, so they stay sharp
- A safety pinabout $2 a packThe turning tool that does all the work
- An ironlikely $0Helpful, not compulsory — most homes have one
- A seam ripperabout $5For the stitches you will want back
Quantities and substitutions are the ones in the supply table above; costs are rough US shop prices at the time of writing, not live listings. Borrowing and substituting are always fine — a wonky first attempt in the wrong fabric still counts.
Scraps into something worn. Keep going with the same two tools.
Every SewingPath project guide is free and stays free. Some shaped garments need a separately sourced paper pattern; those pages say so before the cut list. When a project needs equipment we link the gear category and name our current pick beside the supply list, with a link to buy it if you are missing it — never in the middle of the steps. Picks are researched, not hands-on tested — see how we score gear.