Hand-Sew a Felt Keyring
A finished object in one sitting. No machine, no pattern, no measuring.
- Equipment
- Needle and embroidery floss — no machine
- Materials cost
- $2–$7 in materials
- Assumes you can
- Nothing at all — this is the starting line
- Full supply list
- Two squares of craft felt, embroidery floss, a needle and a key ring.
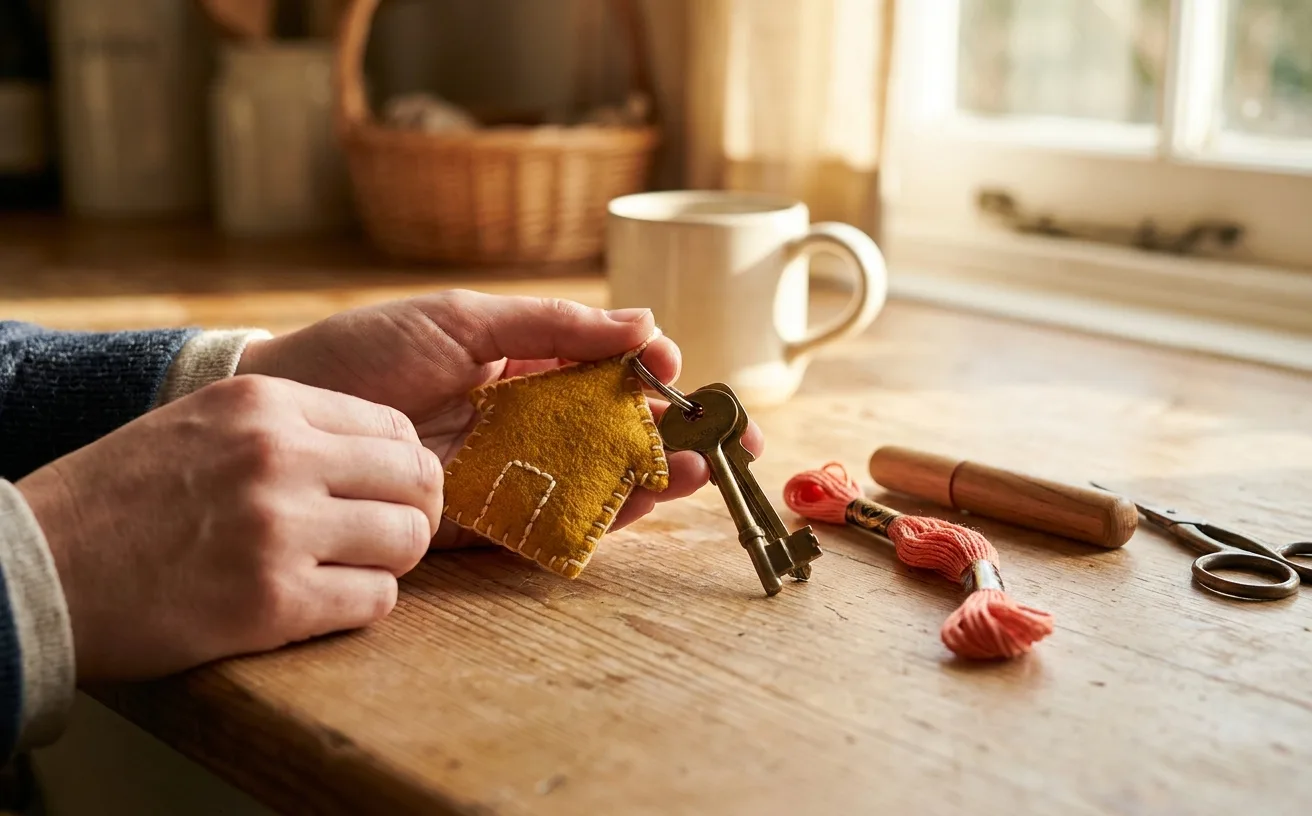
By the end of this sitting you will have a small, slightly plump felt shape hanging off your keys — stitched by hand, by you, with a needle you threaded yourself. It takes about 45 minutes, costs less than a coffee, and it is the fastest honest route from "I have never sewn anything" to "I own a thing I made." Felt is the friendliest fabric there is: it does not fray, it does not slip, and it forgives every crooked stitch you put in it.
That forgiveness is the point of starting here. Your stitches will be uneven and visible — and on felt, uneven visible stitches read as handmade rather than as a mistake.
What you need
Nothing here needs to be new, and nothing here needs to be good. A cheap needle sews felt exactly as well as an expensive one.
| What | Why it matters | Roughly |
|---|---|---|
| A hand-sewing needle | Needs an eye big enough for floss — an embroidery or crewel needle | $3–$6 for a mixed pack |
| Two squares of craft felt | Does not fray, so no edges need finishing | $1–$3 for a multi-colour pack |
| Embroidery floss | Thicker than sewing thread, so your stitches show on purpose | $1–$2 per skein |
| A key ring | A plain split ring, or one salvaged off an old keychain | Free–$2 |
| Scissors | Sharp enough to cut a clean curve in one pass | $10–$25 for a basic fabric pair |
| A scrap of stuffing (optional) | Cotton balls or felt offcuts give it a soft body | Free |
You do not need a machine, a pattern, a cutting mat or a table. A sofa and a mug of something is a legitimate sewing setup.
No sewing box yet? Do not go shopping before you sew. Make this one with whatever you can borrow, then buy the tools you actually missed. That list is always shorter than the internet says.
The gear this project uses
One current pick per tool or material the supply list links, in the order it lists them. Borrow, substitute or skip — a wonky first attempt with the wrong scissors still counts.
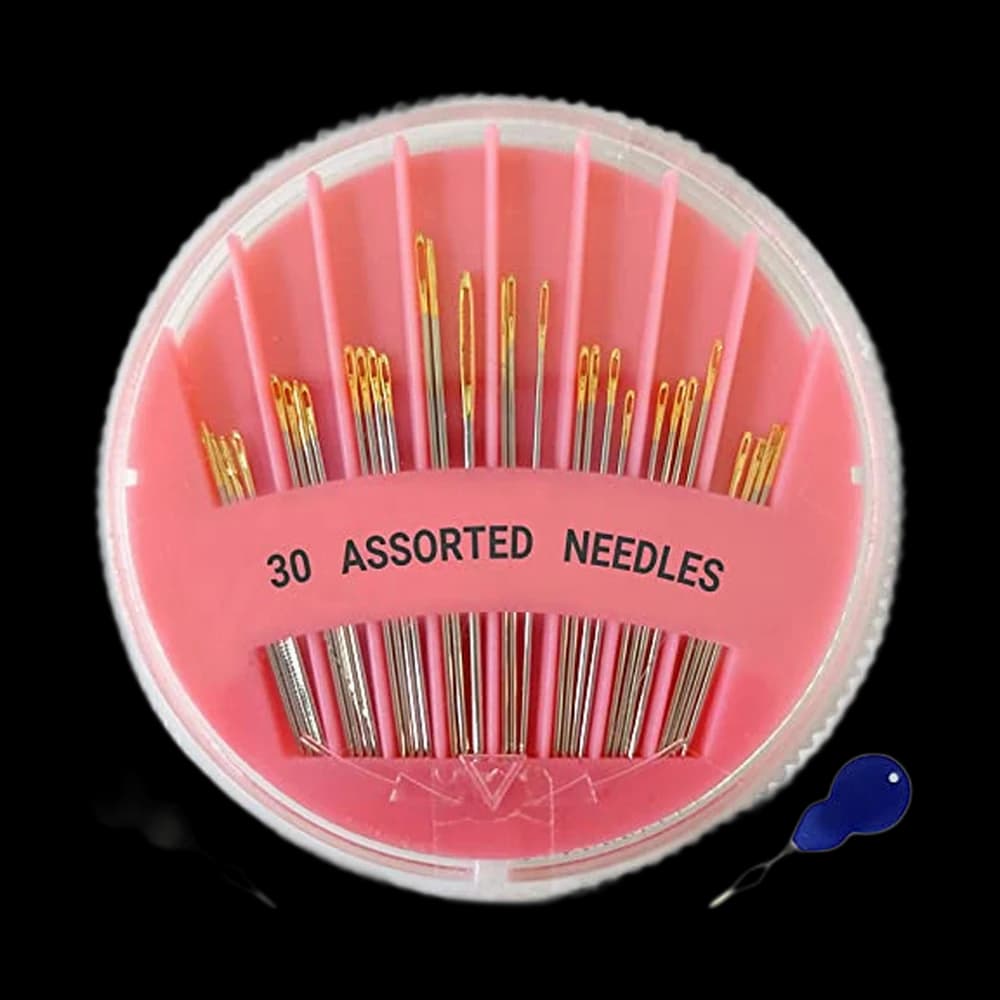 Hand-Sewing Needles
jekiinova$3.99 4.7 out of 5 stars · 2,011 ratings
The least expensive pick in this category, which makes it the low-risk way to find out whether you'll keep at it.
 Thread
Coats & Clark thread$8.50 4.7 out of 5 stars · 4,705 ratings
 Fabric Scissors
Proshear$8.99 4.8 out of 5 stars · 4,040 ratings
Researched from listings, specs and owner feedback — never hands-on testing. We may earn a commission; it never changes a pick.
Cut list
Everything here is a rough shape, not an engineering drawing. Trace round a jar lid, a cookie cutter or a coin — you are cutting felt, not fitting a sleeve.
- Two body pieces — matching shapes, about 2.5-inch across. A rounded square, a heart, a leaf, a fat little cloud. Cut both at once by stacking the felt so they match without measuring.
- One hanging tab — a strip about 1-inch by 3-inch, folded in half to make a loop.
- Seam allowance: 1/8-inch. Because felt does not fray, you stitch very close to the raw edge — about the width of a matchstick in from the cut line. There is no allowance to turn under and nothing to hide, so the seam allowance is the decorative edge.
If your two shapes come out slightly different, stack them and trim the top one to match the bottom. Nobody will ever know.
Steps
Get set up
- Cut a length of floss about as long as your forearm. Longer feels efficient and is not — long floss tangles, knots on itself and drags through the felt until it frays. Short refills beat one heroic thread.
- Thread the needle and knot the tail. Embroidery floss usually comes as six strands twisted together; pull out two or three strands for a neat line, or use all six for a chunky, obvious stitch. Both are correct. If threading the needle is fighting you, cut the floss end at a sharp angle and press it flat between your fingernails first.
- Fold the tab in half so the short ends meet, and slip the folded loop between your two body pieces at the top — raw ends hidden inside, loop poking out. This is the only fiddly moment, and it happens before anything is stitched, so you can nudge it freely.
Stitch the edge
- Start your first stitch between the two layers, pushing the needle out through the front piece. Doing it this way buries the knot inside the keyring where nobody sees it — a trick you will reuse on every stuffed or lined thing you ever make.
- Work a blanket stitch or a running stitch all the way round. Blanket stitch gives that classic looped edge on a felt shape; a running stitch is a plain dashed line and is completely fine. Our guide to basic hand-sewing stitches walks through both with the hand positions spelled out. Keep your stitches roughly 1/4-inch apart — consistency matters far more than fineness.
- Stitch through the tab twice on the way past. The loop takes the whole weight of the keyring every time it comes out of a pocket, so it wants to be the strongest point, not the prettiest one.
- Leave a gap of about 1-inch before you close the circle. That gap is your stuffing hole.
If your stitching wanders off the edge or the spacing goes wild halfway round, keep going. Do not unpick. A finished wonky keyring teaches your hands more than a perfect half-finished one, and wonky seams are the whole point.
Stuff and close
- Push small pinches of stuffing in through the gap, using the blunt end of your needle or a pencil. Small pinches, many times — one big wad gives you a lumpy middle and a flat rim.
- Stop while it still squishes. Overstuffed felt pulls the stitches apart and the seam gapes open. You are aiming for a firm cushion, not a bouncy ball.
- Carry your stitch across the gap in exactly the same rhythm as the rest, so the closing seam disappears into the others.
- Finish off with two tiny stitches in the same spot, then run the needle between the layers and out somewhere on the body before snipping. The tail vanishes inside instead of standing up like a whisker.
Add the ring
- Thread the split ring onto the fabric loop, easing it round the same way you would add a key. Give the tab a firm tug — better it fails now, on your sofa, than in a coat pocket in February.
When it goes wonky
| What happened | Why | The fix |
|---|---|---|
| The floss keeps knotting on itself | Your thread is too long, or it is twisting as you stitch | Cut shorter lengths; let the needle dangle every so often to untwist |
| Stitches pull straight off the edge | You are stitching closer than 1/8-inch from the cut line | Move in a little; felt has no grain to grab, so it needs a bite of fabric |
| The keyring looks lumpy | Stuffing went in as one lump | Pull some out, refill with small pinches, work it into the corners |
| The seam gapes between stitches | Stitches are too far apart, or it is overstuffed | Take out some stuffing; next time aim for 1/4-inch spacing |
| The tab tore away from the body | Not enough stitches through the folded ends | Restitch the tab in place with four or five passes — it is the load-bearing part |
Nothing on that list is a reason to start over. Every one of them is fixable with the needle already in your hand.
What you just learned
- Threading a needle and knotting a tail — the two motions that gate every hand-sewn project, now behind you.
- A repeating edge stitch at consistent spacing, which is the same muscle memory a machine seam needs later.
- Burying knots and tails between layers, the finishing habit that separates "handmade" from "unfinished."
- Working to a seam allowance — 1/8-inch here, but the idea scales straight up to the 5/8-inch you will meet on garment patterns.
If that felt good, the natural next step is the cloth napkins project in the library — same hand stitches, a straight edge to follow, and something you will actually use at dinner. Or browse the rest of the first-level projects on the Curious level page and pick whatever you want to own most; what to sew first makes the case for choosing by desire rather than by difficulty.
Supply checklist
6 lines · 45 minutes · $2–$7 in materials
- A hand-sewing needle$3–$6 for a mixed packNeeds an eye big enough for floss — an embroidery or crewel needle
- Two squares of craft felt$1–$3 for a multi-colour packDoes not fray, so no edges need finishing
- Embroidery floss$1–$2 per skeinThicker than sewing thread, so your stitches show on purpose
- A key ringFree–$2A plain split ring, or one salvaged off an old keychain
- Scissors$10–$25 for a basic fabric pairSharp enough to cut a clean curve in one pass
- A scrap of stuffing (optional)FreeCotton balls or felt offcuts give it a soft body
Quantities and substitutions are the ones in the supply table above; costs are rough US shop prices at the time of writing, not live listings. Borrowing and substituting are always fine — a wonky first attempt in the wrong fabric still counts.
Hand-sewn and done. The machine is the next step whenever you want it.
Every SewingPath project guide is free and stays free. Some shaped garments need a separately sourced paper pattern; those pages say so before the cut list. When a project needs equipment we link the gear category and name our current pick beside the supply list, with a link to buy it if you are missing it — never in the middle of the steps. Picks are researched, not hands-on tested — see how we score gear.