The Unapologetic Tote Bag
Four seams and a strap. The bag you will actually carry to the shops.
- Equipment
- Sewing machine and an iron
- Materials cost
- $11–$20 in fabric and thread
- Assumes you can
- A machine you can thread, and nothing more
- Full supply list
- Three-quarters of a yard (0.7 m) of 44-inch canvas or heavy cotton, thread, and a machine you have threaded once.
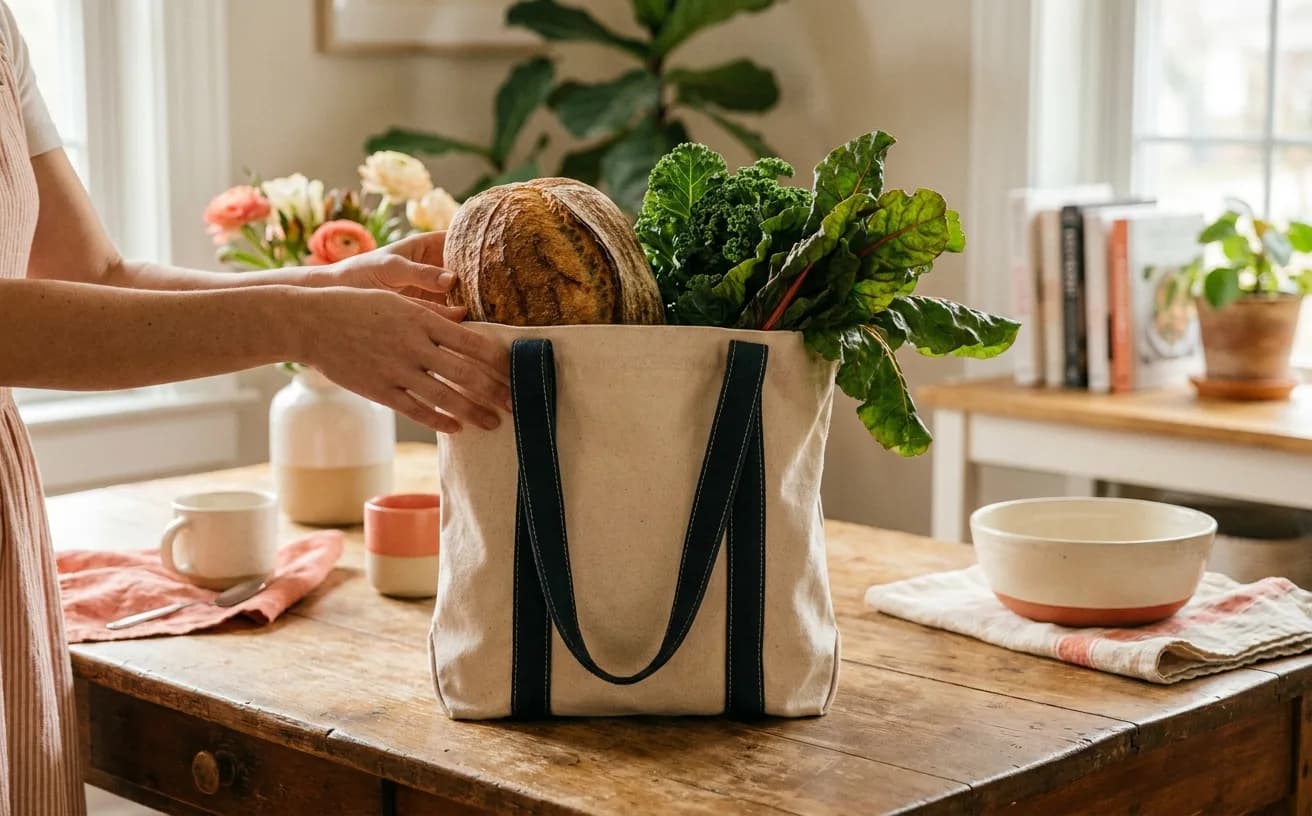
By the end of this afternoon you will have a canvas tote with two shoulder straps, strong enough for a full grocery run and plain enough that nobody can tell it was your first. It is the right project at Threader level because every seam is straight, every seam is hidden inside or folded under, and nothing has to line up with anything else. If your machine has been threaded exactly once and you are still slightly afraid of the foot pedal, this is the project that fixes that.
What you need
You need about two hours, three-quarters of a yard (0.7 m) of 44-inch canvas or heavy cotton, and thread. That is genuinely the list.
| What | Why it matters | Roughly |
|---|---|---|
| A sewing machine — straight stitch is enough | Canvas is thicker than it looks where the handles join, so go slowly and let the feed dogs pull. Nothing here needs a stitch your machine does not already have | You may own one |
| Three-quarters of a yard (0.7 m) of canvas or heavy cotton, 44-inch wide | This covers both body panels and two unpieced 24-inch straps, with room to square and preshrink; half a metre does not | $8–$15 |
| All-purpose polyester thread | One spool does the whole bag; polyester has more give than cotton under load | $3–$5 |
| A universal 90/14 machine needle | A finer needle can deflect in canvas; a slightly heavier one goes through cleanly | $5–$8 for a pack |
| Fabric scissors or a rotary cutter | Clean cut edges make straight sewing much easier | $15–$40 |
| An iron | The single biggest quality difference in this project | You may own one |
| A seam ripper | Not pessimism. Equipment. | $3–$6 |
Pins or clips help but are not required. And if canvas, denim and webbing turn out to be what you sew most weekends, that — not this tote — is the honest reason to look at a heavy-duty machine; the tote itself finishes on whatever you already have. If you are choosing between spending money on tools and starting today, start today — see what to sew first for the wider argument.
If you have never met your machine's threading path, do that before you cut anything. How to thread a sewing machine takes ten minutes and prevents about eighty percent of first-project disasters.
The gear this project uses
One current pick per tool or material the supply list links, in the order it lists them. Borrow, substitute or skip — a wonky first attempt with the wrong scissors still counts.
 Sewing Machines
Brother XM2701$143.14 4.6 out of 5 stars · 19,162 ratings
A first machine — 27 built-in stitches is enough to sew clothes without a menu to decode, and the listing specifies the automatic needle threader and the jam-resistant drop-in top bobbin, which are the two steps beginners most often give up on.
 Thread
Coats & Clark thread$8.50 4.7 out of 5 stars · 4,705 ratings
The least expensive pick in this category, which makes it the low-risk way to find out whether you'll keep at it; all-purpose polyester, which covers nearly everything a beginner sews.
 Machine Needles
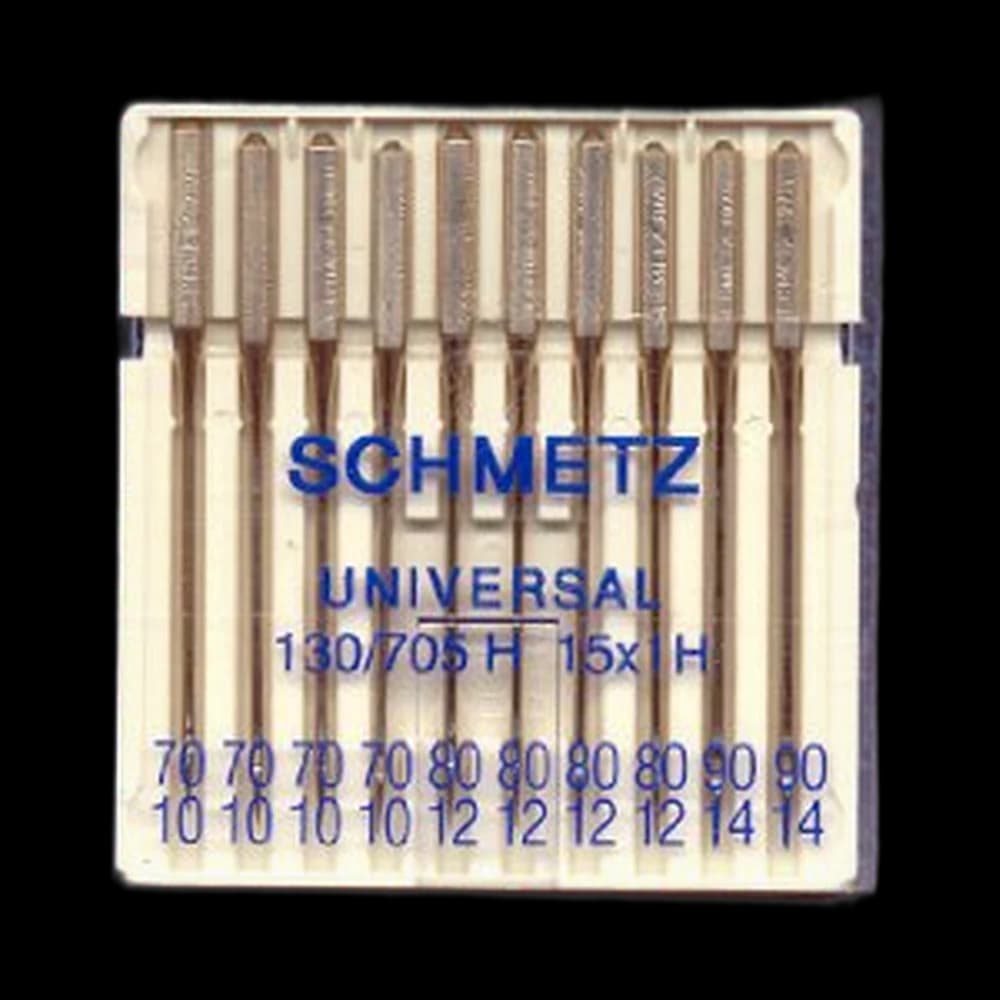
SCHMETZ Universal 130/705$7.45 4.8 out of 5 stars · 709 ratings
Priced in the lower half of this category; universal points, the default for ordinary woven fabric.
 Fabric Scissors
Proshear$8.99 4.8 out of 5 stars · 4,040 ratings
Researched from listings, specs and owner feedback — never hands-on testing. We may earn a commission; it never changes a pick.
Cut list
All dimensions include a half-inch seam allowance on every edge. Cut with the fabric laid flat and single-layered, not folded — folded canvas shifts and gives you a curved "straight" line.
| Piece | Cut | How many |
|---|---|---|
| Bag body | 16-inch wide × 15-inch tall | 2 |
| Strap | 4-inch wide × 24-inch long | 2 |
Layout on 44-inch-wide fabric: place the two 16-by-15-inch body panels side by side across the width, using 15 inches of fabric length. In the next 8 inches of length, place the two 4-by-24-inch straps side by side across the width. The layout therefore needs 23 inches of fabric length before squaring. Three-quarters of a yard gives 27 inches, leaving 4 inches for squaring and ordinary preshrinkage; half a metre is only about 19.7 inches and cannot hold these four unpieced rectangles. The fabric yardage calculator draws this layout if you want to see it, or change the bag size.
Finished bag lands at roughly 15 inches wide by 13 inches tall once the hem and seams are taken up — a real shopping-bag size, not a decorative one.
Steps
Hem the top edges first
- On each body panel, fold the top raw edge over by half an inch to the wrong side and press. Fold again by one inch and press again. This is a double-fold hem: the raw edge is now sealed inside, so it can never fray no matter how many times the bag gets stuffed and emptied.
- Stitch that hem down close to the inner folded edge, straight across. Backstitch a few stitches at the start and end to lock it.
- Do the second panel the same way.
Hemming before assembly is the whole trick. Once the bag is a tube, the top edge becomes an awkward circle to feed through the machine, and beginners routinely stitch the bag shut trying. Flat is easy. Keep it flat as long as possible.
Make the straps
- Fold a strap piece in half lengthways, wrong sides together, and press a centre crease. Open it back out.
- Fold each long raw edge in to meet that centre crease and press. Then fold along the original crease again so all raw edges are trapped inside. You now have a 1-inch strap, four layers thick.
- Topstitch down both long edges, about an eighth of an inch from the edge. The second line of stitching is not decoration — it stops the strap from twisting into a rope under a heavy load.
- Repeat for the second strap.
Four layers of canvas is where cheap machines start to complain. Slow the pedal right down, help the fabric along with your hand rather than pulling it, and if the needle refuses, walk the wheel by hand for those few stitches. This is normal. It is not you.
Attach the straps
- On the right side of one panel, measure in 4 inches from each side edge and mark. Those are your strap positions.
- Tuck each strap end about 1 inch under the hemmed top edge and pin or clip it, making sure the strap is not twisted. Check twice. Everyone twists one.
- Stitch a square through the strap end and the bag — sew a 1-inch box, then stitch an X corner to corner inside it. That box-and-X spreads the load across the fabric instead of concentrating it on one stitch line, which is why tote handles rip out.
- Repeat on the second panel.
Sew the bag
- Place the two panels right sides together, hemmed top edges matching. Pin the two sides and the bottom.
- Stitch down one side, across the bottom, and up the other side with a half-inch seam allowance, backstitching at both ends where the seam meets the hem. Three seams, one continuous pass if you pivot at the corners with the needle down.
- Optional but worth it — zigzag or pink the raw seam edges so canvas fraying stays contained.
- Turn the bag right side out, poke the corners out with a blunt tool (not scissors), and press the side seams flat.
That is the flat tote. If you want a boxed bottom that stands up, leave it inside out and flatten each bottom corner into a triangle so the side seam sits directly over the bottom seam. Measure 2 inches from the point along the seam, draw a line perpendicular to the seam; that line should be about 4 inches across. Stitch on the line and trim the point. It adds ten minutes and a base about 4 inches deep, while reducing the standing height by about 2 inches.
When it goes wonky
| What happened | Why | The fix |
|---|---|---|
| Thread nests underneath the fabric | Almost always a top-thread problem, not a bobbin one | Re-thread the top with the presser foot UP so the tension discs open |
| The bag came out inside out with seams showing | Panels were placed wrong sides together | Unpick the three seams, flip, re-sew. Genuinely twenty minutes |
| One strap is twisted | It happens to everybody, every time | Unpick the box stitch, untwist, re-stitch. Check the other one before you celebrate |
| Skipped stitches over the strap ends | Too many layers for the needle and speed | Fresh 90/14 needle, slow way down, walk the wheel over the thick spots |
| The top edge ripples | Hem folded unevenly, or stretched while stitching | Press harder next time and guide the fabric rather than pulling it through |
Wonky seams are the whole point at this stage. Nobody carrying groceries has ever inspected a side seam.
What you just learned
- Double-fold hems — the finish that seals a raw edge permanently, used on every skirt, curtain and trouser leg you will ever make, including hemming trousers.
- Straight-seam construction with an accurate half-inch allowance — the skill that makes every commercial pattern readable, which is where reading a sewing pattern starts.
- Stress-point reinforcement — the box-and-X is the same logic behind bar tacks on jeans pockets and bag corners.
- Pressing as construction, not tidying — pressed folds sew straight; unpressed folds do not.
Ready for the next one? The zip pouch project in the library adds exactly one new skill on top of what you just did — see how to sew a zipper first, or browse everything at Threader level.
Supply checklist
7 lines · 2 hours · $11–$20 in fabric and thread
- A sewing machine — straight stitch is enoughYou may own oneCanvas is thicker than it looks where the handles join, so go slowly and let the feed dogs pull. Nothing here needs a stitch your machine does not already have
- Three-quarters of a yard (0.7 m) of canvas or heavy cotton, 44-inch wide$8–$15This covers both body panels and two unpieced 24-inch straps, with room to square and preshrink; half a metre does not
- All-purpose polyester thread$3–$5One spool does the whole bag; polyester has more give than cotton under load
- A universal 90/14 machine needle$5–$8 for a packA finer needle can deflect in canvas; a slightly heavier one goes through cleanly
- Fabric scissors or a rotary cutter$15–$40Clean cut edges make straight sewing much easier
- An ironYou may own oneThe single biggest quality difference in this project
- A seam ripper$3–$6Not pessimism. Equipment.
Quantities and substitutions are the ones in the supply table above; costs are rough US shop prices at the time of writing, not live listings. Borrowing and substituting are always fine — a wonky first attempt in the wrong fabric still counts.
A bag you will actually use. Cutting faster is the next upgrade.
Every SewingPath project guide is free and stays free. Some shaped garments need a separately sourced paper pattern; those pages say so before the cut list. When a project needs equipment we link the gear category and name our current pick beside the supply list, with a link to buy it if you are missing it — never in the middle of the steps. Picks are researched, not hands-on tested — see how we score gear.