Free Hand Embroidery Course for Beginners
Our picks, at a glance
- Top pick
Biaungdo 6 Pcs Round Wood Embroidery Hoops
$7.99StitchScore 82 4.6 out of 5 stars · 178 ratings
- #2
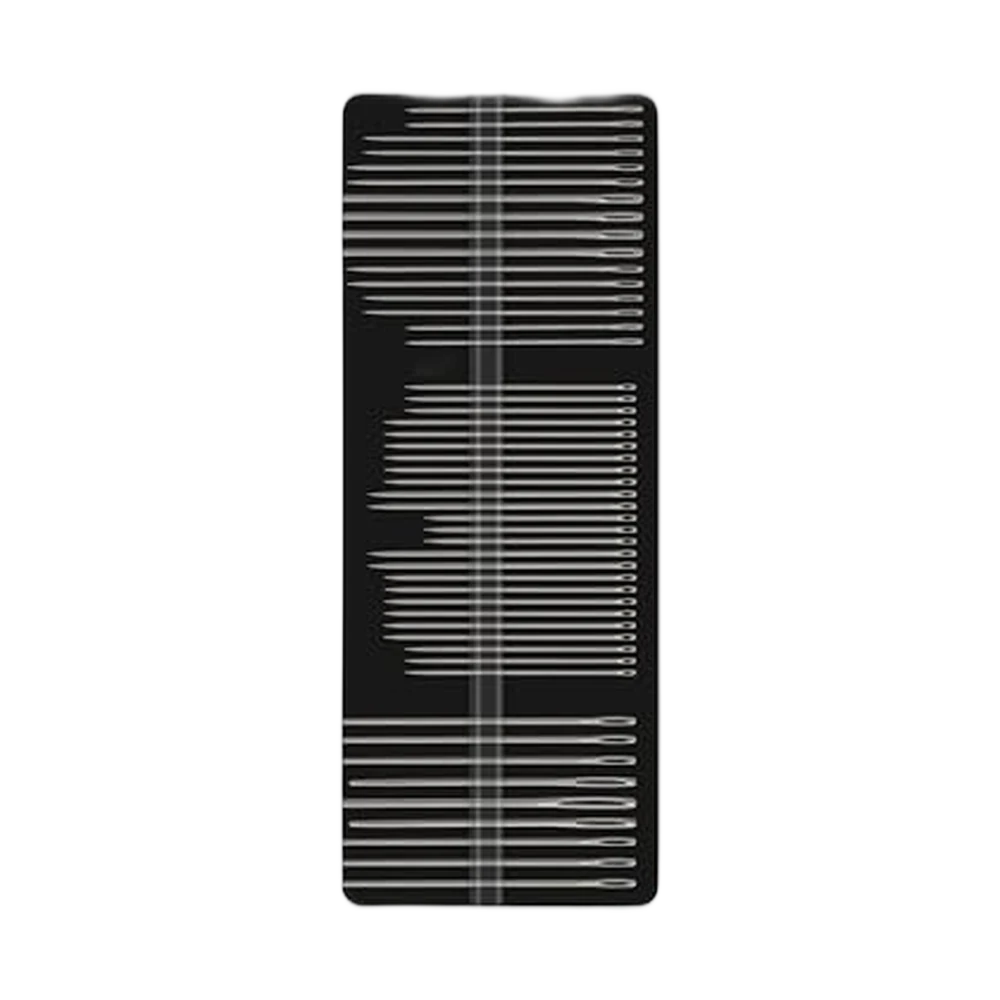
Dritz 57 Hand Needles, Assorted Styles & Sizes
$5.69StitchScore 78 4.6 out of 5 stars · 667 ratings
- #3
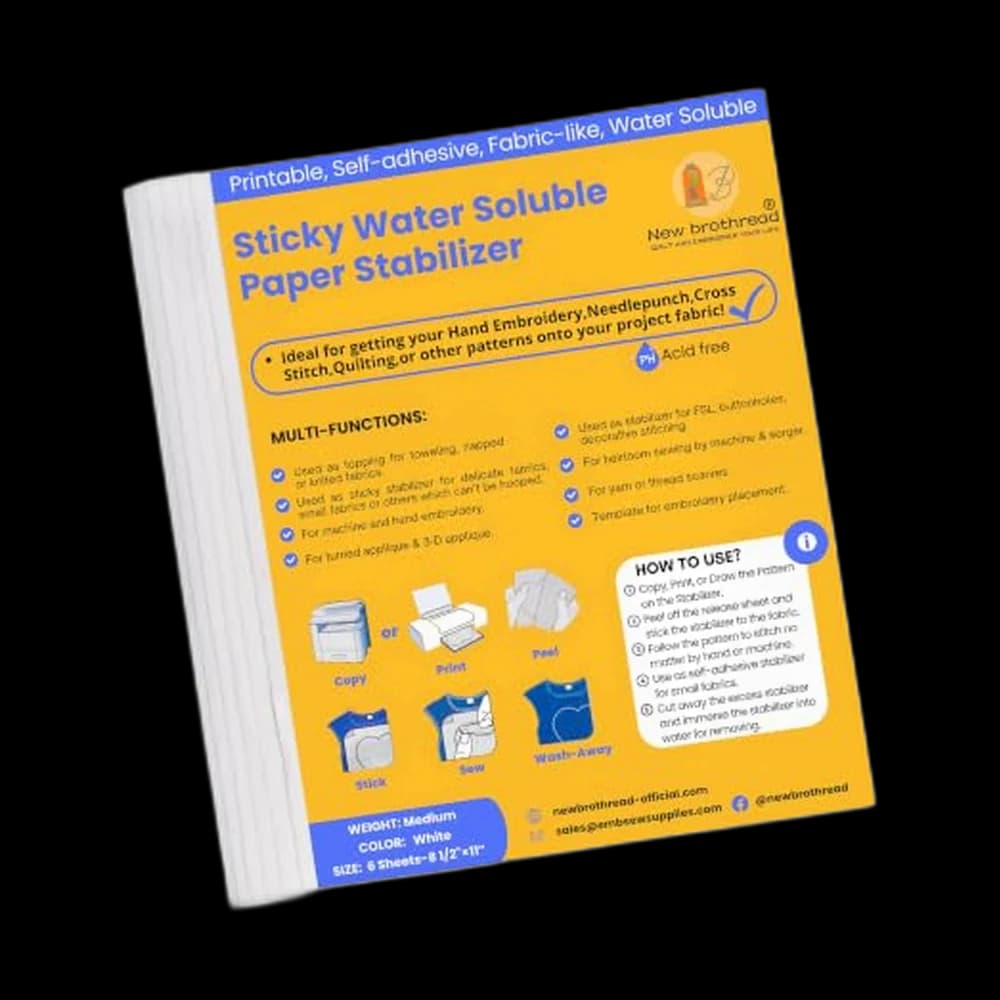
New brothread Sticky Water Soluble Stabilizer
$7.99StitchScore 84 4.5 out of 5 stars · 2,050 ratings
- #6
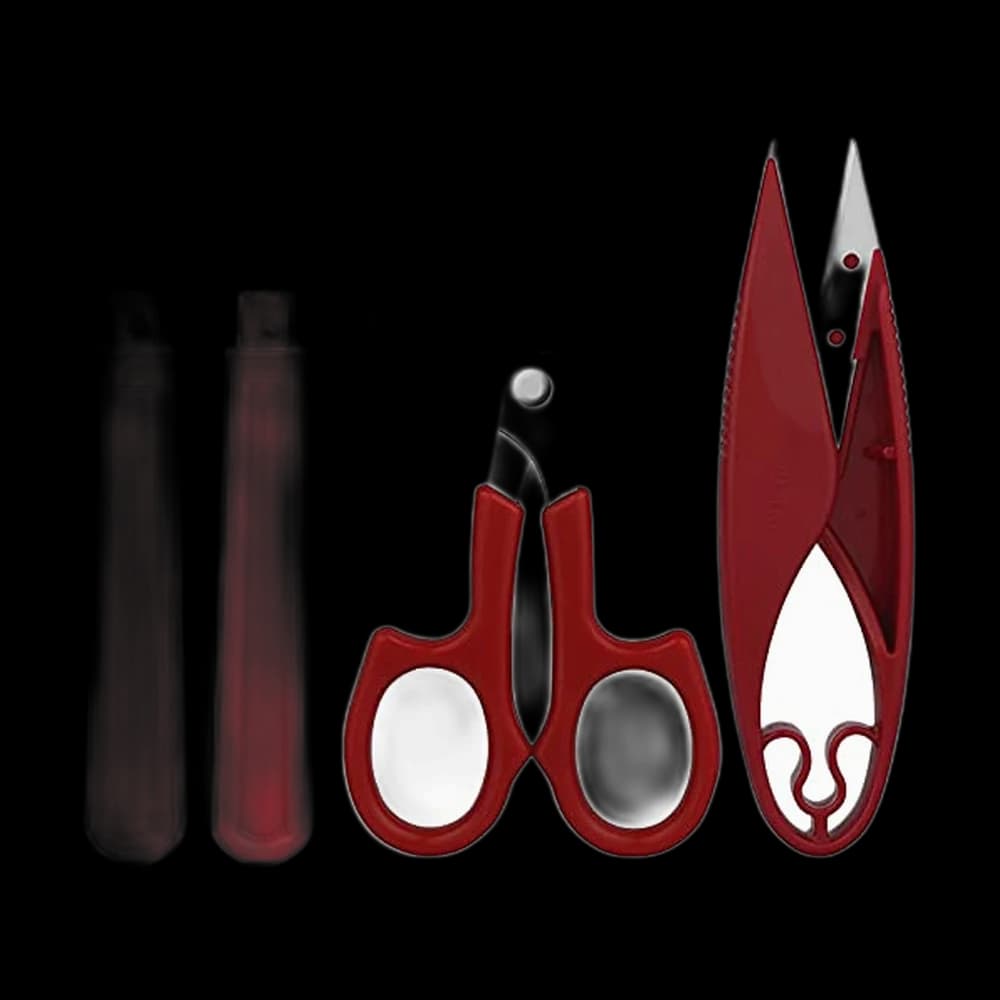
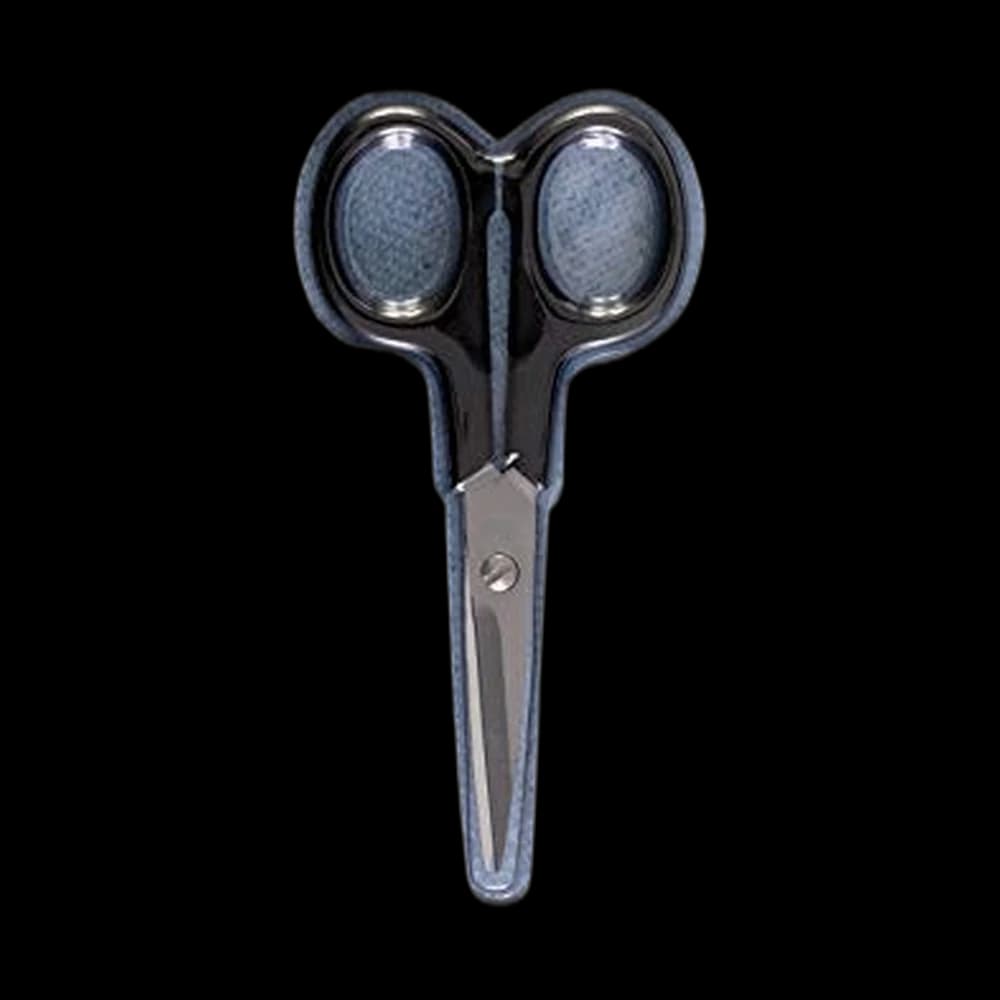
Gingher 4-Inch Lightweight Embroidery Scissors
$16.99StitchScore 76 4.5 out of 5 stars · 326 ratings
The short version
- The eight beginner stitches are running, back, split, stem, satin, French knot, lazy daisy and chain.
- Hoop the fabric drum-tight before the first stitch; slack fabric is the main reason first stitches pucker.
- Embroidery floss is six strands; two is a good default for lines and three for bolder lines and fills.
- Outline a shape in split stitch before satin-stitching it, and keep satin shapes small so long stitches do not snag.
- Transfer a design by tracing at a window, or by printing it onto a wash-away stabilizer and stitching straight through.
- Take the work out of the hoop when you stop for the day so the rings do not crease the fabric.
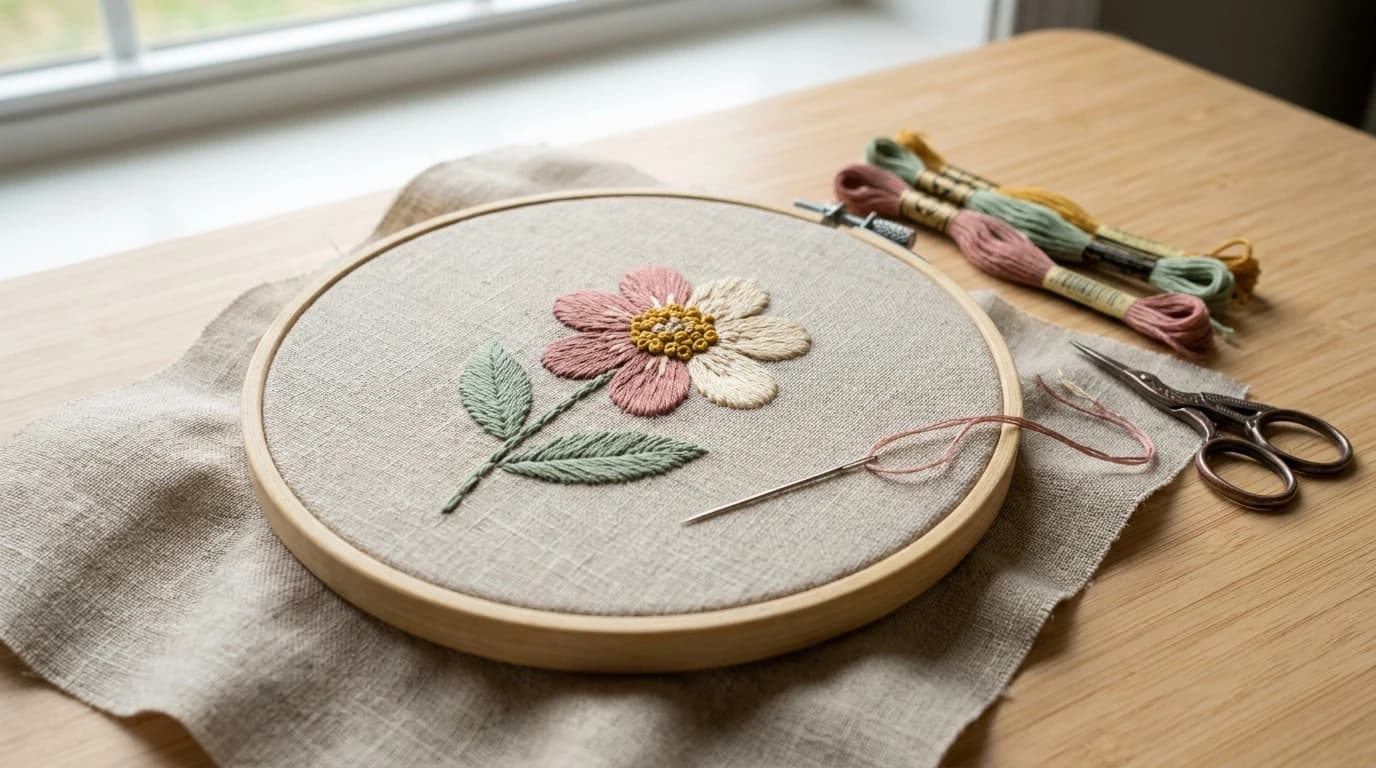
This is a free hand embroidery course for beginners, with no sign-up, no kit to buy from us and no machine. It is seven short lessons: set up a hoop, learn eight stitches on a practice sampler, then transfer a simple design and finish it in the hoop so it can hang on a wall. Everything is taught on this page, and it links out only where another page on the site already covers a step well.
Hand embroidery is the cheapest way into sewing there is. A hoop, a few needles, some floss and a piece of cotton cost less than a takeaway, and the stitches you learn here are the same ones that mend jeans, label a tote bag and decorate a quilt.
The course at a glance
| Lesson | What you learn | You will make |
|---|---|---|
| 1 | Hoop the fabric, separate floss, start and finish a thread | A hooped practice square |
| 2 | Running stitch and backstitch | Two straight lines |
| 3 | Split stitch and stem stitch | Two curves |
| 4 | Satin stitch | A filled leaf |
| 5 | French knots and lazy daisy | A small flower |
| 6 | Chain stitch | A looped line |
| 7 | Transfer a design and finish the hoop | A finished piece to hang |
Lessons 2 to 6 all go on one practice square, so by the end you have a sampler: a record of every stitch, in your own hand, that you can glance at whenever you forget one.
What you need
| What | Why | Compare |
|---|---|---|
| A wooden or bamboo hoop, 5 to 7 inches | Holds the fabric drum-tight while you stitch | Embroidery hoops |
| Embroidery (crewel) needles | A long eye that takes several strands of floss | Hand-sewing needles |
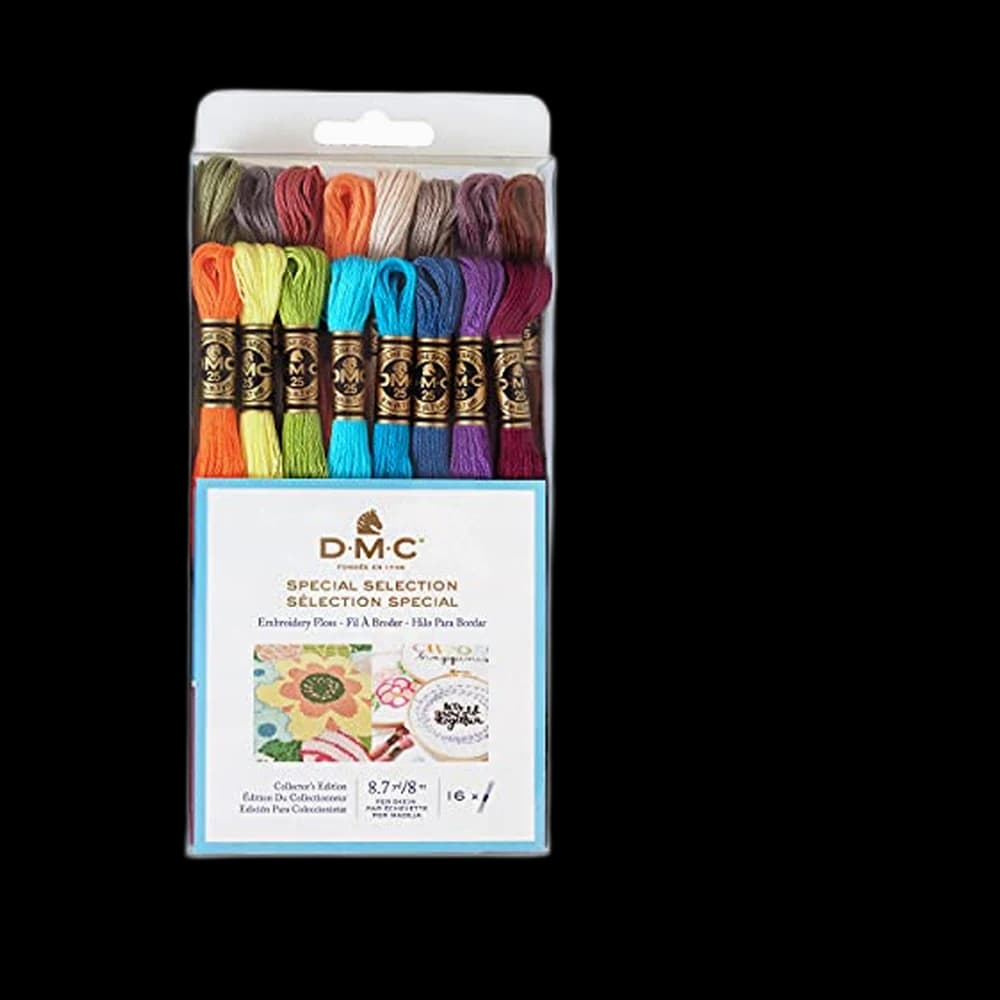
| Six-strand cotton embroidery floss, a few colours | The thread hand embroidery is worked in | DMC floss pack |
| Medium-weight woven cotton or linen | Firm enough to hold stitches, not stretchy | Any quilting cotton or linen scrap |
| Small sharp scissors or thread snips | For clean ends and unpicking | Embroidery scissors, seam rippers and snips |
| Optional: printable wash-away stabilizer | The easiest way to transfer a design in Lesson 7 | Stabilizer |
| Optional: a water-soluble fabric marker | The other way to transfer a design in Lesson 7 | Marking pen |
The table at the top of this page is our researched pick for each item we carry.
The hoop
Our pick is the Biaungdo set of six bamboo hoops, 3 to 8 inches. You will use one size most of the time; a 6-inch hoop is a comfortable size for a first sampler, and the small ones are for single motifs later.
The needles
Our pick is the Dritz assortment of hand needles. Its listing says it includes crewel needles, which are the embroidery needles, along with sharps for ordinary hand sewing and blunt tapestry needles. One packet covers this course and every hand-sewing lesson on the site.
Floss
Our pick is the DMC Embroidery Floss Special Selection pack: 16 skeins of six-strand cotton floss, about 8.7 yards each according to DMC, sold on Amazon by DMC itself. DMC and Anchor are the long-established floss brands, and a pack of a dozen or so colours is plenty for this course. If you buy loose skeins instead, pick a dark colour for outlines and a few you like for flowers and leaves.
Scissors
Any small, sharp pair works. If you want a dedicated pair, the Gingher 4-inch lightweight embroidery scissors are our pick: short blades for snipping thread close to the fabric, and Gingher lists them for left- or right-handed use. Until then, the snips in the CampTek seam-ripper set in the table above do the job.
A marker, for Lesson 7
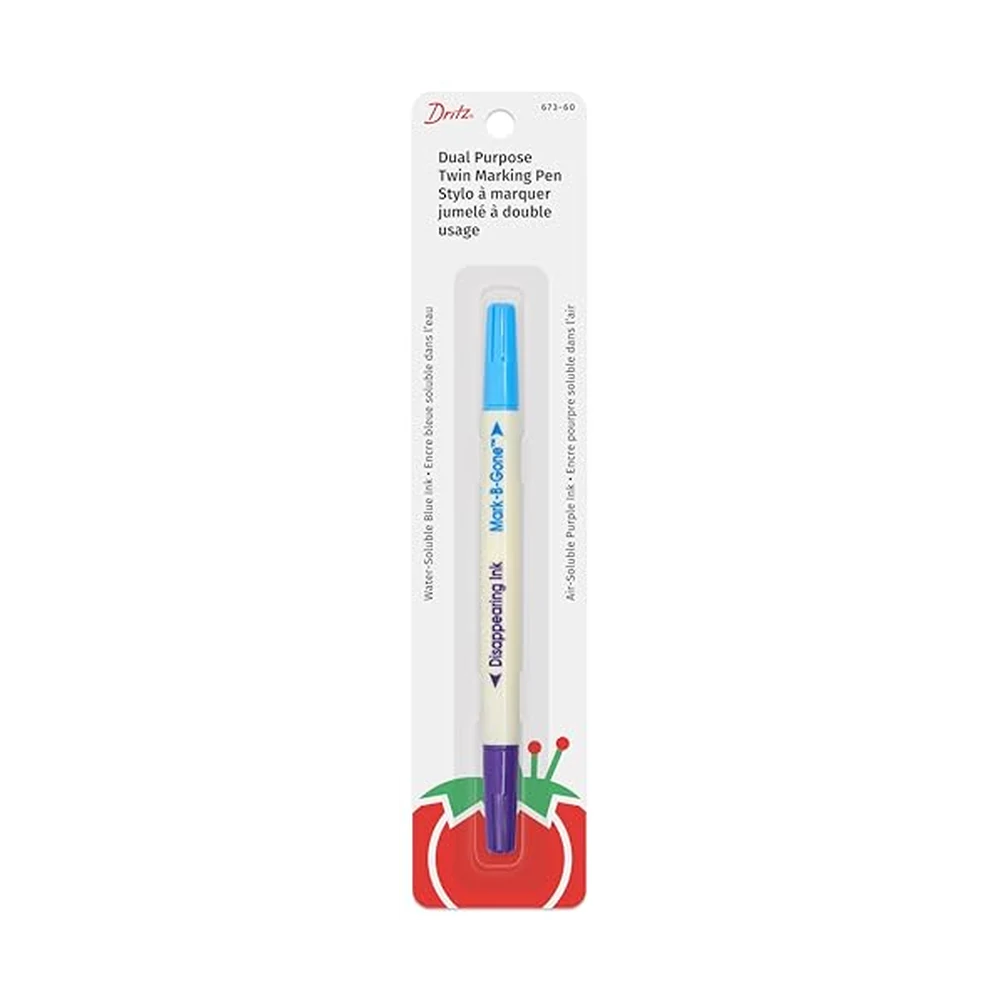
For tracing a design at a window, our pick is the Dritz 673-60 dual-purpose marking pen. Dritz says the blue end wipes away with a damp cloth and the purple end fades in air or with water, and lists it for embroidery designs. Test it on a scrap of your fabric first.
The stabilizer, for Lesson 7
The New brothread sticky water-soluble stabilizer is listed as printable and self-adhesive, and the listing says it dissolves completely in cold or warm water. That makes it the easiest way to get a design onto fabric: print or trace it, stick it on, stitch through it, rinse it away.
What we'd buy for this
One pick per category, chosen from the research pages linked in this piece. Borrow before you buy — nothing here is required to start.
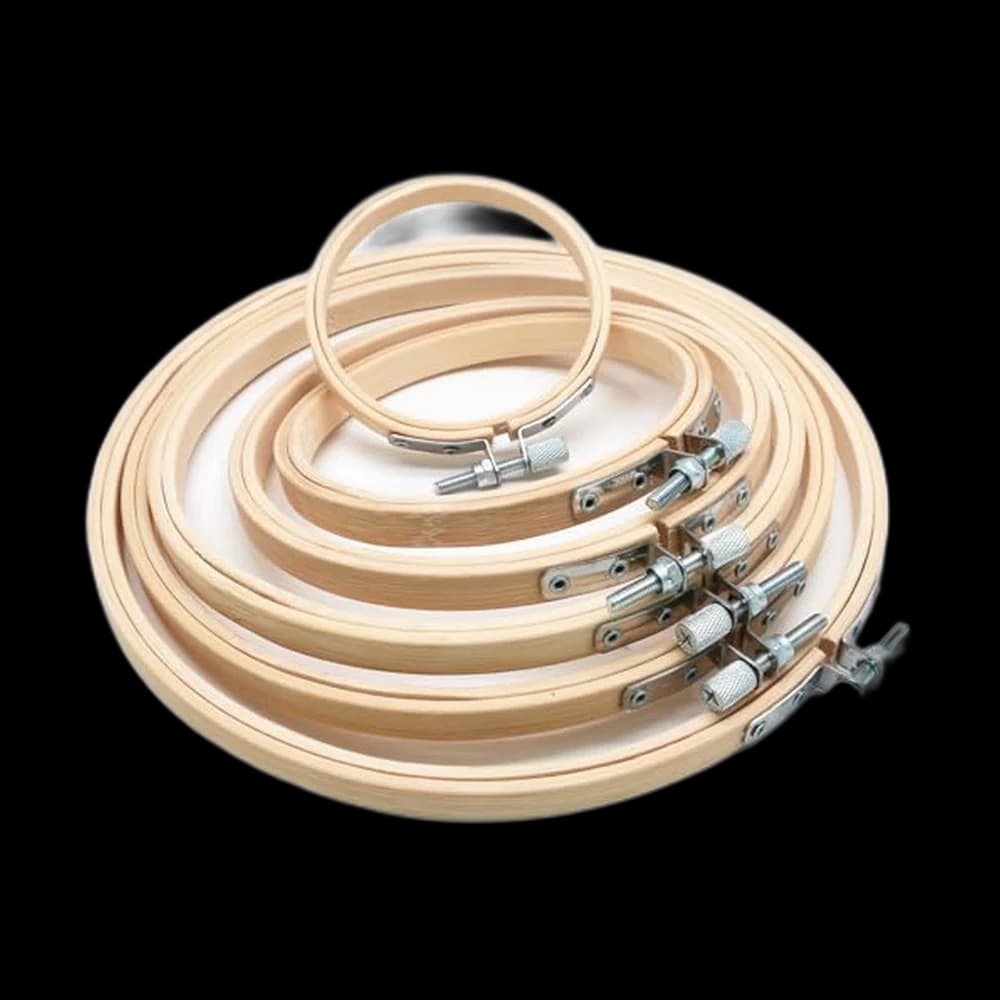 Embroidery Hoops
Biaungdo hoop set$7.99 4.6 out of 5 stars · 178 ratings
Priced in the lower half of this category; plain wooden hoops — the whole kit for hand embroidery costs less than a takeaway.
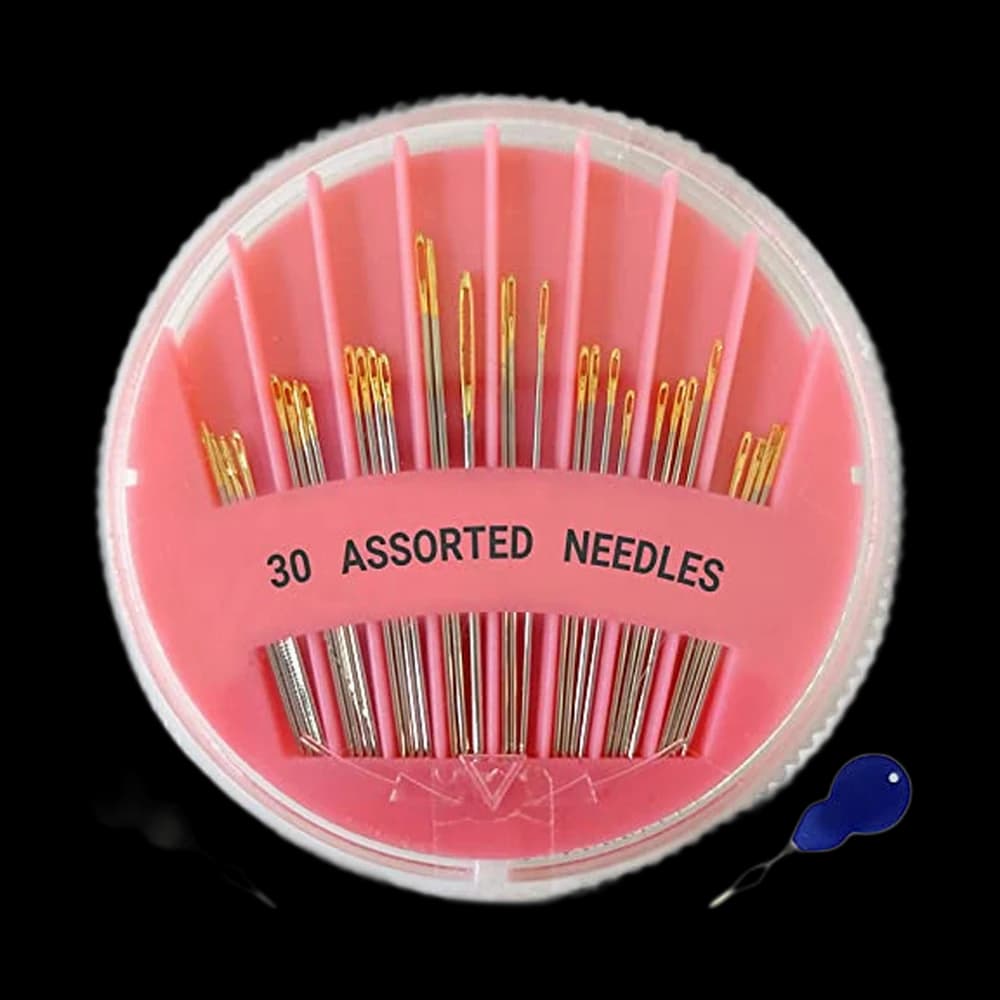 Hand-Sewing Needles
jekiinova$3.99 4.7 out of 5 stars · 2,011 ratings
The least expensive pick in this category, which makes it the low-risk way to find out whether you'll keep at it.
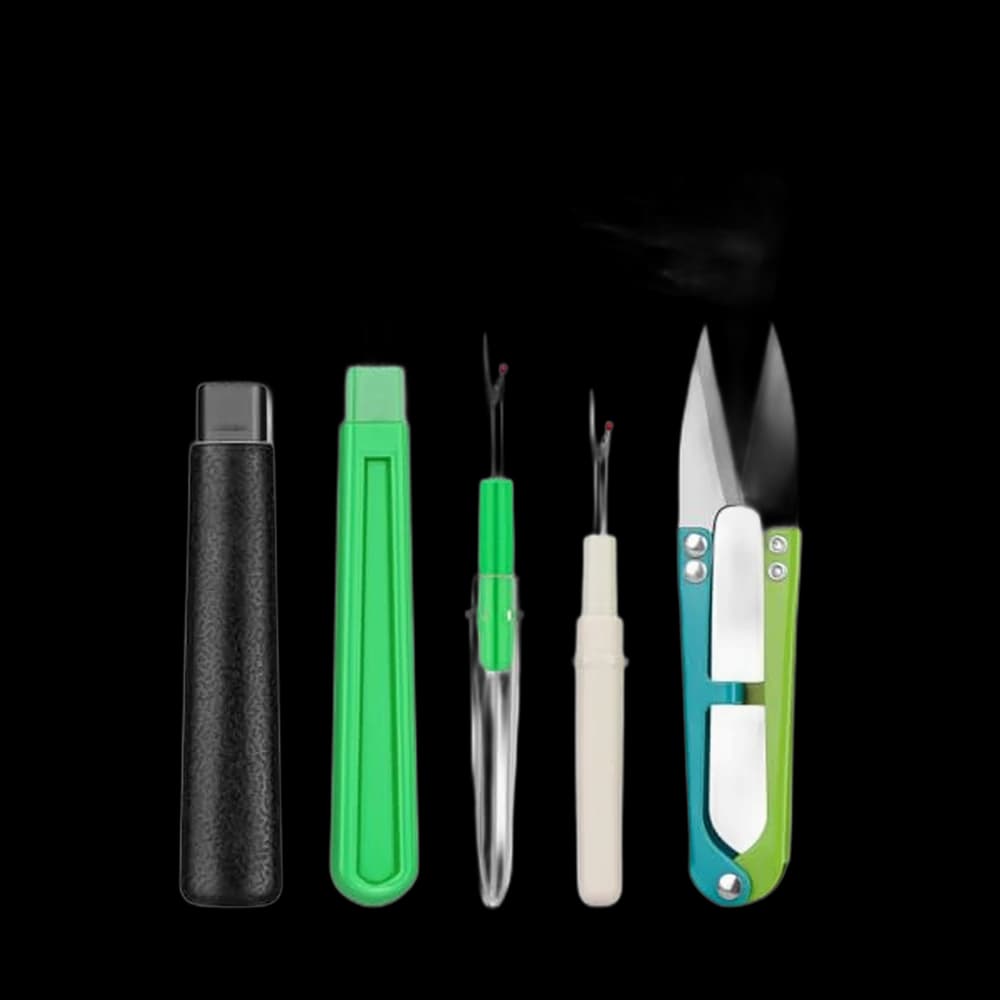
Researched from listings, specs and owner feedback — never hands-on testing. We may earn a commission; it never changes a pick.
Lesson 1: Set up the hoop and the floss
Hoop the fabric. Loosen the screw on the outer ring and separate the two rings. Lay the fabric over the inner ring, press the outer ring down over it, and tighten the screw a little. Then tug the fabric gently all round, a bit at a time, until it is tight enough to tap like a drum, and finish tightening. Slack fabric is the main reason first stitches pucker.
Cut and separate the floss. Cut a length roughly from your fingertips to your elbow; longer pieces tangle and wear thin as you stitch. Embroidery floss is six thin strands twisted loosely together, and you rarely stitch with all six. Pull one strand straight up out of the bundle and the rest will bunch and then slide free; repeat until you have the number you want, then lay them back together. Two strands is a good default for lines, three for bolder lines and fills.
Start and finish a thread. Tie a small knot in the end, or, tidier, leave a short tail on the back and catch it under your first few stitches. To finish, take the needle to the back and slide it under three or four stitches there before you snip.
Lesson 2: Running stitch and backstitch
Draw two straight lines on your fabric with a pencil.
Running stitch is the one everything else is built on: up through the fabric, down a short distance along the line, up again the same distance on, and so on. Aim for stitches and gaps of roughly equal length. Even is a habit you build, not a rule you break.
Backstitch makes a solid line. Bring the needle up one stitch length along the line, go back down at the start of the line, then come up one stitch length ahead of your last stitch and go back down into the end of it. Every stitch reaches back to touch the one before. This is the outline stitch for lettering and most line drawings.
Both stitches are also taught, for mending, in basic hand-sewing stitches. If you would like a first finished object before you go on, the felt keyring is a 45-minute project worked in embroidery floss with simple hand stitches like these.
Lesson 3: Split stitch and stem stitch
These are the two stitches for curves. Draw a gentle S-curve for each.
Split stitch. Make one straight stitch along the line. Bring the needle up through the middle of that stitch, splitting its strands, and make the next stitch forward. Repeat. With two strands it splits neatly, and the result looks like a fine chain. It is also the best outline to put under a satin stitch in Lesson 4.
Stem stitch. Work along the line from left to right. Make a stitch, then bring the needle up halfway back along it, just beside it, and make the next stitch forward. Keep the loose thread on the same side of the needle every time; switching sides is what makes a stem stitch look twisted in places. It gives a rope-like line that is ideal for flower stems.
Lesson 4: Satin stitch
Satin stitch fills a shape with smooth, parallel stitches laid side by side. Draw a small leaf, no bigger than the top of your thumb.
Outline the leaf in split stitch first. Then, starting at the widest point, bring the needle up just outside the outline on one side and take it down just outside the other, so each stitch covers the outline. Lay the next stitch right beside it, close enough that no fabric shows, and work out to one tip, then go back to the middle and work out to the other.
Keep satin-stitched shapes small. Long stitches sit loose on the surface and snag; on a bigger shape, split it into sections or switch to a fill of rows of split stitch.
Lesson 5: French knots and lazy daisy
Together these make the classic small embroidered flower.
Lazy daisy is a single looped petal. Bring the needle up at the centre of the flower and go back down into the same hole, leaving a loop on the surface. Bring the needle up at the tip of the petal, inside the loop, and go down just over the loop to tack it in place. Repeat five times around the centre.
French knot. Bring the needle up where you want the knot. Hold the thread taut with your other hand and wrap it twice around the needle. Keeping the wraps snug, put the needle back down right beside where it came up, not in the same hole, and pull through slowly while still holding the thread. Fill the flower's centre with three or four knots. If a knot pulls through to the back, it went into the same hole; move a thread's width over.
French knots are the stitch most beginners find fiddly, and nearly everyone needs a few goes. That is fine. Wonky knots still read as a flower.
Lesson 6: Chain stitch
Chain stitch is a row of lazy daisies joined together. Bring the needle up, go back down into the same hole leaving a loop, and come up a stitch length along the line inside the loop. Pull until the loop sits flat, then go down into the hole you just came up through to start the next loop. To end the row, tack the last loop with a tiny stitch. It makes a bold, textured line that covers ground quickly and looks deliberate even when it is not perfectly even.
Lesson 7: Transfer a design and finish the hoop
Pick a simple design: a short word, a sprig of leaves, a flower or two. Line drawings with no shading are easiest.
Transferring it. Three ways, in order of how fiddly they are:
- Window tracing. Tape the design to a bright window, tape the fabric over it, and trace with a sharp pencil or a water-soluble fabric marker. Test any marker on a scrap first and wash the test, so you know it really comes out.
- Printable wash-away stabilizer. Print or trace the design onto the stabilizer, peel it, stick it to the fabric, hoop it and stitch straight through. When you are done, rinse it away following the instructions on the pack.
- Freehand. For a single word, write it lightly in pencil and stitch over it.
Finishing it in the hoop. When the stitching is done, rinse out any marker or stabilizer and let it dry flat. Re-hoop it with the design centred and the fabric tight, then trim the fabric to leave a margin of about an inch beyond the hoop all round. Run a running stitch around that margin, pull it to gather the fabric onto the back of the inner ring, and knot it. A circle of felt glued or stitched over the back hides the gathers. Hang it from the screw.
One habit worth starting now: take your work out of the hoop when you stop for the day, so the rings do not leave a crease in the fabric.
Where to go from here
Hand embroidery is useful on almost everything else you will make. A few next steps on this site:
- Label a tote bag or a drawstring bag with a backstitched name before you sew it up.
- Mend a pair of jeans or a jumper with a visible patch, using running stitch to hold the patch and the stitches from Lessons 3 to 6 to decorate it.
- If you find yourself wanting to embroider the same design onto twenty things, that is the point to read machine embroidery for beginners, and then our picks of the best embroidery machines for beginners. A machine is fast and repeatable; hand embroidery is slow and entirely yours. Plenty of people keep doing both.
Hand stitching sits at Level 0 of The Pattern, the free sewing course this site is built around, which needs no machine at all. The full course is on the course hub.
Frequently asked
Is hand embroidery easy for beginners?
Yes. Running stitch and backstitch can be learned in one sitting, and most beginners have a small finished flower within a few sessions. French knots are the stitch that takes a few attempts, and that is normal.
What do I need to start hand embroidery?
An embroidery hoop, embroidery or crewel needles, six-strand cotton floss in a few colours, a piece of medium-weight woven cotton or linen, and small sharp scissors. A water-soluble marker or a printable wash-away stabilizer helps you transfer a design.
How many strands of embroidery floss should I use?
Two strands is a good default for outlines and lettering, and three gives a bolder line or a fuller fill. Separate the strands one at a time, then lay the ones you want back together before threading.
What fabric is best for beginner embroidery?
A medium-weight woven cotton or linen. It holds stitches without puckering and does not stretch in the hoop. Avoid knits and very thin fabrics for a first piece.
How do I transfer an embroidery pattern onto fabric?
Tape the design and the fabric to a bright window and trace it with a pencil or a water-soluble fabric marker, testing the marker on a scrap first. Or print the design onto a sticky wash-away stabilizer, stick it on, stitch through it and rinse it away afterwards.
Should I learn hand embroidery before buying an embroidery machine?
It helps but it is not required. Hand embroidery teaches how stitches sit on fabric and why stabilizer matters, and it costs very little. A machine is the better tool when you want to repeat the same design on many items.
Prices and StitchScores reflect our most recent research and refresh on a cycle — confirm the live price before buying. We may earn a commission from affiliate retailers; it never changes what we recommend. See how we score gear.
Read next
Sewing Lessons for Kids: A Free At-Home Course for Parents
Free sewing lessons for kids that parents can teach at home: hand sewing on felt first, then a real machine with an adult beside them, with safety basics.
Free Mending Course for Beginners: Fix Clothes by Hand
A free, no-signup mending course in six lessons: hand stitches, buttons, a fallen hem, a split seam, a small tear and shortening trousers. No machine.