Cloth Napkins You'll Actually Use
Mitred corners look hard and are not. Four of them and your table changes.
- Equipment
- Sewing machine, iron and a ruler
- Materials cost
- $11–$21 for a set of four
- Assumes you can
- A machine you can thread, and nothing more
- Full supply list
- A metre of cotton or linen, thread, an iron and a ruler.
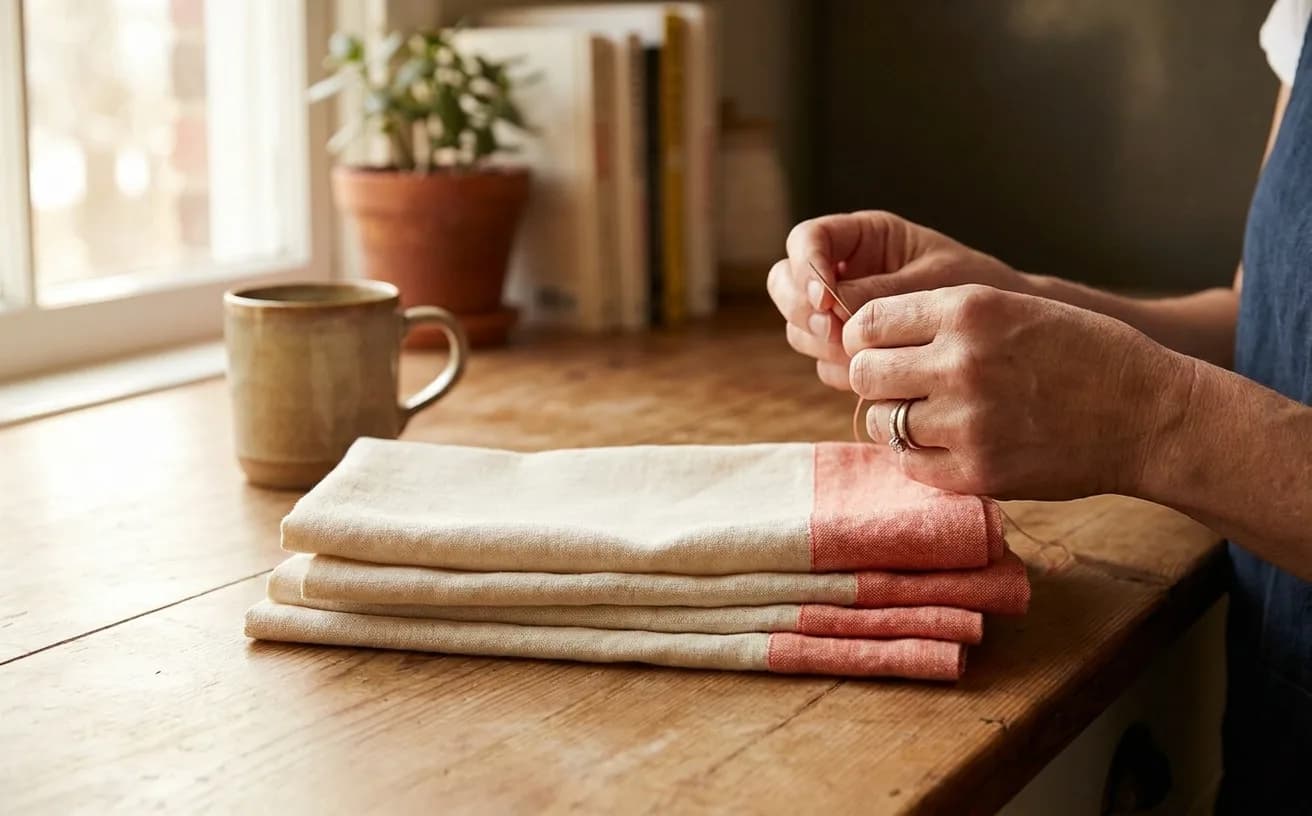
By the end of this hour you will have four cloth napkins with clean, square, mitred corners — the kind you put on a table and then keep glancing at. Napkins are the best possible first machine project because every seam is straight, nothing has to fit a body, and the only difficulty is a corner trick that looks like tailoring and takes about ninety seconds once you have done it once.
This is a Level 1 project: your first real machine seams. If your machine is still in the box, start with how to thread a sewing machine and come back.
What you need
| Thing | Why it matters | Roughly |
|---|---|---|
| A sewing machine | Four napkins is a lot of straight hemming, which is exactly what a basic machine is for. Borrow one before you buy one | You may own one |
| 1 metre of cotton or linen | Quilting cotton, linen, or an old cotton sheet. Anything that washes hot and presses flat. | $8–$16 |
| All-purpose thread | One spool does all four napkins with plenty left over. Match it or go one shade darker. | $3–$5 |
| An iron | Not optional. Pressing is 70 percent of this project. | already have one |
| A ruler | Anything with inches. A long quilting ruler is nicer but a school ruler works. | $0–$20 |
| Scissors or a rotary cutter | Fabric scissors are fine; a rotary cutter is faster on long straight cuts. | $12–$30 |
Pins or clips help but are not required — pressed folds mostly stay put on cotton.
If you only buy one thing on this list, buy the fabric scissors and keep them away from paper. Blunt scissors chew the edge and a chewed edge is much harder to fold straight.
The gear this project uses
One current pick per tool or material the supply list links, in the order it lists them. Borrow, substitute or skip — a wonky first attempt with the wrong scissors still counts.
 Sewing Machines
Brother XM2701$143.14 4.6 out of 5 stars · 19,162 ratings
A first machine — 27 built-in stitches is enough to sew clothes without a menu to decode, and the listing specifies the automatic needle threader and the jam-resistant drop-in top bobbin, which are the two steps beginners most often give up on.
 Thread
Coats & Clark thread$8.50 4.7 out of 5 stars · 4,705 ratings
The least expensive pick in this category, which makes it the low-risk way to find out whether you'll keep at it; all-purpose polyester, which covers nearly everything a beginner sews.
 Irons
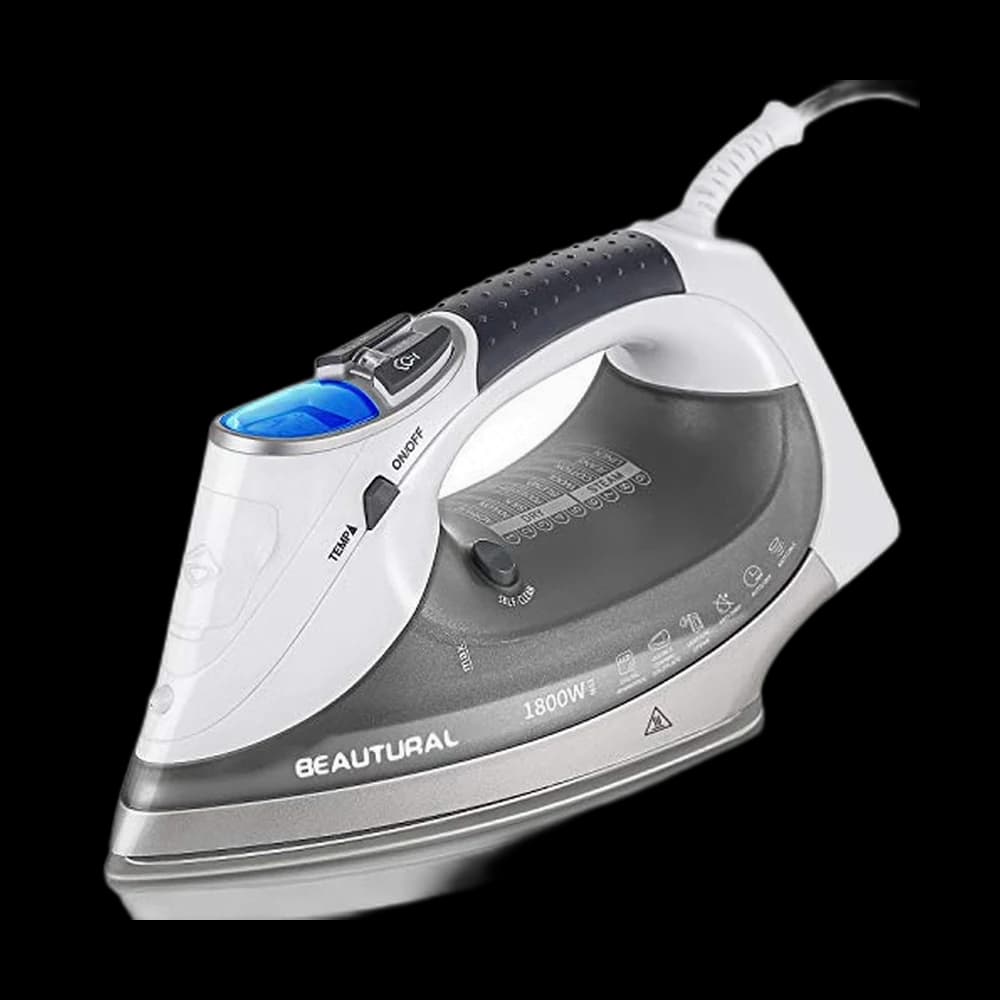
IronsBeautural steam iron$41.99 4.5 out of 5 stars · 19,802 ratings
Priced in the lower half of this category; the listing states a ceramic soleplate; it is a steam iron — pressing seams flat is half of sewing well.
 Fabric Scissors
Proshear$8.99 4.8 out of 5 stars · 4,040 ratings
Researched from listings, specs and owner feedback — never hands-on testing. We may earn a commission; it never changes a pick.
Cut list
A standard metre of 44-inch-wide quilting cotton gives you four squares with a little to spare.
- Cut 4 squares, 19-inch by 19-inch.
- Hem allowance: 1-inch on every edge — folded as two half-inch folds, not one.
- Finished size: 17-inch square, a normal dinner napkin.
If your fabric is 60-inch wide, or you bought 1.2 metres, cut 20-inch squares instead for an 18-inch finished napkin. Nothing else changes.
Cut on the straight grain, parallel to the selvedge, or the napkins will go slightly diamond-shaped in the wash. If you are unsure which way is straight, snip the edge and tear a strip — cotton tears along the grain and shows you the line.
Squares that are a quarter-inch off are still napkins. Wonky seams are the whole point at this level. Cut carefully, then stop measuring and start sewing.
Steps
Press the hems (20 minutes for all four)
- Press a half-inch fold to the wrong side on all four edges. Do all four sides before you fold anything twice. Use the ruler to check the first few inches of each edge, then eyeball the rest — your eye is better than you think.
- Press a second half-inch fold on all four edges. The raw cut edge is now hidden inside the fold. This is a double-fold hem, the same structure you would use to hem a pair of trousers — learn it here, on something flat, where nothing is round or on the bias.
- Unfold everything. You now have a grid of creases, and each corner has a little square where the creases cross. That square is the whole trick.
Mitre the corners
A mitre is the diagonal join you see at the corner of a picture frame. On fabric it removes the bulk that would otherwise stack four layers deep.
- Find the outer crease intersection at one corner — the point where the two outermost creases meet, half an inch in from each raw edge.
- Fold the corner tip in diagonally so the fold passes exactly through that intersection point. Press it hard. You now have a triangle of fabric folded to the wrong side.
- Trim the folded triangle back to about a quarter-inch from the diagonal fold. This is the bulk you are getting rid of. Do not trim past the fold line.
- Refold both hems — half-inch, then half-inch again. The two folded edges will meet at a 45-degree line and the corner will lie flat and square. Press.
- Repeat for the other three corners, then the other three napkins.
The first corner will take five minutes and feel like origami. The fourth will take ninety seconds. Do not judge the technique by corner number one.
Sew
- Fit a fresh universal needle if your machine has been sitting. Machine needles are consumable — a dull one skips stitches and puckers a hem, and beginners almost always blame themselves instead of the needle.
- Set a straight stitch, length around 2.5 to 3. Longer looks intentional on a topstitched hem; shorter looks fussy.
- Start in the middle of one side, not at a corner. Corners are the hardest part to start on, and a mid-side start hides the join.
- Sew about an eighth of an inch from the inner folded edge, all the way around. When you reach a corner, stop with the needle down in the fabric, lift the presser foot, pivot 90 degrees, drop the foot, keep going.
- Overlap your starting stitches by about half an inch and backstitch two or three stitches to lock it.
- Press the finished napkin one more time and admire the corners.
Repeat three times. The fourth napkin will be visibly better than the first, and that is the actual product of this hour.
When it goes wonky
| What happened | Why | The fix |
|---|---|---|
| Corner is lumpy and won't lie flat | Not enough trimmed off the diagonal, or the diagonal fold missed the crease intersection | Unfold, re-press the diagonal through the exact crossing point, trim closer to a quarter-inch |
| Stitching wanders off the hem edge | Watching the needle instead of the fabric edge against a guide | Pick a mark on the throat plate or foot and watch the fabric edge line up with it, not the needle |
| Fabric puckers along the hem | Dull needle, tension too tight, or you pulled the fabric through | Change the needle first, let the feed dogs do the pulling, then adjust tension |
| Thread nests underneath at the start | Machine unthreaded from the top or the take-up lever was low | Rethread with the presser foot up, and hold both thread tails for the first few stitches |
| Napkins come out slightly diamond-shaped | Cut off-grain | Nothing to fix now, and nobody will notice — cut along a torn edge next time |
A seam ripper undoes any of the above in about a minute. Unpicking is a normal part of sewing, not evidence of failure.
What you just learned
- The double-fold hem — the single most reused finish in sewing. It is on trousers, curtains, tote tops, tea towels and shirt tails.
- Mitred corners — the professional-looking finish for any hemmed square: placemats, table runners, quilt borders, blanket edges.
- Pivoting at a corner with the needle down — the manoeuvre behind every bag, cushion and pocket you will ever sew.
- Topstitching at a consistent distance from an edge — the skill that makes home-sewn things stop looking home-sewn.
If you enjoyed the pressing more than the sewing, the placemats project in the library is the same technique at a bigger scale. If you want to move on, the pillowcase project introduces enclosed seams. Either way, see what else sits at your level on the Threader page, or browse what to sew first for the full beginner order.
Supply checklist
6 lines · 1 hour · $11–$21 for a set of four
- A sewing machineYou may own oneFour napkins is a lot of straight hemming, which is exactly what a basic machine is for. Borrow one before you buy one
- 1 metre of cotton or linen$8–$16Quilting cotton, linen, or an old cotton sheet. Anything that washes hot and presses flat.
- All-purpose thread$3–$5One spool does all four napkins with plenty left over. Match it or go one shade darker.
- An ironalready have oneNot optional. Pressing is 70 percent of this project.
- A ruler$0–$20Anything with inches. A long quilting ruler is nicer but a school ruler works.
- Scissors or a rotary cutter$12–$30Fabric scissors are fine; a rotary cutter is faster on long straight cuts.
Quantities and substitutions are the ones in the supply table above; costs are rough US shop prices at the time of writing, not live listings. Borrowing and substituting are always fine — a wonky first attempt in the wrong fabric still counts.
Six of them and your corners are already better. Here is what speeds the cutting.
Every SewingPath project guide is free and stays free. Some shaped garments need a separately sourced paper pattern; those pages say so before the cut list. When a project needs equipment we link the gear category and name our current pick beside the supply list, with a link to buy it if you are missing it — never in the middle of the steps. Picks are researched, not hands-on tested — see how we score gear.