6 Basic Hand Sewing Stitches Every Beginner Needs
Tools this guide uses
Hand-Sewing Needles · jekiinova 30 Pack Hand Sewing Needles$3.99 4.7 out of 5 stars · 2,011 ratings
A small assorted set covers all six stitches.
Thread · Coats & Clark thread$8.50 4.7 out of 5 stars · 4,705 ratings
All-purpose thread for practice and repairs.
Researched, not hands-on tested. We may earn a commission; it never changes a pick.
Working with a needle in your hand? Take the six stitches with you — one page, no photos, no ink-heavy background.
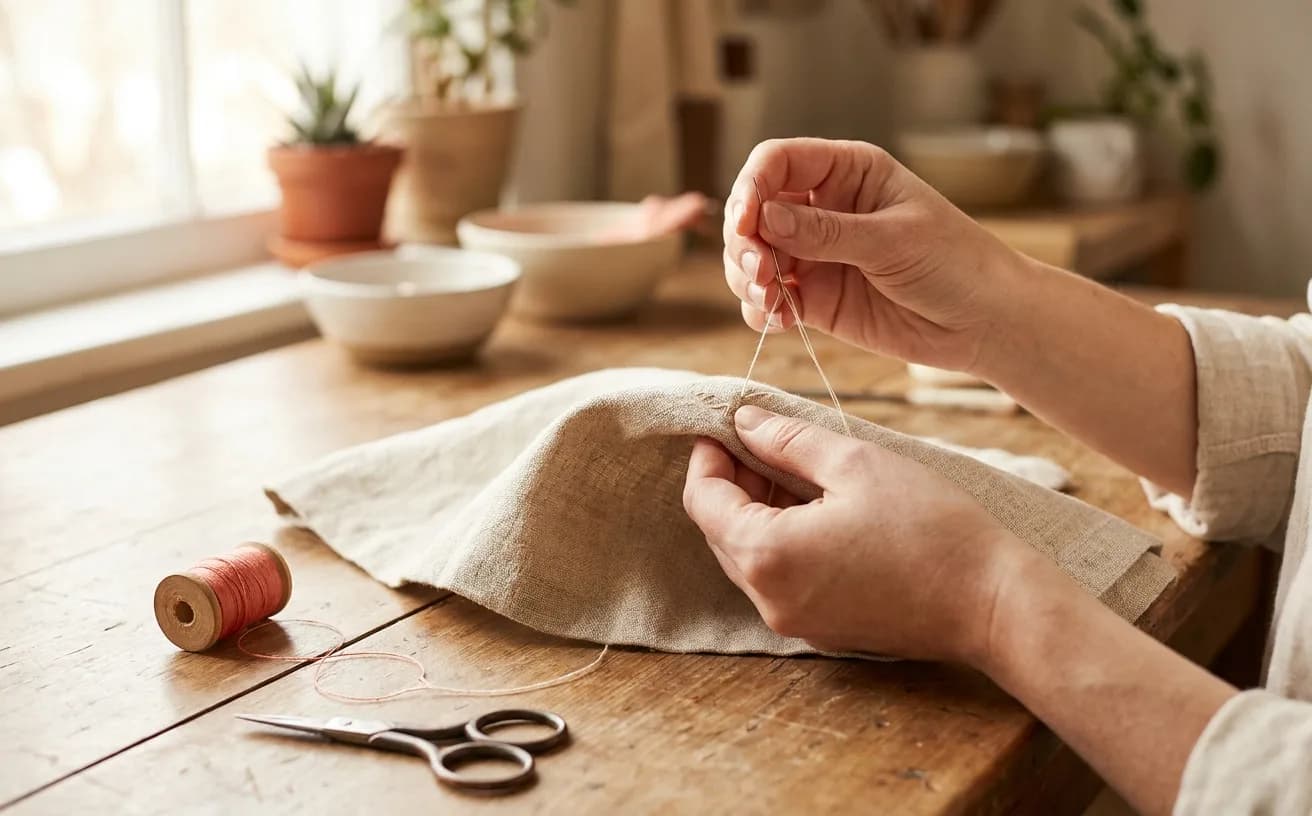
The short version
- Backstitch is the strong one — use it for any seam that takes strain, like a split side seam or a bag strap.
- Slip stitch (ladder stitch) closes a gap from the outside and leaves no visible thread, which is how cushions and soft toys get finished.
- Running stitch is the foundation: gathering, quilting and decorative lines all come from it.
- Whip stitch is the fastest way to stop a raw edge fraying when you have no machine; blanket stitch makes that edge look deliberate.
- Basting feels like doing the work twice, and it is the step that prevents unpicking.
- Cut thread about the length of your forearm — longer tangles and frays before you finish the seam.
You do not need a machine to start sewing. You need a needle, a length of thread, and about six stitches — and with those six you can:
- Take up a hem
- Close a split seam
- Replace a lining
- Finish a raw edge
- Make a cushion cover from scratch
Everything a machine does faster, your hands can do first. That is the whole idea behind Level 0 of The Pattern, Curious: make something real before you spend money on anything.
This guide covers the six stitches that carry almost all hand sewing — running stitch, backstitch, whip stitch, slip stitch (also called ladder stitch), blanket stitch, and basting. For each one: what it is for, how to work it, and the mistake that trips people up the first time.
Before the first stitch: thread, needle, knot
| Kit | What works | What to watch |
|---|---|---|
| Thread | All-purpose polyester is the sensible default — it has a little give, it does not snap under a fingernail, and it comes in every colour | Cut a length about as long as your forearm. Longer feels efficient and then tangles, frays and knots on itself halfway through a seam |
| Needle | A general-purpose hand-sewing needle, often sold as a sharps assortment, handles cotton, linen, denim and most wovens | Bigger fabric, bigger needle. If the needle drags or squeaks going through, it is too fine for what you are sewing |
| Scissors | A dedicated fabric pair | Keep them away from paper, which blunts them fast |
A small assorted set of hand-sewing needles covers most repairs; see thread for what a starter selection looks like. Scissor options and price ranges are in fabric scissors. All three together are costed out in a beginner sewing kit essentials.
The knot
- Thread the needle.
- Wrap the tail end twice around your index finger.
- Roll the wrap off with your thumb so it twists into itself, and pull it tight.
That gives a small firm knot that will not pull through most fabrics. On something loosely woven, knot twice.
Work with a single thread for fine, invisible work and a doubled thread when you want strength — a button, a bag handle, a strap.
What we'd buy for this
One pick per category, chosen from the research pages linked in this piece. Borrow before you buy — nothing here is required to start.
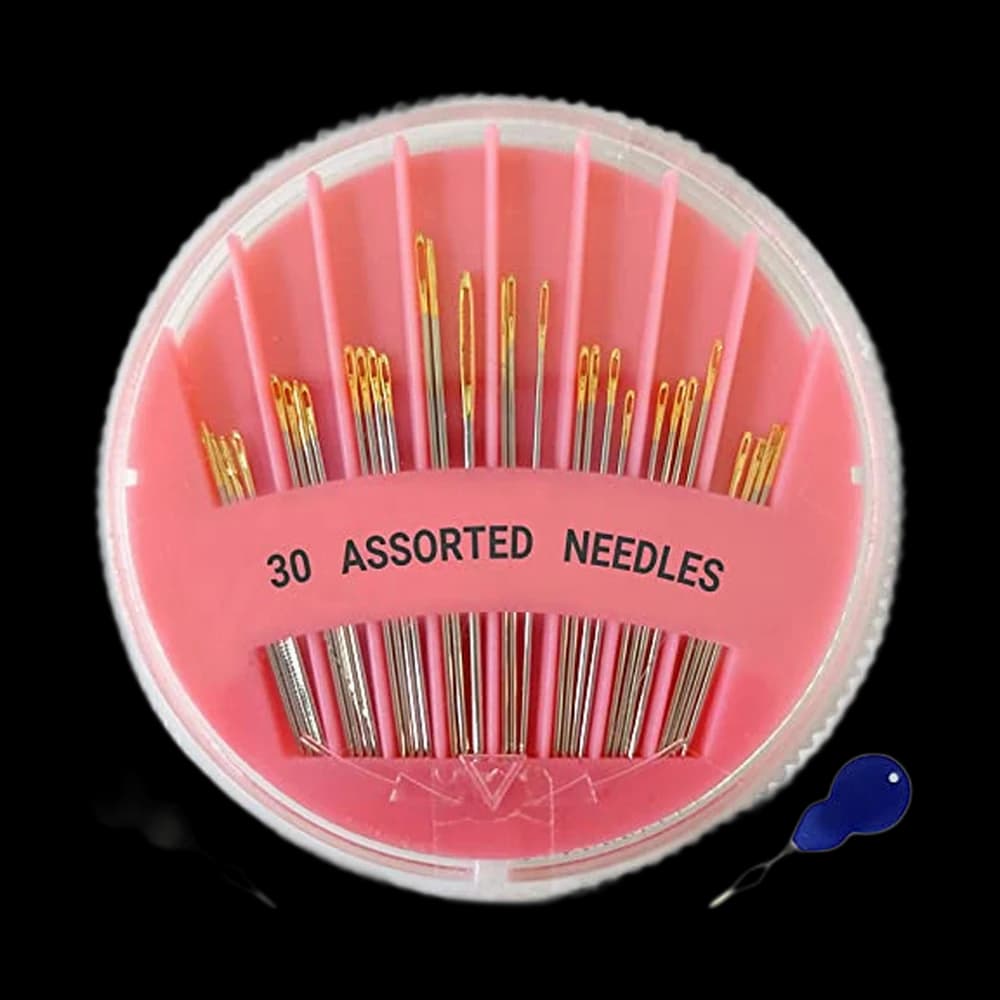 Hand-Sewing Needles
jekiinova$3.99 4.7 out of 5 stars · 2,011 ratings
The least expensive pick in this category, which makes it the low-risk way to find out whether you'll keep at it.
 Thread
Coats & Clark thread$8.50 4.7 out of 5 stars · 4,705 ratings
 Fabric Scissors
Proshear$8.99 4.8 out of 5 stars · 4,040 ratings
Researched from listings, specs and owner feedback — never hands-on testing. We may earn a commission; it never changes a pick.
1. Running stitch — the one everything else is built on
- What it is: in and out, in and out, evenly spaced, like a dashed line.
- Use it for: gathering fabric, simple seams on things that will not take strain, quilting layers together, and anywhere you want a visible decorative line.
- How: bring the needle up from the underside, take it down a short distance along, bring it up again the same distance further. Once you have the rhythm you can load three or four stitches onto the needle at once before pulling it through — that is what makes hand sewing quick.
- Common mistake: stitches that grow longer as you go. Your hand relaxes and the spacing drifts. Glance back every few inches and match your last stitch, not your sense of it.
2. Backstitch — the strong one
- What it is: the hand-sewn equivalent of a machine straight stitch. On the top it looks like an unbroken line; underneath it looks doubled.
- Use it for: any seam that has to hold — a split side seam, a torn armhole, a bag strap, a repair to trousers.
- How: come up through the fabric, then take the needle back to where the last stitch ended and down through that point. Bring it up again ahead of where you started, a stitch length further along. Every stitch goes backward on the surface and forward underneath, which is why the line has no gaps.
- Common mistake: not going back to exactly the previous exit hole. Land short and you get a gappy line; land long and the fabric puckers. Aim for the hole itself.
If you are wondering whether a seam is load-bearing, assume it is and backstitch it.
3. Whip stitch — the fast edge stitch
- What it is: a spiral of small diagonal stitches over an edge.
- Use it for: closing a stuffed toy, joining two folded edges, tacking a lining down, stopping a raw edge from fraying when you have no machine and no overlocker.
- How: hold the two edges together. Push the needle through both from back to front, carry the thread over the top of the edge, and go through again a little further along. The thread wraps the edge like whipping on a rope.
- Common mistake: pulling too tight. Whip stitch that is cinched down ruffles the edge into a rope and shows badly on the right side. The thread should lie snug, not strained.
4. Slip stitch (ladder stitch) — the invisible one
- What it is: the stitch that closes a seam from the outside and leaves no visible thread. Ladder stitch and slip stitch are used almost interchangeably for this; the name comes from the little rungs the thread makes before you pull it closed.
- Use it for: closing the gap you left for turning a cushion right side out, closing a stuffed animal, sewing a lining into a jacket, attaching a hem so nothing shows on the front.
How to work it
- Fold both raw edges inward so you have two clean folds facing each other.
- Bring the needle up through one fold, then take a small stitch inside the opposite fold, travelling along it.
- Cross back and take the next stitch inside the first fold, and keep alternating.
- Every few stitches, pull the thread gently and the rungs disappear — the two folds pull together and the stitching vanishes.
Common mistake: catching the outer surface instead of the inside of the fold. The needle must run along the crease, not across the face of the fabric, or you get visible dots down the seam. Take the stitches small — larger stitches show as tiny puckers.
5. Blanket stitch — the edge finish that looks deliberate
- What it is: a row of stitches that sits along an edge with a looped thread running across it, like a fence.
- Use it for: finishing the raw edge of felt, wool or fleece, edging a blanket (hence the name), appliqué, and any place you want a raw edge to look like a design choice rather than an unfinished one.
- How: work left to right along the edge. Bring the needle up a short way in from the edge, then take it down at the same depth a stitch-width along — and before you pull through, catch the loop of thread under the needle tip at the edge. Pull, and the thread locks along the edge. Repeat.
- Common mistake: inconsistent depth. Because the stitch draws a visible line parallel to the edge, any wobble is obvious. Some people press a light crease as a guide line; there is no shame in that.
6. Basting — the temporary stitch that saves the project
- What it is: a long, loose running stitch, worked in a contrasting colour, meant to be pulled out later.
- Use it for: holding two pieces together while you sew them properly, testing a hem length before committing, holding a zip in place, easing a sleeve. Basting is what pins cannot do — it holds fabric flat through handling instead of sliding and stabbing you.
- How: big running stitches, roughly a finger-width each, no knot at the end (or a single loose one) so it pulls out cleanly.
- Common mistake: skipping it because it feels like doing the work twice.
Basting is the step that prevents unpicking, and unpicking takes far longer.
Which stitch for which job
| Job | Stitch |
|---|---|
| Split seam in a shirt or trousers | Backstitch |
| Closing a cushion or soft toy | Slip stitch (ladder) |
| Stopping a raw edge fraying | Whip stitch |
| Finishing felt or fleece edges | Blanket stitch |
| Gathering, quilting, decorative lines | Running stitch |
| Holding pieces before real sewing | Basting |
Keep the kit together, and keep going
Keep your needles, thread and scissors together in one box or tin — a small storage caddy means the repair takes ten minutes instead of ten minutes plus a hunt for the scissors. Wonky first attempts are the whole point. Work a few rows of each stitch on a scrap before you take one near a garment you care about.
When hand sewing starts feeling slow rather than satisfying, that is the signal you are ready for a machine — Level 1 of The Pattern, Threader, starts there, and the video walkthroughs cover the same ground if you would rather watch than read.
Six stitches in your hands. Now put them to work on something small.
Frequently asked
Which hand stitch is the strongest?
Backstitch. Each stitch doubles back into the previous one, so the line on the surface has no gaps and the thread underneath is effectively doubled. It is the closest hand equivalent to a machine straight stitch. Use it for anything load-bearing — a split trouser seam, a torn armhole, a strap — and use a doubled thread if you want more strength again.
What is the difference between slip stitch and ladder stitch?
In everyday use they describe the same technique: alternating small stitches taken inside two facing folds, so the thread disappears when you pull it closed. The name ladder comes from the rungs the thread makes across the gap before you tighten it. Either term will get you the right result when you look for tutorials.
Do I need special thread for hand sewing?
No. All-purpose polyester thread works for almost everything a beginner sews by hand — it has a little give, resists snapping, and comes in enough colours to match most repairs. A small assorted set is enough to start. Match the needle to the fabric weight instead: if the needle drags going through, it is too fine.
How do I stop my thread knotting and tangling?
Cut a shorter length — about the length of your forearm. Long thread twists on itself as you pull it through, and each twist becomes a knot. Let the needle dangle every so often so the thread unwinds, and pull the stitch through smoothly rather than yanking it, which tightens any twist already forming.
Can I really make things without a sewing machine?
Yes. Cushion covers, tote bags, felt decorations, hemmed curtains, repairs of every kind and simple garments in stable woven fabric are all achievable with a needle and the six stitches here. Hand sewing is slower, not lesser. When it starts feeling slow rather than satisfying, that is the honest signal that a machine would help.
Prices and StitchScores reflect our most recent research and refresh on a cycle — confirm the live price before buying. We may earn a commission from affiliate retailers; it never changes what we recommend. See how we score gear.
Read next
Free Mending Course for Beginners: Fix Clothes by Hand
A free, no-signup mending course in six lessons: hand stitches, buttons, a fallen hem, a split seam, a small tear and shortening trousers. No machine.
Beginner Sewing Kit: The 5 Essentials
The five supplies to buy when you own nothing: thread, fabric scissors, a seam ripper, hand needles and pins, plus how to give the kit as a gift.