Free Mending Course for Beginners: Fix Clothes by Hand
Our picks, at a glance
- Top pick
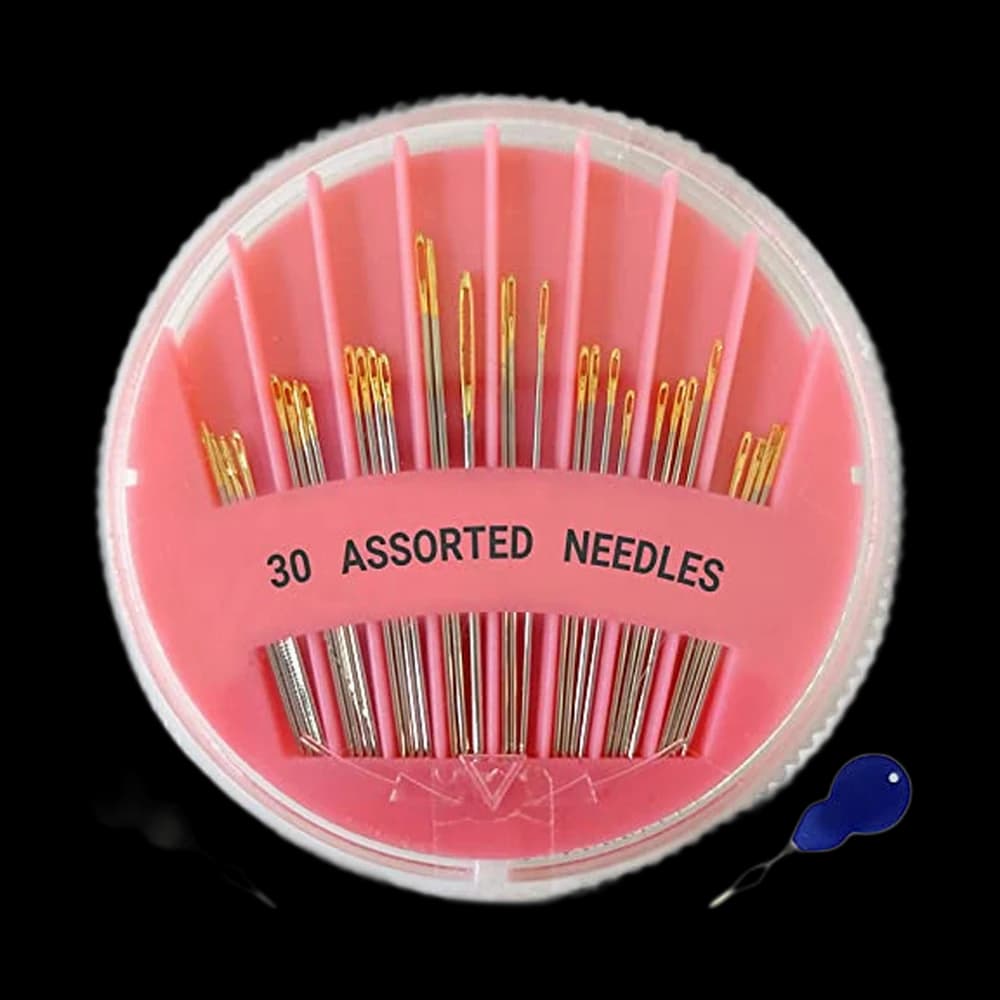
jekiinova 30 Pack Hand Sewing Needles, 6 Sizes
$3.99StitchScore 87 4.7 out of 5 stars · 2,011 ratings
- #2
Coats & Clark Dual Duty Thread, Black & White
$8.50StitchScore 82 4.7 out of 5 stars · 4,705 ratings
- #4
DTDNZKN 300PCS Sewing Pins with Glass Ball Heads
$3.99StitchScore 83 4.6 out of 5 stars · 530 ratings
- #5
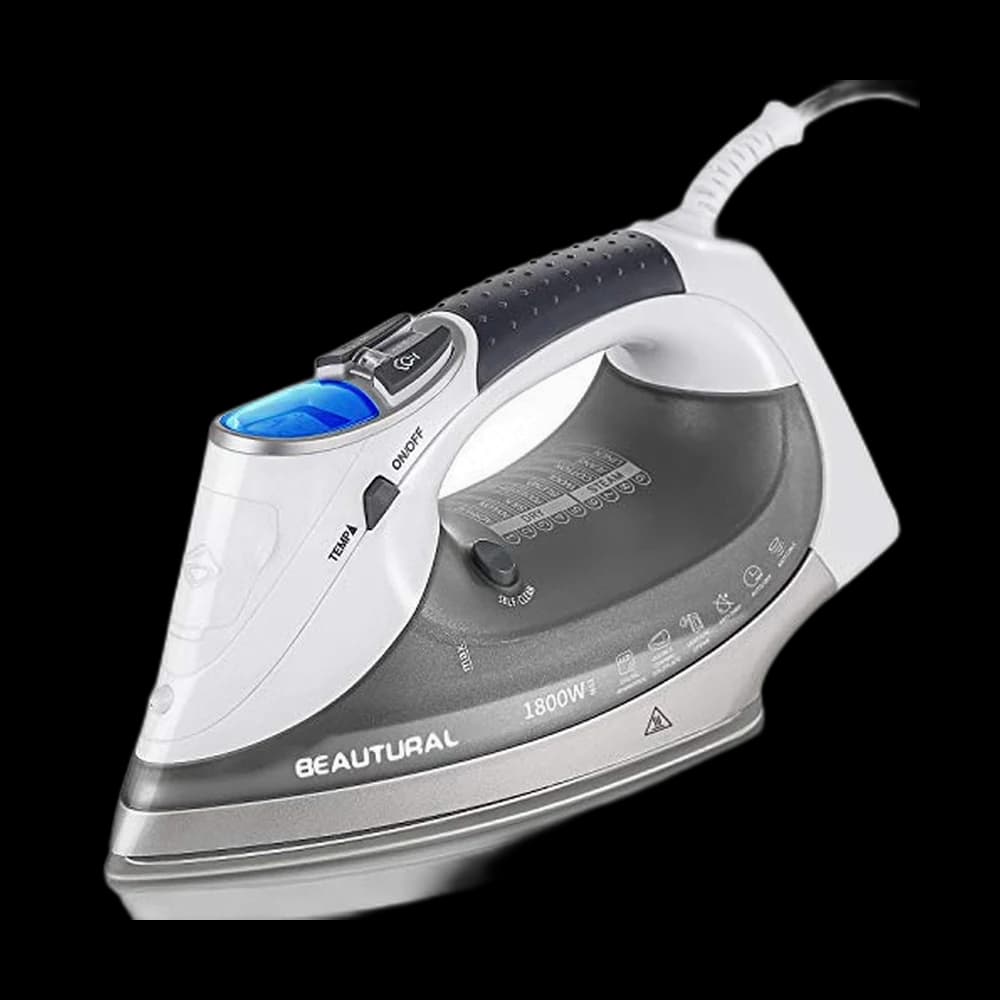
BEAUTURAL 1800 Watts Steam Iron with LCD Screen
$41.99StitchScore 82 4.5 out of 5 stars · 19,802 ratings

The short version
- The course is six lessons, in order: hand stitches, buttons, a fallen hem, a split seam, a small tear, shortening trousers.
- Three stitches carry the whole course: running stitch, backstitch and slip stitch.
- Match thread to the darkest tone in the fabric so the repair sinks into the weave.
- Re-sew a split seam along its original line, overlapping half an inch into the intact stitching at each end.
- Back a small tear with a patch before stitching it, so the stitches hold sound fabric rather than broken threads.
- Holes in knits, worn-through areas, leather and waterproof outerwear need different repairs from the ones taught here.
Yes — this is a free, no-signup mending course; start with Lesson 1, threading a needle and learning three hand stitches, then work through buttons, hems, split seams and small tears in order. There are six short lessons, every one done by hand, and you need only a needle, thread, pins, small scissors and a seam ripper. No machine, no account and nothing to buy from us.
Mending is the most useful sewing there is. The clothes you already own are the practice fabric, each lesson ends with something back in your wardrobe, and the stitches you learn are the same ones every other kind of sewing is built on.
Four of the six lessons point to a page on this site that already teaches that repair in full, so this page tells you what to do, in what order, and where to go for the detail. The two repairs nothing else here covers, a split seam and a small tear, are taught on this page.
The course at a glance
| Lesson | The repair | Where it is taught |
|---|---|---|
| 1 | Thread a needle, tie a knot, and learn running stitch, backstitch and slip stitch | Basic hand-sewing stitches |
| 2 | Sew a button back on so it stays on | Button repair project |
| 3 | Fix a fallen hem invisibly | Fallen hem project |
| 4 | Close a split seam | This page |
| 5 | Mend a small tear | This page |
| 6 | Shorten trousers or jeans | How to hem pants |
Lessons build on each other. The slip stitch from Lesson 1 is the whole of Lesson 3, and the backstitch from Lesson 1 is most of Lesson 4. Take them in order and none of them asks you for a skill you have not met yet.
What you need
| What | Why | Compare |
|---|---|---|
| Hand-sewing needles, a mixed pack | A finer needle for shirts, a sturdier one for denim and coats | Hand-sewing needles |
| All-purpose polyester thread | Strong with a little give; match it to the garment | Thread |
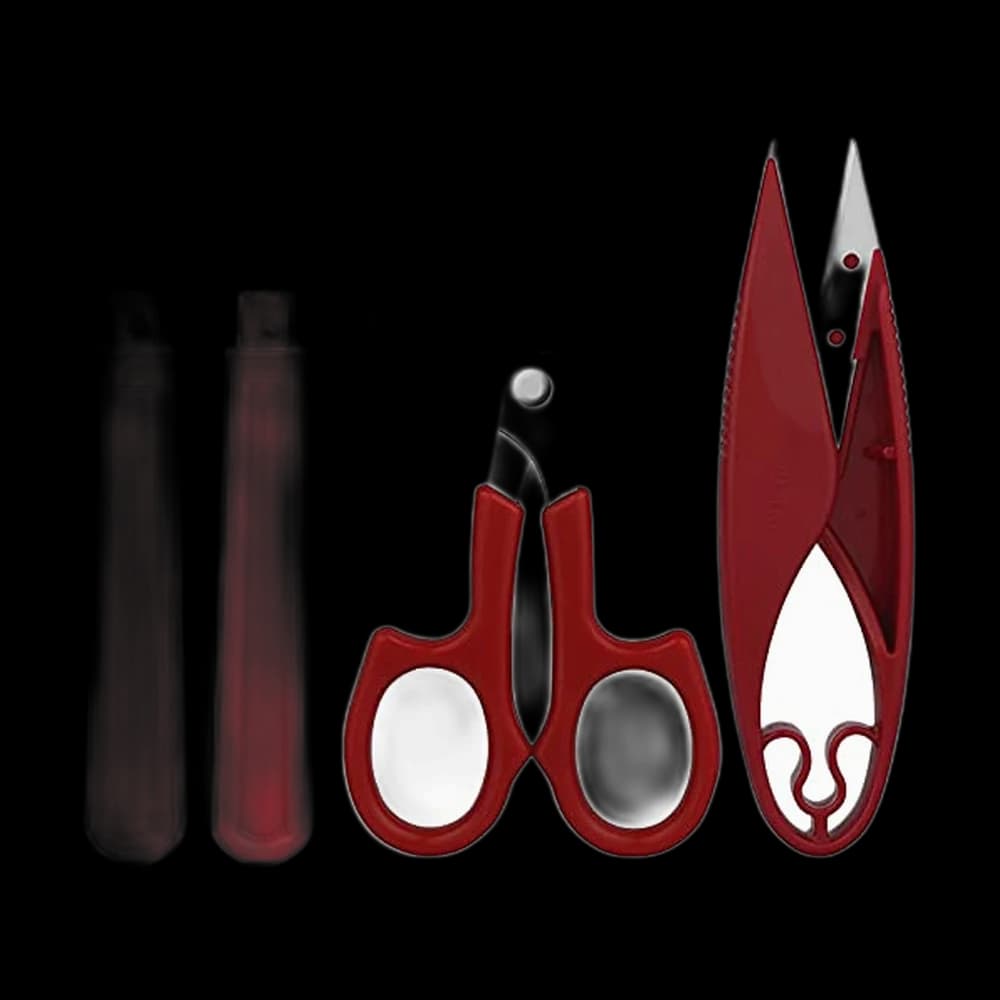
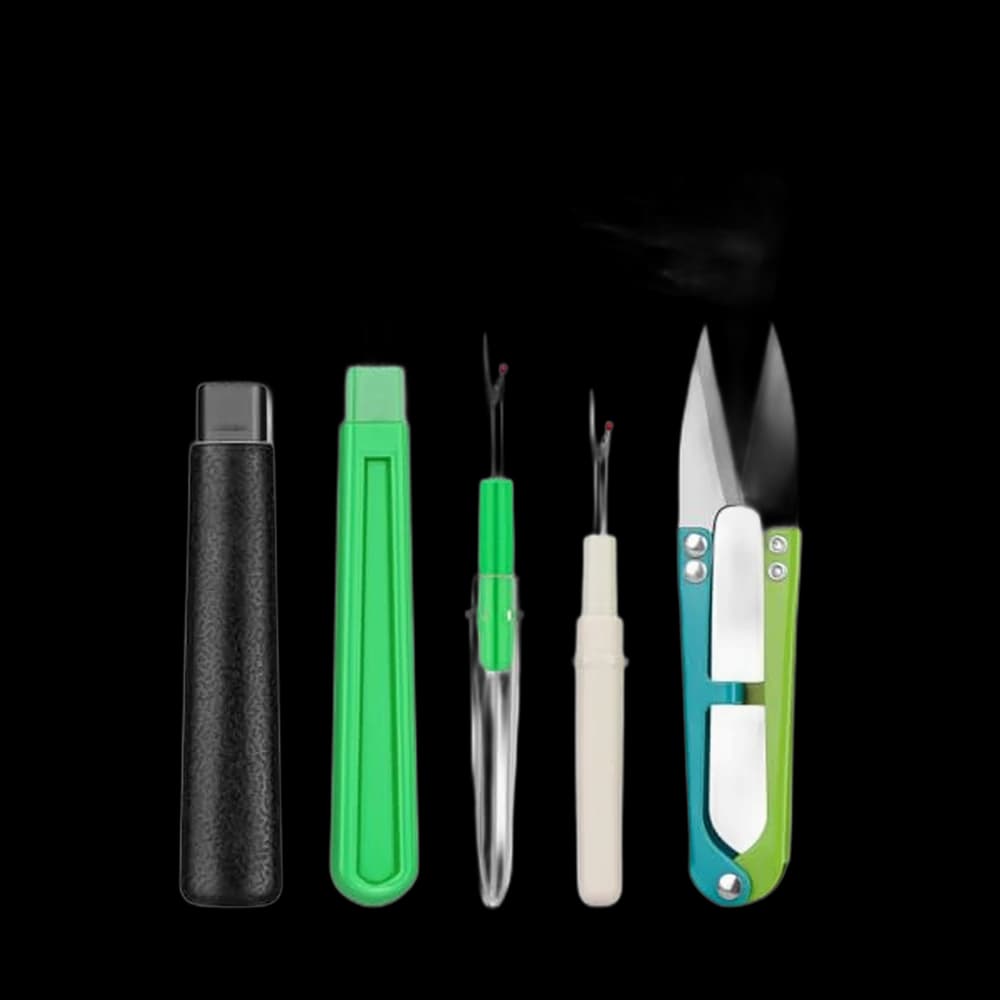
| A seam ripper and small snips | Taking out broken stitches cleanly, and trimming tails | Seam rippers |
| Straight pins | Holding a fold or a seam exactly where it was | Pins and clips |
| Sharp scissors | Cutting a patch for Lesson 5 | Fabric scissors |
| An iron | Pressing a hem or seam back into place does half the work | Irons |
The table at the top of this page is our researched pick for each item. In short: the JekiiNova assortment for needles, which includes two needle threaders; the Coats & Clark Dual Duty black and white pair for thread; the CampTek set, which pairs seam rippers with thread snips and a small pair of scissors; the DTDNZKN glass-head pins; and any iron you already own, with the Beautural steam iron as our pick if you are buying one. If you are starting from nothing and want the whole picture, the beginner sewing supplies list sorts every tool by priority.
On thread colour: match the darkest tone in the fabric, not the lightest. A slightly dark thread sinks into the weave; a slightly light one shows.
What we'd buy for this
One pick per category, chosen from the research pages linked in this piece. Borrow before you buy — nothing here is required to start.
 Hand-Sewing Needles
jekiinova$3.99 4.7 out of 5 stars · 2,011 ratings
The least expensive pick in this category, which makes it the low-risk way to find out whether you'll keep at it.
 Thread
Coats & Clark thread$8.50 4.7 out of 5 stars · 4,705 ratings
Researched from listings, specs and owner feedback — never hands-on testing. We may earn a commission; it never changes a pick.
Lesson 1: Thread, knot and three stitches
Everything in this course uses three stitches, and you can learn all three on a scrap of an old shirt in one sitting.
- Running stitch: in and out along a line. The basis of everything else.
- Backstitch: each stitch reaches back to touch the one before, making a solid line strong enough to hold a seam. This is the hand version of a machine seam.
- Slip stitch, also called ladder stitch: small stitches hidden inside a fold, which disappear when you pull the thread. This is how hems and seams get closed invisibly.
Basic hand-sewing stitches teaches all three step by step, with the knot to start and the way to finish so the thread does not pull out. Work a short row of each before you go on. Cut your thread about 18 inches long, as the project pages in this course suggest; longer thread tangles and wears thin.
Lesson 2: Sew a button back on
The smallest complete repair, and the one most people need first. The button repair project takes one shirt and one lost button from start to finish, including the thread shank: a few turns of thread wound under the button so it sits a little proud of the fabric and does not work itself loose. For coat buttons and shank buttons, how to sew on a button covers every type.
You have finished this lesson when the button is back on, the buttonhole closes over it without straining, and the knot is hidden underneath.
Lesson 3: Fix a fallen hem
A hem that has come down at the back of a trouser leg or the side of a skirt is the next repair almost everyone meets. The fallen hem project refolds the hem along its original crease, presses it, and closes it with slip stitch so nothing shows on the outside. It also covers when iron-on hemming tape is a fair shortcut.
You have finished this lesson when you cannot find the repaired section from the right side without looking for it.
Lesson 4: Close a split seam
A split seam is a seam whose stitching has broken, so the two pieces of fabric have come apart along a line. The fabric itself is undamaged, which makes this the easiest serious repair there is: you re-sew the seam along the line it already had. Common places are under the arms, along the side seams of a shirt and at the back of trousers.
From the inside: backstitch, when you can reach it
- Turn the garment inside out and find the split. You will see the original stitch line and, on each side of the gap, where the stitching is still intact.
- Pull out any loose broken threads. Leave the intact stitching alone.
- Pin the two seam allowances together so the fabric lines up exactly as it did, with the old needle holes lined up along the original stitch line.
- Start about half an inch into the intact stitching before the gap. Overlapping the old stitches is what stops the repair coming undone from its ends.
- Backstitch along the original line with small, even stitches, around an eighth of an inch long, through both layers.
- Carry on half an inch past the gap into the intact stitching on the other side, then finish off securely.
- Press the seam the way it was pressed before, then turn the garment right side out.
If the seam allowance has frayed along its raw edge, oversew the edge with whip stitch after you have closed the seam, so it does not fray back to the new stitching.
From the outside: ladder stitch, when you cannot
Some seams cannot be reached from inside: a lined jacket, a stuffed toy, a cushion with no zip. Close those from the right side with ladder stitch, the slip stitch from Lesson 1:
- Fold both edges in along the original seam line, so two clean folds face each other.
- Start inside one fold, half an inch back into the intact seam, so the knot is hidden.
- Take a small stitch inside one fold, then cross straight over and take the next inside the opposite fold. Keep alternating.
- Every few stitches, pull the thread gently. The folds close together and the stitches disappear.
- Finish half an inch into the intact seam and hide the tail inside the fold.
When this is not the right repair: if the fabric beside the seam has torn rather than the stitching breaking, it is a tear, not a split seam; go to Lesson 5. If a seam keeps splitting in the same place on trousers, the fabric there is usually wearing thin, and it needs a patch behind it as well.
Lesson 5: Mend a small tear
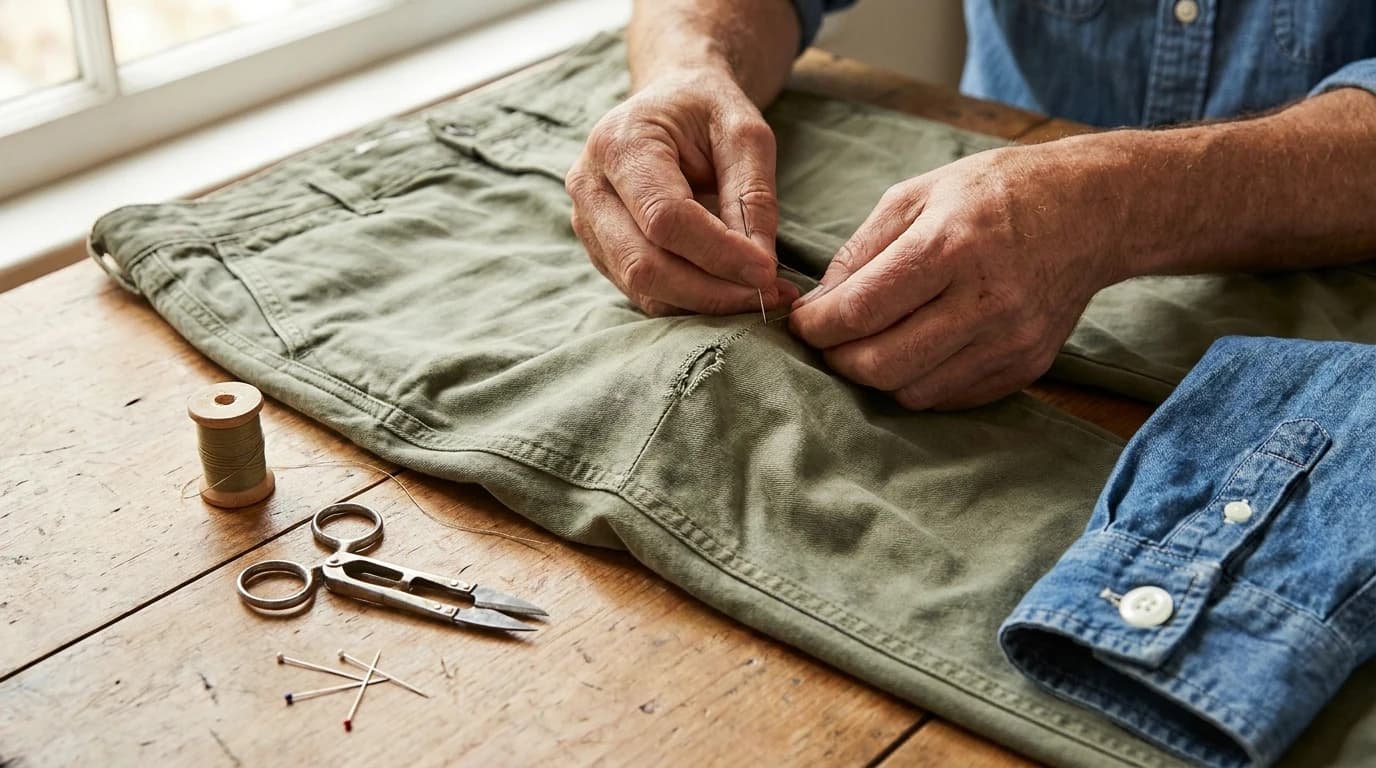
This lesson covers a small, clean tear in woven fabric: a straight rip or the L-shaped tear a nail or a door handle leaves, an inch or two long, on a shirt, trousers or a bag. The fabric is torn but not worn away. Bigger holes, worn-through patches and knitted fabric are different repairs, and the end of this lesson says where they go.
Back it with a patch
A tear stitched to itself pulls apart again, because the threads along its edges are already broken. A patch behind it gives your stitches something sound to hold.
- Trim the loose threads standing up from the tear. Trim threads only, never the fabric.
- Cut a patch from a scrap of similar-weight fabric, at least half an inch bigger than the tear on every side. Woven cotton suits most everyday clothes. Match the colour as well as you can, because a little of the patch may show through the tear.
- Place the patch behind the tear on the inside, and pin or tack it in place with a few large running stitches you will remove later.
- Lay the torn edges flat so they meet, without overlapping or gaping. Press lightly if the fabric allows; it helps everything sit still.
An iron-on mending patch or a piece of fusible interfacing is an alternative to the pinned patch. If you use one, follow the maker's instructions for heat and time, test on a hidden part of the garment first, and still stitch over it, so the repair does not depend on the adhesive alone.
Stitch the tear closed
- Thread a fine needle with a single strand of thread matched to the garment.
- Work from the right side. Starting just beyond one end of the tear, take small stitches straight across it, from one side to the other, catching the patch underneath each time. Keep them close together, about an eighth of an inch apart, and short, reaching only a little way into sound fabric on each side.
- Do not pull tight. The aim is to hold the edges together, not to gather them. If the fabric starts to pucker, ease the last few stitches.
- Turn the corner of an L-shaped tear and carry on along the second leg in the same way.
- Secure the patch edges on the inside with a few whip stitches, so they do not curl.
- Take out the tacking and press.
Or make it a feature
If the tear is somewhere it will show whatever you do, you can stitch it so it looks deliberate instead. Put the patch behind the tear as above, then work neat parallel rows of running stitch across the whole patch area in a contrasting thread, a quarter of an inch apart. It holds the tear and the patch together and reads as decoration. This is often called visible mending, and it is a fine, honest choice for jeans, jackets and work clothes.
What this lesson does not cover
- Holes in knits such as sweaters and socks. Knitted fabric unravels in a different way and is mended by darning, which is its own technique and not part of this course yet.
- Worn-through areas, such as thin knees or a seat worn to threads. Those need a larger patch, often stitched by machine, rather than a tear repair.
- Leather, suede, silk, and waterproof or technical outerwear. A stitch hole in a waterproof shell is a new leak. Use the maker's repair service or patch kit, or a tailor.
Lesson 6: Shorten trousers or jeans
The repair that saves you a tailor's bill. How to hem pants covers measuring with your shoes on, unpicking the old hem and several ways to finish it, including the hand blind hem, which is the slip stitch from Lesson 1 again. For jeans, the jeans hemming guide shows how to shorten them and keep the original factory hem, and includes a method for doing it entirely by hand.
You have finished the course when you have taken a pair of trousers up and worn them out of the house.
After the course
- Buttonholes that have frayed open can be oversewn by hand with close blanket stitches round the edge; blanket stitch is in the hand-stitches guide. Making a new buttonhole is a machine job, covered in how to sew a buttonhole.
- A broken zip is a bigger repair, because the old zip has to come out cleanly first. How to sew a zipper is the place to start once you have a machine.
- When to take it to a tailor: a jacket that needs a new lining, anything structured like a tailored coat collar, or a garment you would be upset to get wrong. There is no shame in it; deciding which repairs are yours is part of mending.
If you enjoyed this, the next step is the rest of Level 0 of The Pattern, Curious, which turns the same hand stitches into small things you make from scratch. Every repair you did here was real sewing, wonky stitches and all.
Frequently asked
Is there a free mending course for beginners?
Yes. This page is a free mending course with no sign-up: six short lessons, all by hand, from threading a needle to shortening trousers. Each lesson links to the full how-to or project page for that repair.
Can I mend clothes without a sewing machine?
Yes. Every repair in this course is done by hand: buttons, fallen hems, split seams, small tears and shortening trousers, including jeans. A machine is faster for long seams but not required.
What do I need to mend clothes by hand?
A mixed pack of hand-sewing needles, all-purpose polyester thread, straight pins, small sharp scissors or snips and a seam ripper. An iron helps with hems and seams, and a scrap of similar fabric is needed to patch a tear.
How do you fix a split seam by hand?
Turn the garment inside out, pin the seam allowances together along the original stitch line, and backstitch along that line with small stitches, starting and finishing half an inch into the intact stitching. If you cannot reach the inside, close it from the outside with ladder stitch.
How do you fix a small tear in clothing?
Trim the loose threads, place a patch of similar fabric behind the tear, lay the torn edges so they meet, then work small close stitches across the tear from the right side, catching the patch each time. Secure the patch edges inside and press.
Do I get a certificate for this mending course?
No. There is nothing to sign up for and no certificate. The proof is the trousers you are wearing again.
When should I take clothes to a tailor instead?
For relining a jacket, structured tailoring such as coat collars, leather and suede, waterproof outerwear, or any garment you would be upset to get wrong.
Prices and StitchScores reflect our most recent research and refresh on a cycle — confirm the live price before buying. We may earn a commission from affiliate retailers; it never changes what we recommend. See how we score gear.
Read next
Sewing Lessons for Kids: A Free At-Home Course for Parents
Free sewing lessons for kids that parents can teach at home: hand sewing on felt first, then a real machine with an adult beside them, with safety basics.
Free Hand Embroidery Course for Beginners
A free, no-signup hand embroidery course: set up a hoop, learn eight stitches on a sampler, then transfer a design and finish it in the hoop. No machine.