Shirt Button Repair That Actually Stays On
The repair that saves a shirt, taught slowly, including the thread-shank trick nobody mentions.
- Equipment
- Needle, thread and small scissors — no machine
- Materials cost
- Under $10, tools included
- Assumes you can
- Nothing at all — this is the starting line
- Full supply list
- A needle, a spool of all-purpose thread, the loose button and small scissors — under $10 if you own none of it.
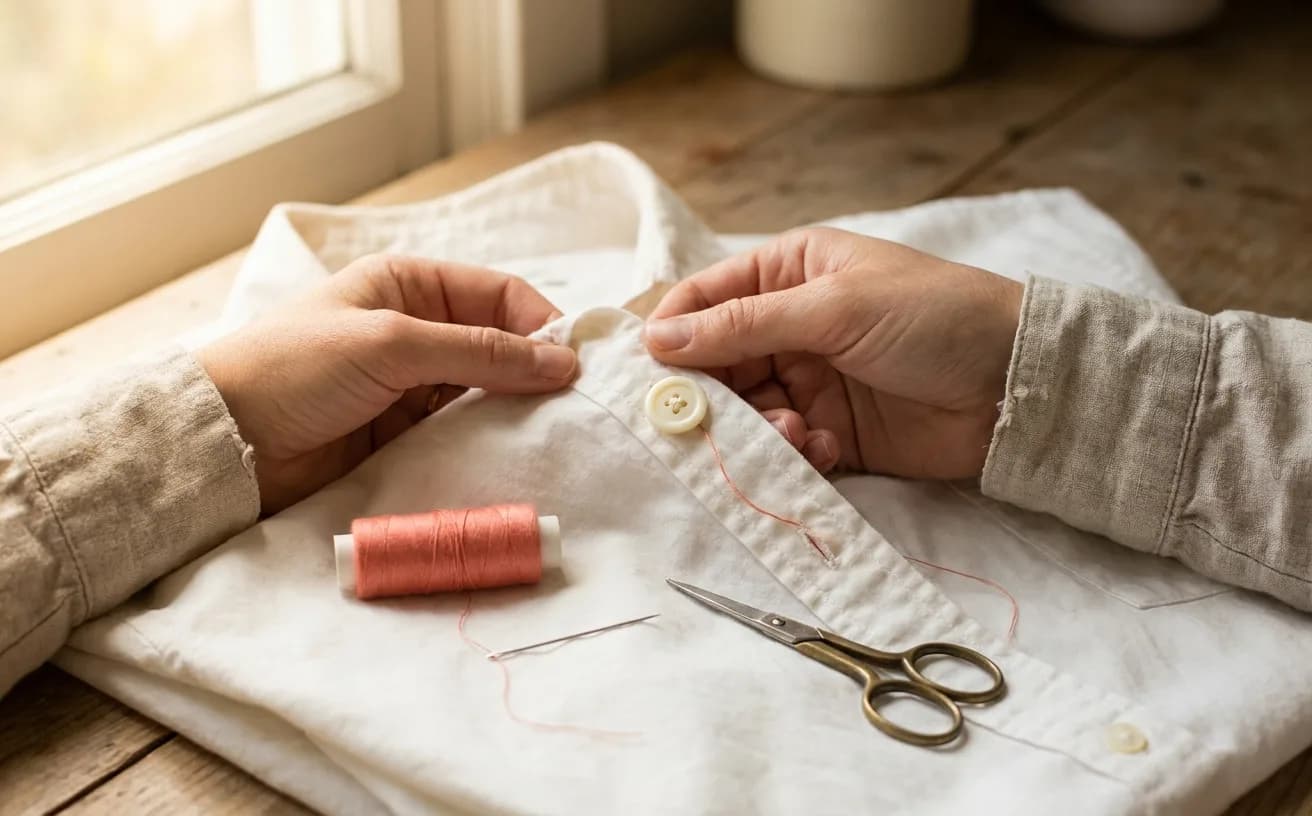
At the end of twenty minutes you will have a shirt you can wear again, and a button that does not quietly work itself loose in three weeks. That second part is the whole reason this project exists: most first-timers sew a button on perfectly well and it still falls off, because nobody told them about the shank. This is the smallest possible complete repair — no machine, no pattern, no measuring — and it is the first stitching most people ever do that a stranger will see.
This page is the project: one real shirt, one lost button, start to finish. If you want the technique for every kind of button, including shank buttons and coat buttons, how to sew on a button is the full how-to.
What you need
You may already own all of this. If you own none of it, the whole kit lands under $10.
| What | Why it matters | Roughly |
|---|---|---|
| Hand-sewing needle (a mixed pack) | You want a needle fine enough to pass through the buttonhole holes twice. A mixed pack means you're never stuck with the wrong size. | $2–3 |
| All-purpose polyester thread | Polyester has a little give, so it survives being tugged. Match it to the button, not the shirt. | $2–3 |
| Small sharp scissors | Thread needs a clean cut, not a chewed one. Embroidery or nail scissors are fine here. | $3–5 |
| The loose button | Check the floor, the cuff, and the little spare-button bag stitched into the side seam of the shirt. | free |
| A toothpick, matchstick, or spare needle | This is the shank trick. It's the difference between a repair and a re-repair. | free |
If you can't find the original button, replace all of them with a matching set from a card of spares. A shirt with five identical buttons reads as intentional. A shirt with four matching and one close-enough reads as a mistake, and you will notice it every time you get dressed.
The gear this project uses
One current pick per tool or material the supply list links, in the order it lists them. Borrow, substitute or skip — a wonky first attempt with the wrong scissors still counts.
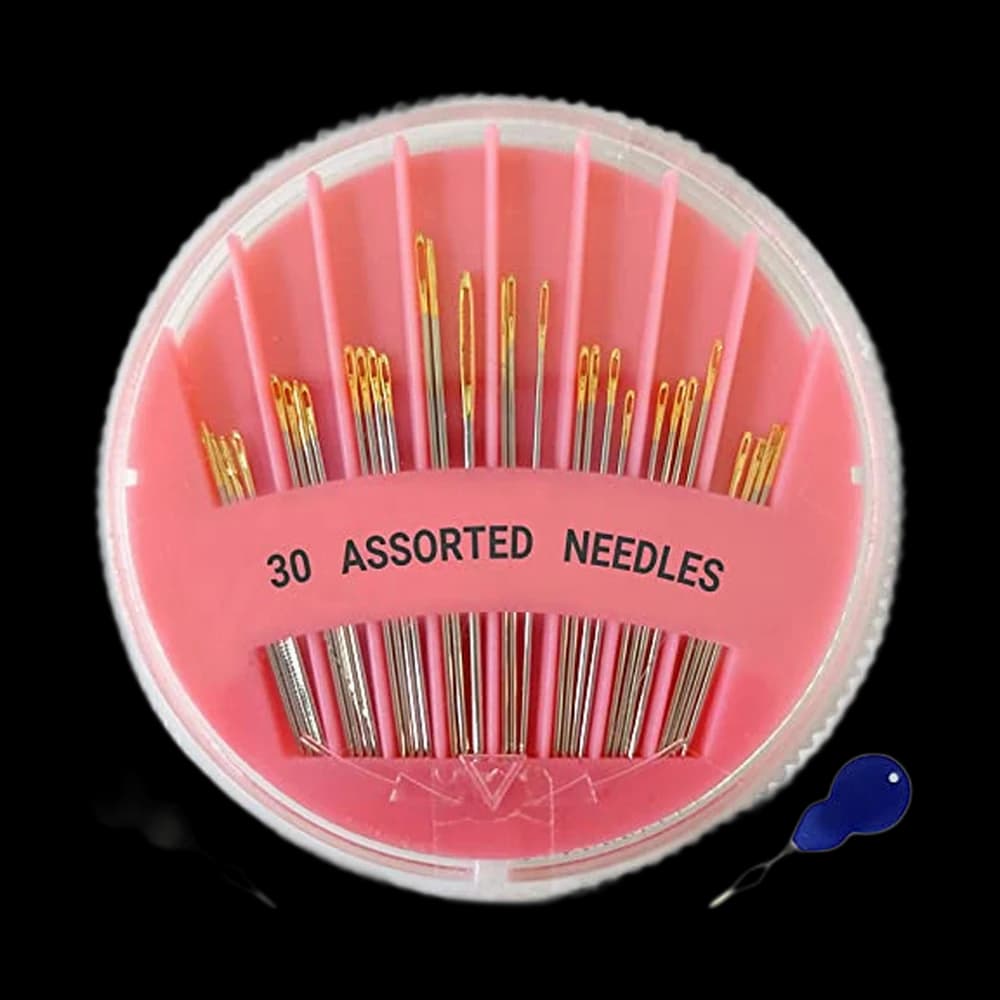 Hand-Sewing Needles
jekiinova$3.99 4.7 out of 5 stars · 2,011 ratings
The least expensive pick in this category, which makes it the low-risk way to find out whether you'll keep at it.
 Thread
Coats & Clark thread$8.50 4.7 out of 5 stars · 4,705 ratings
 Fabric Scissors
Proshear$8.99 4.8 out of 5 stars · 4,040 ratings
Researched from listings, specs and owner feedback — never hands-on testing. We may earn a commission; it never changes a pick.
Cut list
Nothing gets cut from fabric here, so there is no seam allowance to think about. The only measured cut is the thread.
- Thread: one 18-inch length, then doubled — so you stitch with 9 inches of working length and four strands of holding power.
- Shank spacer: a toothpick or matchstick, used whole. No cutting.
Eighteen inches is deliberate. Longer thread feels efficient and is not — it tangles, knots on itself, and wears thin from being dragged through the fabric dozens of times. Shorter runs out mid-button. If you run short, tie off and start a fresh length; nobody can see the join.
Steps
Get the thread ready
- Cut the 18-inch length and thread the needle. Cut at an angle — a sloped tip feeds through the eye far more willingly than a blunt one. Pull the thread through until both ends meet.
- Knot the two ends together as one. You now have a doubled thread: four strands will cross each hole by the time you're done. That's plenty for a shirt button and not so bulky that the button sits crooked.
- Do not lick the thread. Moisture makes the fibers swell and fray. Trim the end again instead. If threading is genuinely fighting you, our basic hand sewing stitches guide walks through the needle-threading part slowly.
Place the button
- Find the original position. There is almost always a ghost: a ring of old thread holes, a faint clean patch where the button shielded the fabric from washing, or four visible pinpricks. Use it. Guessing puts the button a few millimeters off and the shirt front will pull at an angle all day.
- Anchor from the front, under the button. Bring the needle up from the wrong side, then take one tiny stitch on the right side where the button will sit and pull the knot snug against the fabric. Sewing the first stitch under the button hides the knot completely — a knot on the inside of a shirt front rubs against you all day.
- Set the button on top and bring the needle up through one hole.
Stitch it on
- Lay the toothpick across the top of the button, between the holes. Every stitch from here goes over the toothpick. This is the shank trick: it holds a deliberate gap of slack in your stitches so the button can lift away from the fabric.
- Stitch through the holes six times per pair. Down one hole, up the next, over the toothpick, repeat. On a four-hole button choose either two parallel bars or a crossed X and commit to it — mixing the two on one shirt is the tell that it was repaired in a hurry.
- Keep the tension even, not tight. You are not trying to crush the button into the fabric. Snug and consistent is the whole target.
- Slide the toothpick out. The button is now loose and floppy on a little bundle of slack thread. That is correct, and it is about to become the shank.
Wonky is fine here. If your six passes aren't perfectly stacked, or one crosses at a slight angle, the button still works exactly as well. Loose is fine. Crooked-on-the-fabric is the only thing worth redoing.
Build the shank — the part nobody mentions
- Bring the needle up through the fabric but not through a buttonhole, so the thread comes out beside the button, under it.
- Wind the thread tightly around the slack bundle, five or six turns. The floppy threads pull together into a firm little stem. This stem is the shank, and it is why the repair lasts: the button now sits raised, with room for the buttonhole and the layer of fabric it clamps to slide underneath. A button sewn flat to the fabric strains every one of its stitches every time the shirt is fastened.
- Push the needle down through the wrapped shank to the wrong side.
- Knot off underneath. Take two or three tiny stitches in the same spot, passing the needle through the loop each time. Cut the thread close — leave about a quarter inch so the knot can't slip.
Fasten the button. It should turn a little and stand slightly proud of the fabric. That small lift is the finished look.
When it goes wonky
| What went wrong | Why | The fix |
|---|---|---|
| Button won't go through the buttonhole | You skipped the shank, or wrapped it too short — there's no room for the fabric layer. | Snip the threads off and redo with the toothpick. Two minutes. |
| Thread keeps knotting on itself | The length was too long, or the doubled strands twisted. | Let the needle dangle so the thread untwists, then carry on. Next time cut 18 inches. |
| Button sits crooked | The stitches on one side pulled tighter than the other. | Even tension beats extra stitches. Redo with fewer, looser passes. |
| Fabric puckers around the button | You pulled each stitch as tight as it would go. | Snug, not maximum. The fabric should lie flat when you let go. |
| It fell off again within a month | Almost always a missing shank, occasionally too few passes. | Six passes per hole pair, plus the wrap. |
What you just learned
- Anchoring and knotting off — starting and finishing a hand stitch so no knot shows on the outside. Every hand-sewn repair uses this, including the invisible hem stitch.
- Working with a doubled thread and judging when 18 inches is enough.
- Building slack on purpose — the idea that a fastening needs room to move is the same principle behind ease in a garment.
- Reading a garment for its ghost marks — old holes and wear patches tell you where things belonged.
Ready for a whole object instead of a repair? Try the felt keyring project in the library next — same needle, same knots, but you'll end up holding something you made from nothing. Everything at this stage lives on the Curious level, and if you're still deciding where to aim after that, what to sew first lays out the order.
Supply checklist
5 lines · 20 minutes · Under $10, tools included
- Hand-sewing needle (a mixed pack)$2–3You want a needle fine enough to pass through the buttonhole holes twice. A mixed pack means you're never stuck with the wrong size.
- All-purpose polyester thread$2–3Polyester has a little give, so it survives being tugged. Match it to the button, not the shirt.
- Small sharp scissors$3–5Thread needs a clean cut, not a chewed one. Embroidery or nail scissors are fine here.
- The loose buttonfreeCheck the floor, the cuff, and the little spare-button bag stitched into the side seam of the shirt.
- A toothpick, matchstick, or spare needlefreeThis is the shank trick. It's the difference between a repair and a re-repair.
Quantities and substitutions are the ones in the supply table above; costs are rough US shop prices at the time of writing, not live listings. Borrowing and substituting are always fine — a wonky first attempt in the wrong fabric still counts.
Made it? Here is what to keep in the tin, and where to go next.
Every SewingPath project guide is free and stays free. Some shaped garments need a separately sourced paper pattern; those pages say so before the cut list. When a project needs equipment we link the gear category and name our current pick beside the supply list, with a link to buy it if you are missing it — never in the middle of the steps. Picks are researched, not hands-on tested — see how we score gear.