Machine Embroidery for Beginners: What the Machine Does
The short version
- The machine moves the hoop under a fixed needle, so every decision you control happens before you press start and after it stops.
- Stabilizer choice follows the fabric, not the design: cut-away for knits and stretch, tear-away for stable wovens, water-soluble as a topping on towelling and fleece.
- Hooped fabric should have no wrinkles and sound like a drum when tapped — but taut is not stretched, and a stretched knit ripples the moment you release it.
- A design file is a list of stitches, not a picture, and formats are per brand: PES for Brother, JEF for Janome, DST for commercial machines.
- Test every design on a scrap of the same fabric with the same stabilizer before it goes near the real item; that habit prevents most first-year disasters.
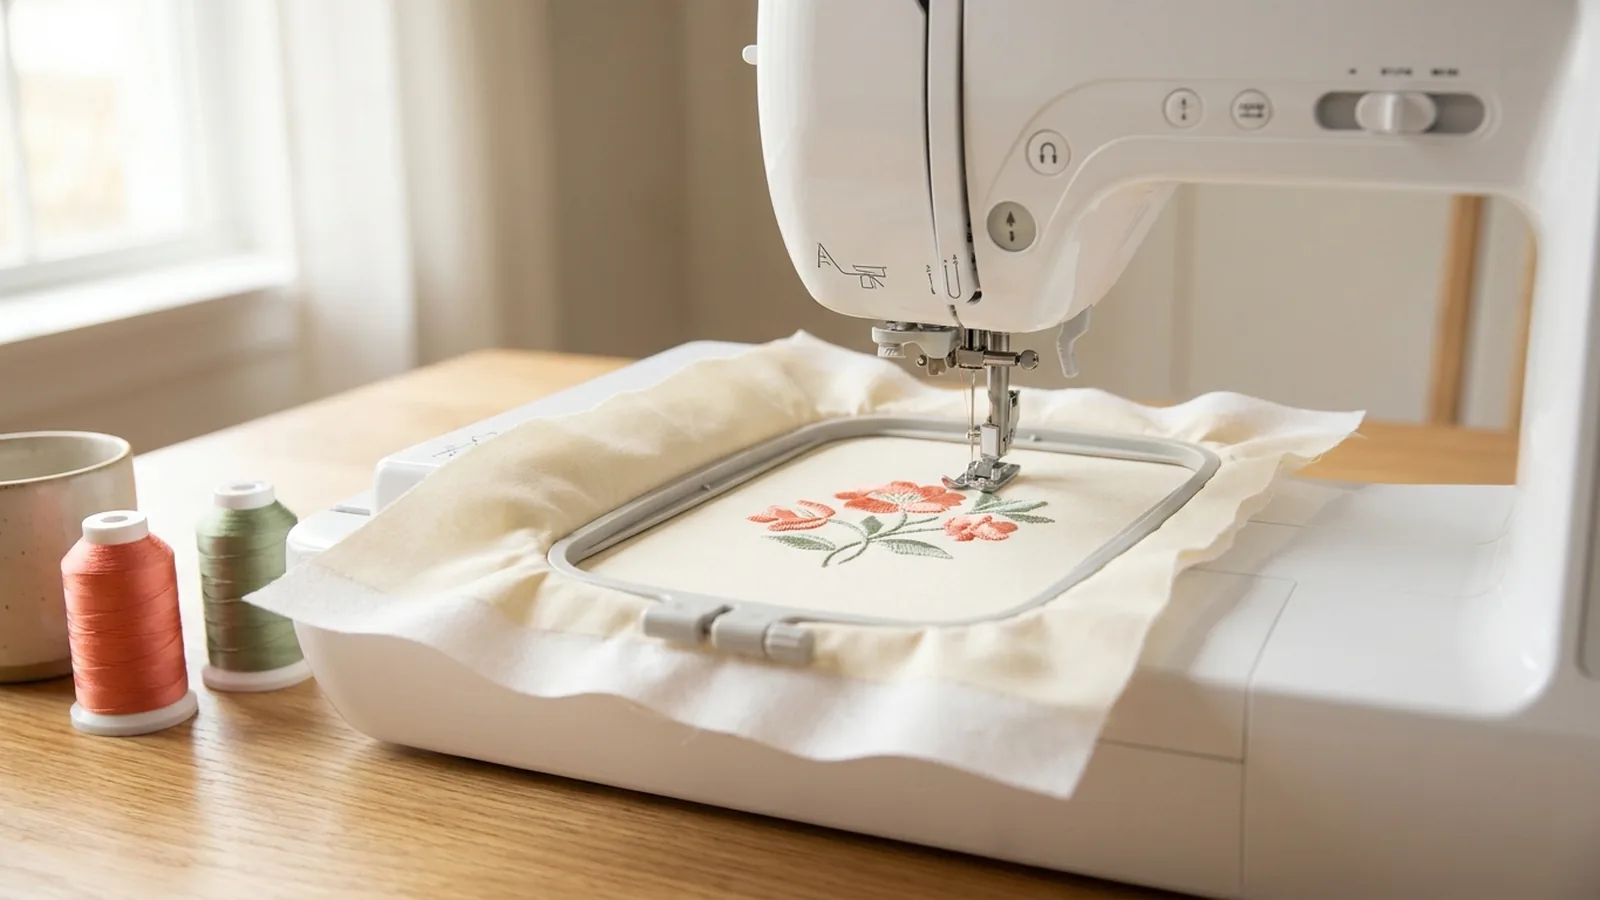
An embroidery machine takes the steering away from you, and that is the whole point of it. On a sewing machine you feed the fabric and decide where the line goes. On an embroidery machine the fabric is clamped flat in a frame, the frame clips onto a motorised arm, and the machine moves that frame under a needle that never leaves its spot — thousands of stitches, following a file you loaded before you pressed start.
So your skill lives at either end: what you hoop, what you back it with, what thread is on top, and whether you tested first. Once it runs, you are a spectator with snips.
If you are still choosing an embroidery machine, that is a separate question, answered in embroidery machines for beginners. This guide is the craft. On The Pattern, embroidery proper sits at Level 4, Tailor, because it rewards people who already know how fabric behaves — so if you are somewhere around Stitcher, read this now and buy nothing yet.
The five things in the system
An embroidery setup is five parts, and most people arrive knowing about two: the hoop that holds the fabric rigid, the stabilizer that stops thousands of stitches dragging it out of shape, the design file the machine reads, the glossy thread on top, and the needle with the larger eye. Miss any one and the machine gets blamed for the result. Four of the five cost very little to put right, and they are the rest of this guide.
Stabilizer: the part nobody tells you first
A design is thousands of stitches punched into one small area of cloth. The cloth wants to move, the stitches will not let it, and without backing the thing that gives is your fabric. That is what puckering is.
Stabilizer is the backing that takes the load. Brother's support documentation lists four families of backing — cut-away, tear-away, water-soluble and self-adhesive — and the choice is made by the fabric, not by the design.
| Stabilizer | What it does | Reach for it on |
|---|---|---|
| Cut-away | Permanent. Stays behind the design for the life of the garment; you trim the excess close | Knits and anything stretchy — t-shirts, onesies, sweatshirts |
| Tear-away | Temporary. Supports during stitching, then tears away | Stable wovens — canvas totes, quilting cotton, poplin, denim |
| Water-soluble | Dissolves in water, leaving nothing | As a topping on towelling and fleece so stitches sit on the pile, and as backing where no residue is acceptable |
| Self-adhesive | Hooped on its own; the fabric is pressed onto its sticky face | Items too small or awkward to hoop — collars, cuffs, ribbon |
Sulky, who make the stuff, put the division plainly in their stabilizer basics guide: cut-away is for designs that must stay stretch-resistant through many washes and wearings, while tear-away holds the fabric still during stitching and then leaves. So it is a permanence decision as much as a fabric one — a t-shirt motif backed with tear-away looks perfect the day you make it and warps the third time it is washed.
Rule of thumb: stretchy fabric wants cut-away, stable woven fabric wants tear-away, fluffy fabric wants a water-soluble topping as well. Buy a small pack of the first two with the machine, not after your first ruined shirt.
What we'd buy for this
One pick per category, chosen from the research pages linked in this piece. Borrow before you buy — nothing here is required to start.
 Embroidery Machines
Brother SE700$579.99 4.5 out of 5 stars · 1,040 ratings
Doing both jobs on one machine — a 4 by 4 inch embroidery field, 135 built-in designs, 103 sewing stitches and a colour touchscreen, with designs arriving over wireless LAN instead of a USB stick.
 Embroidery Stabilizer
New brothread 100$9.99 4.8 out of 5 stars · 14,514 ratings
Firm wovens and natural fibres — 100 pre-cut 8 by 8 inch sheets of medium-weight tear-away; it tears off cleanly after stitching, per the listing.
 Thread
Coats & Clark$12.99 4.8 out of 5 stars · 1,753 ratings
Stocking up on white — six 400-yard spools of 100% polyester, medium-weight thread; all-purpose polyester covers nearly everything a beginner sews.
Researched from listings, specs and owner feedback — never hands-on testing. We may earn a commission; it never changes a pick.
Hooping: the step that decides everything
Hooping is the skill, and it looks like nothing, which is why people skip past it and then spend a month blaming the machine.
Brother's instructions for hooping the fabric give the sequence and, more usefully, the test: lay the fabric right side up over the outer ring, press the inner ring in corner by corner while easing the fabric taut, then tighten the screw. No wrinkles may be left, and — the line worth remembering — the fabric should make a drum-like sound when tapped gently with a finger.
Two things that are not in the manual:
- Hoop the stabilizer with the fabric, both layers together, rather than laying a loose sheet underneath. Floating stabilizer is a real technique for awkward items, but it is not the technique to learn on.
- Taut is not stretched. Pulling a knit tight in the hoop stitches the design into a fabric that is longer than it wants to be; when you release it, the fabric shrinks back and the design ripples. Snug the fabric, then stop.
That second point is the most repeated correction in the r/Machine_Embroidery community, where the standing answer to a puckered stitch-out is almost never a machine fault — it is stabilizer choice, or fabric stretched into the hoop, in roughly that order. The other consistent piece of community advice there: tighten the frame screw by hand after clamping, and check every edge is smooth before it goes near the machine.
What a 4-inch hoop actually limits
The embroidery field is the area the machine can stitch without you unclamping and re-hooping. It decides what you can make, and it is usually quoted without context.
| Embroidery field | Comfortably fits | Does not fit |
|---|---|---|
| 4-inch by 4-inch | Monograms, left-chest logos, patches, bibs, pocket motifs, tote panels | Towel borders, arched names across a hoodie back |
| Tall fields around 4 by 9.25 inches | Vertical lettering, a long motif down a bag or shirt front | Wide designs — extra height is not extra width |
| 5-inch by 7-inch | Multi-line lettering, a larger front motif | Full-back jacket designs |
Here is the part the forums argue past. Four inches square is not a limitation you grow out of in a month — it is the size of a monogram, a patch and a left-chest logo, which is most of what a first year produces. The real constraint arrives later, when someone asks for a name across a blanket.
And a smaller hoop is a tool, not a downgrade. The hoop supplied with a machine is usually its largest, and a smaller machine hoop is what you reach for on a bib, a cuff or a pocket, where there is less spare fabric to hold flat. Machine hoops are made for particular models, so order from your machine maker's list rather than the wooden rings sold for hand embroidery. If hooping itself becomes the slow part, magnetic hoops are the step up. One extra small hoop prevents more failed projects than a bigger one does.
Design files: formats, and why you cannot just resize one
Every machine ships with designs on it, and those are worth a month of your time. After that you will want something specific, and you will be downloading stitch files.
A stitch file is not a picture. Wilcom, whose software the commercial trade runs on, separates the two categories: a design file such as their own EMB holds shapes and settings, while a machine file holds finished stitches. What you buy from a designer is almost always the second kind — a list of needle positions and colour stops — so you cannot enlarge it the way you scale a photo. The stitches do not multiply as the outline grows, and stretched far enough, gaps appear. Small adjustments are fine; real resizing needs digitizing software.
Formats are per-brand, and the same Wilcom reference lists which is which:
| Format | Machines that read it natively |
|---|---|
| PES | Brother, Baby Lock |
| JEF | Janome, Elna, Kenmore |
| DST | Tajima, and most commercial multi-needle machines |
| EXP | Melco |
| HUS | Husqvarna Viking |
| KSM | Pfaff |
| XXX | Singer |
Most design shops sell a bundle of several formats, so buying is rarely the problem. Downloading a single DST because it was cheapest, when you own a Brother, is.
Thread, needle and bobbin
Embroidery thread is a different product from the thread you sew seams with, and the difference is visible across a room. It is made to be shiny and to survive being pulled through the same small hole at speed.
Forty weight is the working standard. Madeira, a long-standing thread maker, lists its Classic Rayon in three weights and describes number 40 as the general-use one, with 60 for fine detail and 30 for filling and decorative work. Rayon gives the softer hand and higher sheen; polyester is tougher and puts up with hot washes and bleach. For a first year either is correct, and a small assorted pack of thread beats agonising over brands.
Two notes go with it:
- Use an embroidery needle, which has a larger, polished eye so the thread is not abraded on every one of those thousands of stitches. Brother's guidance on needle types points at ball point needles for stretch fabrics and monogramming, and warns that a wrong combination of fabric, thread and needle produces exactly the uneven, puckered stitching people blame on the machine. If the numbers mean nothing yet, needle sizes explained unpacks them, and a mixed pack of machine needles covers your ordinary sewing too.
- The bobbin takes a different thread — a fine, dedicated bobbin thread rather than the all-purpose spool you sew with. Your manual names what yours expects, and that is one place the manual is genuinely worth reading first.
When it goes wrong, it is usually one of four things
A bad first stitch-out is almost never a broken machine. In order of how often it turns out to be the cause:
- No stabilizer, or the wrong one — puckering, tunnelling, a sunken-looking design.
- Hooping. Loose fabric shifts mid-design so the outline misses the fill; stretched fabric ripples once released.
- Thread path. Embroidery pulls hard, and a thread not seated in the tension discs shows up as loops on the back or breaks every few minutes. On the back of a balanced satin column you should see top thread at the edges and bobbin thread through the middle; if top thread is dragging round to the back, read sewing machine tension problems.
- The needle — blunt, wrong type, or wrong size for the cloth.
The fix for all four is one habit: stitch a test on a scrap of the same fabric, with the same stabilizer, before you touch the real thing.
Your first project, in the right order
Do not start on a garment. Start on a flat piece of stable woven cotton with tear-away behind it — no stretch, no pile, no seams in the way, nothing that matters if it goes wrong.
Then make something out of that piece. The beginner tote bag is the natural first outing, and the ordering matters: embroider the front panel while it is still flat, before you sew the bag together. A finished bag will not lie in a hoop.
After that: a patch, a monogram on a pouch, a motif on a pocket — all of them inside four inches square, which is the quiet answer to the hoop-size question.
Combination machine or embroidery-only
Briefly, because it is the other post's job. A combination machine sews seams and embroiders; an embroidery-only machine does one thing and is cheaper for it. If this is your only machine, buy the combination — a hoop cannot sew a seam, and you will want to make the tote as well as decorate it. If you already own a sewing machine you like, embroidery-only is the cheaper way in. The roster and the reasoning are in embroidery machines for beginners and on the embroidery machine category page; the free curriculum lives at The Pattern.
Your first stitch-out will have something wrong with it — a slightly sunken outline, a corner that pulled. Keep it, write on the back what stabilizer you used, and stitch the next one. Wonky seams are the whole point, and a wonky monogram is no different.
Ready to stitch your first design? Back it properly, then make something flat to put it on.
Frequently asked
Is machine embroidery hard for a beginner?
The stitching is done for you, so the difficulty sits somewhere unexpected: hooping the fabric flat and choosing the right stabilizer. Both are learnable in an afternoon and both are unforgiving until you have done them a few times. If you can sew a straight seam and follow a manual, the machine itself will not be the hard part.
What do I need to start machine embroidery?
A machine with an embroidery arm and at least one hoop, stabilizer in cut-away and tear-away, embroidery thread in a few colours, a lightweight bobbin thread of the type your manual specifies, and embroidery needles. Add a small piece of stable cotton for test stitch-outs. Everything else, including software, can wait until you have made half a dozen things.
Do I really need stabilizer for machine embroidery?
Yes, for almost everything. An embroidery design packs thousands of stitches into a small area and the fabric will distort under them unless something is holding it. Stabilizer is that something. The only realistic exceptions are heavily structured materials, and even then most people back them anyway because the failure mode is a ruined item rather than a wasted sheet of backing.
What file format does my embroidery machine use?
It depends on the brand. Brother and Baby Lock machines read PES, Janome and Elna read JEF, Singer reads XXX, Husqvarna Viking reads HUS, Pfaff reads KSM, Melco reads EXP, and DST is the format commercial and multi-needle machines use. Most design shops sell a bundle containing several formats, so check what you own before you buy a single-format file.
Why is my machine embroidery puckering?
Usually the stabilizer or the hooping rather than the machine. Either there is no backing, or the backing is too light for the stitch count, or the fabric was pulled tight in the hoop and sprang back after it was released. Rehoop snug rather than stretched, move up to a cut-away if the fabric has any give, and stitch a test before the real item.
Can an embroidery machine also sew normal seams?
Only if it is a combination machine. Embroidery-only machines stitch designs in a hoop and cannot sew a seam at all, which is why they are cheaper. If this will be your only machine, buy a combination model so you can make the item and then decorate it.
Prices and StitchScores reflect our most recent research and refresh on a cycle — confirm the live price before buying. We may earn a commission from affiliate retailers; it never changes what we recommend. See how we score gear.
Read next
Sewing Patterns for Beginners: How to Pick Your First One
How to choose your first sewing pattern: formats, what beginner really means, sizing versus ready-to-wear, ease, PDF or paper, and legit free patterns.
How to Bind a Quilt: Strips, Corners and a Neat Finish
Learn to bind a rectangular quilt: calculate strips with diagonal join loss, sew mitered corners, join the tails, and choose a hand or machine finish.