How to Bind a Quilt: Strips, Corners and a Neat Finish
Our picks, at a glance
- #3
MumCraft Multipurpose Sewing Clips, 100 Pack
$5.69StitchScore 92 4.8 out of 5 stars · 45,086 ratings
- #6
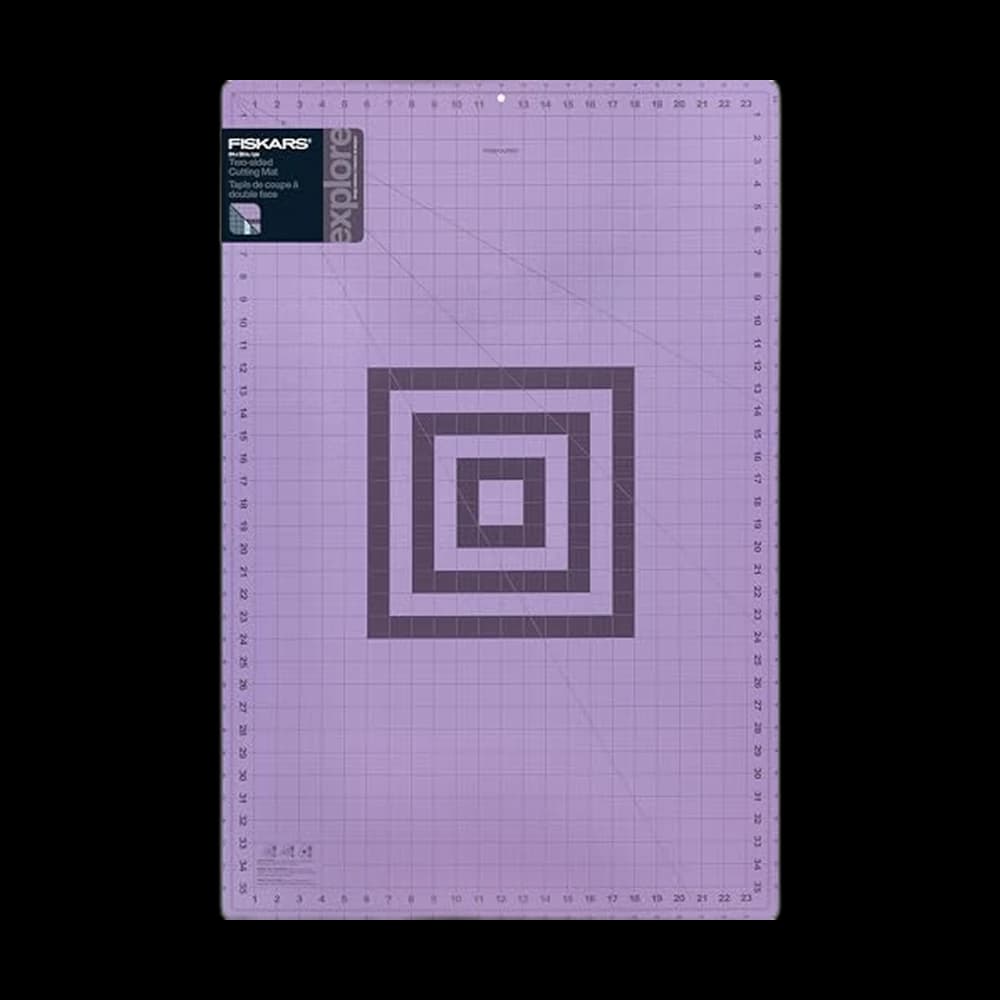
Fiskars 24" x 36" Self Healing Cutting Mat
$49.98StitchScore 77 4.7 out of 5 stars · 20,378 ratings
Start with a quilt that is already quilted, not just a pieced top. Binding wraps the exposed edges of the quilt sandwich. This walkthrough uses crossgrain, double-fold binding on a rectangular quilt; curved edges need a different cutting plan. If those terms are unfamiliar, begin with the beginner quilting guide.
Gather the tools you will actually use
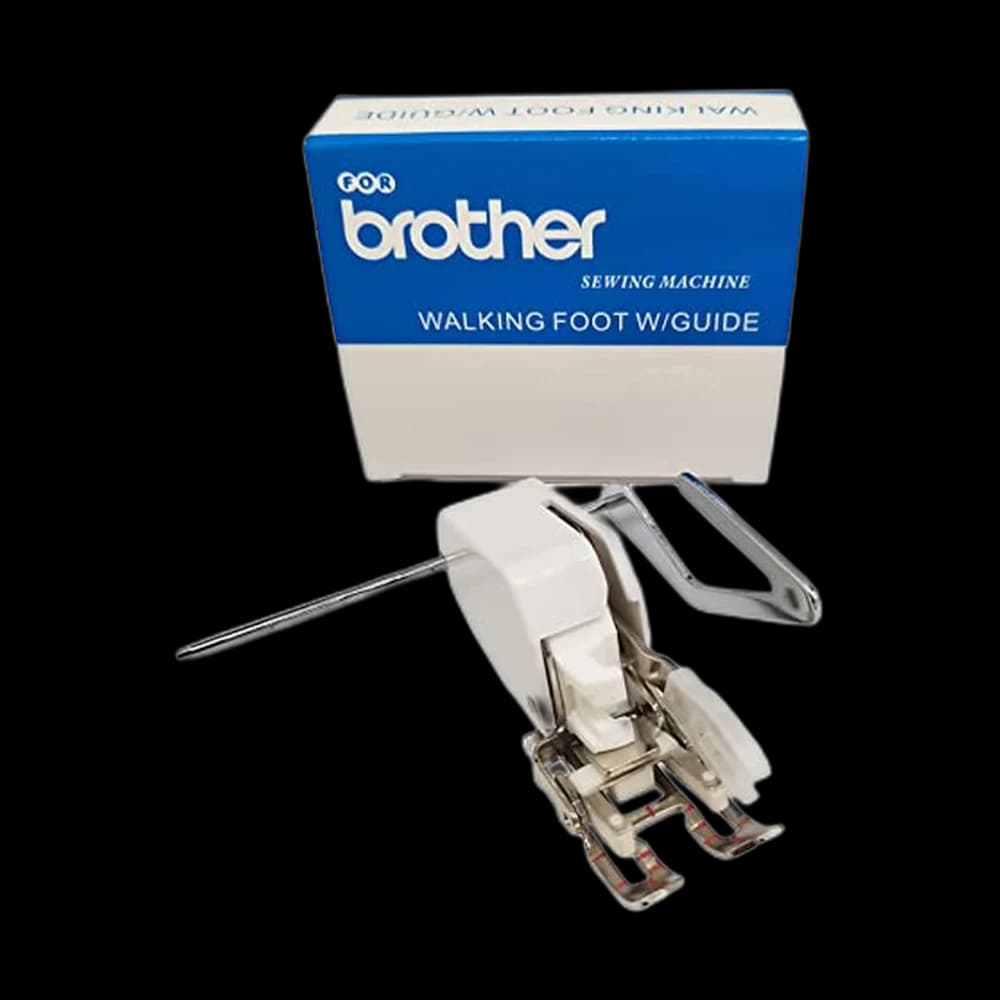
Keep your existing tools if they do the job. Check the machine manual before buying or fitting anything from the walking-feet shelf: a shared brand name does not establish compatibility.
- The Fyroxx Open Toe Walking Foot listing specifies mainstream 7mm low-shank machines and excludes high-shank, slant-shank, older and industrial models. The HONEYSEW Open Toe Walking Foot with Guide lists low-shank models across several brands. Confirm your exact model, rather than treating either claim as universal.
- MumCraft sewing clips, 100 pack hold the folded edge while you work. The pins-and-clips shelf covers alternatives; you do not need all 100 clips on one quilt.
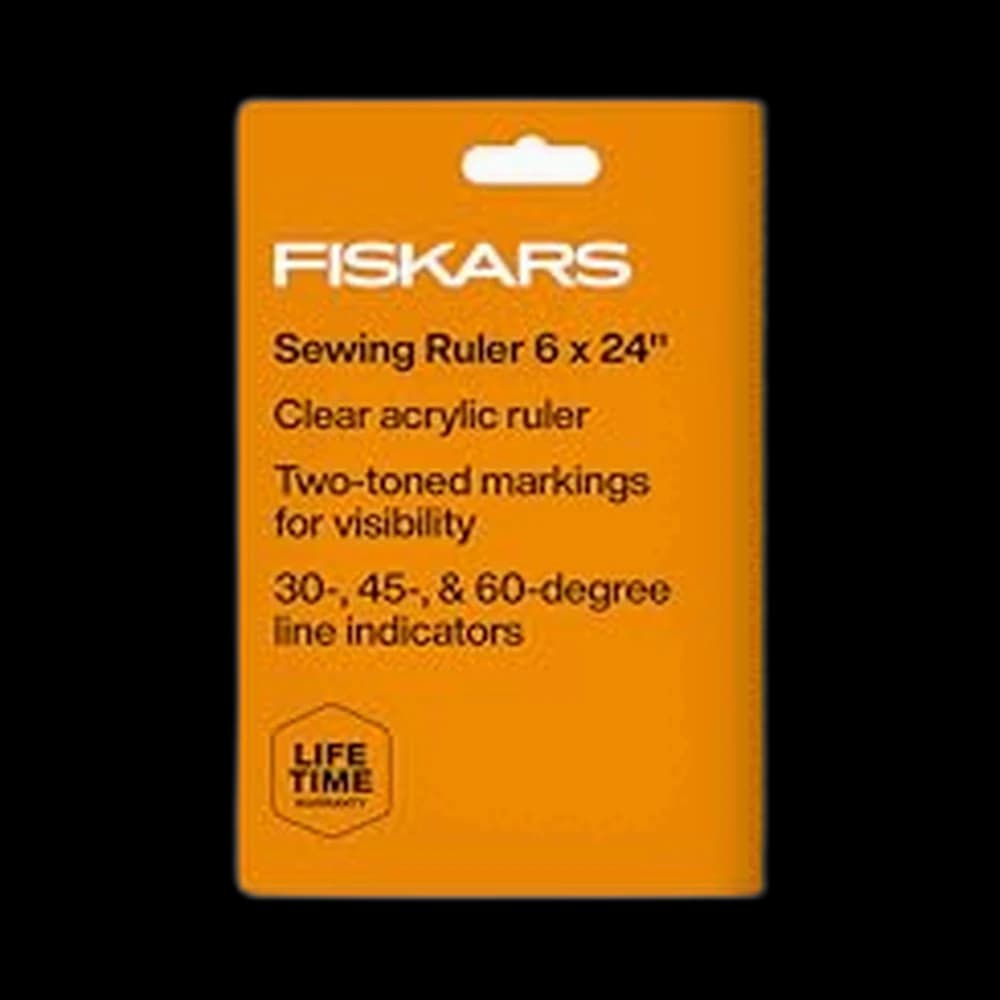
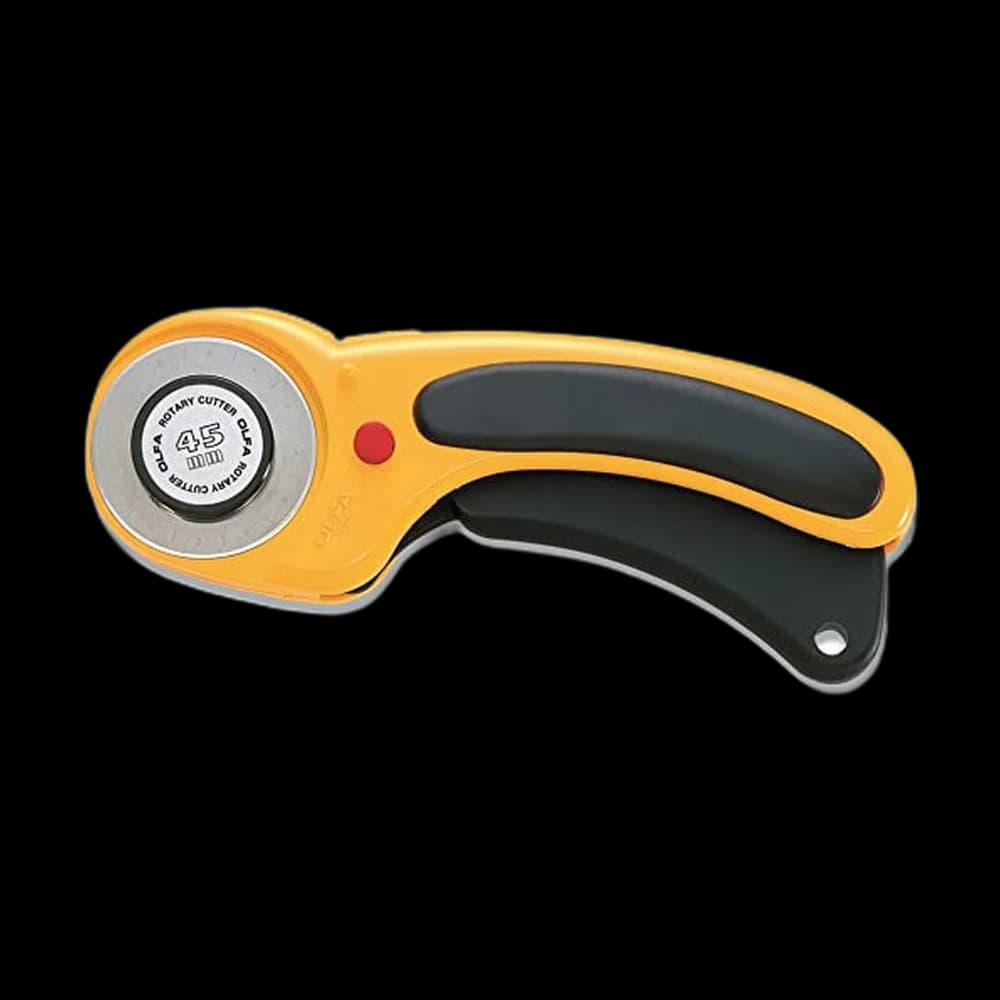
- For cutting, the OLFA 45mm Squeeze-Handle Rotary Cutter and Fiskars 45mm Rotary Cutter are two existing rotary-cutter options. Pair one with the Fiskars 24-by-36-inch cutting mat and Fiskars 6-by-24-inch quilting ruler. Our cutting mats and quilting rulers shelves explain the different sizes.
What we'd buy for this
One pick per category, chosen from the research pages linked in this piece. Borrow before you buy — nothing here is required to start.
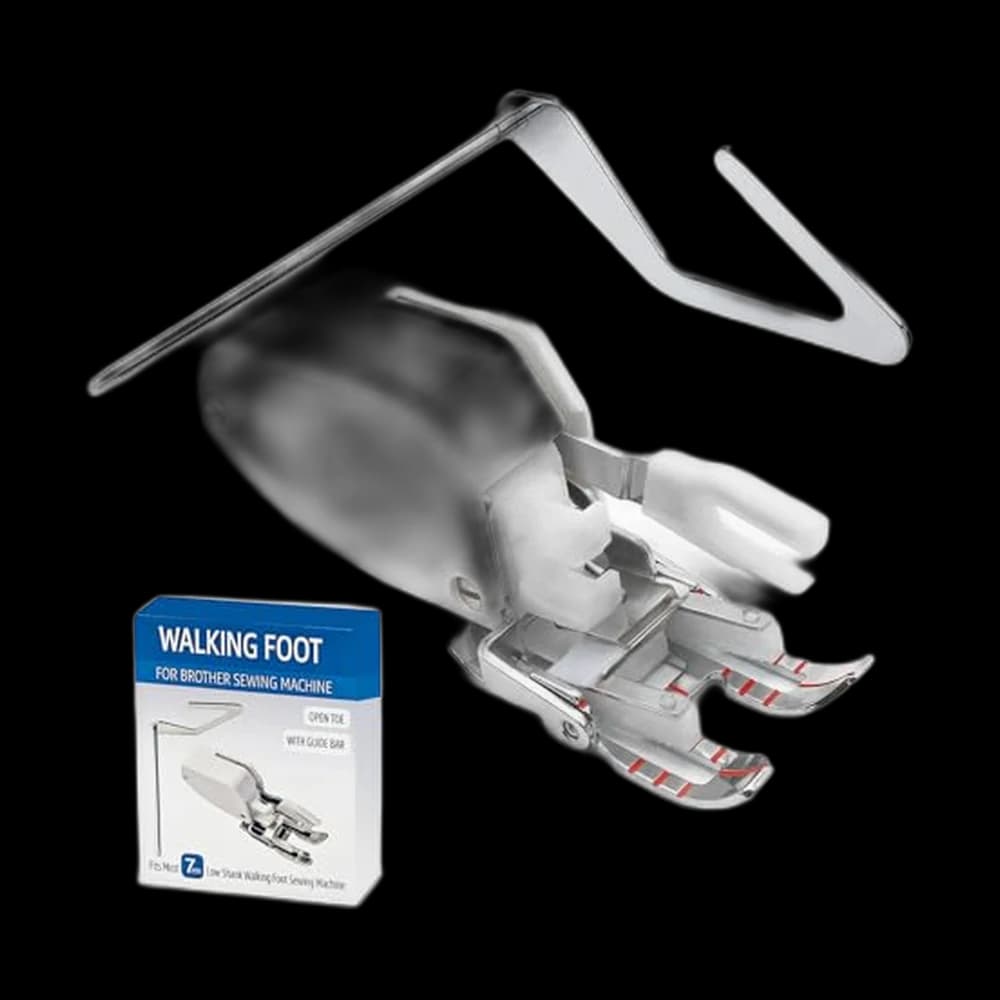 Walking Feet
Fyroxx$8.49 4.4 out of 5 stars · 96 ratings
The least expensive pick in this category, which makes it the low-risk way to find out whether you'll keep at it.
 Pins & Fabric Clips
MumCraft 100$5.69 4.8 out of 5 stars · 45,086 ratings
Priced in the lower half of this category.
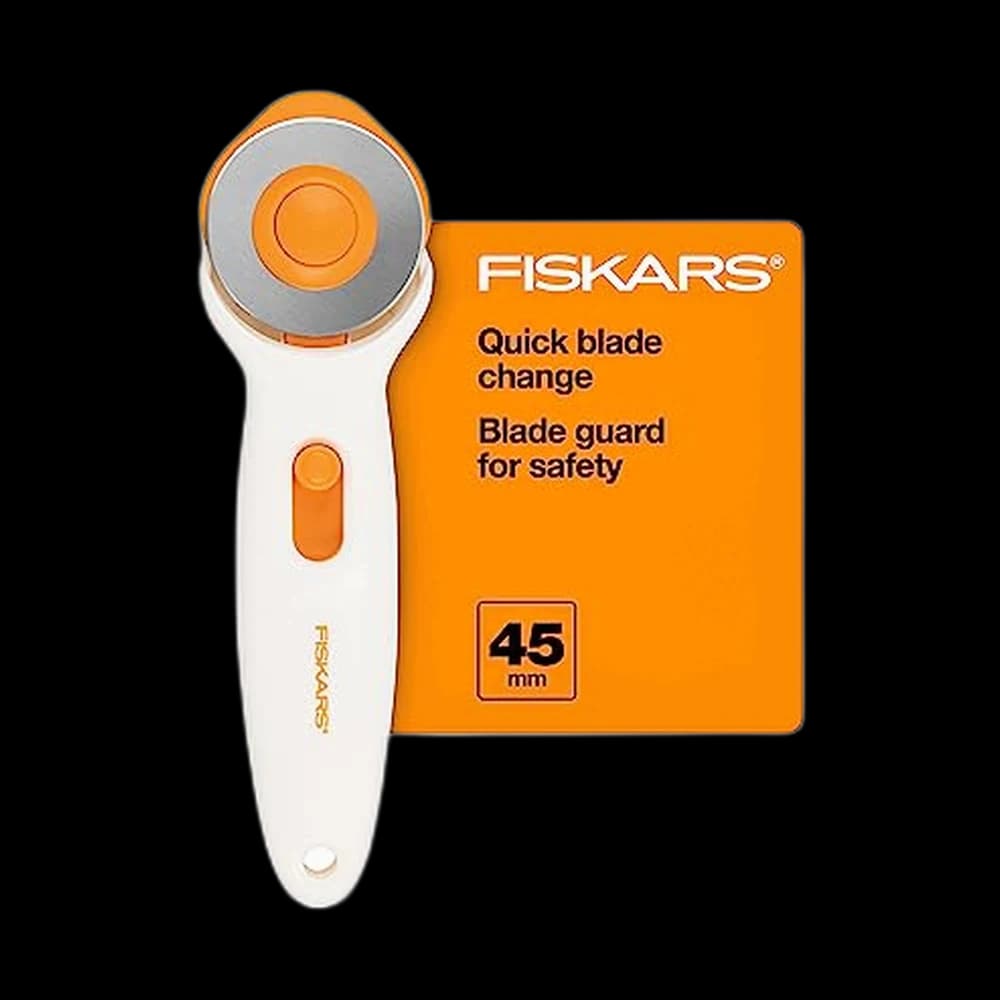 Rotary Cutters
Fiskars 45mm$10.98 4.6 out of 5 stars · 2,112 ratings
Researched from listings, specs and owner feedback — never hands-on testing. We may earn a commission; it never changes a pick.
Work out the strips before cutting
Use 2.5-inch-wide strips and 40 inches of usable width, measured after removing the selvages. The width is a planning assumption, not a promise about every bolt. Utah State University's binding guide uses 40 usable inches; narrower fabric needs more strips.
These examples use the explicit typical finished dimensions in our quilt-size chart, not the largest quilt in each range. That chart carries the full range table.
- Target length: twice the width plus twice the length, then add 12 inches for corners, handling and the final end join. Twelve is our working allowance; published methods vary.
- Joined length: strips × 40 − (strips − 1) × 2.5. Each intermediate diagonal join consumes one strip width. Choose the smallest whole strip count that reaches the target.
- Fabric to buy: strips × 2.5, plus our 2-inch allowance to straighten the cut edge; divide by 36 and round upward to the next eighth yard.
| Worked size, inches | Perimeter | Target with 12-inch extra | Strips | Joined length | Binding fabric |
|---|---|---|---|---|---|
| Baby / crib, 40 × 52 | 184 | 196 | 6 | 227.5 | ½ yd |
| Lap / throw, 60 × 72 | 264 | 276 | 8 | 302.5 | ⅝ yd |
| Queen, 90 × 100 | 380 | 392 | 11 | 415 | ⅞ yd |
For the throw, seven strips produce only 265 inches after joins: enough for the bare perimeter, short of the working target. Buy ¾ yard if your shop sells only quarter-yard increments. These amounts exclude backing; the backing and binding calculator lets you change dimensions and allowances, with its own stated rounding settings.
Steps 1–3: trim, cut and press
- Square the finished sandwich. Trim excess backing and batting flush with the quilt top, keeping the edge straight and corners square. Do not cut away points unintentionally. A ruler that spans the folded fabric helps you keep successive cuts parallel.
- Cut and join the strips. Cut across the fabric width, removing selvages. Put two ends right sides together at right angles. Sew corner-to-corner across the overlap, open the strips to check they form one straight length, then trim the excess to a quarter-inch seam allowance. Repeat for every strip. This diagonal seam spreads the bulk; it does not turn crossgrain fabric into bias binding.
- Press the joins open, then fold. Fold the long strip lengthwise with wrong sides together and raw edges matching. Press the fold without stretching it. The Sewing & Craft Alliance guideline illustrates this preparation.
Steps 4–6: attach and turn the corners
- Position the binding on the front. Match its two raw edges to the quilt's raw edge. Lay it around the perimeter first and shift the starting point if a strip join lands on a corner. Leave roughly 6–7 inches of starting tail loose, as Utah State's method does.
- Begin on a straight side. Sew a short section with a compatible walking foot and an approximately quarter-inch seam. Fold it over to check that it covers the edge and reaches beyond the attachment stitching on the back. Adjust before sewing the whole perimeter; batting thickness affects the fit.
- Make each miter. Stop one seam-allowance distance before the next edge and secure the stitching. Fold the loose binding up and away, making a 45-degree fold; then fold it back down so its raw edges align with the next side and the top fold aligns with the quilt edge. Start the next seam at that edge. Repeat at each corner.
Keep the closing area open: stop with about 12 inches of quilt edge still unsewn. Leave the ending tail loose too. You need working room to join the ends without twisting the strip.
Steps 7–8: close the loop and finish
- Join the tails. Lay both ends flat along the open edge. Trim so they overlap by the original cut strip width: 2.5 inches here, not the folded width. Open the tails, place them right sides together at right angles and sew the diagonal. Check the loop lies flat and untwisted before trimming to a quarter-inch allowance. Press open, refold and attach the remaining section.
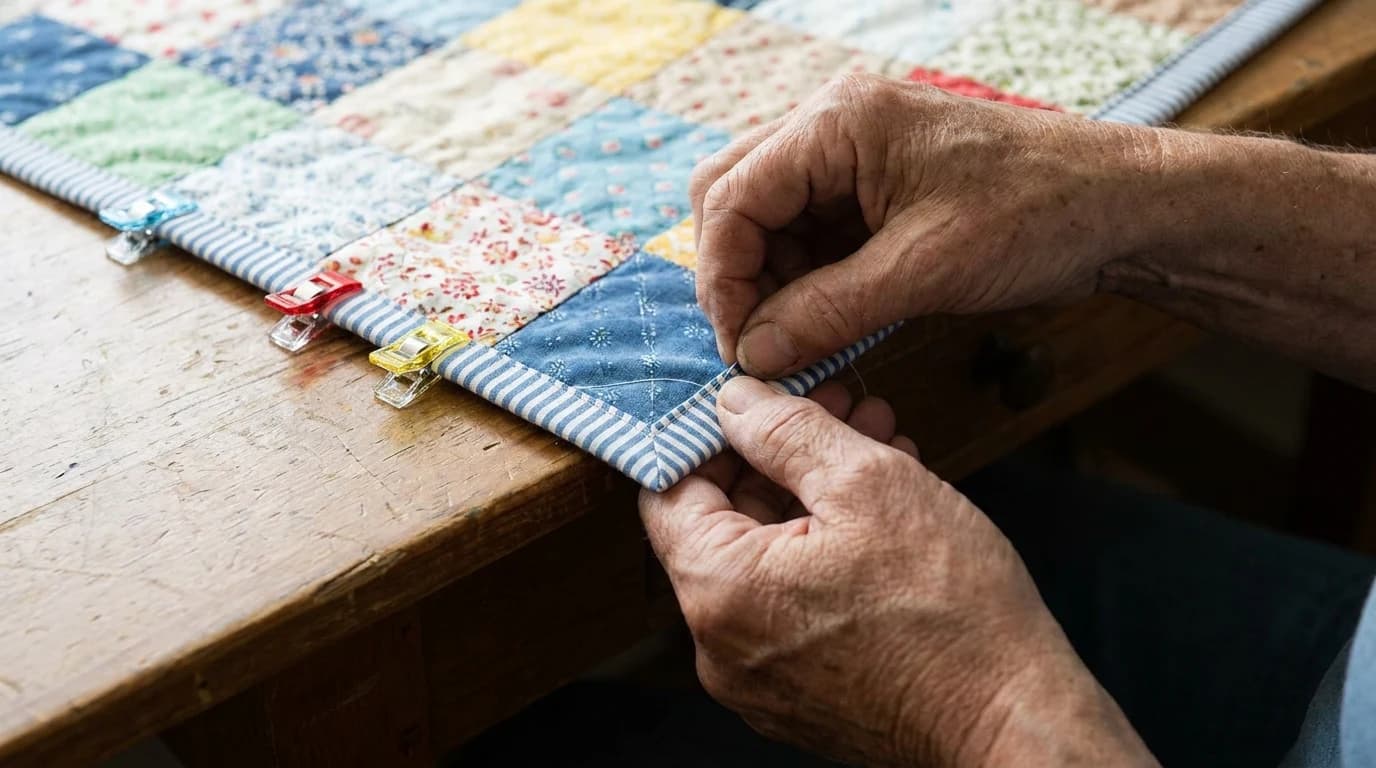
- Wrap and secure the folded edge. Turn the binding onto the back, covering the attachment seam. Form a diagonal miter at each corner and hold it with clips. Choose a finish below, removing clips before they reach the needle.
| Finish | Time and appearance | What to check |
|---|---|---|
| Hand, on the back | More individual stitches; tiny blind stitches can be inconspicuous from the front | Catch the backing and binding fold without going through the quilt front |
| Machine, on the back | Faster perimeter stitching; a stitch line will show somewhere on the front | Stitch close to the folded edge and check both sides for missed sections |
The June Thimble teaches both finishes. Neither needs a promised lifespan or a universal completion time. For the hand method, take a tiny stitch in the backing beside the fold, then a tiny bite through the binding fold; repeat and secure the thread. Our hand-stitch guide explains slip stitches.
Check the whole edge
- The binding covers every raw edge, with no missed stretches of stitching.
- The corners lie flat and the closing join has no twist.
- The fabric fills the binding rather than leaving a hollow fold.
If a section looks wonky, unpick that section and redo it. You do not need to restart the quilt. For the steps before binding, our free beginner quilting course keeps the sequence in one place.
Frequently asked
Does a rectangular quilt need bias binding?
Crossgrain strips work for square or rectangular edges. Curves and scallops need bias-cut binding so the fabric can follow the shape. A diagonal joining seam alone does not make a strip bias-cut.
Is 2.5-inch binding always the right width?
No. Strip width and attachment seam work together with the thickness of the quilt sandwich. Try a short section first: the wrapped fold should cover the attachment stitching without leaving an empty tube.
Should a first binding be finished by hand or machine?
Choose the finish you want to work on. Small blind stitches can be inconspicuous from the front; machine finishing is faster but leaves a visible line somewhere. Check that the folded edge is caught throughout either way.
Sources & further reading
Where our guidance rests on a fact, here is where that fact comes from.
- Sewing & Craft Alliance — Binding a Quilt — Crossgrain versus bias, diagonal seams and double-fold preparation.
- Utah State University Extension — Binding a Quilt — Usable fabric width, attachment fit check and mitering sequence.
- The June Thimble — Preparing and Attaching Binding — Strip widths and final tails overlapping by cut strip width.
- The June Thimble — Binding by Hand — Blind stitches and holding the turned edge with clips.
- The June Thimble — Binding by Machine — Machine finishing and visible stitch lines.
Prices and StitchScores reflect our most recent research and refresh on a cycle — confirm the live price before buying. We may earn a commission from affiliate retailers; it never changes what we recommend. See how we score gear.
Read next
Rotary Cutter vs Scissors: Which to Cut Fabric With
Scissors cut curves and need nothing. A rotary cutter cuts long straight lines and needs a mat and a ruler. Which to buy first, and when to add the trio.
How to Sew a Christmas Stocking: Draft Your Own Pattern
Draw your own boot-shaped stocking template in any size, then sew a lined stocking with a cuff and a hanging loop. No PDF download, no printer needed.