Beginner Quilting Guide: A First Quilt, Start to Finish
Our picks, at a glance
- #4
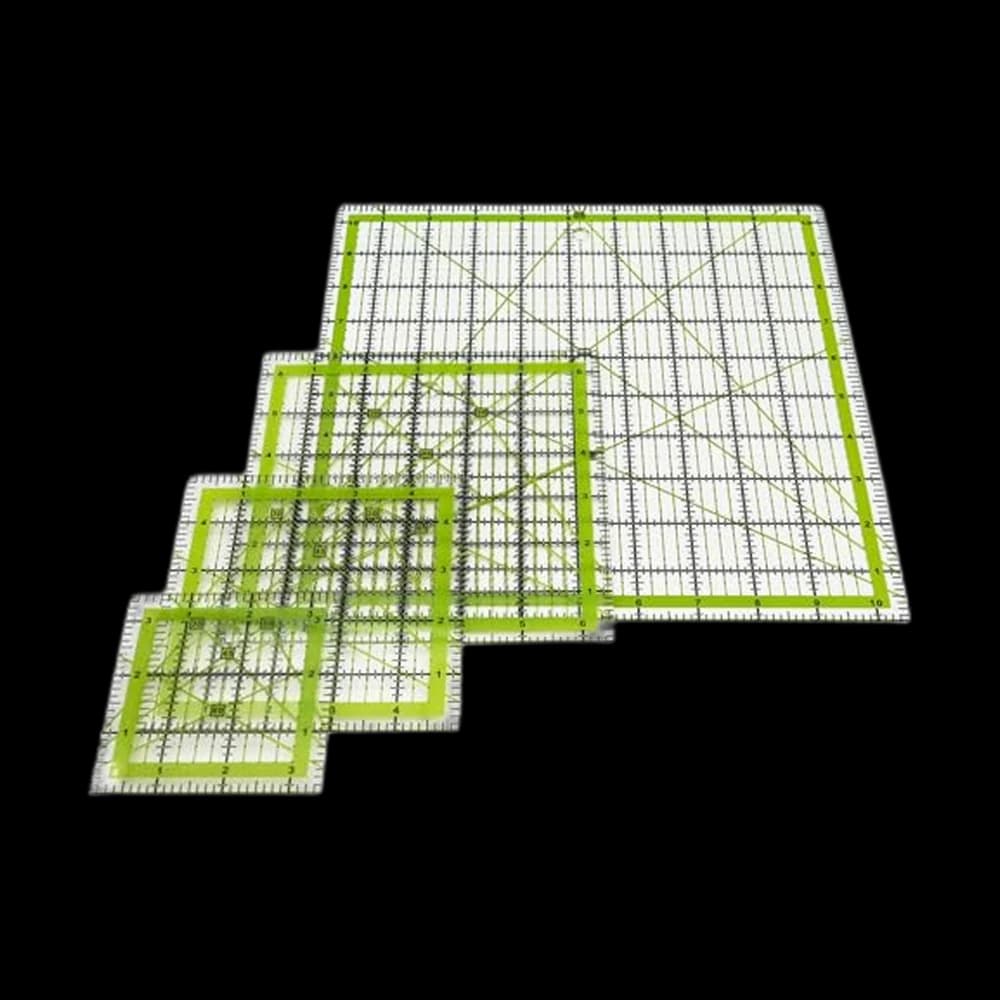
LINXIAO 4 Piece Acrylic Square Quilting Rulers
$9.99StitchScore 93 4.8 out of 5 stars · 1,141 ratings
- #5
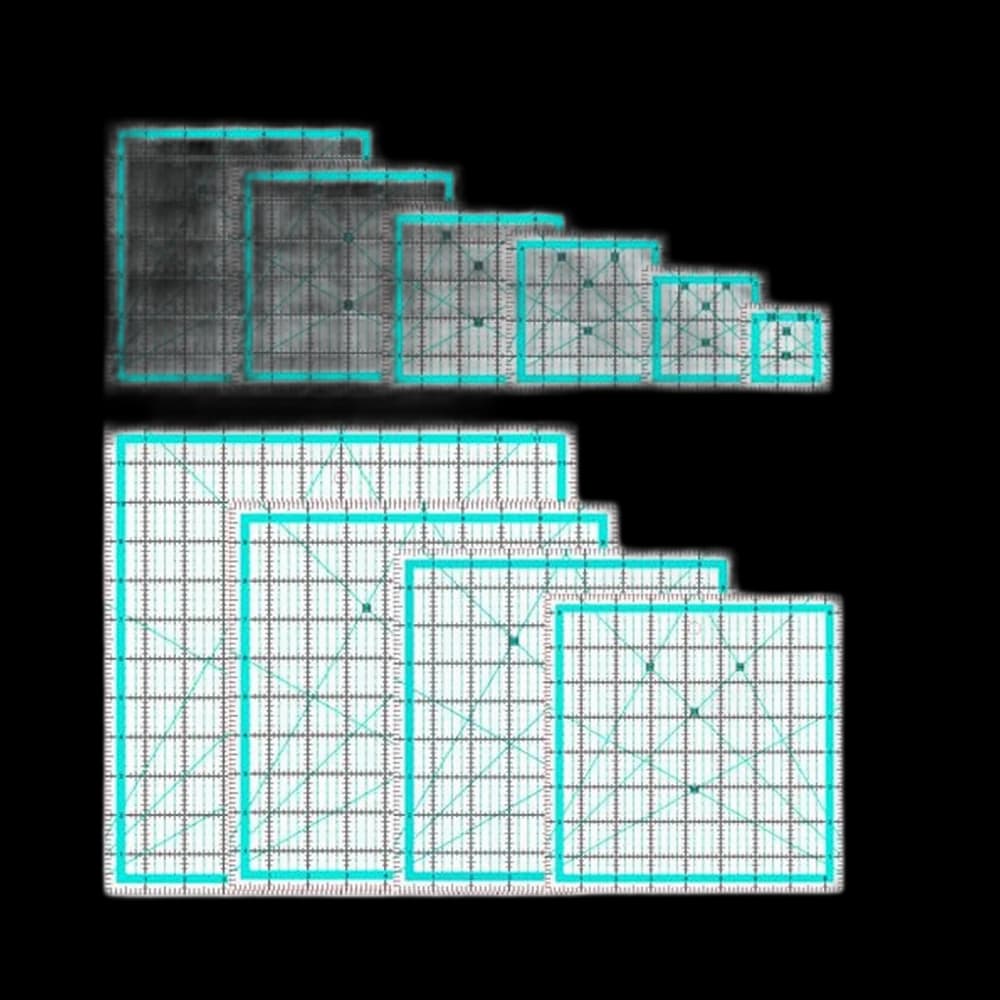
ZICALSO Quilting Square Ruler Set (10 Rulers)
$20.99StitchScore 84 4.8 out of 5 stars · 352 ratings
The short version
- A quilt is a sandwich: pieced top, batting, backing. Sewing the top is piecing; stitching through all three layers is quilting.
- Your ordinary domestic machine is enough for a first quilt — a walking foot is the one accessory that changes the result.
- The rotary cutter, self-healing mat and acrylic ruler work as one system; buying two of the three is buying none of them.
- Buy one long 6-by-24-inch ruler first, like the MANUFORE at about $20, because it crosses folded quilting cotton in a single cut.
- Press every seam as you go, alternating direction row to row so the seams nest when rows meet.
- Basting is the boring step that decides everything: any wrinkle left in the backing becomes a permanent pleat.
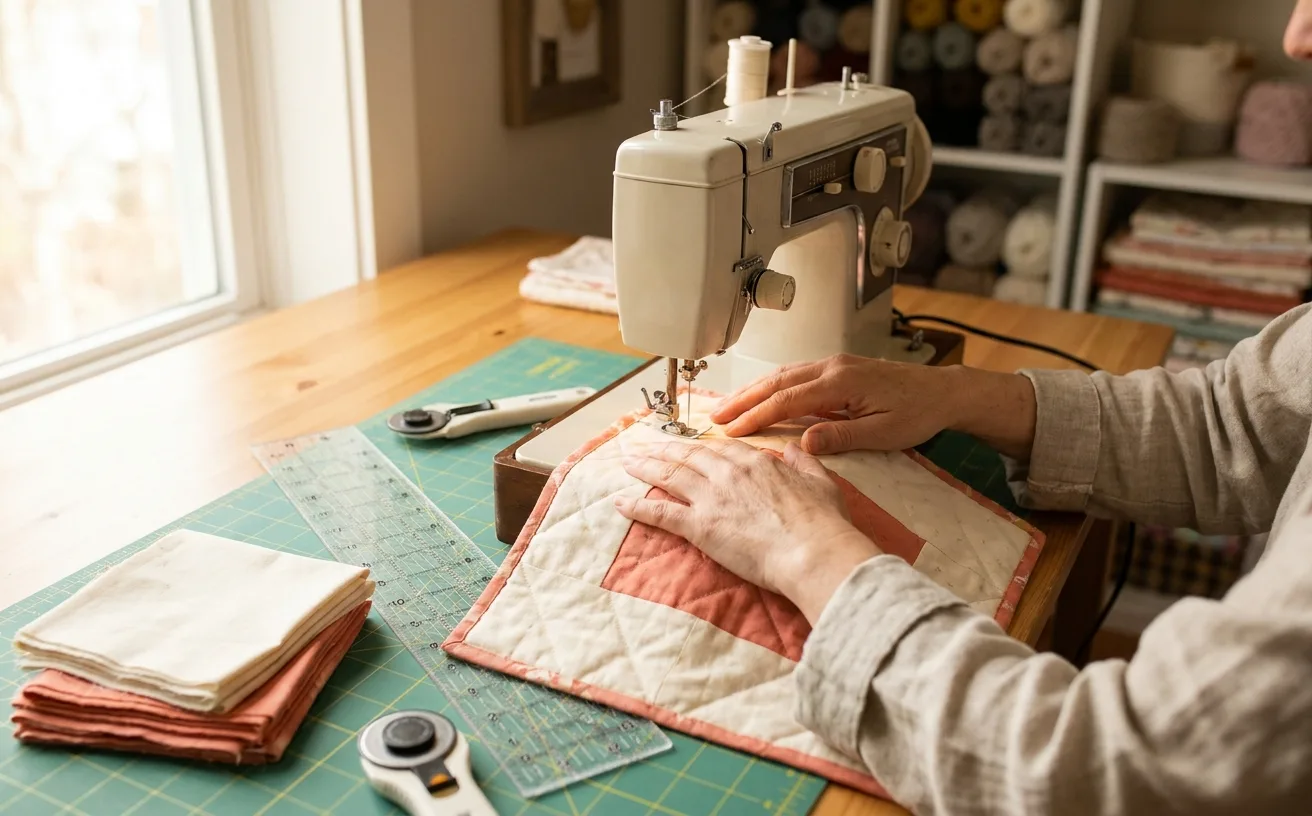
A first quilt sounds like a year of work, and it is mostly three layers and a lot of straight lines. The mythology around quilting — hand-pieced hexagons, longarm machines, a guild that has been meeting since before you were born — belongs to a craft that is genuinely deep. None of it is the entry point. The entry point is a baby-sized quilt made of squares, sewn on the machine you already own, with a quarter-inch seam and more ironing than you expect.
This guide runs one all the way through:
- What a quilt actually is
- Why your regular machine is enough
- The three cutting tools that make the whole thing possible
- Piecing a simple patchwork top
- Basting the layers
- Quilting straight lines
- Binding the edge
It sits at Level 3 of The Pattern and assumes you can sew a straight seam and change a needle. Your first quilt will have points that do not meet. Everyone's did.
What a quilt actually is
Three layers, stitched together:
- The top — the decorative, pieced side. On a first quilt this is squares of cotton sewn into rows, and rows sewn into a panel.
- The batting — the fluffy middle layer that makes a quilt a quilt rather than two sheets. Cotton, cotton-poly blends and wool all behave differently, and the packaging states a maximum distance between lines of quilting; that number is the one spec worth reading before you buy, because it decides how much stitching you have to do. Start in quilt batting with a low-loft cotton or 80/20 blend — it is thin, it grips the fabric layers, and it is forgiving under a domestic machine.
- The backing — one piece of fabric on the underside, cut a few inches bigger than the top on every side so you have room to shift.
Stacked, those three are a quilt sandwich. Stitching through all three is quilting. Sewing the top together is piecing. Two different jobs, and people use the words interchangeably in front of beginners without noticing.
What we'd buy for this
One pick per category, chosen from the research pages linked in this piece. Borrow before you buy — nothing here is required to start.
 Quilt Batting
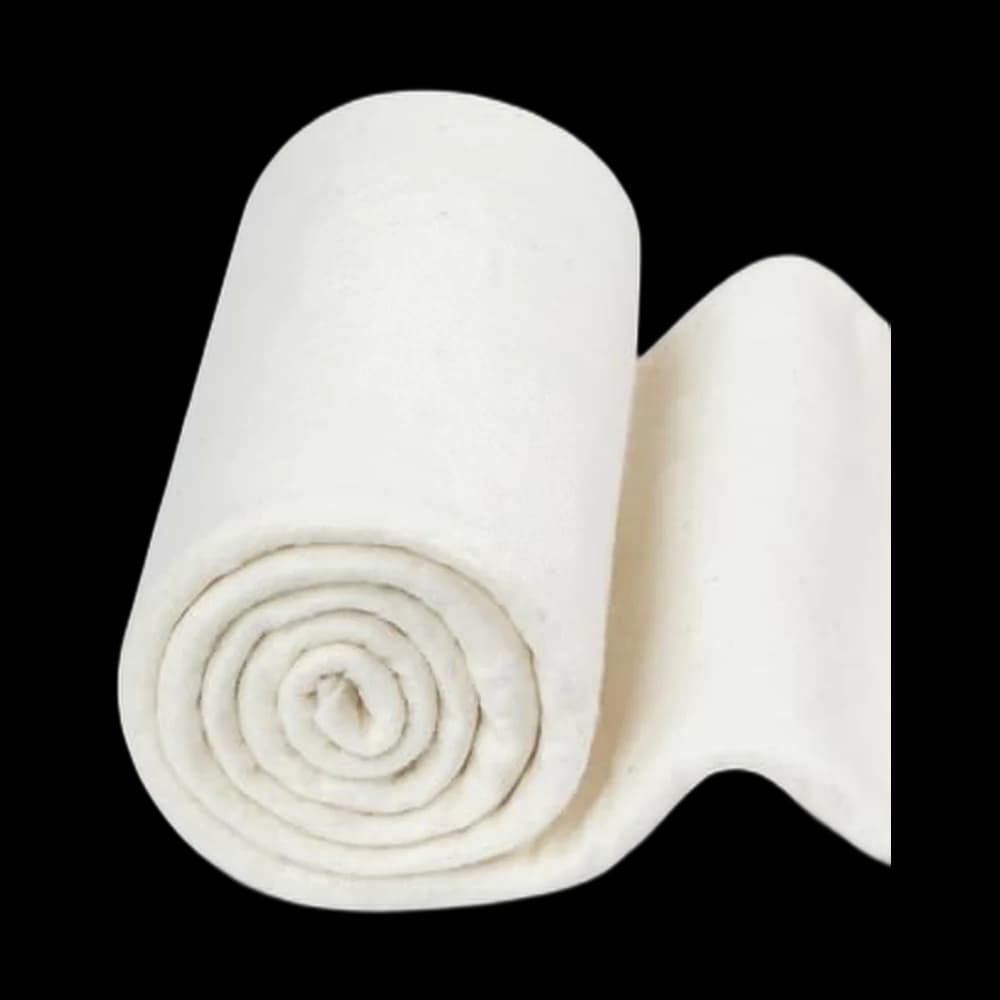
FIVEIZERO 100%$9.99 4.7 out of 5 stars · 502 ratings
The least expensive pick in this category, which makes it the low-risk way to find out whether you'll keep at it; cotton batting, which quilts flat and softens with washing; low loft, which is the easier one to feed through a domestic machine.
 Quilting Machines
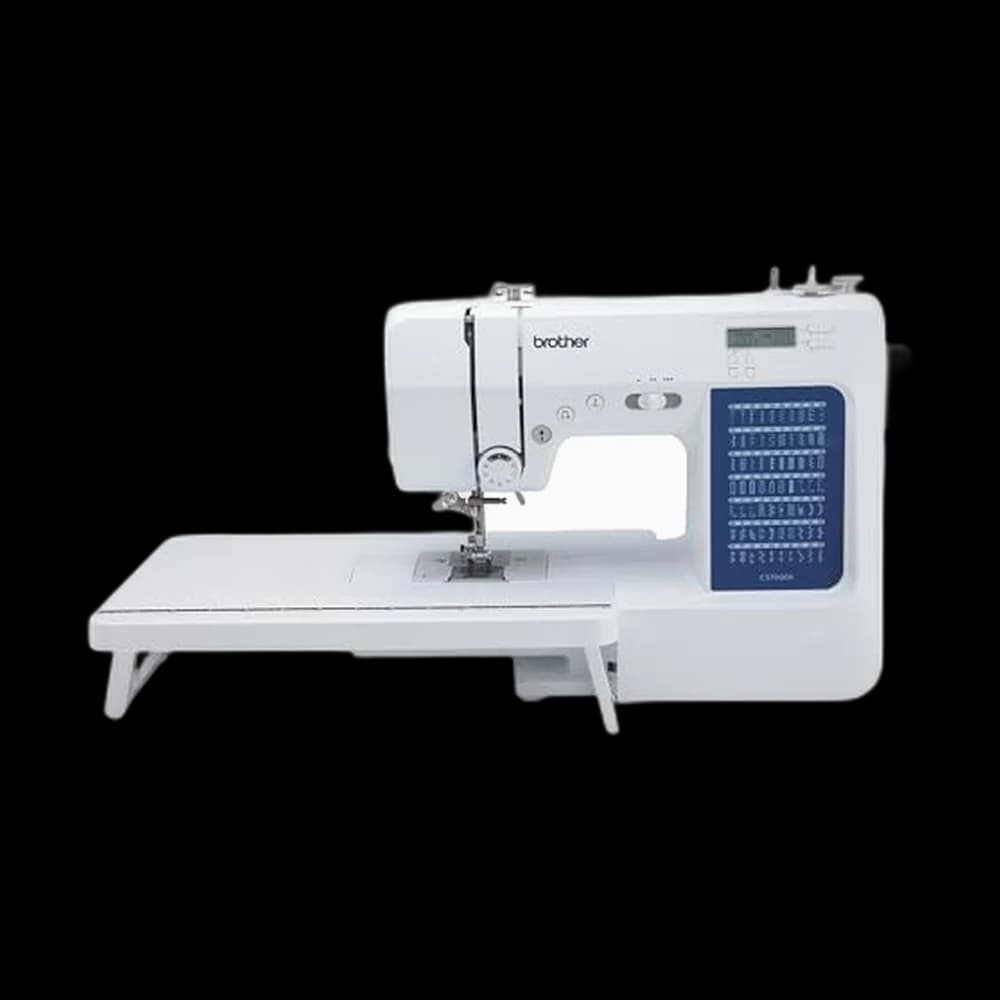
Brother CS7000X$249.99 4.6 out of 5 stars · 3,626 ratings
Your first quilt on a machine that still does everything else — the listing includes the wide table, ten feet and a quilt guide, and its 70 stitches cover quilting and everyday sewing on one machine.
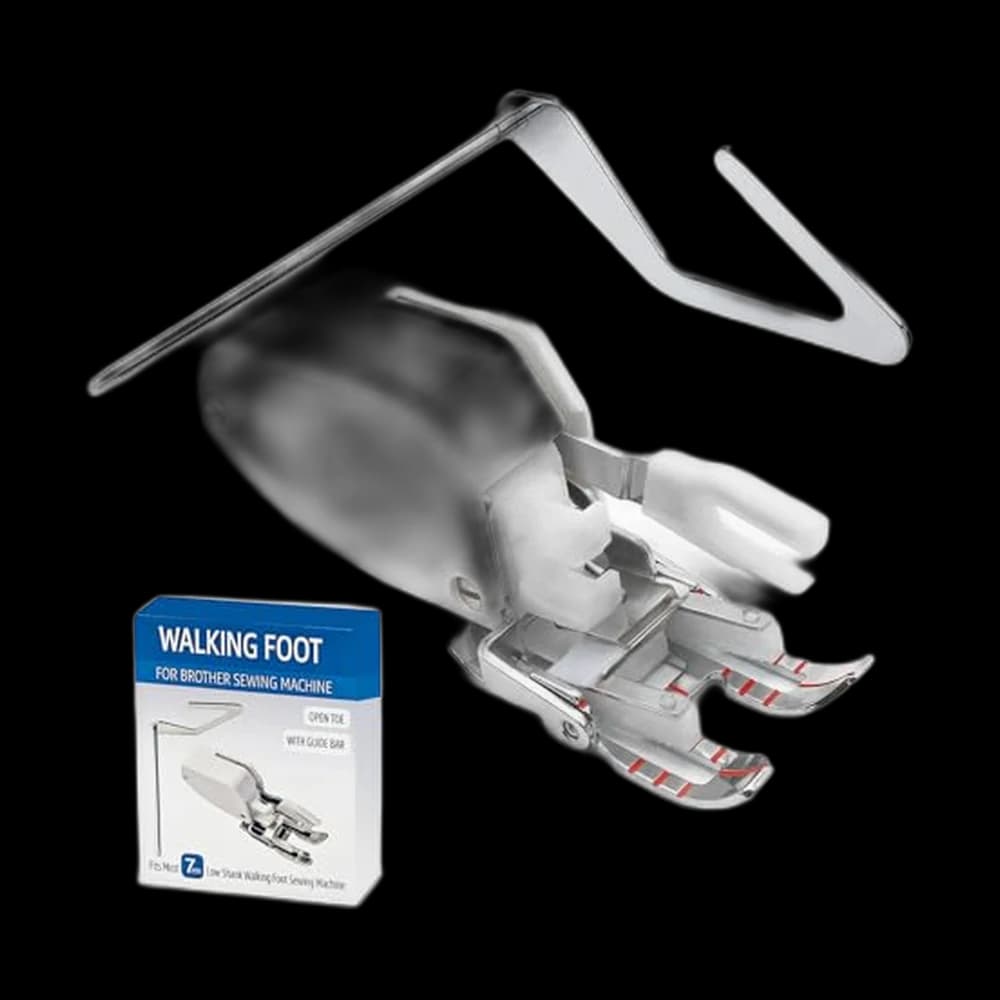 Walking Feet
Fyroxx$8.49 4.4 out of 5 stars · 96 ratings
Researched from listings, specs and owner feedback — never hands-on testing. We may earn a commission; it never changes a pick.
Batting, briefly
The packet tells you more than the fibre name does. Three numbers matter: loft (how thick and puffy), shrinkage in the first wash, and the maximum quilting distance, the furthest apart your lines of stitching can be before the batting shifts and clumps inside. That last one is set by each product, not by the fibre, so read your own packet. Here is what the makers themselves publish for one common batting of each kind:
| Batting | One maker's version | Loft | Shrinkage | Quilt lines up to | What it is like |
|---|---|---|---|---|---|
| Cotton | Warm and Natural, The Warm Company | Low and flat | About 3% in a cold first wash, 5% in warm | 10 in apart | Breathable, drapes, crinkles after washing |
| 80/20 cotton-poly | Heirloom Premium 80/20, Hobbs | About 1/8 in | 3 to 5% | 4 in | More loft and less weight than all-cotton, per Hobbs |
| Polyester | Poly-Down, Hobbs | About 1/4 in | None expected | 4 in | Light and puffier, keeps its size in the wash |
| Wool | Tuscany 100% Wool, Hobbs | 1/4 to 3/8 in | 3 to 5% | 4 in | Springy and warm, and Hobbs says it holds no crease memory |
| Bamboo blend | Dream Bamboo, Quilters Dream | Not stated as a figure | Minimal, per the maker | 8 in | Bamboo with silk, Tencel and cotton; a silky drape |
Two things to take from it. The fibre does not fix the distance: Warm and Natural allows 10 inches while Hobbs's cotton battings ask for 4, so the packet wins every time. And a 3 to 5 percent shrink is a look, not a fault — it is the crinkle that makes a washed quilt look like a quilt. If you want none, polyester is the one that stays put.
For a first baby quilt, a low-loft cotton or 80/20 from quilt batting is the easy choice: thin enough for a home machine, and grippy enough that the layers do not slide while you baste.
Your regular machine is already a quilting machine
You do not need a dedicated quilting machine for a baby quilt. A domestic machine that sews a straight stitch will piece a top perfectly well, because piecing is nothing but straight seams on flat cotton — the easiest sewing there is.
Do you need a quilting machine?
Not for a lap quilt, no. What a dedicated quilting machine buys you is throat space — the gap between the needle and the body of the machine, which is what a rolled-up quilt has to pass through. On a baby or lap quilt there is barely anything to roll. On a queen there is a great deal, and that is where the extra inches stop being a spec and start being the difference between quilting it yourself and paying somebody. Make the small one first, and find out whether you want the big one.
The one accessory that changes the outcome
A walking foot. Your machine feeds fabric from underneath with the feed dogs, and the presser foot just holds it down. With three layers, the bottom layer gets pulled along and the top layer lags, which is how you end up with pleats and a puckered back. A walking foot adds a second set of feed dogs on top, so all three layers move together.
Look through walking feet for one that matches your machine's shank type — this is the accessory most worth checking compatibility on, since a generic listing that fits nearly all machines does not fit every one of them.
Beyond that:
- A fresh universal needle
- Cotton thread in a colour that disappears into your fabric
- A bigger flat surface than you think you need
The rotary cutting trio
Quilting is precise because the cutting is precise. Scissors wander; a rotary cutter run along a ruler does not. Three tools work as one system, and buying two of the three is buying none of them.
- A rotary cutter — a circular blade on a handle that slices through several layers at once. A 45mm blade is the standard all-rounder. See rotary cutters. Retract the blade every single time you set it down; this is the tool in the room that will actually hurt you.
- A self-healing cutting mat — the surface that protects your table and your blade. Bigger is better, and the printed grid does half the measuring for you. Browse cutting mats, and measure your table before you fall in love with a large one.
- An acrylic ruler — thick enough that the blade rides along the edge instead of climbing over it. This is the piece beginners under-buy.
Which rulers to start with
Our picks come from the quilting rulers category, researched from manufacturer listings and published specs rather than from cutting with them ourselves.
| Ruler | About | Best for | Listed features |
|---|---|---|---|
| MANUFORE 6-by-24-inch | about $20 | The one ruler to buy first | Non-slip coated surface |
| Fiskars 6-by-24-inch | about $21 | Light and dark fabric alike | Two-toned markings; 30, 45 and 60 degree indicators |
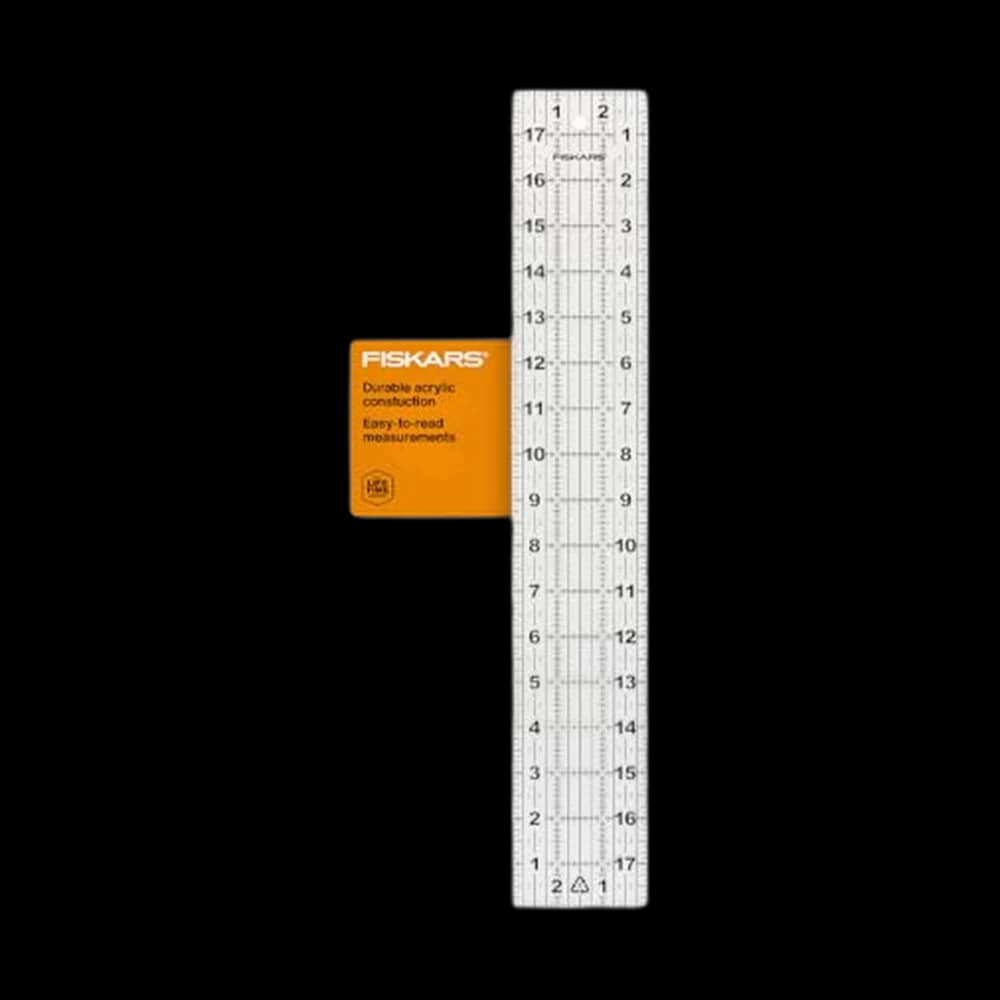
| Fiskars 3-by-18-inch | about $9 | Trimming, squaring, marking | Removable non-slip vinyl feet; highlighted seam allowances |
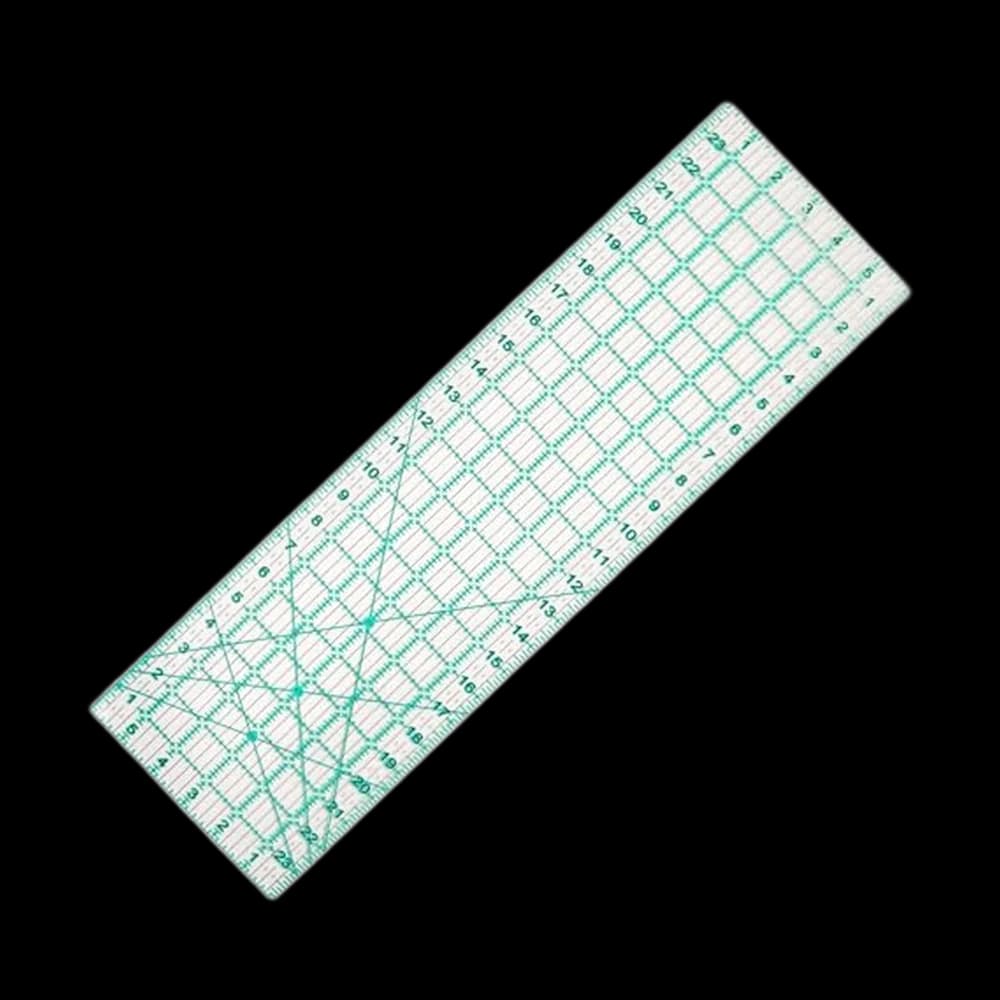
| LINXIAO 4-piece square set | about $10 | Trying block trimming cheaply | 3.5, 5, 6.5 and 10.5 inch squares in 1/8-inch increments; green high-contrast markings |
| ZICALSO 10-piece square set | about $21 | Once squares are your thing | 2.5 inch up to 12 inch; non-slip rings |
That 24-inch length is not arbitrary: quilting cotton comes off the bolt around 42 inches wide, and folded selvedge to selvedge it is roughly 21 inches — so a 24-inch ruler crosses the folded width in a single pass. The MANUFORE's non-slip coating matters more than any other feature on a ruler, because a ruler that creeps mid-cut ruins the strip and puts the blade somewhere it should not be.
- Fiskars 6-by-24-inch does the same job for a couple of dollars more. If you already trust Fiskars from their scissors, that is a reasonable place to spend the difference.
- Fiskars 3-by-18-inch is the small companion, not a substitute. It is too short to cross folded yardage, but it is the one you reach for constantly.
- The square sets are for squaring up blocks — the LINXIAO is the cheapest way to find out whether you like block trimming enough to want more; the ZICALSO earns its place only once you know.
A realistic first purchase is one long ruler plus the small Fiskars. Add squares later, when a project asks for them.
Piecing a simple patchwork top
Cut a stack of squares — 5-inch or 6.5-inch is a forgiving size — in two or three cotton prints. For a baby quilt, a grid of roughly 6 by 7 squares gets you there. For anything larger, work backwards from how big your first quilt should be — the finished sizes, and the batting and backing each one eats, are all in one chart.
Then:
- Sew a quarter-inch seam. Quilting's entire measurement system assumes it. Many machines have a 1/4-inch guide marked on the needle plate, and a quarter-inch presser foot makes it automatic.
- Chain piece. Feed pair after pair through the machine without cutting the thread between them. You get a string of joined units and save an astonishing amount of time.
- Press every seam as you go — and press rather than iron. Lift and set the iron down instead of dragging it, or the bias in the fabric stretches. Press the seams within a row all one direction, alternating direction row to row, so they nest into each other when the rows meet.
- Join the rows, pinning at every seam intersection.
Points that do not quite meet are normal, and largely invisible once the quilt is finished and washed.
Basting the sandwich
- Lay the backing face down on a hard floor and tape the edges taut but not stretched.
- Smooth the batting on top, then centre the quilt top face up.
- Working from the middle outward, pin through all three layers with curved safety pins every four inches or so.
Spray basting adhesive is the faster alternative if you have good ventilation.
Any wrinkle you leave in the backing here becomes a permanent pleat after quilting. This is the boring step that decides how the finished quilt looks.
Quilting and binding
Quilting the lines
Fit the walking foot, roll the quilt loosely to fit through the throat of the machine, and sew straight lines. Start with a line down the middle, then work outward alternating sides, so any easing is pushed toward the edges rather than piling up at one end. Lines every two to four inches suit most cotton batting, but check what the packaging says. Straight-line quilting is not a beginner's compromise — it is what a great many finished quilts use.
Binding the edge
Binding is the fabric strip that wraps the raw edge:
- Cut 2.5-inch strips across the fabric and join them end to end on the diagonal into one long strip. How many strips your size needs, allowing for the length each join eats, is in the binding table of the quilt size chart.
- Press it in half lengthwise, wrong sides together.
- Trim the batting and backing level with the quilt top.
- Starting partway down one side, not at a corner, sew the binding's raw edges to the front of the quilt with a quarter-inch seam, leaving a tail of about 8 inches loose.
- At each corner, stop a quarter inch before the edge and backstitch. Fold the binding up and away at 45 degrees, then back down on itself so the fold sits level with the edge you just sewed, and start sewing again from the top. That fold is the mitre.
- Stop about 10 inches short of where you began, join the two tails, and sew the last stretch down.
- Fold the binding to the back, over the raw edge, and stitch it down by hand or by machine. The mitres fold into place at the corners as you go.
Most first bindings go wrong by trying to do the whole thing in one pass. It is two: front first, then back. It is its own small skill and it deserves its own afternoon.
Then wash it. The batting shrinks a little, the seams crinkle, and most of the imperfections you have been staring at for a week disappear into texture.
Accurate cutting is most of quilting — and throat space is the one question quilting actually asks of a machine.
Frequently asked
Do I need a special quilting machine to make a quilt?
No. A domestic machine that sews a straight stitch will piece a top and quilt a baby-sized project perfectly well, because piecing is nothing but straight seams on flat cotton. A dedicated quilting machine buys you throat space and an extension table, which start to matter on a full-size quilt, not a first one.
What is a quilt sandwich?
It is the three layers stacked and ready to stitch: the pieced top facing up, batting in the middle, and the backing fabric face down underneath. The backing is cut a few inches larger on every side so you have room to shift. Once the layers are pinned or spray-basted together, sewing through all three is what quilting means.
What batting should I use for my first quilt?
A low-loft cotton or 80/20 cotton-polyester blend. Both are thin, grip the fabric layers and are easy to push through a home machine. Read the packet for two numbers: the maximum distance between quilting lines, which ranges from 4 inches on many battings to 10 on The Warm Company's Warm and Natural cotton, and the shrinkage, around 3 to 5 percent for cotton and blends and none expected for Hobbs's polyester. Choose the distance first, because it decides how much quilting you sign up for.
Which quilting ruler should I buy first?
One long ruler. A 6-by-24-inch acrylic ruler, like the MANUFORE at about $20 or the Fiskars at about $21, crosses folded quilting cotton in a single cut, which no shorter ruler can do. Add the small Fiskars 3-by-18-inch ruler at about $9 for trimming, and buy square rulers later when a project actually asks for them.
Why does my quilt pucker on the back when I quilt it?
Usually two causes stacked together. The layers were not basted flat, so a wrinkle in the backing got sewn in, and the top layer lagged behind the bottom one because a regular presser foot only holds fabric down while the feed dogs pull from underneath. A walking foot feeds all three layers at the same rate and largely solves it.
Do I have to quilt in fancy patterns?
Not at all. Straight-line quilting with a walking foot is what a great many finished quilts use, and it is the most forgiving option on a domestic machine. Space the lines to suit your batting — the packaging states a maximum distance between rows of stitching, and that number is the one to follow.
Prices and StitchScores reflect our most recent research and refresh on a cycle — confirm the live price before buying. We may earn a commission from affiliate retailers; it never changes what we recommend. See how we score gear.
Read next
Free Online Quilting Course for Beginners
A free, no-signup quilting course in eight lessons, from your first quarter-inch seam to a finished, bound 36-by-48-inch lap quilt, and the tools it needs.
Serger vs Sewing Machine: What Beginners Actually Need
A serger trims, sews and overlocks in one pass — but it cannot do zippers, buttonholes or topstitching. Why it is a second machine, not a first.