Quilted Lap Throw
Piecing, batting and a bound edge — quilting's whole grammar in one blanket.
- Equipment
- Sewing machine plus a walking foot and rotary cutter
- Materials cost
- $60–$112 in materials
- Assumes you can
- You have finished something from a simple pattern
- Full supply list
- Fat-quarter bundle, batting, backing fabric, a walking foot and a rotary cutter.
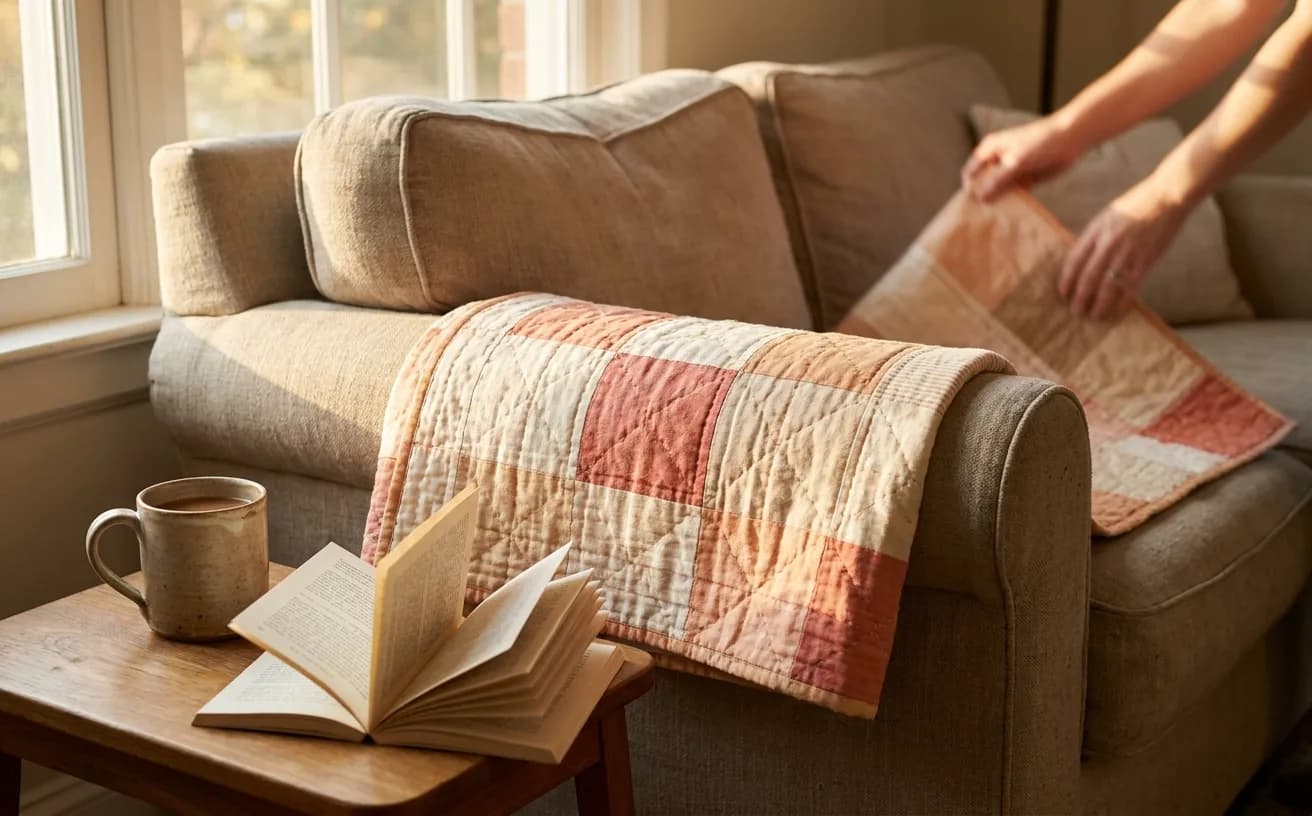
At the end of this you will have a real quilt: a 36-inch by 48-inch patchwork lap throw with batting in the middle and a proper bound edge, the kind of blanket that lives on the arm of a sofa for twenty years. It is the project where sewing picks up a grammar of its own — piece, layer, quilt, bind. Plan on a week of evenings, because a quilt is not hard so much as it is sequential, and every stage rewards being fresh rather than fast.
What you need
Rough ranges for decent-but-not-precious versions of each thing. If you already own a machine and an iron, the real outlay is fabric.
| What | Why it matters | Roughly |
|---|---|---|
| A sewing machine, plus a walking foot for it | Any straight-stitch machine can piece and quilt a lap throw. If the harp space feels tight rolling the quilt through, that is the argument for a quilting machine one day, not today | You may own one |
| Fat-quarter bundle (10 pieces, 18-inch by 22-inch) | Pre-cut, pre-coordinated cotton — the colour decision made for you | $25–$45 |
| Backing fabric, 1.75 yards of 44-inch-wide cotton | One piece, no seam, no fuss | $12–$25 |
| Batting, crib size | The loft and the warmth; cotton or an 80/20 blend is the forgiving choice | $12–$20 |
| Binding fabric, 0.5 yard | Frames the whole quilt — pick a colour that argues slightly with the top | $6–$12 |
| Rotary cutter + cutting mat | 48 identical squares by scissors is a long, drifting evening | $30–$60 |
| Quilting ruler, 6-inch by 24-inch | The ruler is what makes the cut accurate; the blade just follows | $15–$30 |
| Walking foot | Feeds three layers evenly so the backing doesn't pleat | $15–$45 |
| Thread, 50-weight cotton or poly | One neutral spool does piecing and quilting both | $5–$10 |
| Machine needles, size 80/12 | Fresh needle at the start; a blunt one skips through batting | $5–$8 |
| Curved safety pins, 100+ | Holds the sandwich together while you quilt | $8–$12 |
| An iron and a seam ripper | You will use both more than the machine | $20–$50 |
If the budget only stretches to one upgrade, make it the ruler and mat before the cutter. A cheap blade in a good ruler still cuts straight. A great blade against a wobbly ruler does not.
The gear this project uses
One current pick per tool or material the supply list links, in the order it lists them. Borrow, substitute or skip — a wonky first attempt with the wrong scissors still counts.
 Sewing Machines
Brother XM2701$143.14 4.6 out of 5 stars · 19,162 ratings
A first machine — 27 built-in stitches is enough to sew clothes without a menu to decode, and the listing specifies the automatic needle threader and the jam-resistant drop-in top bobbin, which are the two steps beginners most often give up on.
 Quilting Machines
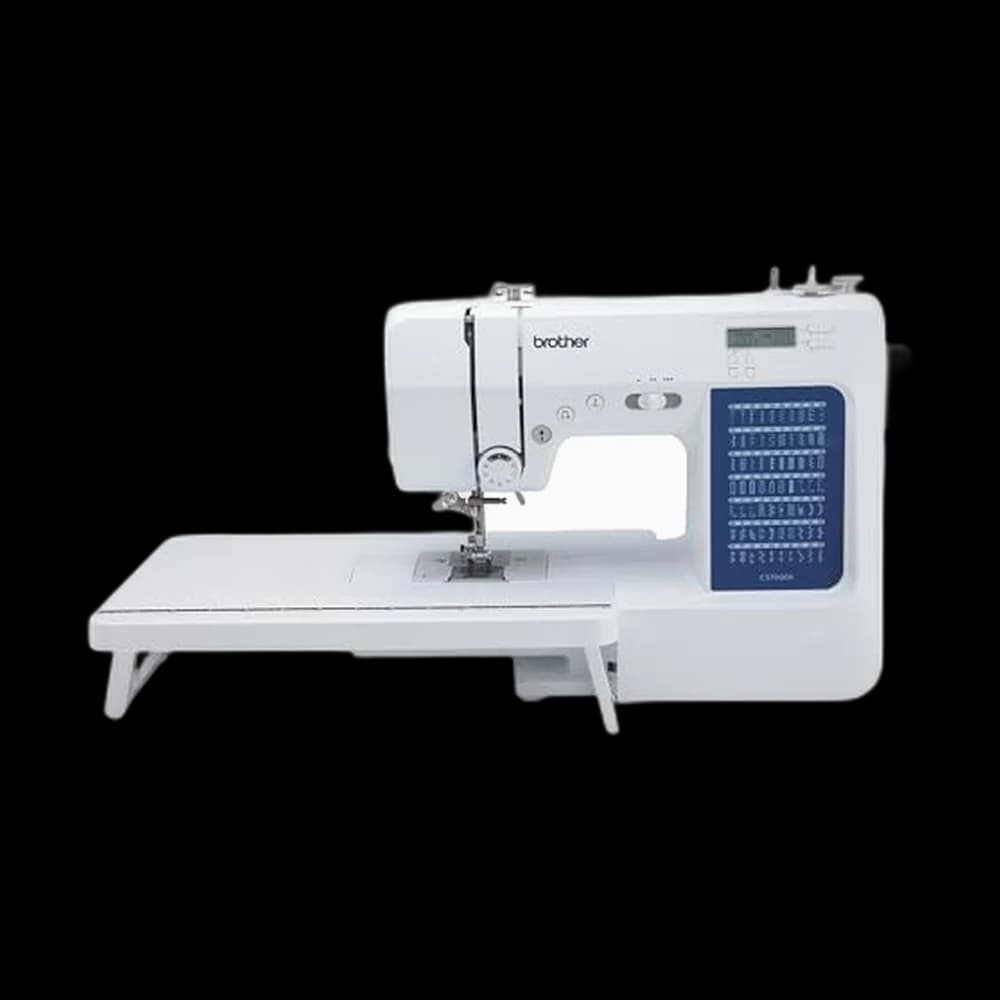
Brother CS7000X$249.99 4.6 out of 5 stars · 3,626 ratings
Your first quilt on a machine that still does everything else — the listing includes the wide table, ten feet and a quilt guide, and its 70 stitches cover quilting and everyday sewing on one machine.
 Quilt Batting
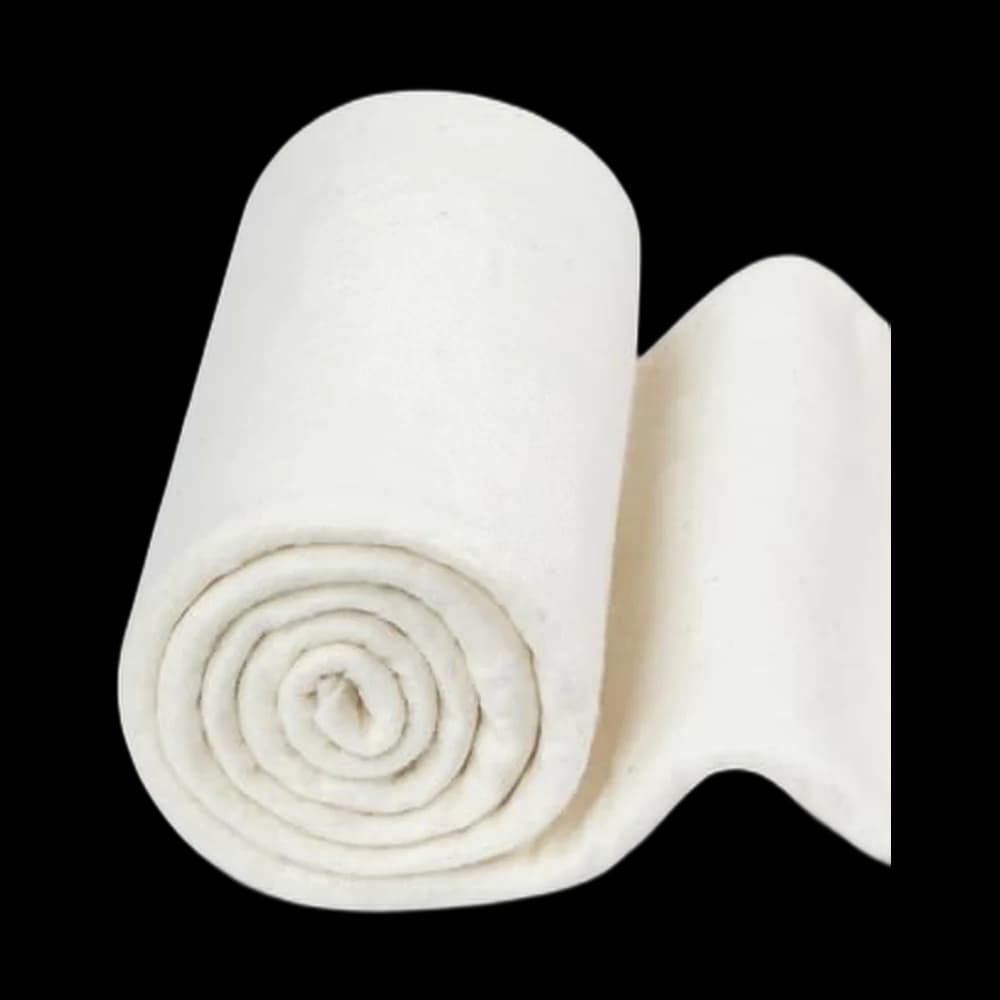
FIVEIZERO 100%$9.99 4.7 out of 5 stars · 502 ratings
The least expensive pick in this category, which makes it the low-risk way to find out whether you'll keep at it; cotton batting, which quilts flat and softens with washing; low loft, which is the easier one to feed through a domestic machine.
 Rotary Cutters
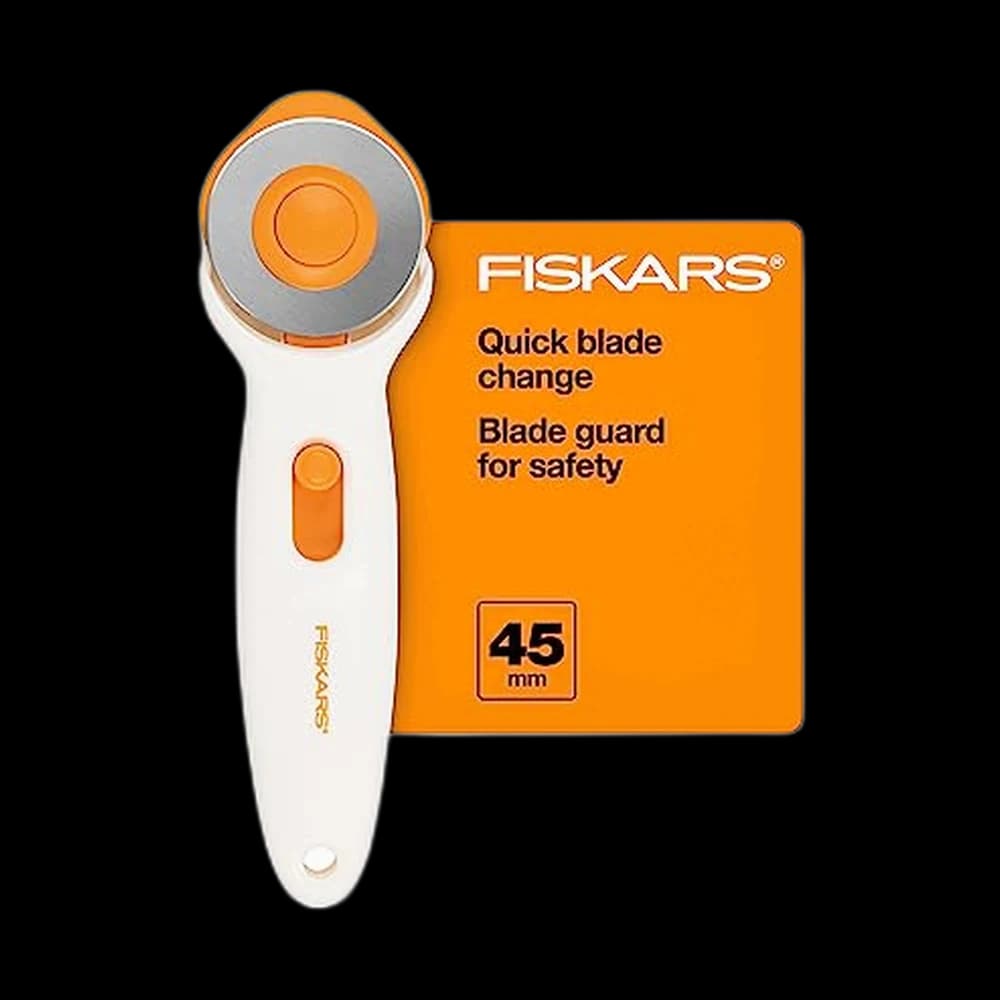
Fiskars 45mm$10.98 4.6 out of 5 stars · 2,112 ratings
Priced in the lower half of this category.
Researched from listings, specs and owner feedback — never hands-on testing. We may earn a commission; it never changes a pick.
Cut list
Everything here uses a quarter-inch seam allowance — quilting's universal standard, and the reason the squares are cut half an inch bigger than they finish.
- 48 squares at 6.5 inches — cut 6 squares from each fat quarter (they yield 2 across by 3 down), using 8 of your 10 fat quarters. The spares are your insurance against a mis-cut.
- Backing: one piece, 44 inches by 56 inches — cut generously; it is trimmed flush at the very end.
- Batting: one piece, 44 inches by 56 inches — same as the backing, roughly 4 inches bigger than the top on every side.
- Binding: 5 strips at 2.5 inches by the usable width of fabric — normally 40 to 42 inches after the selvedges are removed. Cut them from the half-yard binding fabric in the supply list. If you must use 22-inch fat-quarter strips, cut 10 across two fat quarters; eight are not enough.
Finished top: 6 squares across by 8 down = 36 inches by 48 inches. Its perimeter is 168 inches. Add at least 10 inches for the starting tail, closing join and handling, so you need at least 178 inches of usable binding after the strip joins. Five full-width strips leave enough after four diagonal joins; eight 22-inch strips total only 176 inches before seven joins consume any length. Making a different size? The quilt backing and binding calculator runs this same arithmetic for any quilt and shows its working.
Steps
Cutting and laying out
- Press every fat quarter before you cut. Fold creases are permanent liars — a square cut across one is not square. It is also the moment to prewash if you might ever tumble-dry this quilt, so the shrinkage happens before the piecing rather than after.
- Square up one edge of each fat quarter, cut 6.5-inch strips, then subcut the squares. Straight edge first, always. If you are still weighing up the rotary cutter, the trade-offs are in rotary cutter vs scissors — for 48 identical squares it genuinely earns its place.
- Lay all 48 squares out on the floor in a 6 by 8 grid and stare at them. Shuffle until no two identical fabrics touch and the darks are spread rather than clumped. Photograph the layout before you pick anything up — you will need that photo.
Piecing the top
- Sew the squares into rows, right sides together, quarter-inch seam. Chain-piece: feed the next pair through without cutting the thread and snip them apart afterwards. It is faster, and it stops the machine eating the leading corner of each square.
- Press row 1's seams to the left, row 2's to the right, alternating down the quilt. This is the trick that makes a first quilt look competent: when two rows meet, the pressed seams nest into each other and lock the corners into alignment without any measuring.
- Join the rows, pinning at every seam intersection. Pin through where the two seams butt together, sew slowly over the bulk, and accept the corners that miss by a hair.
Nobody's first quilt has 48 perfect corners. Wonky seams are the whole point — this is a blanket, not a bank vault. Fix only the corners off by more than a quarter-inch and let the rest stand as evidence a person made it.
Basting the sandwich
- Tape the backing to the floor, wrong side up, gently taut but not stretched. Stretched backing snaps back after quilting and puckers the whole thing.
- Smooth the batting on top, then centre the quilt top right side up. Roughly 4 inches of batting and backing should stick out all round.
- Pin every 4 to 5 inches with curved safety pins, working from the centre outwards. Around 100 pins on a lap throw is normal. Under-pinning is the main cause of the wrinkle you only discover on the back of a finished quilt.
Quilting the layers
- Fit the walking foot and a fresh needle, and check your threading. Three layers put real load on the top thread — if tension has ever given you trouble, re-run how to thread a sewing machine now rather than after 20 inches of bad stitching.
- Quilt straight lines through the seam ditches, or diagonally corner to corner. Start in the middle and work outwards, alternating direction between lines so the layers don't creep one way. Lengthen the stitch a little — around 3.0 to 3.5 reads better on a quilted surface.
- Trim the batting and backing flush with the quilt top using the ruler and rotary cutter, squaring the corners as you go.
Binding the edge
- Join the binding strips end to end at a 45-degree angle, then press the whole length in half lengthwise, wrong sides together. That is double-fold binding.
- Sew the raw edges of the binding to the front of the quilt with a quarter-inch seam, mitring each corner: stop a quarter-inch short, fold the strip up at 45 degrees, then back down flush with the next edge.
- Fold the binding to the back and hand-stitch it down with a slip stitch — the same motion covered in basic hand sewing stitches. Two evenings of this in front of the television is the traditional finish; machine-stitching the binding down is a perfectly honest alternative.
When it goes wonky
| What went wrong | Why | The fix |
|---|---|---|
| Rows won't line up in length | Seam allowance drifted off a quarter-inch | A sewn row of 6 squares should be 36.5 inches. Ease the short row to the long one with lots of pins |
| Pleats and tucks on the back | Basting too loose, or you quilted from one edge inwards | Unpick that line, re-pin densely, and always quilt centre-out |
| Skipped stitches through the sandwich | Blunt or too-fine needle, or no walking foot | New 80/12 needle, walking foot on, slow down over intersections |
| Binding corners are lumpy | The mitre fold wasn't flush with the next edge | Re-fold so the binding's top edge is level with the quilt edge, then finger-press hard |
| Whole top is slightly wavy | Over-pressing stretched the bias, or squares were cut off-grain | Quilt it more densely — batting and stitching absorb a lot of ripple |
What you just learned
- The quarter-inch seam — the most portable measurement in sewing, plus the discipline of holding one across dozens of seams.
- Nesting pressed seams to force alignment, which is how every pieced project gets crisp intersections.
- Layering and basting, the skill behind anything with an interior: quilted jackets, padded mats, insulated covers.
- Mitred binding, a professional edge finish you can now put on placemats, table runners and quilted bags.
With piecing, quilting and binding behind you, the natural next step is fitted work — garments that have to match a body rather than a grid. Head to the Tailor level when you're ready, or browse the Maker level for another project at this scale first.
Supply checklist
12 lines · A week of evenings · $60–$112 in materials
- A sewing machine, plus a walking foot for itYou may own oneAny straight-stitch machine can piece and quilt a lap throw. If the harp space feels tight rolling the quilt through, that is the argument for a quilting machine one day, not today
- Fat-quarter bundle (10 pieces, 18-inch by 22-inch)$25–$45Pre-cut, pre-coordinated cotton — the colour decision made for you
- Backing fabric, 1.75 yards of 44-inch-wide cotton$12–$25One piece, no seam, no fuss
- Batting, crib size$12–$20The loft and the warmth; cotton or an 80/20 blend is the forgiving choice
- Binding fabric, 0.5 yard$6–$12Frames the whole quilt — pick a colour that argues slightly with the top
- Rotary cutter + cutting mat$30–$6048 identical squares by scissors is a long, drifting evening
- Quilting ruler, 6-inch by 24-inch$15–$30The ruler is what makes the cut accurate; the blade just follows
- Walking foot$15–$45Feeds three layers evenly so the backing doesn't pleat
- Thread, 50-weight cotton or poly$5–$10One neutral spool does piecing and quilting both
- Machine needles, size 80/12$5–$8Fresh needle at the start; a blunt one skips through batting
- Curved safety pins, 100+$8–$12Holds the sandwich together while you quilt
- An iron and a seam ripper$20–$50You will use both more than the machine
Quantities and substitutions are the ones in the supply table above; costs are rough US shop prices at the time of writing, not live listings. Borrowing and substituting are always fine — a wonky first attempt in the wrong fabric still counts.
Piecing, basting, binding, done. Sharper cutting makes the next one easier; more room to the right of the needle makes a bigger one possible.
Every SewingPath project guide is free and stays free. Some shaped garments need a separately sourced paper pattern; those pages say so before the cut list. When a project needs equipment we link the gear category and name our current pick beside the supply list, with a link to buy it if you are missing it — never in the middle of the steps. Picks are researched, not hands-on tested — see how we score gear.