How to Use a Sewing Machine Step by Step: A Beginner's Guide
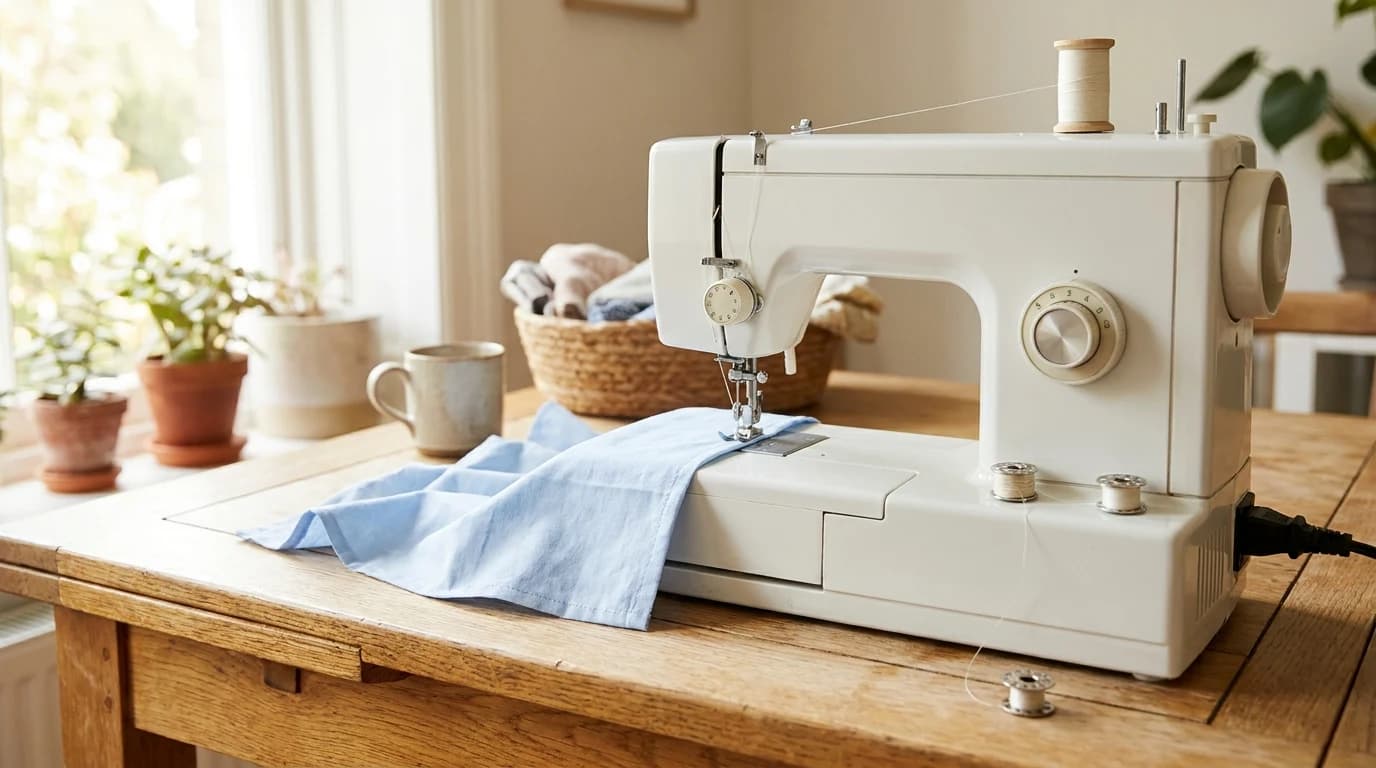
Our picks, at a glance
- Top pick
Brother XM2701 Lightweight Sewing Machine
$143.14StitchScore 85 4.6 out of 5 stars · 19,162 ratings
- #4
Coats & Clark Dual Duty Thread, Black & White
$8.50StitchScore 82 4.7 out of 5 stars · 4,705 ratings
The short version
- The order is always the same: parts, set-up, bobbin, top thread, bobbin thread up, stitch choice, seam, backstitch, pivot, finish.
- Thread the top with the presser foot up, and sew with it down; getting either wrong is the usual cause of a thread nest.
- Always turn the handwheel toward you, and switch the machine on with your foot off the pedal.
- Guide the fabric and let the feed dogs move it; pushing or pulling can bend the needle.
- Backstitch three or four stitches at both ends of a seam, and pivot with the needle down in the fabric.
- Finish with the needle fully raised, leave thread tails a few inches long, and press every seam.
To use a sewing machine, work in this order: learn the handful of parts you touch, thread the top with the presser foot up, wind and drop in a bobbin, then lower the needle into a fabric scrap, lower the presser foot and press the pedal gently while you guide the fabric along a seam line. Backstitch at the start and the end, stop with the needle down to turn a corner, and finish by raising the needle and the foot before you draw the fabric out.
That is the whole job. Everything below is that paragraph slowed down, with links to the three guides that cover the fiddly parts in depth: threading the top, winding a bobbin and fixing tension. It works for any domestic sewing machine, old or new, dials or screen. Where a step differs between models, your manual wins, and we say where that happens.
To learn it as part of a sequence, with first projects and a milestone, see Level 1 of The Pattern: the Threader.
Where the specifics come from: the step order and the safety notes follow the sewing basics and maintenance sections of Brother's XM2701 operation manual, the machine our beginner guide picks first. We research manuals, specs and owner feedback; we do not claim hands-on testing.
The steps at a glance
| Step | What you do | Covered in depth |
|---|---|---|
| 1 | Learn the parts you touch | This page |
| 2 | Set up: table, power, needle, presser foot | This page |
| 3 | Wind a bobbin | How to wind a bobbin |
| 4 | Thread the top | How to thread a sewing machine |
| 5 | Put the bobbin in and bring its thread up | This page |
| 6 | Choose a straight stitch | This page |
| 7 | Sew your first seam | This page |
| 8 | Backstitch to lock it | This page |
| 9 | Pivot at a corner | This page |
| 10 | Finish, cut the threads, press | This page |
Give the first run-through an unhurried evening. Most of the time goes on steps 3 and 4, and the second time through takes a few minutes.
What you need
| What | Why | Compare |
|---|---|---|
| A sewing machine | Any working domestic machine; borrowed or inherited is fine | Sewing machines |
| A fresh universal needle, size 80/12 | Suits the woven cotton you practise on | Machine needles |
| All-purpose polyester thread | Sews almost everything a beginner touches | Thread |
| Bobbins of the type your manual names | A spare or two saves rewinding mid-seam | Bobbins |
| Two scraps of quilting cotton | Woven and stable, the easiest fabric to learn on | Any cotton scrap |
| Fabric scissors and a few pins | To cut threads and hold layers together | Fabric scissors |
The table at the top of this page is our researched pick for each item we carry. For the whole supplies picture, hand sewing, cutting, marking and pressing included, see the beginner sewing supplies list.
No machine yet? Our first pick is the Brother XM2701
In our best beginner sewing machines under $250 guide the top pick is the Brother XM2701. It is a mechanical machine with dials, and its listing specifies 27 stitches, a free arm, an automatic needle threader and a drop-in top bobbin. Its manual is the one this walkthrough leans on, so every step below maps onto it directly.
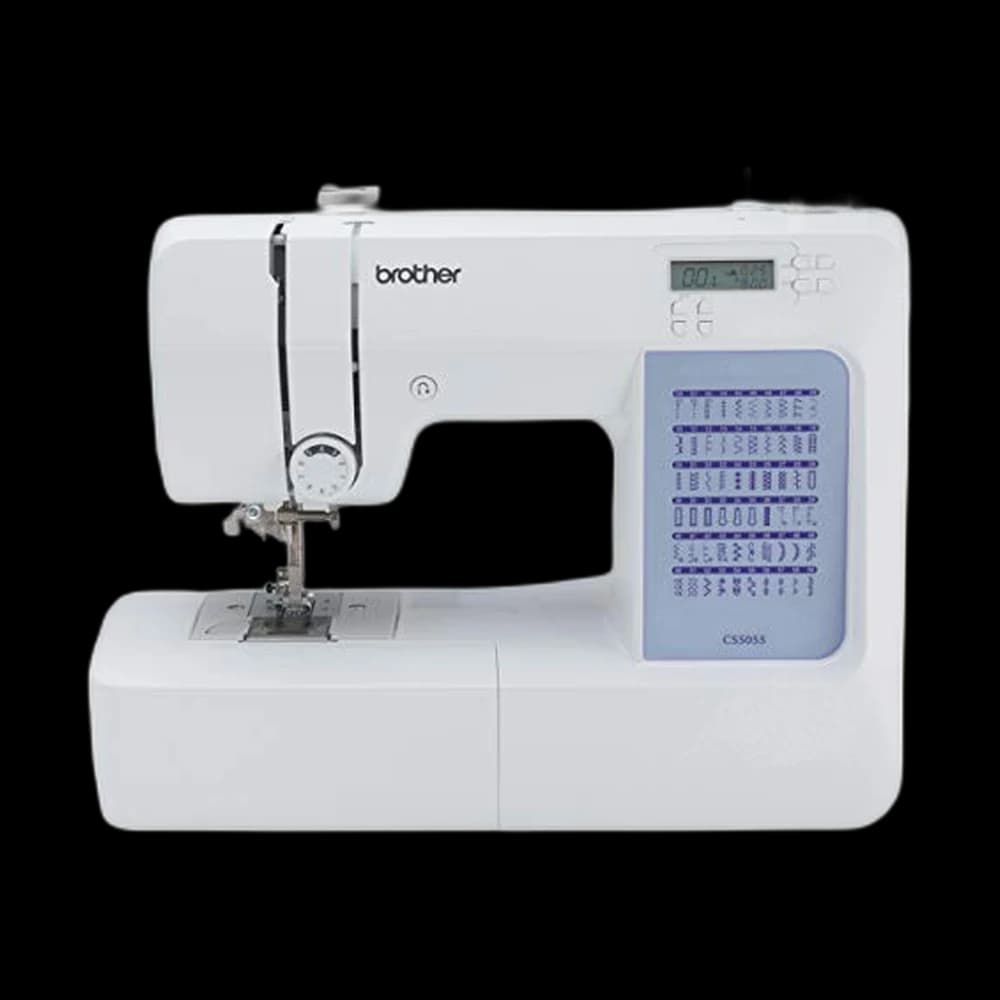
Prefer buttons and a screen? The Brother CS5055
The computerized alternative in the same guide: the same straight seam, chosen with buttons and an LCD instead of dials. Still deciding? The Machine Finder narrows the shelf to three in about a minute.
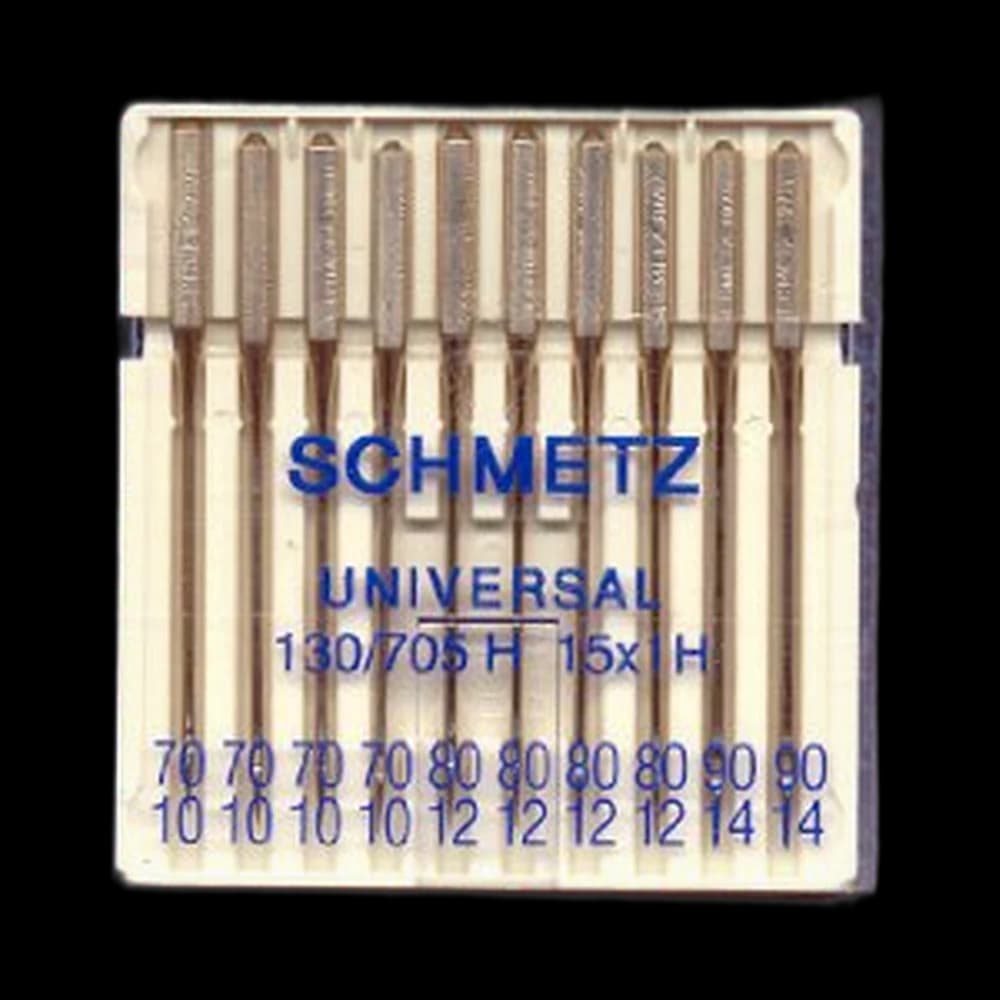
Needles: SCHMETZ Universal 130/705
The 130/705 H system is the needle most domestic machines take; check that your manual names it before you buy. A universal point in size 80/12 is right for quilting cotton. When you move on to denim or knits, the needle size guide and the Needle Guide tool tell you what to change to.
Thread and bobbins
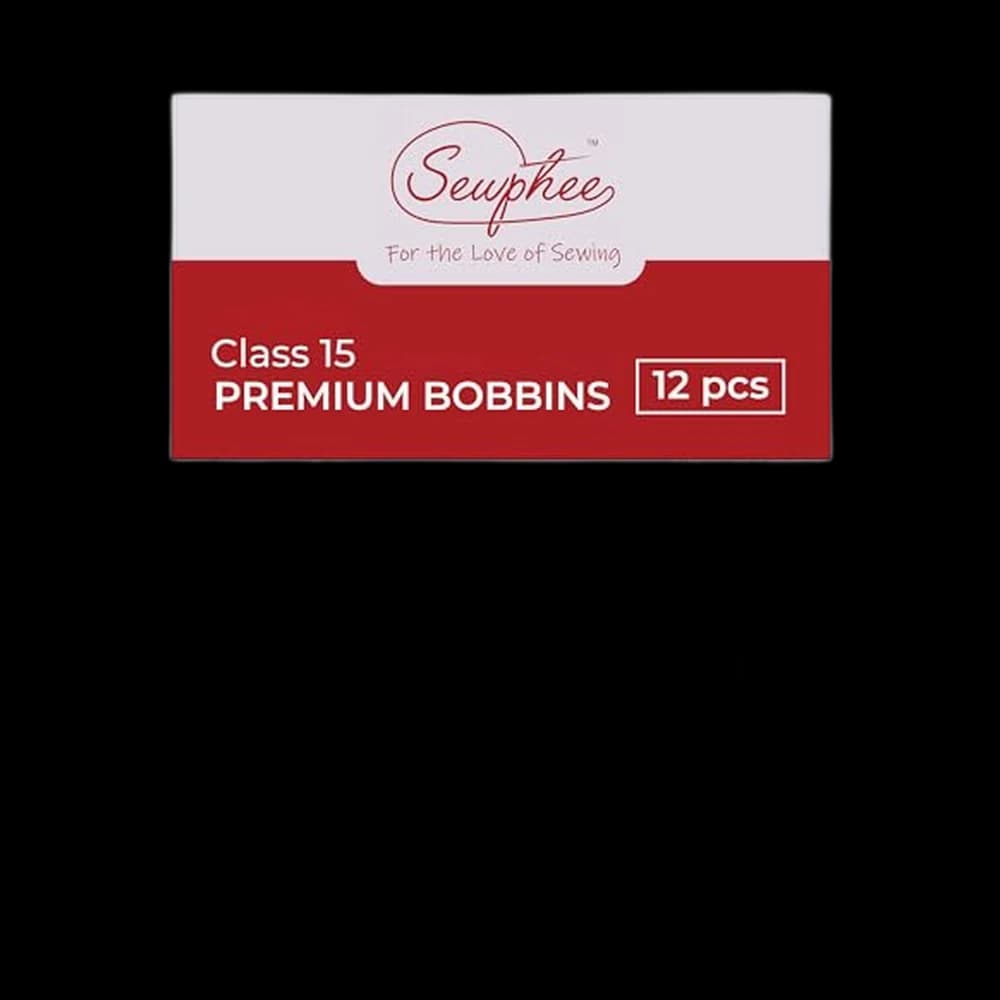
One spool of all-purpose polyester in a colour that contrasts with your scrap is the best practice thread: you can see every stitch. Our pick is the Coats & Clark Dual Duty black and white pair. For bobbins, read the bobbin type in your manual first and buy that exact one. Bobbin classes look alike and are not interchangeable, which the bobbin guide explains.
What we'd buy for this
One pick per category, chosen from the research pages linked in this piece. Borrow before you buy — nothing here is required to start.
 Sewing Machines
Brother XM2701$143.14 4.6 out of 5 stars · 19,162 ratings
A first machine — 27 built-in stitches is enough to sew clothes without a menu to decode, and the listing specifies the automatic needle threader and the jam-resistant drop-in top bobbin, which are the two steps beginners most often give up on.
 Machine Needles
SCHMETZ Universal 130/705$7.45 4.8 out of 5 stars · 709 ratings
Priced in the lower half of this category; universal points, the default for ordinary woven fabric.
 Thread
Coats & Clark thread$8.50 4.7 out of 5 stars · 4,705 ratings
The least expensive pick in this category, which makes it the low-risk way to find out whether you'll keep at it; all-purpose polyester, which covers nearly everything a beginner sews.
Researched from listings, specs and owner feedback — never hands-on testing. We may earn a commission; it never changes a pick.
Step 1: The parts you will actually touch
A machine has dozens of parts. You operate about a dozen of them, and every manual has a labelled diagram near the front. Find each of these on yours before you thread anything.
| Part | What it does |
|---|---|
| Spool pin | Holds the reel of thread on top of the machine |
| Thread guides and tension discs | Steer the top thread and grip it; the tension dial sets how firmly |
| Take-up lever | The arm that rises and falls above the needle; the thread must pass through its eye |
| Needle and needle clamp | The clamp screw holds the needle in place |
| Presser foot and its lever | The foot holds fabric flat while you sew; raising it also opens the tension discs |
| Feed dogs | The small teeth under the foot that move the fabric back; you guide, they feed |
| Needle plate | The metal plate under the foot, engraved with seam-guide lines |
| Handwheel | The wheel on the right end; turning it moves the needle by hand |
| Bobbin and bobbin winder | The small spool of lower thread, and the spindle that fills it |
| Stitch selector and length dial | Choose the stitch and how long each stitch is |
| Reverse lever or button | Sews backwards, to lock the ends of a seam |
| Foot controller | The pedal: how hard you press is how fast you sew |
One rule covers the handwheel on every machine: turn it toward you. Brother's manual says that turning it the other way can tangle the thread and damage the needle or fabric.
Step 2: Set up
- Put the machine on a sturdy table near the front edge, with the pedal on the floor where your foot rests naturally. A kitchen table is fine.
- Plug in, then switch on with your foot off the pedal. Brother's manual warns that switching on while pressing the foot controller can start the machine unexpectedly.
- Check the needle. It should be straight and unchipped. To change it, switch the machine off first; the manual says to turn it off for any adjustment in the needle area. On most domestic machines the needle goes in with the flat side of its shank to the back, pushed up as far as it goes, then the clamp screw is tightened. Your manual's needle page confirms the direction for your model.
- Raise the needle to its highest position by turning the handwheel toward you. On the XM2701 that is when the mark on the wheel points up.
- Raise the presser foot with the lever behind the needle.
Step 3: Wind a bobbin
Wind bobbins on the machine, not by hand: bobbin on the winder spindle, thread around the bobbin-winder tension disc, spindle pushed across, then run the machine at a steady speed. Skipping that little disc is why bobbins come out soft and lopsided. A good bobbin is flat edge to edge and firm to press.
The full method, including what a good and a bad bobbin look like and the two seating systems, is in how to wind a bobbin.
Step 4: Thread the top
With the presser foot up and the needle at its highest point, the top thread goes the same way on every domestic machine: spool, top thread guide, down the right-hand channel, around the U-turn at the bottom, up and through the eye of the take-up lever, back down through the lower guides, and through the needle from front to back. Most machines print numbers along the path.
The presser foot being up is the step people skip, and it matters more than any other. The lever opens the tension discs, so thread laid in with the foot down never gets tensioned. How to thread a sewing machine walks through each stage and the five mistakes behind almost every thread nest.
Step 5: Put the bobbin in and bring its thread up
Drop the bobbin in following the arrow on a drop-in machine, or seat it in its case under the tension spring on a front-loading machine. Turn it the wrong way round and the thread will not catch; the bobbin guide shows both systems.
Bring the bobbin thread up, unless your manual says you can skip it:
- Hold the end of the top thread loosely in your left hand.
- Turn the handwheel toward you one full turn, so the needle goes down into the plate and comes back up.
- Pull gently on the top thread. A loop of bobbin thread comes up through the hole in the needle plate.
- Pull the loop out, then lay both threads under the presser foot and toward the back of the machine, a few inches long.
Some machines are designed to skip this. Brother's manual says that on models with its quick-set bobbin you can begin sewing without drawing the bobbin thread up. If yours is one, its manual will say so.
Step 6: Choose a straight stitch
- Raise the needle before you change any setting. The XM2701 manual asks for the needle up before you turn the stitch dials.
- Select straight stitch. It is usually the first pattern on the dial or the first number on a screen.
- Set a medium stitch length. Your manual's stitch chart gives the recommended length for straight stitch; use that. Very short stitches pile up, and the XM2701 manual warns that sewing on with bunched stitches can bend or break the needle.
- Leave the tension dial alone. Use the default setting your manual names. Tension is the last thing to adjust, not the first, and the tension guide explains why.
Step 7: Sew your first seam
Lay two scraps of quilting cotton together, edges matching.
- Slide the fabric under the raised foot. Line the right-hand edge up with the 5/8 inch line on the needle plate, the usual seam allowance on commercial garment patterns. Start a little way in from the top edge rather than right at it, so the fabric is not pushed down into the needle hole.
- Turn the handwheel toward you until the needle goes into the fabric.
- Lower the presser foot. Sewing with the foot up is the classic cause of a nest of thread under the fabric, because the tension discs are still open.
- Hold both thread tails lightly behind the foot for the first few stitches.
- Press the pedal gently. Slow is not cheating. It gives you time to steer.
- Guide, do not push or pull. Rest your hands flat on the fabric in front of and to the left of the foot and let the feed dogs move it. Brother's manual warns that stretching or pulling fabric while sewing can bend the needle. Keep your fingers away from the needle.
- Watch the edge, not the needle. Your eye belongs on the fabric edge running along the guide line. The needle takes care of itself. A strip of masking tape stuck on as an extra guide line is a perfectly good idea.
- Take each pin out before the needle reaches it. The manual cautions that a needle that hits a pin can break.
Step 8: Backstitch to lock the seam
A seam left unlocked unravels from the ends. On the XM2701 you push the reverse lever in as far as it goes and hold it while you press the pedal lightly; let go and it sews forward again. Computerized machines usually have a reverse button instead, and some add a separate lock-stitch button; the manual says which yours has.
- At the start: sew three or four stitches forward, hold reverse for three or four stitches back over them, let go and sew on.
- At the end: stop at the edge, reverse for three or four stitches, then stop.
Step 9: Pivot at a corner
To turn a corner without breaking the line of stitching, stop with the needle down in the fabric. Lift the presser foot, turn the fabric around the needle, lower the foot and carry on sewing. That is exactly the sequence in Brother's manual, and it is how every square corner, from a napkin to a cushion cover, gets sewn.
If the needle stops in the up position, turn the handwheel toward you to lower it before you lift the foot. For a corner the same distance from both edges, stop when the needle is that distance from the next edge; the guide lines on the plate help you judge it.
Step 10: Finish, cut the threads, press
- Raise the needle fully by turning the handwheel toward you, so the take-up lever is at its highest. If it is not, the fabric will not draw out cleanly and the needle often unthreads on your next start.
- Raise the presser foot and draw the fabric out to the back or the left.
- Cut the threads with the machine's built-in thread cutter or with scissors, leaving tails a few inches long.
- Press the seam. Lift the iron and set it down rather than sliding it. Pressing each seam before another seam crosses it is most of the difference between homemade and handmade.
- Finish the raw edges if the fabric frays. A zigzag along each edge is enough for a first project; seam finishes without a serger covers the better options.
- Switch the machine off when you have finished for the day.
A first practice session
Do these on scraps before you start a project, in this order:
- Five straight lines, each following a different guide line on the plate.
- One seam with backstitching at both ends.
- A square, with four pivots.
- A gentle curve, sewn slowly, steering with both hands.
Then make something real. Cloth napkins are four straight edges and four corners, and the pillowcase is one afternoon from fabric to finished. Wonky lines are the whole point of the first evening. Nobody's first square is square.
When something goes wrong
| What you see | Most likely cause | What to do |
|---|---|---|
| A nest of thread under the fabric | Top thread missed the tension discs, or you sewed with the foot up | Rethread the top with the foot up; lower the foot before you sew |
| The needle unthreads as you start | Needle was not fully raised at the last stop, or the tails were too short | Finish with the needle at its highest; leave tails a few inches long and hold them |
| Skipped stitches | A dull, bent or wrong needle | Change the needle first; it is the cheap thing to rule out |
| The fabric will not move | Foot not lowered, stitch length at zero, or feed dogs lowered | Check all three |
| Stitches bunching in one place | Stitch length too short | Lengthen it before you sew on |
| Thread keeps snapping | Threading fault, old thread, or the wrong needle for the thread | Rethread from scratch, then work through the tension guide |
When in doubt, take out the top thread and the bobbin and rethread both; it fixes more than any dial. The full diagnosis order is in sewing machine tension problems.
Looking after the machine
- Brush the lint out of the bobbin area with the brush that came in the box. Lint is the usual reason a machine that sewed fine last month now does not.
- Change the needle at the first sign of trouble, or after it hits a pin. The needle size guide lists the warning signs SCHMETZ publishes.
- Oil only if your manual says to. Some machines are built not to need it: the XM2701 manual says that machine must not be oiled by the user.
- Cover it when you put it away, to keep the dust off.
Once these ten steps feel ordinary, you have finished the hardest part of Level 1. The rest of the Threader is turning straight lines into things you use.
Frequently asked
How do you operate a sewing machine step by step?
Set the machine on a sturdy table, switch it on with your foot off the pedal, and raise the needle and presser foot. Wind a bobbin, thread the top, drop the bobbin in and bring its thread up. Choose straight stitch, put fabric under the foot, lower the needle and the foot, and press the pedal gently while guiding the fabric. Backstitch at both ends, pivot with the needle down, then raise the needle and foot and cut the threads.
Is it hard to learn to use a sewing machine?
Not once it is threaded. Threading the top and the bobbin is the part that stops most beginners, and it becomes routine after a few tries. Sewing a straight seam on quilting cotton is something most people manage on their first evening.
Should the presser foot be up or down when you thread a sewing machine?
Up. Raising the presser foot opens the tension discs so the thread can seat between them. Thread laid in with the foot down is not tensioned, which causes loose, loopy stitches and nests under the fabric.
Which way do you turn the handwheel on a sewing machine?
Toward you. Brother's manual says turning it the other way can tangle the thread and damage the needle or fabric. Use the handwheel to raise or lower the needle by hand, for example before pivoting or at the end of a seam.
Why does my thread bunch up under the fabric?
Almost always because the top thread missed the tension discs, which happens when the machine was threaded with the presser foot down, or because the seam was started with the foot still up. Rethread the top with the foot raised, check the bobbin is seated correctly, and lower the foot before you sew.
Do I need to backstitch every seam?
Backstitch the start and end of any seam you want to stay sewn. The exceptions are long gathering or basting stitches you plan to pull up or take out, which are left unlocked on purpose.
Do I need to oil my sewing machine?
Only if your manual says so. Some machines are built not to need it: the Brother XM2701 manual says that machine must not be oiled by the user. Brushing lint out of the bobbin area is the maintenance every machine needs.
Prices and StitchScores reflect our most recent research and refresh on a cycle — confirm the live price before buying. We may earn a commission from affiliate retailers; it never changes what we recommend. See how we score gear.
Read next
How to Wind a Bobbin (and Why Yours Keeps Jamming)
Winding a bobbin evenly, seating it in drop-in and front-load machines, and why a soft bobbin leaves a nest of thread under your fabric.
How to Thread a Sewing Machine (Any Brand, Step by Step)
The upper thread path, winding and inserting a bobbin, and the five mistakes behind almost every nest of thread under your fabric.