The Reversible Bucket Hat
Curves, a brim and two fabrics. The first thing strangers compliment.
- Equipment
- Sewing machine, iron and the printed Spoonflower pattern
- Materials cost
- $18–$41 in materials
- Assumes you can
- You have finished something from a simple pattern
- Full supply list
- Two contrasting cottons, interfacing, Spoonflower's free printable pattern and thread.
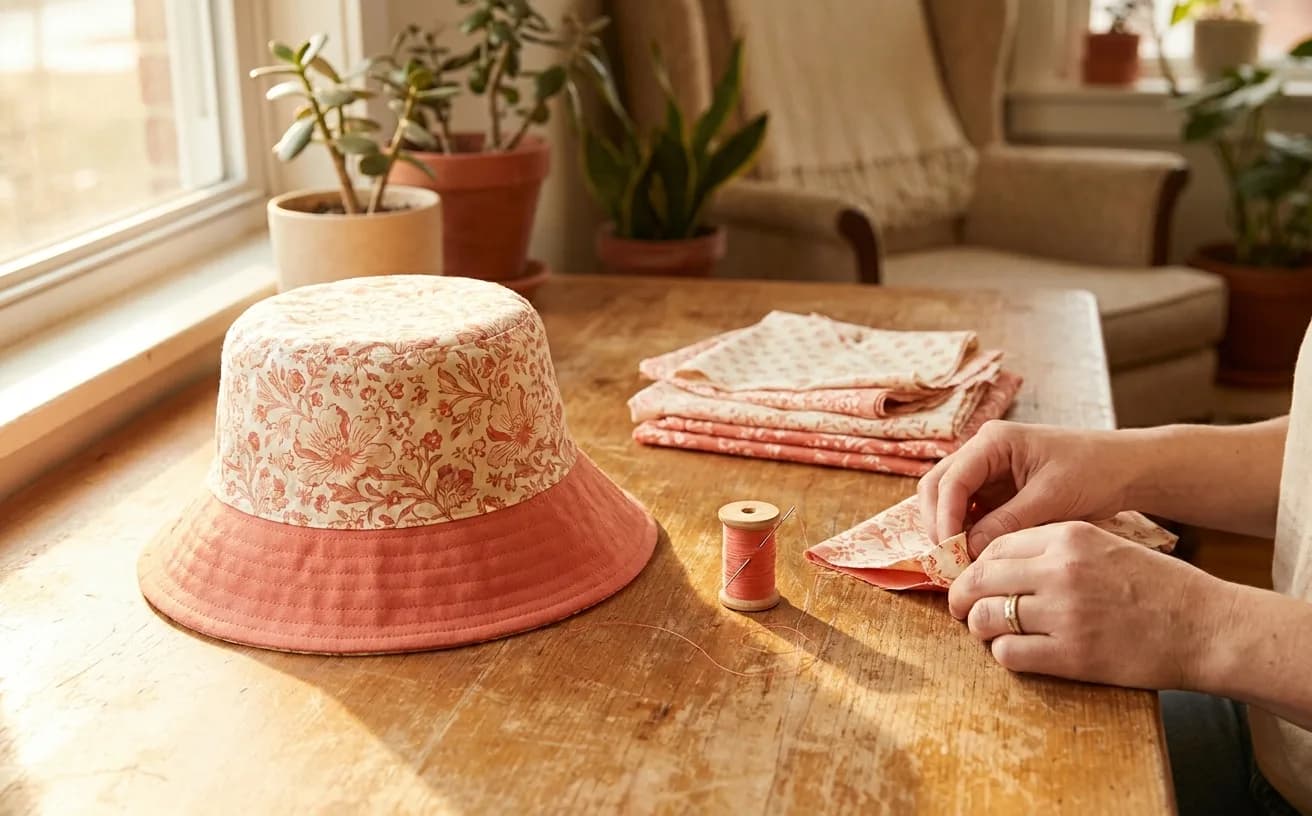
In about three hours you will have a hat you can wear two ways — one fabric on Monday, the other on Thursday — with a brim that holds its shape and no visible raw edges anywhere inside. It is the first project where the sewing stops looking homemade and starts looking bought, and that is entirely down to one skill: feeding a curve through the machine without fighting it.
It earns its place at this level because a bucket hat is three curved seams stacked on top of each other, and each one teaches the same lesson at a different radius. Get through it and flat, straight sewing will feel like a rest.
Pattern required: this page is a sew-along for Spoonflower's free Reversible Bucket Hat PDF. Keep Spoonflower's illustrated source tutorial open as you work. The PDF downloads directly and includes a 1-inch test square; it does not provide a graded size range. SewingPath has not physically test-sewn or graded it, so make the crown and side in scrap first to check the opening against your head.
What you need
| What | Why | Roughly |
|---|---|---|
| A sewing machine | The brim topstitching is the part everyone sees, so a machine you can run slowly and evenly matters far more than one with a long stitch menu | You may own one |
| Half a yard each of two quilting-weight cottons | Contrast is the whole point — a print and a solid reads best | $12–$20 total |
| Half a yard of medium fusible interfacing | Fuse it to one fabric set's brim pieces so the finished reversible brim has body without doubled stiffness | $3–$6 |
| All-purpose polyester thread in a colour that splits the difference | Topstitching shows on both sides, so pick a mid-tone | $3–$5 |
| A universal size 80/12 machine needle | Fresh needle, quilting cotton, no drama | $5 a pack |
| Sharp fabric scissors or a rotary cutter | Curves cut cleaner in one continuous motion | $15–$40 |
| An iron | Non-negotiable here — pressing is what makes the brim lie flat | $25–$60 |
| Spoonflower's free printable pattern | Supplies the shaped top, crown and two-piece brim; print at 100 percent and verify the 1-inch test square | free |
| Pins or clips, a ruler, a pencil | Marking curves accurately matters more than usual | on hand |
Read the source pattern's piece labels, fold lines and notches before cutting. How to read a sewing pattern walks through those symbols if they are new to you.
The gear this project uses
One current pick per tool or material the supply list links, in the order it lists them. Borrow, substitute or skip — a wonky first attempt with the wrong scissors still counts.
 Sewing Machines
Brother XM2701$143.14 4.6 out of 5 stars · 19,162 ratings
A first machine — 27 built-in stitches is enough to sew clothes without a menu to decode, and the listing specifies the automatic needle threader and the jam-resistant drop-in top bobbin, which are the two steps beginners most often give up on.
 Thread
Coats & Clark thread$8.50 4.7 out of 5 stars · 4,705 ratings
The least expensive pick in this category, which makes it the low-risk way to find out whether you'll keep at it; all-purpose polyester, which covers nearly everything a beginner sews.
 Machine Needles
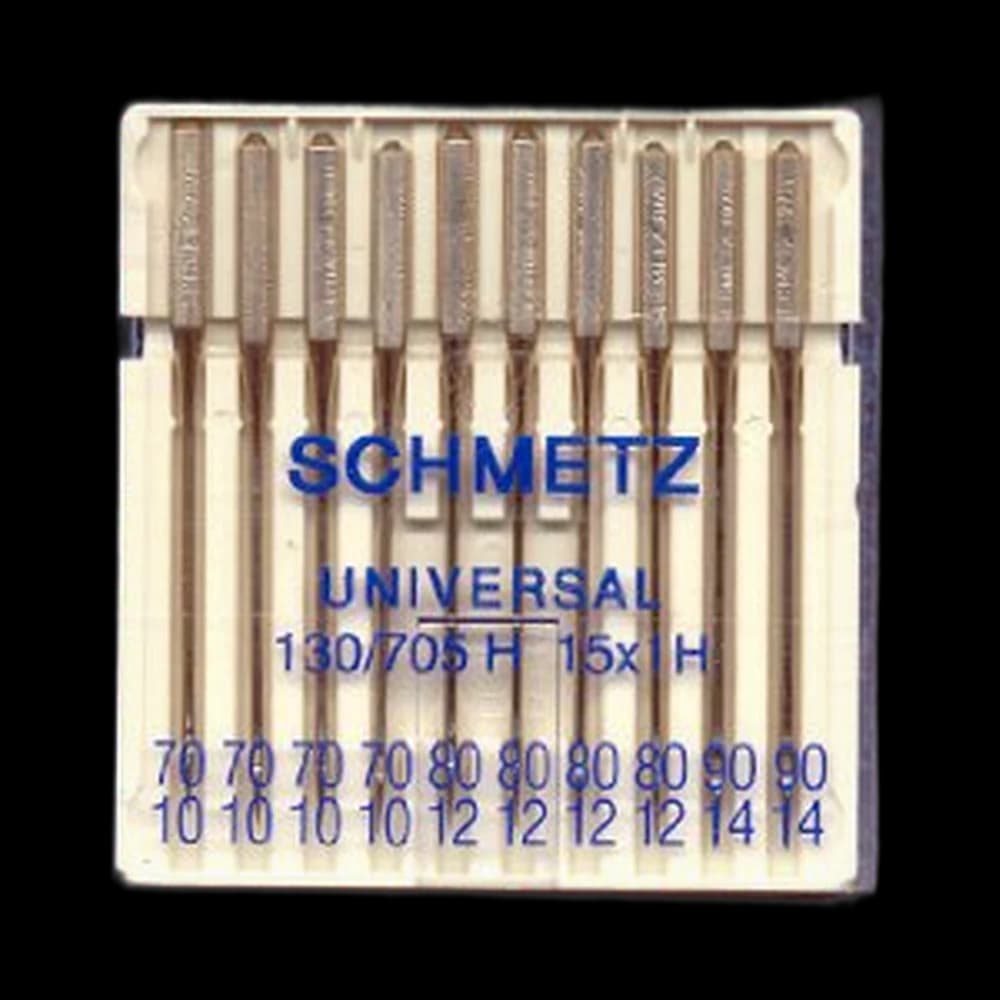
SCHMETZ Universal 130/705$7.45 4.8 out of 5 stars · 709 ratings
Priced in the lower half of this category; universal points, the default for ordinary woven fabric.
 Fabric Scissors
Proshear$8.99 4.8 out of 5 stars · 4,040 ratings
Researched from listings, specs and owner feedback — never hands-on testing. We may earn a commission; it never changes a pick.
Cut list
Use the linked Spoonflower pattern rather than drafting these interlocking curves from measurements. The top, crown and brim must come from one compatible pattern set; a rectangle and a complete donut do not supply the shaped short edges used in the construction steps.
- Print at 100 percent or Actual Size. Measure the PDF's 1-inch test square before taping or cutting. If it is not exactly 1 inch, fix the print settings and print again.
- From the outside fabric: cut 1 top, 2 crown pieces and 2 brim pieces, using the fold lines and notches printed on the source pattern.
- From the inside fabric: cut the same 5 pieces again.
- From interfacing: cut pieces to match one fabric set's 2 brim pieces, omitting seam allowance if your interfacing supplier directs that.
- Seam allowance: follow the source tutorial by including a 1/2-inch allowance around the pattern pieces when cutting, then use its half-inch stitching allowance throughout. Do not substitute the old SewingPath dimensions.
This source is not a graded multi-size pattern. Make one crown-and-side shell in scrap, try that opening on, and choose a different sized pattern if it does not fit. This guide does not offer untested resizing arithmetic.
Steps
Prep
- Fuse the interfacing to the wrong side of one fabric set's two brim pieces. One supported layer gives the joined brim structure without stacking two layers of fusible. Follow the interfacing maker's heat and pressing directions.
- Transfer every notch and fold-line mark from the paper pattern. Keep any snip inside the half-inch seam allowance. These marks are how the differently shaped curves meet without creeping.
Build the first hat
- Place the two crown pieces right sides together and sew both short ends to make the side loop, using the source tutorial's half-inch allowance. Press the seams open so they do not make lumps against your forehead.
- Pin the top piece to the narrower edge of the crown loop, right sides together, matching the printed notches first and easing between them. Sew slowly with the crown on top so you can see and smooth any pleats forming under the needle.
- Clip small notches into the seam allowance around that curve, about every inch, stopping just short of the stitching. The notches let a curved seam lie flat instead of bunching — this single move does more for the finished look than neat stitching does.
If your first crown seam has a tuck in it, unpick that inch and re-sew just that inch. Nobody re-sews the whole circle. Wonky seams are the whole point of learning, and a tuck under a brim is invisible anyway.
- Place the two brim pieces right sides together and sew both short ends to make a complete brim ring. Press those seams open, then pin the ring's inner edge to the wider lower edge of the crown loop, right sides together, matching the printed notches. Sew, then notch the curved seam allowance too.
- Repeat steps 3 to 6 with the second fabric. You now have two complete hats. Press both, and press well — everything from here is easier on flat fabric.
Join them
- Turn one hat right side out and leave the other inside out. Slide the right-side-out hat inside the other so the two hats are right sides together, brim edges meeting all the way around. This clean bagged-edge method is also shown in AppleGreen Cottage's reversible bucket-hat tutorial; keep using Spoonflower's half-inch allowance for the Spoonflower pieces.
- Pin the brim outer edges together and sew, leaving a 4-inch gap unsewn. That gap is your only route to turning the whole thing right side out, so mark both ends of it with pins.
- Trim the seam allowance on that outer brim edge down to a quarter inch, then pull the entire hat through the gap. Push the brim seam out with your fingers, press it hard, and tuck the raw edges of the gap inward in line with the seam.
- Topstitch the brim in concentric circles about a half inch apart, starting at the outer edge — the first line closes your gap, and the rest are what give a bucket hat its ribbed, structured brim. Keep the needle down and pivot slightly as you go.
- Topstitch once around the band just above the brim seam to stop the layers shifting when you wear it.
When it goes wonky
| What happened | Why | The fix |
|---|---|---|
| The crown puckers into little tucks | The curve was pinned at the ends and eased nowhere else | Unpick that section, re-pin at quarter marks, ease between them |
| The brim ripples and will not lie flat | The seam allowance was not clipped | Clip notches every inch around the inner curve, then press again |
| The opening is too tight or too loose | The source size does not suit your head, or the seam allowance drifted | Check the half-inch allowance against the scrap shell. If the source size is wrong, choose a graded pattern rather than scaling these curves by guesswork |
| Topstitching wanders off parallel | Guiding by eye instead of by the machine foot | Line the foot edge on the previous stitch line and let it do the measuring |
| The brim feels floppy | The selected interfacing is too light or was not fully fused | Add closer rows of topstitching; on the next hat, use a firmer interfacing on one brim layer |
Three hours is honest for a first attempt, and most of it goes on cutting accurate circles and pressing, not on machine time. Cut carefully and the sewing takes under an hour.
What you just learned
- Easing a convex curve to a concave one — the crown-to-band seam is the same problem as a set-in sleeve, at a friendlier size.
- Clipping and notching seam allowances, the technique behind every collar, cuff and neckline that lies flat.
- Bagging out a lining — sewing two complete layers together and turning them through a gap is how lined bags, jackets and pouches are built.
- Controlled topstitching on a curve, which is decorative and structural at once.
All four of those show up again in bag construction and in anything with a collar. Head back to the Maker level for the next project in sequence, or if the curves felt good, look at what the Tailor level asks for next.
Supply checklist
9 lines · 3 hours · $18–$41 in materials
- A sewing machineYou may own oneThe brim topstitching is the part everyone sees, so a machine you can run slowly and evenly matters far more than one with a long stitch menu
- Half a yard each of two quilting-weight cottons$12–$20 totalContrast is the whole point — a print and a solid reads best
- Half a yard of medium fusible interfacing$3–$6Fuse it to one fabric set's brim pieces so the finished reversible brim has body without doubled stiffness
- All-purpose polyester thread in a colour that splits the difference$3–$5Topstitching shows on both sides, so pick a mid-tone
- A universal size 80/12 machine needle$5 a packFresh needle, quilting cotton, no drama
- Sharp fabric scissors or a rotary cutter$15–$40Curves cut cleaner in one continuous motion
- An iron$25–$60Non-negotiable here — pressing is what makes the brim lie flat
- Spoonflower's free printable patternfreeSupplies the shaped top, crown and two-piece brim; print at 100 percent and verify the 1-inch test square
- Pins or clips, a ruler, a pencilon handMarking curves accurately matters more than usual
Quantities and substitutions are the ones in the supply table above; costs are rough US shop prices at the time of writing, not live listings. Borrowing and substituting are always fine — a wonky first attempt in the wrong fabric still counts.
Curves, topstitching and a brim. Wearables get bolder from here.
Every SewingPath project guide is free and stays free. Some shaped garments need a separately sourced paper pattern; those pages say so before the cut list. When a project needs equipment we link the gear category and name our current pick beside the supply list, with a link to buy it if you are missing it — never in the middle of the steps. Picks are researched, not hands-on tested — see how we score gear.