Cushion Cover With an Invisible Zip
The finish that makes people ask where you bought it.
- Equipment
- Sewing machine plus an invisible-zip foot
- Materials cost
- $24–$51 in materials
- Assumes you can
- Straight seams you can sew and press
- Full supply list
- Half a metre of furnishing fabric, an invisible zip, an invisible-zip foot and thread.
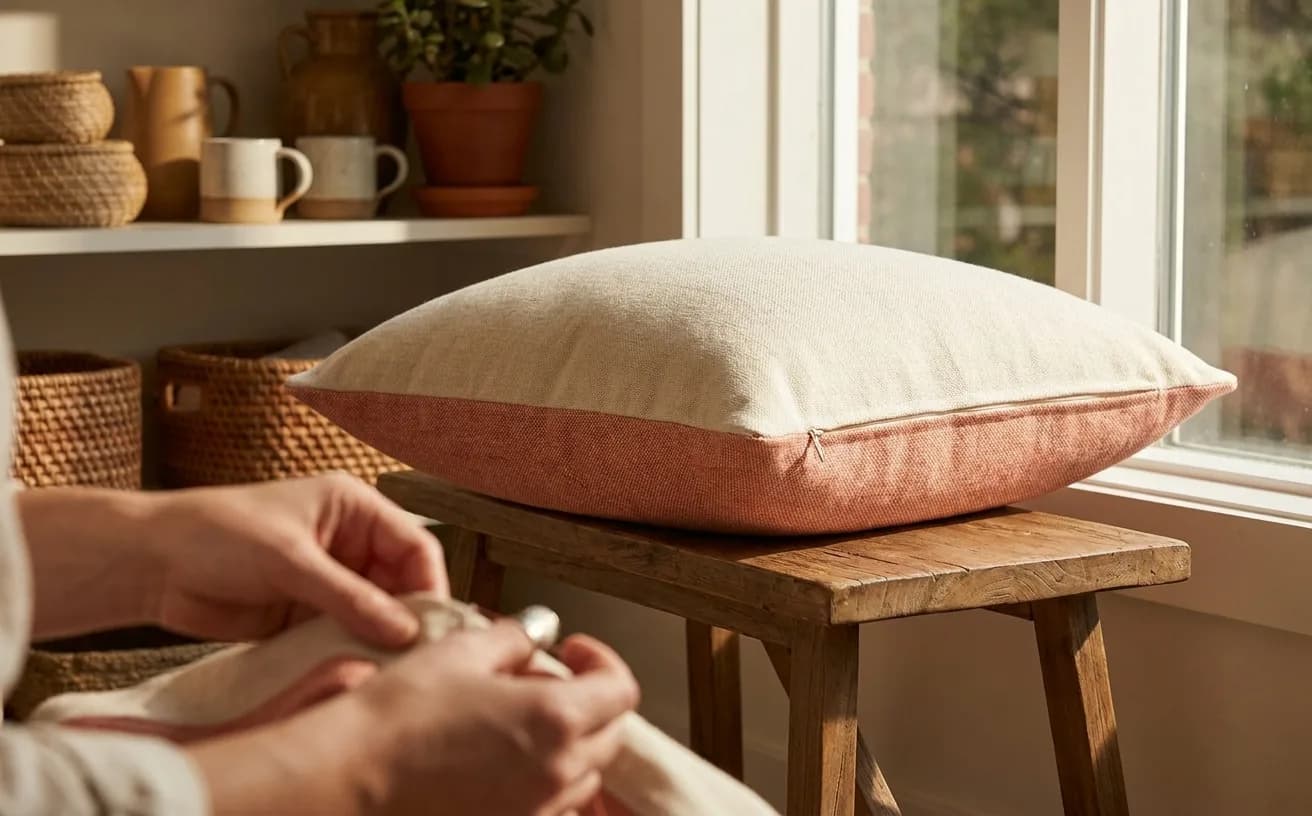
By the end of this you will have a cushion cover with a closure nobody can see — no visible teeth, no lumpy zip flap, no button placket. Two squares of fabric, one seam that happens to hide a zip, and a corner trick that stops the finished cushion looking like a ravioli. It is the first project where your work stops reading as homemade and starts reading as bought, and the whole thing takes about two hours.
That is the reason it sits at Stitcher level rather than earlier. Nothing here is difficult on its own; the invisible zip is just a straight seam sewn very close to a coil. But it rewards going slowly, and it punishes a rushed press.
What you need
| What | Roughly | Notes |
|---|---|---|
| A sewing machine whose foot comes off | You may own one | The invisible-zip foot is the whole trick, so the machine has to let you swap feet. Snap-on and screw-on shanks both work. |
| Half a metre of furnishing fabric | $10–$25 | Cotton canvas, linen blend or a mid-weight upholstery cotton. Avoid anything stretchy for a first attempt. |
| One invisible zip, 16-inch | $3–$6 | Sometimes sold as "concealed". The coil curls under, which is what makes it vanish. |
| An invisible-zip presser foot | $8–$20 | Two grooves on the underside that ride over the coil. This is the whole trick — a standard foot cannot get close enough. |
| All-purpose polyester thread | $3–$5 | Match the fabric, or go one shade darker. |
| A fresh universal machine needle, size 80/12 | $1–$2 | Size 90/14 if your fabric is properly heavy. |
| An 18-inch cushion pad | $8–$15 | Feather looks plumper; polyester is cheaper and washes better. |
Things you probably already have: pins or clips, a fabric scissors or rotary cutter, a tape measure, and an iron. If you are choosing between cutting tools, rotary cutter vs scissors covers when each one wins — for two big squares, either is fine.
If you have never installed a zip of any kind, read how to sew a zipper first. It walks through the standard version, which makes the invisible one feel like a variation rather than a new sport.
The gear this project uses
One current pick per tool or material the supply list links, in the order it lists them. Borrow, substitute or skip — a wonky first attempt with the wrong scissors still counts.
 Sewing Machines
Brother XM2701$143.14 4.6 out of 5 stars · 19,162 ratings
A first machine — 27 built-in stitches is enough to sew clothes without a menu to decode, and the listing specifies the automatic needle threader and the jam-resistant drop-in top bobbin, which are the two steps beginners most often give up on.
 Presser Feet
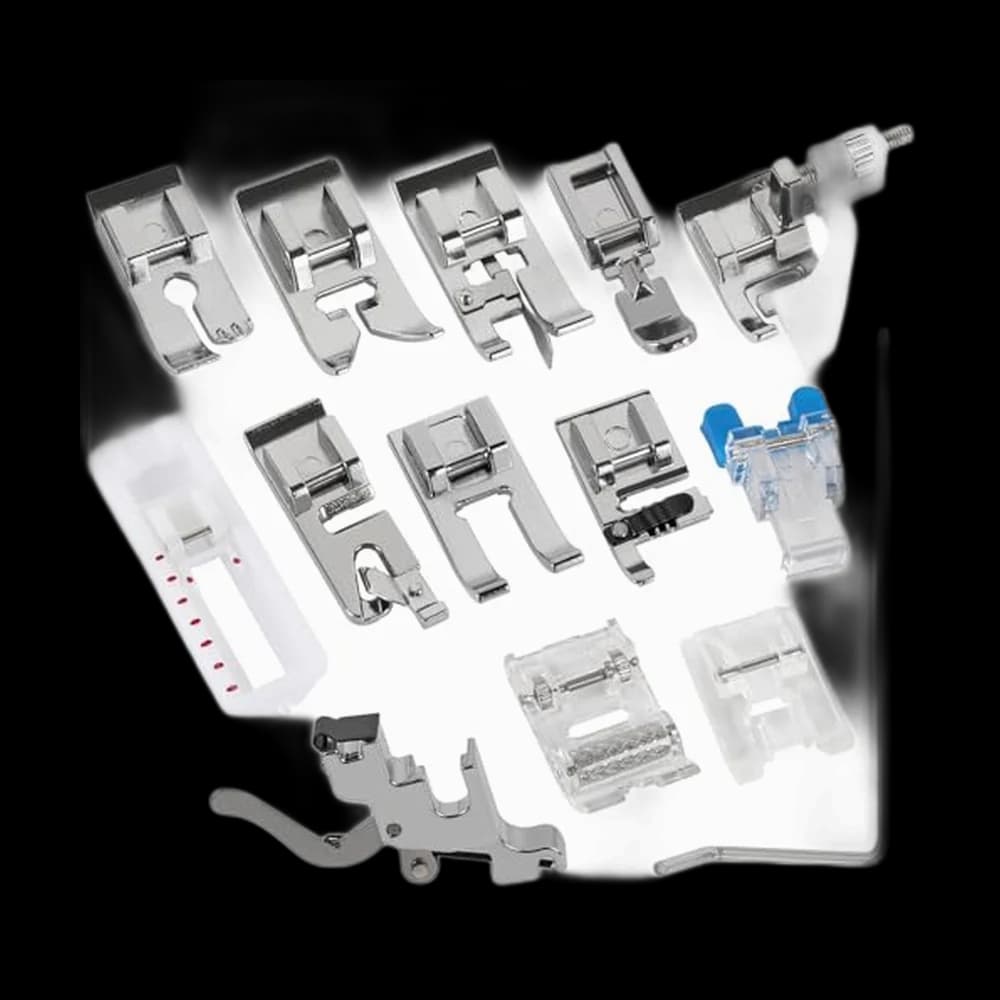
Shutao$8.99 4.5 out of 5 stars · 61 ratings
The least expensive pick in this category, which makes it the low-risk way to find out whether you'll keep at it; snap-on feet, which change without a screwdriver.
 Thread
Coats & Clark thread$8.50 4.7 out of 5 stars · 4,705 ratings
 Machine Needles
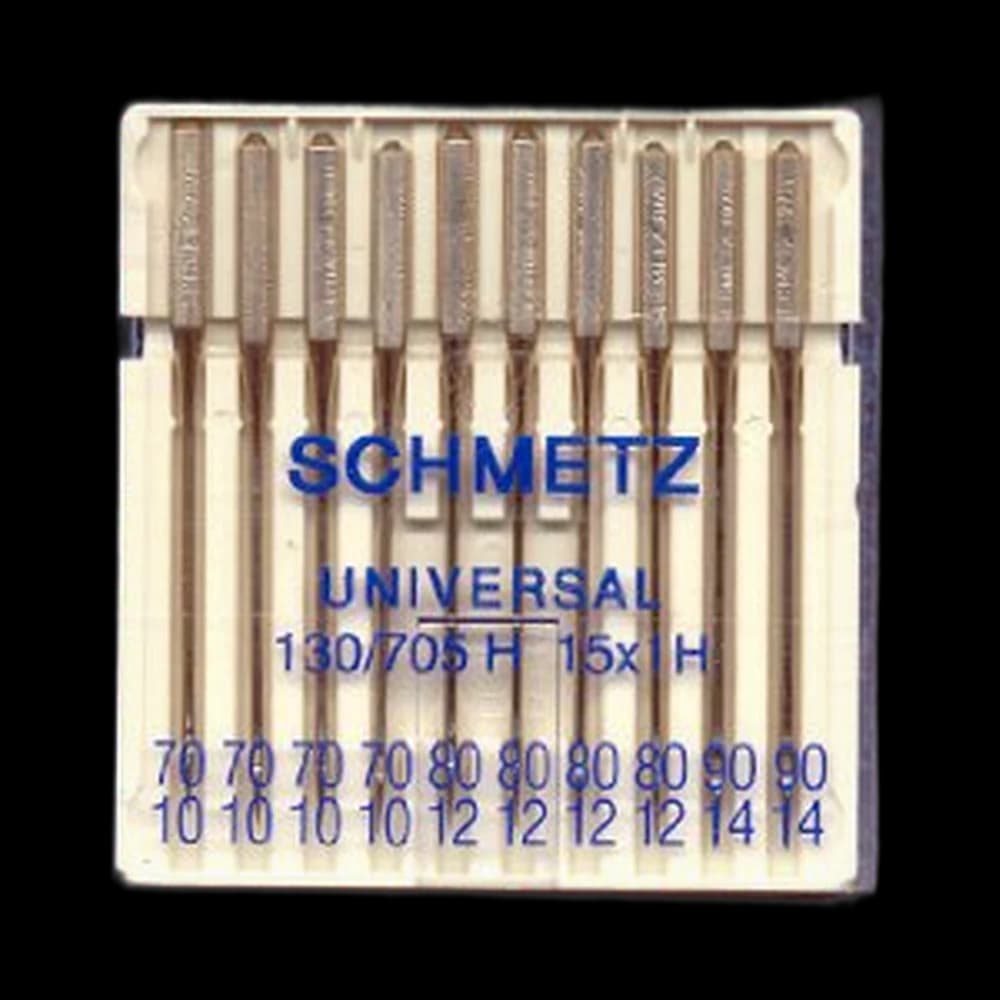
SCHMETZ Universal 130/705$7.45 4.8 out of 5 stars · 709 ratings
Priced in the lower half of this category; universal points, the default for ordinary woven fabric.
Researched from listings, specs and owner feedback — never hands-on testing. We may earn a commission; it never changes a pick.
Cut list
Everything below includes a 1/2-inch seam allowance on all four sides. Cut two identical squares:
- Front panel: 19-inch by 19-inch
- Back panel: 19-inch by 19-inch
That gives a finished cover of 18-inch square, which is deliberately the same size as the pad rather than bigger. A cover cut to the exact pad size stretches slightly over the filling and stays plump. Cut it a half-inch generous and you get the sad, saggy cushion look.
Half a metre of 54-inch-wide furnishing fabric holds both squares side by side with a little left over. If your fabric has an obvious pattern direction, check both squares run the same way up before you cut.
Steps
Prepare the zip
- Press the fabric first, not later. Creases from the bolt will throw your cutting off by more than you would guess, and you cannot press them out convincingly once there is a zip in the way.
- Press the zip tape flat. Set the iron to a low synthetic heat and gently roll the curled coil away from the tape from the wrong side, so the teeth stand up and the tape lies open. You are trying to expose the coil so the foot can ride over it. Do not park the iron on the coil — it is plastic.
- Thread up with a fresh needle in. A blunt needle skips stitches on furnishing weight. If your machine setup is still shaky, how to thread a sewing machine is the two-minute refresher.
Attach the zip
- Open the zip fully. Lay the front panel right side up. Place the open zip face down along the bottom edge, coil sitting about 1/2-inch in from the raw edge, with the zip pull and the tape ends running off the fabric at both ends.
- Fit the invisible-zip foot and drop the needle into the correct position for the groove you are using. Sew from the top of the zip down, letting the coil feed into the groove. The foot holds the coil upright so the needle lands right beside it — that closeness is exactly why the seam closes over the teeth afterwards.
- Stop about 1-inch before the zip pull. You physically cannot sew past it. Backstitch, cut the threads, and leave that gap; the main seam will close it.
- Repeat on the back panel. Right sides together, second zip tape along the second panel's bottom edge, same 1/2-inch position, same direction of sewing.
Sewing a zip in the wrong direction on side two is the single most common wobble here, and it costs nothing but time. Before you sew, close the zip and check the two panels open out flat into one big rectangle, right sides up. If they do, you are correct.
Close the cover
- Close the zip and open it about a third of the way. If you sew the rest of the cover with the zip shut, you have made a cushion-shaped bag with no way in.
- Pin the two panels right sides together around the remaining three sides. Where the seam meets the zip, swap back to your standard or zipper foot — the invisible foot cannot handle the bulk.
- Sew the three sides at 1/2-inch, starting your stitching a little past where the zip stitching stopped and overlapping it by about 1/2-inch. That overlap is what makes the gap by the pull disappear.
- Blunt the corners. Instead of a sharp right angle, take two or three stitches diagonally across each corner. Trim the corner seam allowance back to about 1/4-inch afterwards. This is what stops the finished corners looking like little pointed ears.
- Turn it right side out through the zip, push the corners out with something dull — a chopstick, not scissors — and give the whole thing a final press with the seams rolled slightly to the back.
When it goes wonky
| What happened | Why | The fix |
|---|---|---|
| You can see the zip teeth | The stitching sat too far from the coil, usually because the tape was not pressed open | Unpick that side with a seam ripper, press the coil flat again, and re-sew a fraction closer |
| The zip puckers along its length | The tape was stretched as it fed, or pins were too far apart | Re-pin every 2-inch and let the feed dogs pull the work — do not tug from behind the foot |
| A gap or lump where the zip ends | The main seam did not overlap the zip stitching | Re-sew that short section, starting on top of the existing zip stitches |
| The cover fits but looks limp | Panels were cut larger than the pad | Take the side seams in by 1/4-inch each, or move up a pad size |
| The zip snags on the fabric | Seam allowance is folding into the coil | Trim the allowance near the zip and press it firmly away before closing |
If your first zip is 3-inch of beautiful invisible seam and 13-inch of visible teeth, you have not failed — you have found the pressure point. Wonky seams are the whole point; the second zip is almost always the good one.
What you just learned
- Installing an invisible zip, which is the same technique used on dress side seams and skirt backs — it is not a soft-furnishings-only skill.
- Swapping presser feet mid-project, and recognising when a specialist foot is doing work no amount of care can replace.
- Cutting to a finished dimension, adding seam allowance deliberately rather than guessing, the same arithmetic you will use when you read a sewing pattern.
- Corner control — blunting and trimming so a turned corner looks sharp instead of stuffed.
If you enjoyed the zip more than the square, try the zip pouch project in the library next; if you preferred the pressing and the crisp corners, the lined tote bag project builds on the same finishing habits. Either way, the rest of the Stitcher level will start feeling noticeably less intimidating from here.
Supply checklist
7 lines · 2 hours · $24–$51 in materials
- A sewing machine whose foot comes offYou may own oneThe invisible-zip foot is the whole trick, so the machine has to let you swap feet. Snap-on and screw-on shanks both work.
- Half a metre of furnishing fabric$10–$25Cotton canvas, linen blend or a mid-weight upholstery cotton. Avoid anything stretchy for a first attempt.
- One invisible zip, 16-inch$3–$6Sometimes sold as "concealed". The coil curls under, which is what makes it vanish.
- An invisible-zip presser foot$8–$20Two grooves on the underside that ride over the coil. This is the whole trick — a standard foot cannot get close enough.
- All-purpose polyester thread$3–$5Match the fabric, or go one shade darker.
- A fresh universal machine needle, size 80/12$1–$2Size 90/14 if your fabric is properly heavy.
- An 18-inch cushion pad$8–$15Feather looks plumper; polyester is cheaper and washes better.
Quantities and substitutions are the ones in the supply table above; costs are rough US shop prices at the time of writing, not live listings. Borrowing and substituting are always fine — a wonky first attempt in the wrong fabric still counts.
Invisible zips are a Level 2 badge. A zip foot is what makes them repeatable.
Every SewingPath project guide is free and stays free. Some shaped garments need a separately sourced paper pattern; those pages say so before the cut list. When a project needs equipment we link the gear category and name our current pick beside the supply list, with a link to buy it if you are missing it — never in the middle of the steps. Picks are researched, not hands-on tested — see how we score gear.