Seam Allowance: Standard Sizes and How to Sew It Even
The gear this guide mentions
$12.79StitchScore 72 4.7 out of 5 stars · 405 ratings
Measuring and repeating hems, seam allowances and buttonhole spacing
Fiskars 3" x 18" Acrylic Quilting Ruler
$8.97StitchScore 86 4.8 out of 5 stars · 3,291 ratings
The listing claims a non-slip surface, which is the difference between a straight cut and a…
| Pick | Best for | StitchScore | Price | Buy |
|---|---|---|---|---|
| Fiskars 6-Inch Sewing Gauge 4.7 out of 5 stars · 405 ratings | Measuring and repeating hems, seam allowances and buttonhole spacing | 72 | $12.79 | Buy on Amazon |
| Fiskars 3" x 18" Acrylic Quilting Ruler 4.8 out of 5 stars · 3,291 ratings | The listing claims a non-slip surface, which is the difference between a straight cut and a… | 86 | $8.97 | Buy on Amazon |
The short version
- Check every pattern's stated allowance. Simplicity uses 5/8 inch, Seamwork 5/8 inch for wovens and 3/8 inch for knits, Named usually 1 cm.
- Burda says its patterns come without seam allowances, so you add them before cutting.
- A seam sewn 1/8 inch too wide takes 1/4 inch off the circumference, because it eats into two edges at once.
- Sewing a 5/8 inch pattern at 3/8 inch adds 3 1/2 inches to a seven-seam bodice. That is our own arithmetic.
- Test on scraps: three 1.5 inch strips sewn at a true 1/4 inch leave a middle strip exactly 1 inch wide.
Seam allowance is the strip of fabric between the cut edge and your line of stitching. Every pattern assumes one width, and the garment only comes out the size on the envelope if you sew that width. The catch for beginners is that the width is not universal, and the cost of getting it wrong grows with every seam.
What the pattern companies actually say
There is no single standard. Here is what five sources state, in their own words, about the allowance built into their pieces.
| Source | Stated allowance | Where to look for exceptions |
|---|---|---|
| Simplicity (envelope patterns) | 5/8 inch (1.5 cm) | Printed on the pattern piece and in the instructions |
| Seamwork, woven patterns | 5/8 inch | Listed above the cutting layouts |
| Seamwork, knit patterns | 3/8 inch | Listed above the cutting layouts |
| Named Clothing | Usually 1 cm (3/8 inch) | The pattern instructions |
| burda (magazine-style sheets) | Not included | You add it yourself |
| Quilt piecing (BERNINA) | A scant 1/4 inch | The quilt pattern |
SewDirect's Simplicity guide gives the 5/8-inch figure and says any other amount is marked on the piece. Seamwork's help centre splits wovens and knits. Named's basic instructions say its patterns usually include 1 cm and never ask you to add any. BurdaStyle's seam allowance page says plainly that burda patterns do not come with them.
Read the instructions before the first cut. If you remember one number from a past project and carry it to the next one, this table is the reason that goes wrong.
The error multiplier: why 1/8 inch matters
A seam takes fabric from two edges at once. Sew 1/8 inch wider than the pattern assumes and that seam removes 1/4 inch from the garment's circumference. Multiply by the seams that run around the body and it adds up fast. This is our own arithmetic, so you can check it with a tape measure.
| Garment | Seams around the body | Sewn 1/8 in too wide | Sewn 1/4 in too narrow |
|---|---|---|---|
| Skirt with two side seams | 2 | 1/2 in smaller | 1 in bigger |
| Dress with side seams and a centre back seam | 3 | 3/4 in smaller | 1 1/2 in bigger |
| Bodice with princess seams front and back, side seams and centre back | 7 | 1 3/4 in smaller | 3 1/2 in bigger |
The last column is the mix-up case: sewing a 5/8-inch pattern at 3/8 inch because the last pattern you used was a knit or a Named design. On a seven-seam bodice, that is 3 1/2 inches of room you never planned for.
Burda makes the same point from the other side. Its seam allowance page works through a dress with three seams and says cutting it without allowances leaves it 9 to 12 cm tighter.
Quilters feel it even more
Piecing seams are short and many. Picture a block made from four strips cut 3.5 inches wide, joined with three seams. At a true 1/4 inch it measures 12.5 inches across. Sew each seam 1/16 inch too wide and it comes out 12 1/8 inches. Five of those blocks in a row are 1 7/8 inches short before you even join them.
That is why the BERNINA team's guide to accurate quarter-inch seams asks for a scant 1/4 inch, a thread or two narrower, to account for the width the seam itself takes up.
How to sew an even allowance
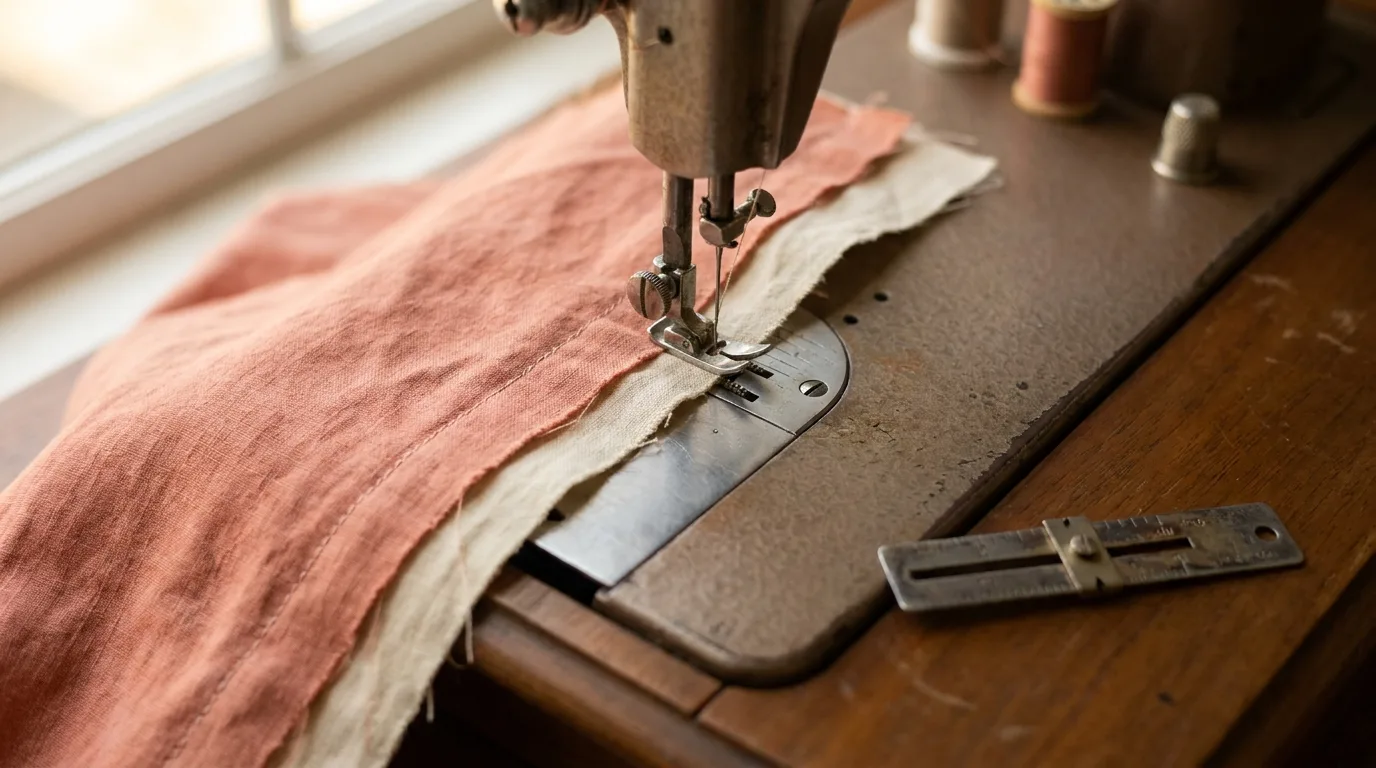
Most beginners watch the needle. Watch the edge of the fabric instead, against a guide that is already the right distance away.
- Find the lines on your needle plate. Most machines have engraved lines to the right of the needle. They are usually measured from the needle in its centre position, so if you move the needle left or right, every line moves with it.
- Check the line before you trust it. Measure from the needle to the line with a 6-inch sewing gauge. Its slider locks, so you can set it once and check every seam. It sits on our marking and measuring shelf.
- Add a ledge if the lines are faint. A few layers of masking tape along the right line give the fabric edge something to ride against.
- Sew slowly and steer from the front. Your hands guide the fabric into the foot. Pulling from behind changes the line.
For quilting, a dedicated quarter-inch foot puts the 1/4 inch at the edge of the foot itself. Some machines include one and some do not, so check your manual's accessory list first. If you are still choosing a sewing machine, that list is worth reading before you buy.
Test it on scraps, not the project
- Garment allowance: sew a 5-inch line on two scraps, then measure from the stitching to the edge at three points with the gauge. All three should match the pattern.
- Quilting allowance: cut three strips 1.5 inches wide and sew them side by side. Press, then measure the middle strip. At a true 1/4 inch it reads 1 inch exactly. Wider than 1 inch means your seams are too narrow. Narrower means they are too wide.
A clear quilting ruler such as the Fiskars 3 x 18 inch ruler makes that last measurement quick, because you can see the seam lines through it.
What we'd buy for this
One pick per category, chosen from the research pages linked in this piece. Borrow before you buy — nothing here is required to start.
 Marking & Measuring
Fiskars 6-Inch$12.79 4.7 out of 5 stars · 405 ratings
Measuring and repeating hems, seam allowances and buttonhole spacing. The slider locks at 1/8-inch steps, so every hem in a row turns up the same, and one end is a corner turner.
 Sewing Machines
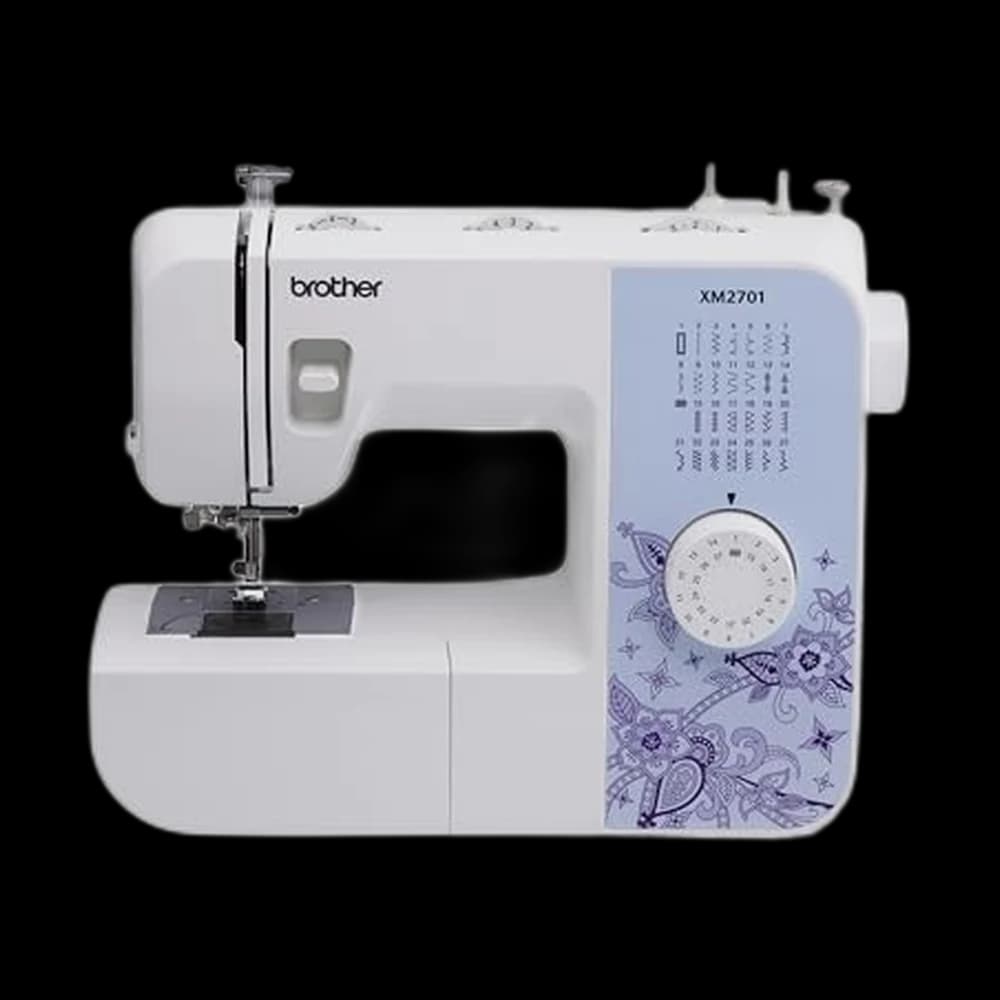
Brother XM2701$149.00 4.6 out of 5 stars · 19,332 ratings
A first machine — 27 built-in stitches is enough to sew clothes without a menu to decode, and the listing specifies the automatic needle threader and the jam-resistant drop-in top bobbin, which are the two steps beginners most often give up on.
 Quilting Rulers
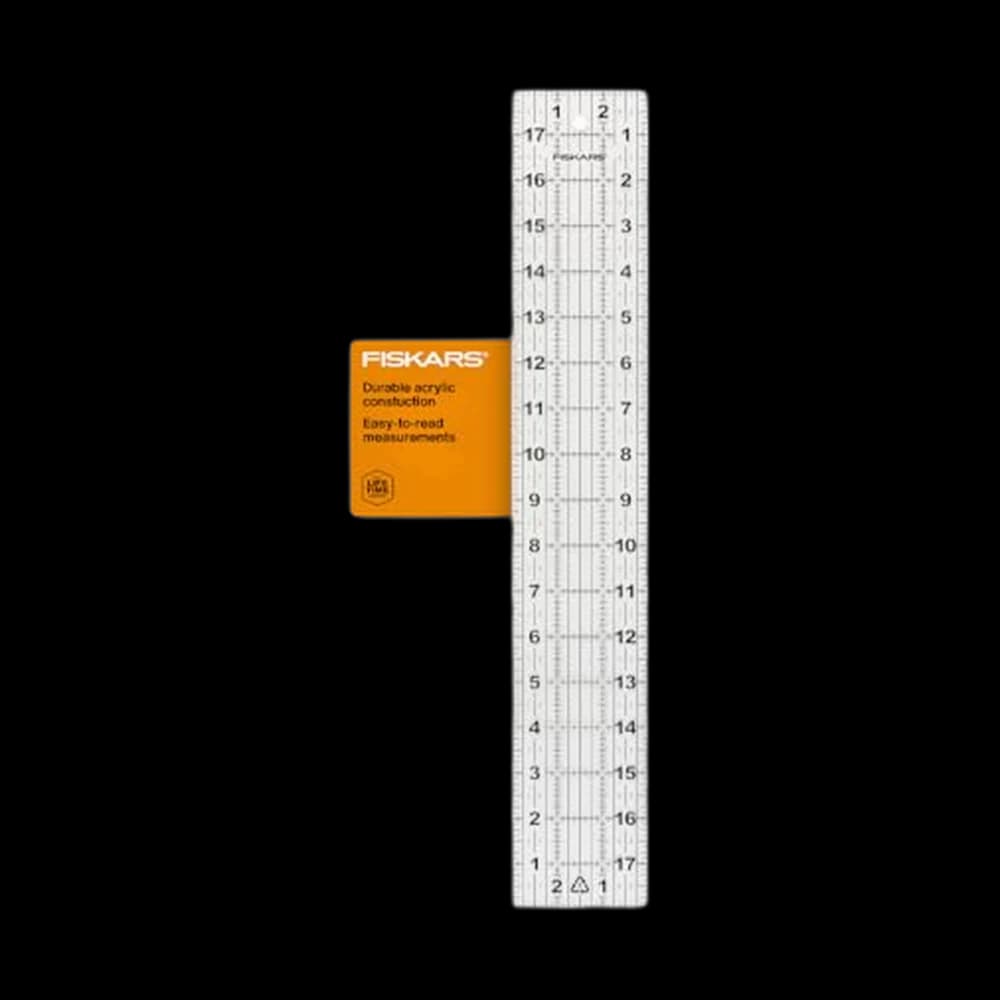
Fiskars$8.97 4.8 out of 5 stars · 3,291 ratings
Priced in the lower half of this category; the listing claims a non-slip surface, which is the difference between a straight cut and a ruined strip.
Researched from listings, specs and owner feedback — never hands-on testing. We may earn a commission; it never changes a pick.
Adding allowance to a pattern that has none
If you use a burda sheet or a pattern you drafted yourself, you add the allowance before cutting.
- Trace first. Copy your size onto tracing paper so the original sheet stays usable.
- Mark a parallel line. Set the sewing gauge to the width you chose and mark dots every inch or so around each stitching line, then join them. Tailor's chalk works straight onto fabric if you skip the paper step.
- Pick one width and write it down. BurdaStyle suggests at least 1.5 to 2 cm. Write your choice on every piece, because you will forget by the time you sew.
- Hems are separate. A hem allowance is usually deeper than a seam allowance. The pattern or your own plan should say how much.
After the seam: trim, clip or keep
The allowance is not finished once you have sewn it.
- Keep it on straight seams in garments. A full allowance gives you room to let a seam out later, and to finish the raw edges. Our guide to finishing seams without a serger covers five ways.
- Trim it inside collars, cuffs and corners so the turned piece lies flat.
- Clip it on inward curves, like a neckline, so the curve can spread when turned.
If you are still working out what the symbols on a pattern piece mean, how to read a sewing pattern walks through them. A wonky seam on a practice scrap costs nothing, and it is how everyone finds their line.
Frequently asked
What is the standard seam allowance?
There is no single standard. Simplicity's envelope patterns use 5/8 inch, Seamwork uses 5/8 inch for woven patterns and 3/8 inch for knits, Named Clothing usually uses 1 cm, and quilters piece with a scant 1/4 inch. The pattern instructions always state the width to use.
Is seam allowance included in sewing patterns?
Usually, but not always. Simplicity, Seamwork and Named include it in the pattern pieces. BurdaStyle says burda patterns do not come with seam allowances, so you trace your size and add your own before cutting.
What happens if my seam allowance is wrong?
The garment changes size. Each seam takes fabric from two edges, so 1/8 inch too wide removes 1/4 inch per seam. On a skirt with two side seams that is 1/2 inch smaller; on a bodice with seven seams around the body it is 1 3/4 inches smaller.
What is a scant quarter inch seam?
A quilting seam sewn a thread or two narrower than a true 1/4 inch. The BERNINA team recommends it to account for the width the seam itself takes up, so pieced blocks finish at the size the pattern expects.
How do I keep my seam allowance even?
Watch the fabric edge against a guide, not the needle. Use the engraved lines on the needle plate, check them with a sewing gauge, and add a strip of masking tape as a ledge if the lines are hard to see. Sew slowly and steer from the front.
Sources & further reading
Where our guidance rests on a fact, here is where that fact comes from.
- SewDirect: Understanding seam allowance (Simplicity) — Simplicity's standard 5/8 inch allowance; other amounts marked on the piece and in the instructions.
- Seamwork Help Center: Are seam allowances included in the patterns? — 5/8 inch for wovens, 3/8 inch for knits, listed above the cutting layouts.
- Named Clothing: Basic instructions — Patterns usually include a 1 cm (3/8 inch) seam allowance.
- BurdaStyle: Seam allowances — Burda patterns come without seam allowances; the three-seam dress example and the 1.5 to 2 cm guidance.
- WeAllSew (BERNINA): Accurate Piecing Basics, Quarter-inch Seams — Why quilters sew a scant 1/4 inch, and quarter-inch feet and stitch plate markings.
Prices and StitchScores reflect our most recent research and refresh on a cycle — confirm the live price before buying. We may earn a commission from affiliate retailers; it never changes what we recommend. See how we score gear.
Read next
Sewing Machine Maintenance: What to Clean, When to Oil
Sewing machine maintenance by task and machine type: what 11 Brother, Singer and Janome manuals say about oil, cleaning, needles and canned air.
How to Use a Sewing Machine Step by Step: A Beginner's Guide
How to operate a sewing machine step by step: the parts, threading, the bobbin, a first seam, backstitching, pivoting at corners and finishing off.